
Searching “how to draw” returns thousands of tutorials, and most of them skip the part that matters: the order in which you learn things. Beginners jump straight to a realistic eye or a detailed portrait, get a flat, stiff result, and decide they lack talent. In reality they skipped the foundations that make an eye look round and a face look solid.
This section is a set of step-by-step lessons for pencil artists, arranged so that each one builds on the last. Every lesson works in graphite, and where colour changes the method it says so, including for coloured pencils (colored pencils in the US). Use this page as a map: where to start, what kit to buy, which tools help, and which lesson to open next.
Where to start
Start with what a drawing is made of: shapes with light falling on them. Before you attempt a face, learn to make a flat circle look like a sphere and a square look like a box. The lessons on basic forms and shading and shadows and light teach this, and everything else in the cluster leans on it.
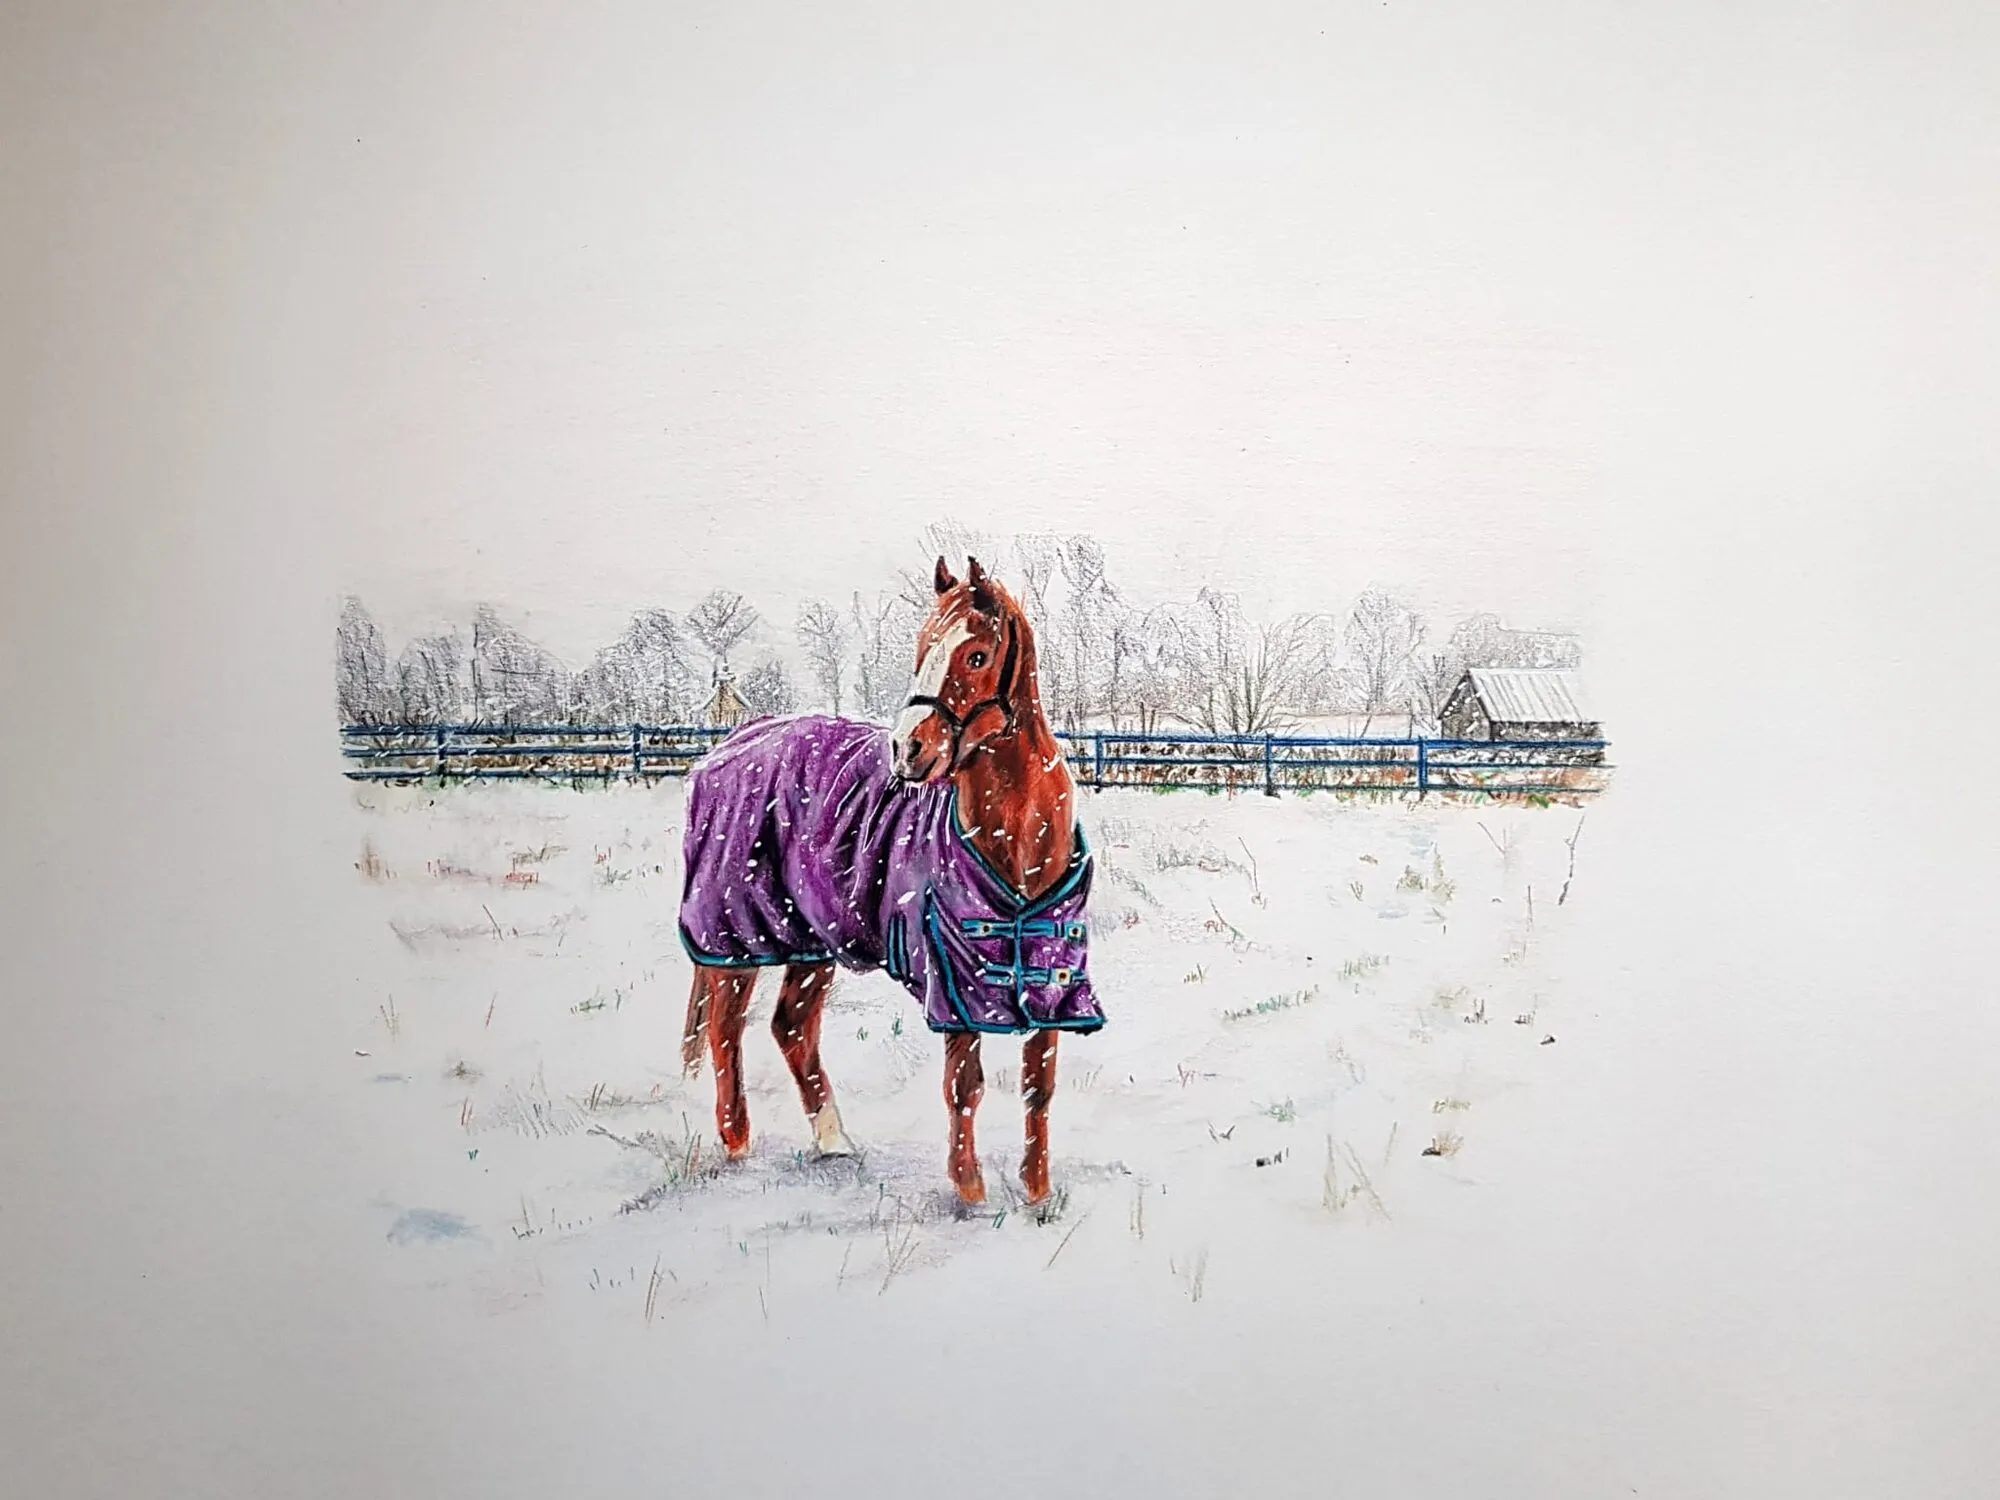
Then choose a subject you care about. Motivation matters more than a perfect curriculum, and a beginner who loves horses will practise more than one grinding through cubes. Just keep the foundations running alongside: ten minutes of forms and shading before a session is a very good warm-up.
If you want a broader roadmap that covers habits and mindset as well as technique, drawing for beginners: where to start is the companion piece to this page.
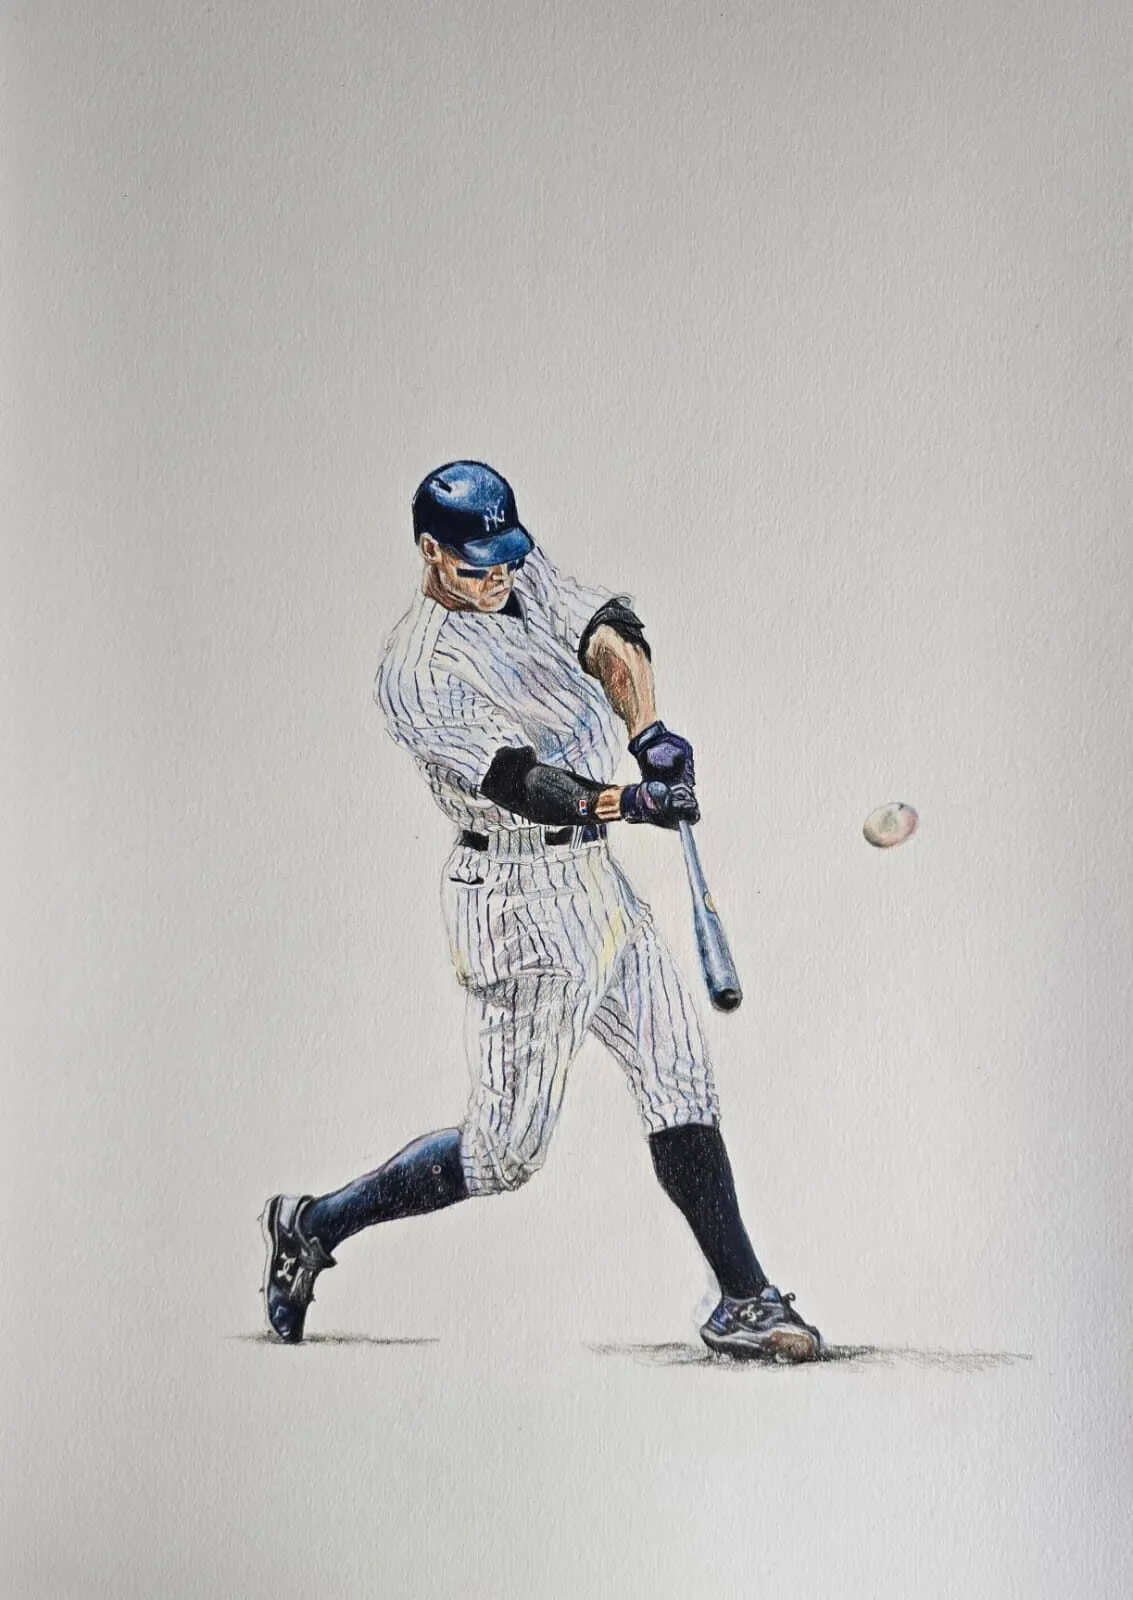
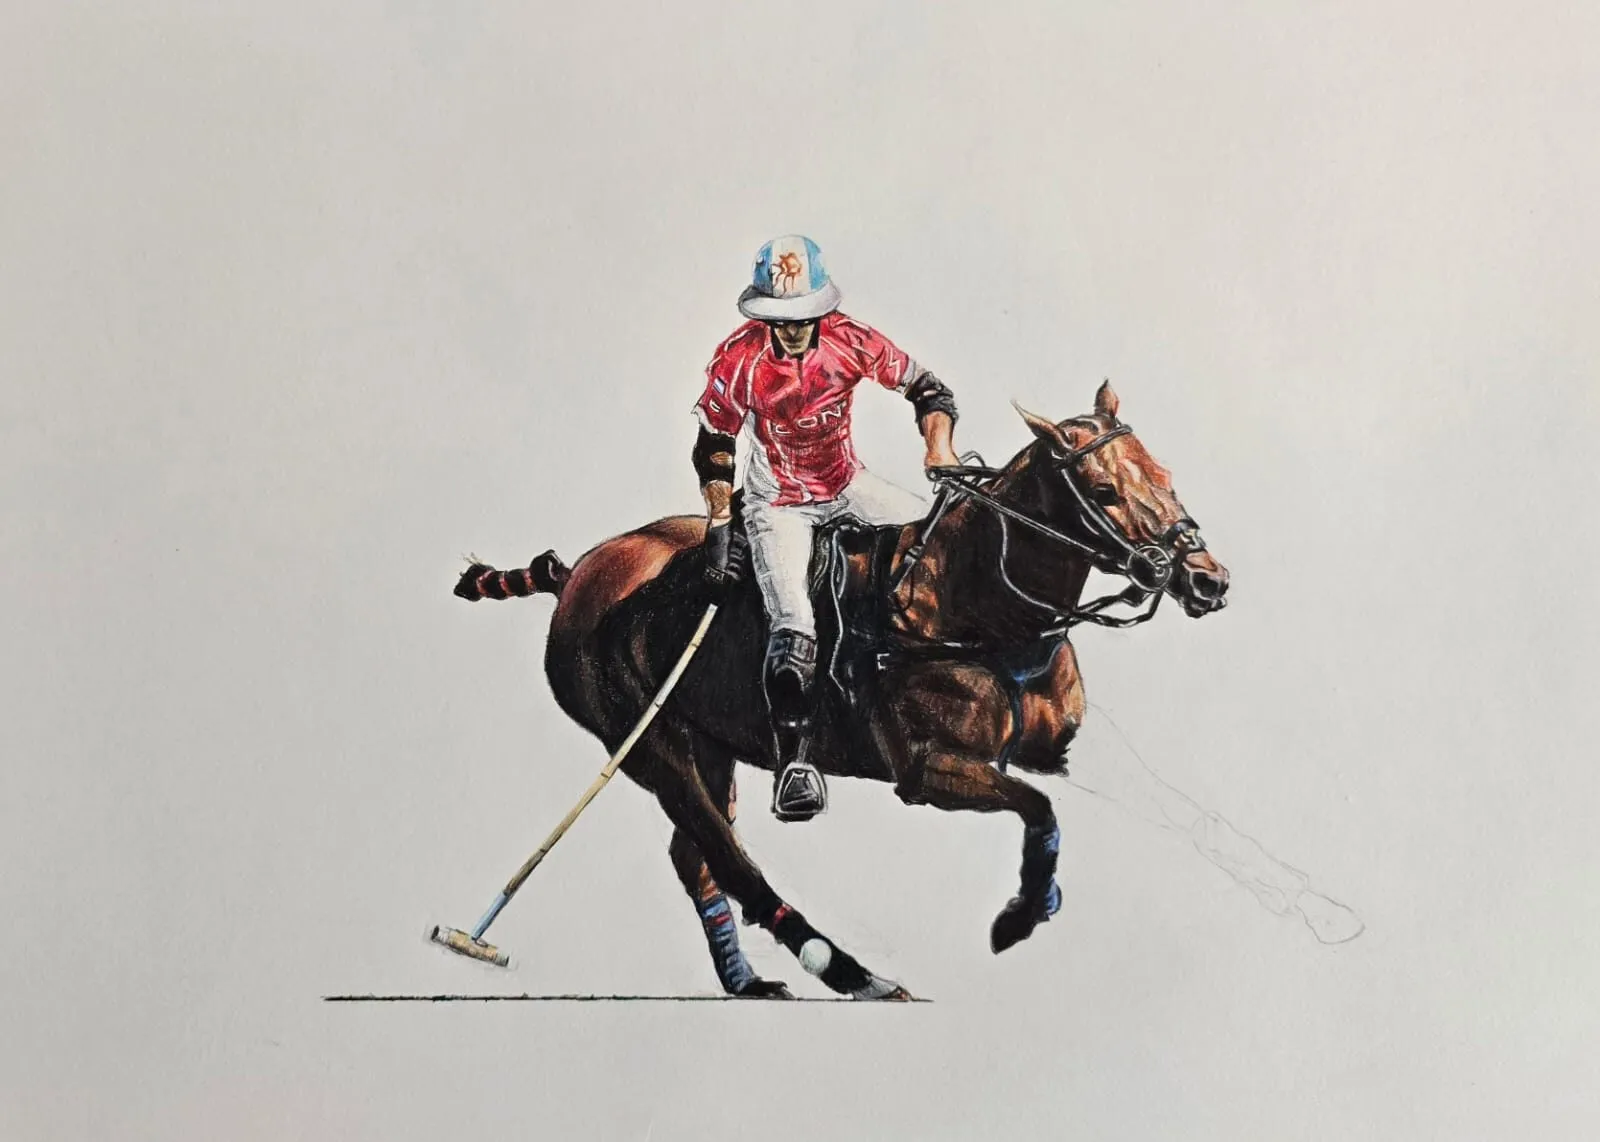
A baseball batter mid-swing drawn in coloured pencil. Drawing by Michael Brace.
A learning order that works
There is no single correct curriculum, but this sequence removes the most common frustrations.
1. Forms and shading
Simple solids (sphere, cube, cylinder, cone) under a single light show you the same structure every subject has: a light side, a shadow side, a cast shadow and a subtle bounce of light in the shadow. Spend a week here. The tone ideas carry straight into skin, fruit, fur and clouds.
2. Proportion and perspective
Once tone makes sense, learn to measure. Proportion is the relationship between parts, such as how wide an eye is compared with the space between the eyes, and perspective is how those relationships change with angle and distance. Drawing in perspective covers the basics for objects and scenes, and how to draw what you see explains the observational habits that make measuring accurate.
3. Features
Features are small studies with the proportions of a whole face packed into a tiny area, which is why they are a good next step: eyes, noses, lips and hair. Each one has a handful of shapes and a clear value structure that you can learn and repeat.
4. Whole subjects
With forms, proportion and features behind you, complete subjects stop being intimidating. This is where you assemble a face, a portrait from a photo, an animal, a plant or a landscape. The same three checks apply every time: is the structure right, are the values right, and only then, is the detail right.
Graphite or coloured pencil: two paths, one skill set
Graphite is the usual starting point. It is inexpensive, erases easily and forces you to think in values, which is the most important skill in realistic drawing. You can learn nearly everything in this cluster with an HB, a 2B and a 6B.
Coloured pencil adds hue and saturation to those same values. A drawing in colour still depends on getting light and dark right; colour that is correct but too light in the shadows reads as flat. Many artists learn on graphite, then move to colour when their value control is reliable. Others begin in colour because it keeps them motivated, and that works too, provided they keep checking value.
How the two paths compare in practice:
| Question | Graphite | Coloured pencil |
|---|---|---|
| Cost to start | Very low | Low to moderate, depending on the set |
| Ease of correction | Easy to erase | Harder, especially with wax-based pencils |
| Main skill | Value and edge control | Value plus colour mixing and layering |
| Best first lesson | Forms and shading | Forms and shading, then a limited palette |
If you are still deciding, best drawing pencils for beginners and coloured pencil drawing for beginners each give a clear starting kit, and the pencil set quiz narrows down a set in a few questions.
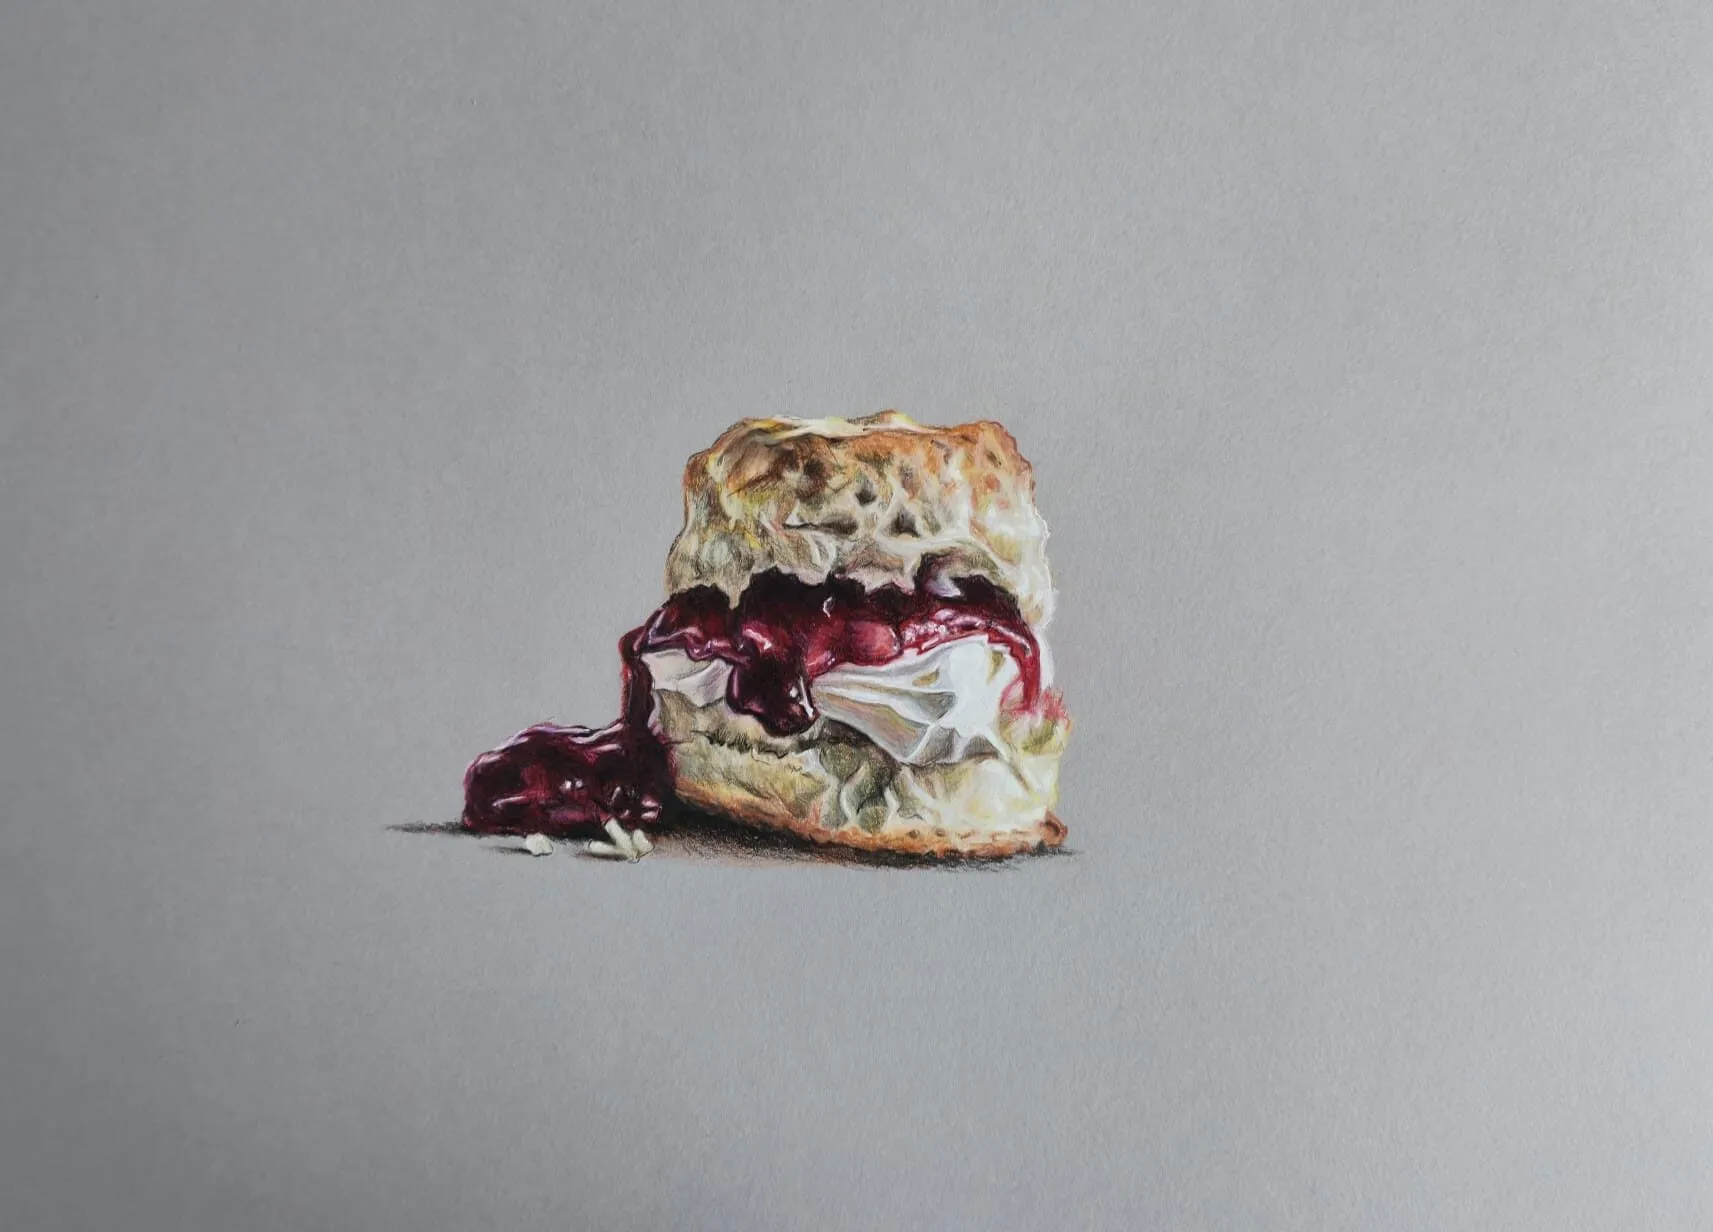
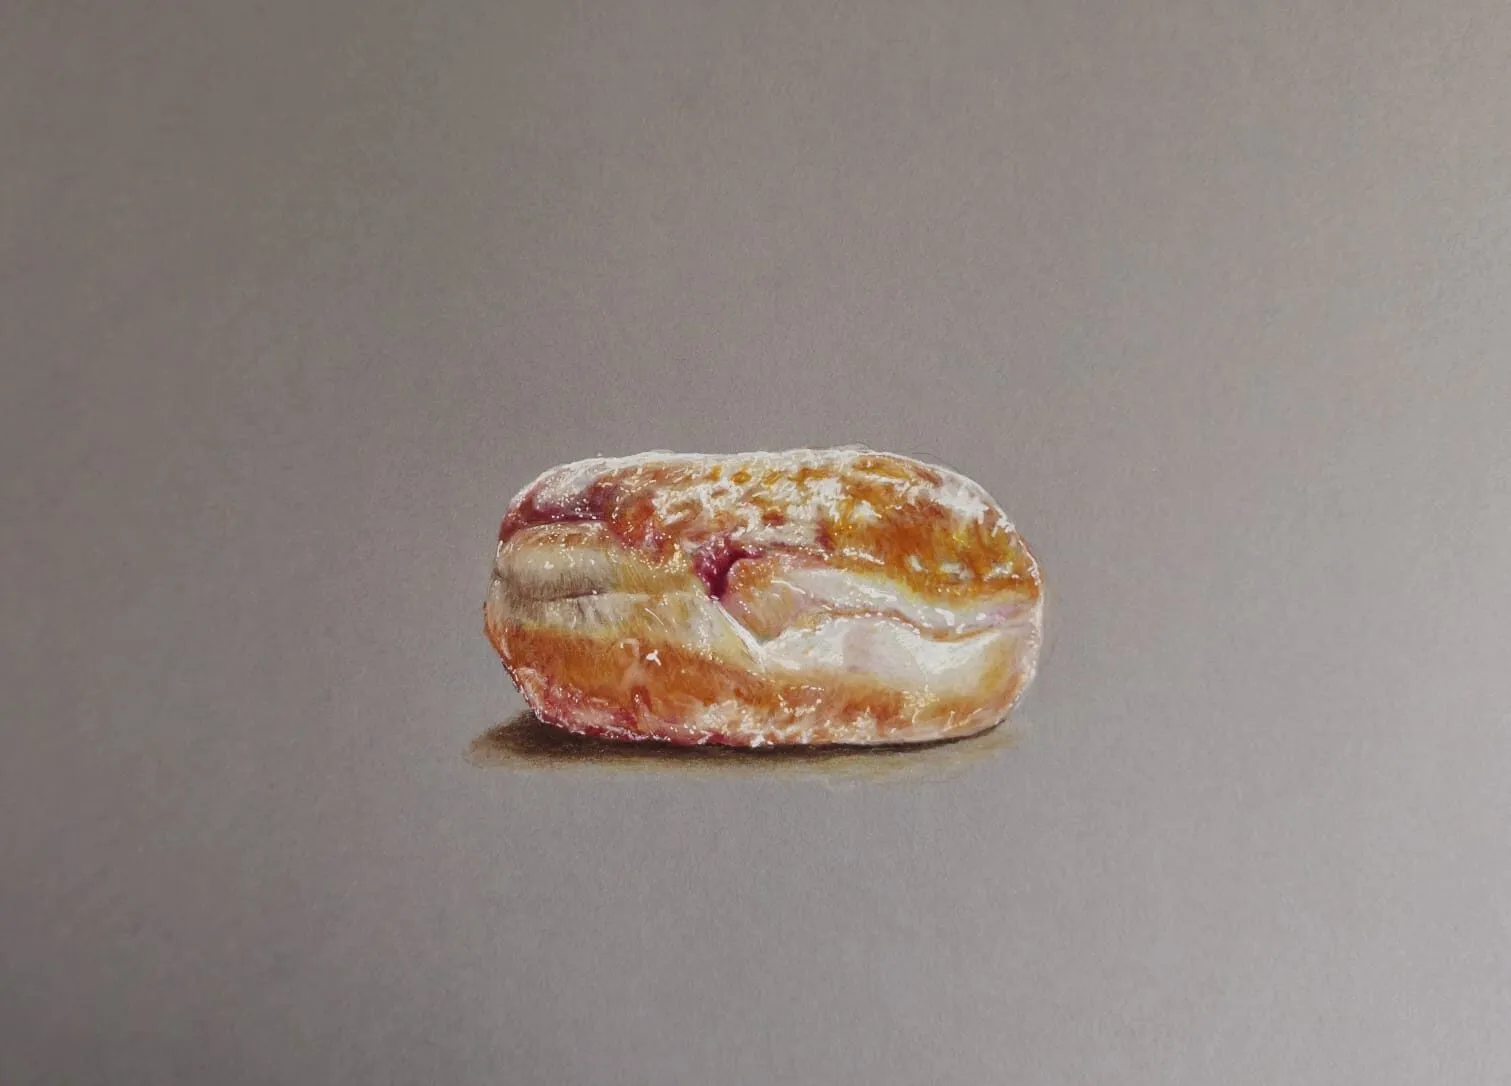
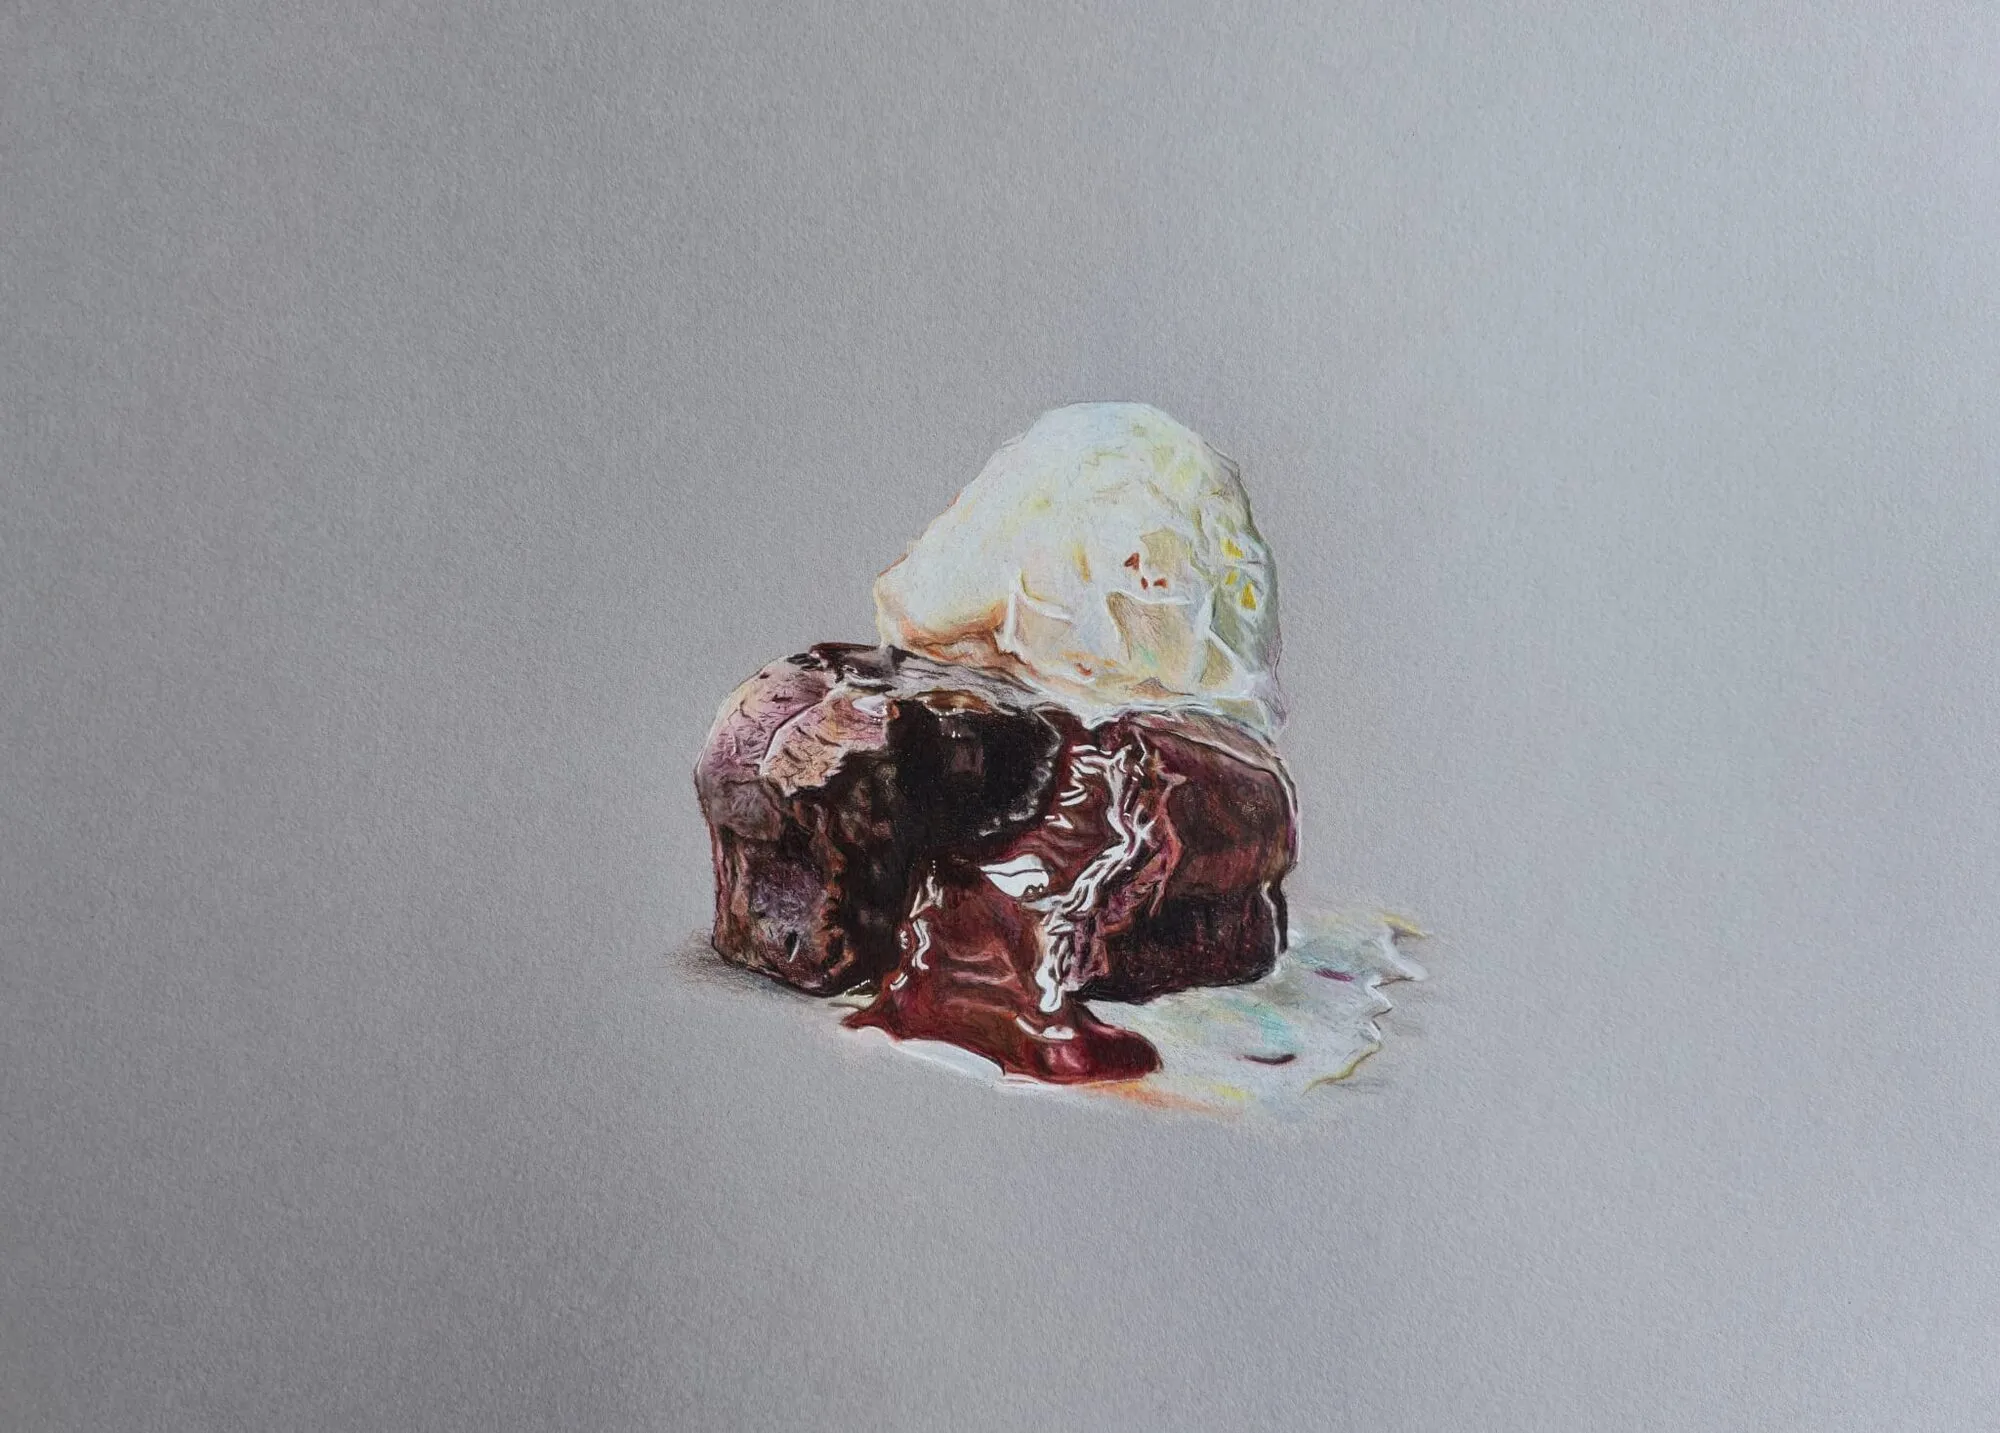
A scone with cream and jam drawn in coloured pencil on grey paper. Drawing by Michael Brace.
Materials basics
You do not need much. You do need to avoid the two most common false economies: very thin paper and pencils that are too hard to shade with.
Paper
Paper decides how much layering and erasing a drawing can take. For graphite, a smooth to lightly textured sheet works well; see the best paper for graphite drawing. For coloured pencil, weight and tooth matter more, and the best paper for coloured pencils compares the options. If you want one place that covers beginner-friendly sheets and pads, start with the best drawing paper for beginners. The paper pillar explains weight, tooth and surface in depth.
Graphite pencils
A useful beginner set is an HB for light construction lines, a 2B for general work and a 4B to 6B for darks. Harder grades such as 2H are handy for very light guidelines that will not show through. The graphite pencil grades explained guide and the pencil grade chart show how the grades relate. More detail is in the graphite and charcoal pillar.
Coloured pencils
For colour work, a modest set is plenty. Look for pencils with soft, well-pigmented cores, and add a white pencil if you will work on toned paper. Read best coloured pencils for beginners or browse the coloured pencils pillar for the wider picture. Coloured pencils are called colored pencils in the US; the products are the same.
Extras worth having
A kneaded eraser for lifting highlights, a good sharpener, a blending stump or tortillon for graphite, and a sheet of scrap paper under your hand to prevent smudges. That is the whole list. For everything you might add later, see best drawing supplies for beginners.
Three tools that make beginner drawing easier
Good drawing is mostly good decisions, and these three tools help you make them.
The grid
A grid divides your reference and your paper into matching squares, so you only have to draw one small area at a time. It is a very reliable way to get proportions right, and it trains your eye rather than replacing it. The grid drawing tool lets you overlay a grid on a photo and match it to your paper size.
The value study
A value study is a small drawing in a handful of tones that plans where the lights, mid-tones and darks go before you commit to detail. Making one is the fastest way to find out why a drawing looks flat. The value study tool reduces a photo to a few tones so you can see the structure, and value in drawing explains the principle.
The palette
If you work in colour, choose your pencils before you start rather than reaching for whatever is nearest. Palette from photo pulls a set of colours from your reference, and the colour scheme generator helps if you want a harmonious set instead. A small palette makes drawings look consistent, and limited palette drawing shows why.
Every lesson in this cluster
The lessons are grouped by what they teach. Open the one that matches what you want to draw, and come back to the foundations whenever a drawing looks flat.
Foundations
- How to draw basic forms and shading - the starting point: sphere, cube and cylinder, with a light source.
- How to draw shadows and light - form shadow, cast shadow and reflected light, the ideas behind every convincing drawing.
- How to draw in perspective - horizon lines and vanishing points, so boxes, roads and buildings sit correctly in space.
Faces and figures
- How to draw realistic eyes - the most searched feature, and the one that makes a portrait feel alive.
- How to draw a face: proportions - where the features sit, in front and three-quarter views.
- How to draw a nose - planes and shadow shapes rather than outlines.
- How to draw lips - structure, value and avoiding the outlined look.
- How to draw hair - masses, flow and highlights before any single strand.
- How to draw hands - simple block shapes and proportions for the part most beginners avoid.
- How to draw a portrait from a photo - a full workflow from reference to finished drawing.
Nature and animals
- How to draw a rose - overlapping petals as a study in edges and soft shadow.
- How to draw a tree - structure first, then foliage as masses.
- How to draw clouds and skies - soft edges, gradients and atmosphere.
- How to draw a dog - proportion, fur direction and expression.
- How to draw a horse - anatomy in simple blocks, then muscle and coat.
- How to draw a bird - body shapes and feather groups.
Still life
- How to draw food realistically - texture, gloss and colour on subjects you can eat afterwards.
Ideas and practice
- Drawing ideas for beginners - a long list of subjects, each with the skill it teaches.
- 30-day drawing challenge - a day-by-day plan if you want structure.
How to practise
The most useful habit is small and regular. Twenty to thirty minutes on most days will do more than a long weekend session, and how to practise drawing daily explains how to structure it. Repeat a lesson rather than always moving on: a second attempt at the same eye, a week later, shows what you have actually absorbed.
Keep every drawing, dated, in a folder or sketchbook. Progress in drawing is slow enough to be invisible from one day to the next, and gaps of a few months make it obvious. When you get stuck, look at the drawing next to your reference, squint to reduce both to simple shapes and tones, and ask what is different. That comparison is the core skill, and how a realistic drawing comes together walks through it from start to finish.
Where the lessons lead
Once you can build form with tone, the specialised guides open up. How to draw portraits in coloured pencil takes the face lessons into colour, how to shade with pencil deepens the graphite side, and how to layer coloured pencils is the next step for colour. Books also speed things up; the best books to improve your drawing lists ones worth owning.
The short version
Draw forms and shading first. Learn proportion next. Practise features on their own, then assemble whole subjects. Use graphite to learn value and coloured pencil when you want colour, keep the kit simple, and lean on the grid, the value study and a small palette. Open a lesson, do the practice exercises, and repeat.