How to Draw
Drawing Exercises for Beginners: 20 to Try
Twenty concrete drawing exercises for beginners, grouped by skill, each with what it trains and how long it takes. Works in graphite or coloured (colored) pencil.
Key takeaways
- ◆Twenty minutes of a focused exercise teaches more than an hour of drawing whatever comes to mind, because each exercise isolates one skill.
- ◆The exercises are grouped into five skills: mark making, value, seeing and accuracy, form and structure, and learning from others.
- ◆Start with the warm-ups and value exercises, which improve everything else, then add observation and structure exercises as you go.
- ◆Repeat an exercise after a few weeks. Comparing the two attempts is the clearest evidence of progress.
- ◆Every exercise works with a basic pencil and any paper; you do not need special materials to begin.
Most beginners are told to “just draw more”, which is true and not very helpful. A faster route is to practise one skill at a time. A drawing is really several skills stacked together: controlling the pencil, judging light and dark, seeing proportions, building solid form. Exercises pull those apart so you can train each one.
This list gives you twenty exercises, grouped by skill, with what each one trains and how long it takes. Work in graphite or coloured pencil (colored pencil in the US); the thinking is the same. If you want a schedule, pair the list with the 30-day drawing challenge or the routine in how to practise drawing daily.
How to use this list
You do not need to do all twenty in order. A simple plan:
- Week 1 to 2: exercises 1 to 8 (mark making and value).
- Week 3 to 4: exercises 9 to 14 (seeing and accuracy).
- Week 5 to 6: exercises 15 to 18 (form and structure).
- Ongoing: exercises 19 and 20 once a week.
Keep everything dated in one sketchbook. Do not erase and do not throw pages away. The aim is learning, not finished art.
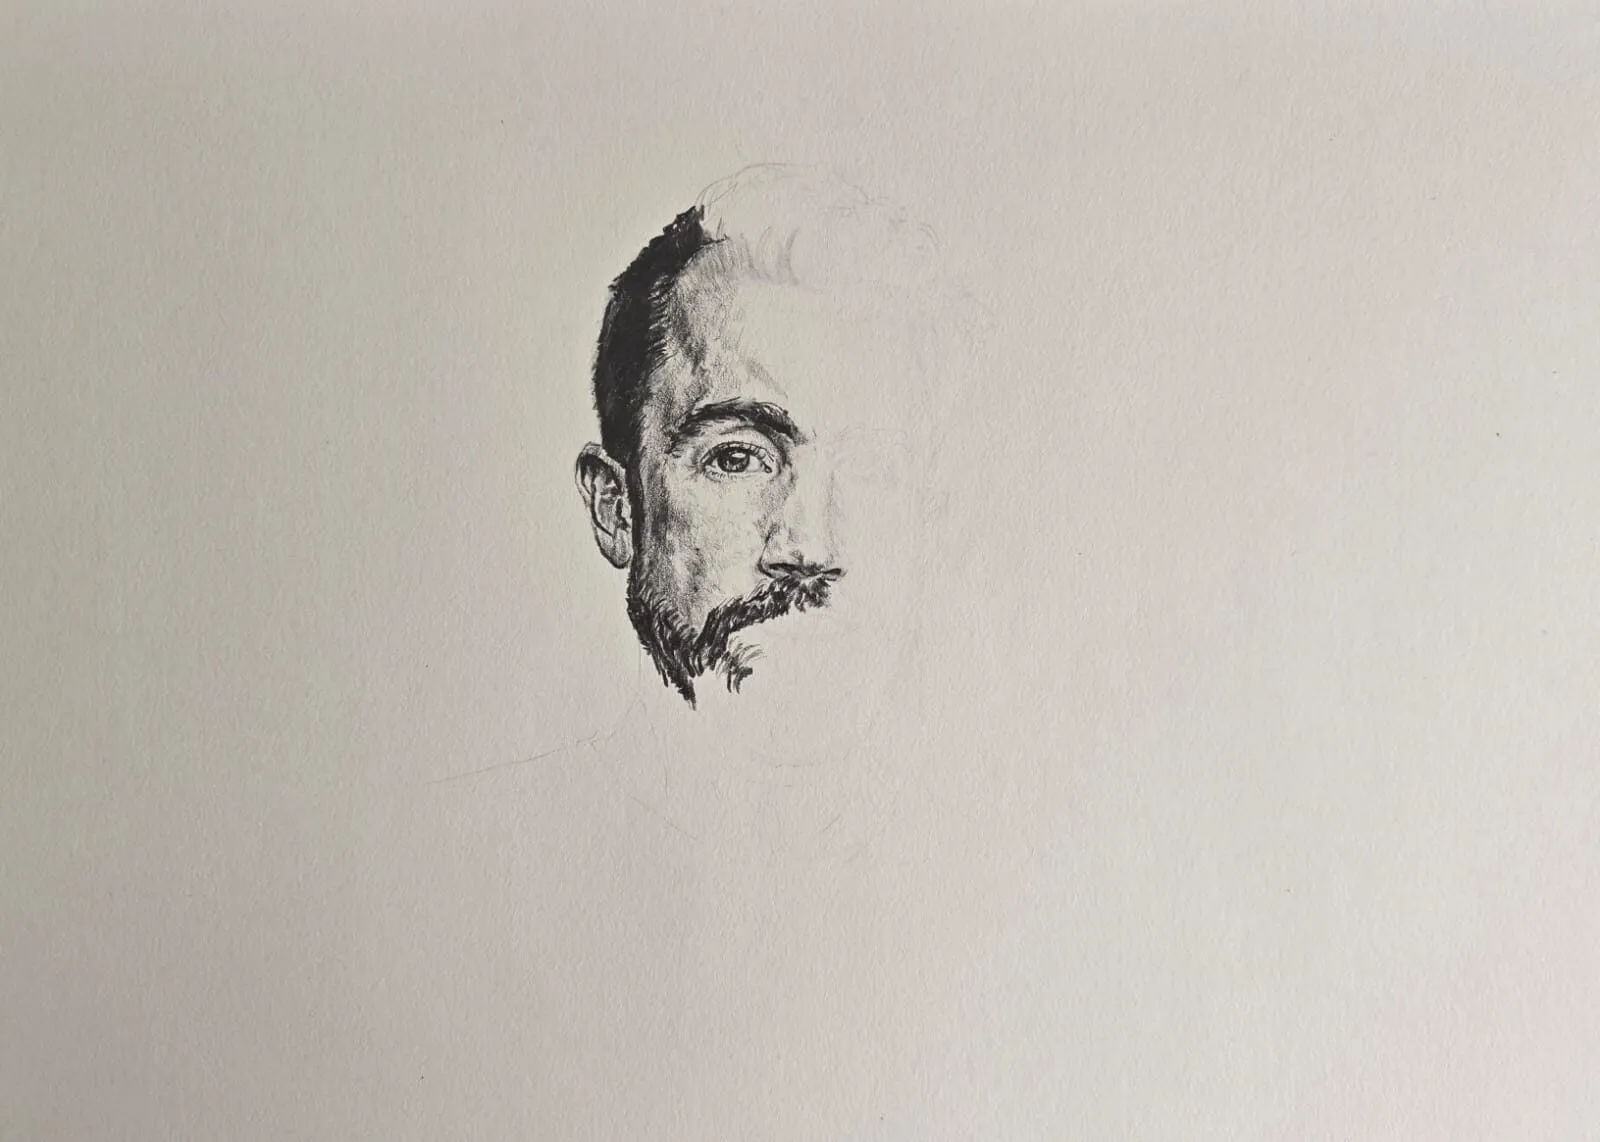
A half-finished graphite portrait study of a man’s face. Drawing by Michael Brace.
Mark making and pencil control
These are your warm-ups. They build the hand control that everything else relies on. If your grip feels awkward, read how to hold a pencil first.
1. Straight lines and parallel strokes
Draw rows of straight lines, first freehand at a steady speed, then long strokes from the shoulder. Aim for even spacing and even darkness. Trains: confidence and straight, unhesitating strokes. Time: 5 minutes.
2. Circles and ellipses
Fill a page with circles, then ellipses at different angles. Draw each in one continuous motion, then go round it again lightly to refine. Trains: the ability to draw round forms, which underlie fruit, eyes and heads. Time: 5 to 10 minutes.
3. Hatching and cross-hatching
Fill small squares with parallel lines, then a second layer at an angle, then a third. Try tight and loose spacing. See hatching and cross-hatching for technique. Trains: building tone with line and controlling density. Time: 10 to 15 minutes.
4. Pressure control ladder
Draw a column of ten rectangles and fill each with the same stroke, going from the lightest you can manage to the darkest, changing only pressure. Trains: the most important graphite skill, making many tones with one pencil. Time: 10 minutes.
5. Smooth gradient
Fill a long rectangle so that it fades smoothly from dark to light, with no visible bands. Use overlapping back-and-forth strokes and lighten as you go. Repeat with a blending stump for comparison. Trains: smooth shading and pressure control. Time: 10 to 15 minutes.
Value and tone
Value, the range from light to dark, carries realism more than outline or colour. Our guide to value in drawing explains why.
6. Value scale
Draw a row of boxes and shade them from white to black in even steps, five or nine boxes. Follow how to make a value scale for the method. Keep your finished scale next to you to judge later drawings. Trains: knowing your full tonal range and judging steps between tones. Time: 15 minutes.
7. Shaded sphere
Draw a circle and shade it as a ball lit from one side, with a light side, core shadow, reflected light and cast shadow. This is the foundation of almost all shading. Details are in how to draw basic forms and shading. Trains: reading light on a curved surface. Time: 20 minutes.
8. Three-value study
Take a photo and draw it using only three tones: light, mid and dark. Squint to find the big shapes. Check yourself with the value study tool. Trains: simplifying a scene into tonal shapes. Time: 20 to 30 minutes.
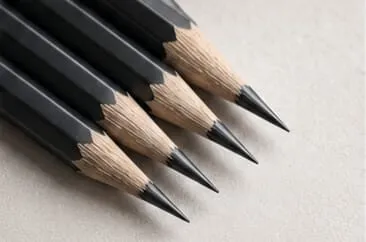
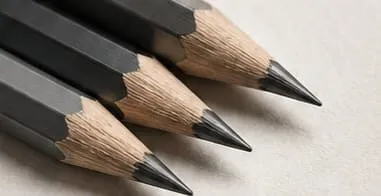
A group of sharpened black pencils on textured paper.
Seeing and accuracy
Most drawing problems are seeing problems. These exercises train your eye to see what is actually there, not what you think is there.
9. Contour drawing
Choose an object such as a shoe or a plant. Draw its edges slowly, looking mostly at the object, with your pencil moving as your eye moves. Trains: close observation and the eye-hand connection. Time: 5 to 10 minutes.
10. Blind contour
Do the same, but do not look at the paper at all. The result will look odd, and that is the point. Do not lift the pencil. Trains: slowing down and observing edges without correcting too early. Time: 3 to 5 minutes.
11. Negative space drawing
Instead of drawing an object, draw the shapes of the spaces around it, such as the gaps inside the handle of a mug or between chair legs. Once those are right, the object appears. Trains: seeing true shapes without symbols getting in the way. Time: 15 to 20 minutes.
12. Upside-down drawing
Copy a simple line drawing or photo turned upside down. Because you cannot recognise it, you draw the shapes as they are. Trains: bypassing assumptions and seeing proportions. Time: 20 to 30 minutes.
13. Sight-size or measured drawing
Hold a pencil at arm’s length and use it to compare heights and widths. Draw a simple object such as a bottle, checking angles with vertical and horizontal lines. Trains: measuring and comparing proportions. Time: 20 to 30 minutes.
14. Grid copy
Copy a simple photo by drawing a grid over it and another on your paper, then draw cell by cell. The grid drawing tool sets this up for any size. Trains: accurate placement and proportion. Time: 30 to 45 minutes.
Form and structure
15. Basic forms
Draw a cube, cylinder, cone and sphere from several angles, then shade each with the same light. Everyday objects are combinations of these forms. Trains: three-dimensional thinking and shading. Time: 20 to 30 minutes.
16. Still life of three objects
Arrange a mug, a piece of fruit and a book. Draw the whole group, paying attention to overlaps and cast shadows. Fruit is a good start; see how to draw fruit. Trains: composition, relationships and shadow shapes. Time: 30 to 45 minutes.
17. Gesture drawing
Draw people, pets or photographs in 30 seconds to 2 minutes each. Focus on the main line of action, not detail. Trains: capturing movement and loosening the hand. Time: 10 to 15 minutes.
18. Simple perspective boxes
Draw boxes and books using one-point and two-point perspective, making all parallel edges converge correctly. See how to draw in perspective. Trains: depth and believable structure. Time: 20 to 30 minutes.
Learning from others and applying it
19. Master copy
Choose a drawing by a skilled draughtsman and copy a small part of it, asking how the artist built form and edges. See master draughtsmen to study for names worth studying. Trains: how experienced artists see and simplify. Time: 30 to 45 minutes.
20. Timed repeat
Draw one simple subject in 10 minutes. A few weeks later, draw the same subject in the same time and compare the pages. Trains: decision making, and gives you visible progress. Time: 10 minutes each.
Quick reference table
| Skill | Exercises | Total time to try all |
|---|---|---|
| Mark making | 1 to 5 | About 45 minutes |
| Value | 6 to 8 | About 1 hour |
| Seeing | 9 to 14 | About 2 hours |
| Form | 15 to 18 | About 1.5 hours |
| Learning from others | 19 to 20 | About 1 hour |
Doing the exercises in coloured pencil
Exercises 1 to 8 work beautifully in a single coloured pencil. A single-colour value scale teaches pressure control and shows how much range one pencil has. Repeat the gradient in two colours layered, and notice how colour shifts. For the layering method, see how to layer coloured pencils. Paper matters here: smoother paper gives smooth gradients, but too little tooth limits layers.
Common problems and fixes
- Drawing feels stiff. Use more arm movement and less wrist, and do the line and circle drills first.
- Shading is patchy. Use lighter pressure and more layers, and slow your stroke.
- Proportions are off. Do more measuring, upside-down and negative space exercises.
- Everything looks flat. Add a stronger core shadow and cast shadow. Repeat exercise 7.
- You cannot stay motivated. Shorten sessions to 15 minutes and keep materials out, as suggested in how to practise drawing daily.
Where to go next
When you can shade a sphere, make a smooth gradient and draw a measured still life, move on to real subjects. The drawing ideas for beginners list gives you subjects matched to skills. For the big picture of where to start, read drawing for beginners: where to start.
The short version
Learn one skill at a time: mark making, value, seeing, form and learning from masters. Spend 15 to 30 minutes a day on a rotating exercise, keep dated pages, and repeat a few exercises every month to see how far you have come.
Quick answers
Frequently asked questions
What are the best drawing exercises for beginners?+
The most useful are hatching and value scales, contour drawing, simple forms such as spheres and cubes with shading, and gesture drawing. Together they train control of the pencil, reading light and dark, careful observation and basic structure. Spend 20 to 30 minutes a day rotating through them rather than repeating one.
How long should a drawing exercise take?+
Most exercises work well in 5 to 30 minutes. Short ones such as gesture or line drills can be as brief as a few minutes, while shading and copying exercises need 20 to 40. The time given with each exercise below is a guide; stop when you have learned the point, not when the page looks finished.
Do I need coloured pencils to do these exercises?+
No. A graphite pencil and plain paper are enough for nearly all of them, and learning value in graphite transfers directly to colour. If you work in coloured pencils (colored pencils in the US), repeat the shading and gradient exercises in a single colour to learn pressure control and layering.
How do I know if the exercises are working?+
Keep dated pages and repeat two or three exercises every month or so, for example a value scale and a contour drawing of the same object. If your marks are smoother, your proportions closer and your shadows more convincing, the exercises are working. Progress is slow day to day and obvious over months.