How to Draw
30-Day Drawing Challenge for Beginners
A day-by-day 30-day drawing challenge that builds from lines and shapes to shading, proportion, features, a still life and a finished piece. 15 to 60 minutes a day.
Key takeaways
- ◆The plan runs in four weeks plus a two-day finish: control and shapes, light and form, proportion and features, then still life and a finished piece.
- ◆Each day has one task, one purpose and a time estimate of 15 to 60 minutes, so you always know what to do and when to stop.
- ◆You need only a pencil, an eraser and paper; graphite is the easiest way to learn, and coloured pencil can be added at the end.
- ◆A weekly review, comparing this week's drawings with last week's, is where most of the learning is locked in.
- ◆Missing a day is fine. Pick up at the next day rather than trying to catch up.
Most people who want to learn to draw do not fail because they lack talent. They fail because they have no plan, so each session begins with the same question: what do I do today? This 30-day drawing challenge answers it. Each day has one small task, a clear purpose and a time estimate, and the days build on one another.
The plan moves from lines and shapes to shading, then forms, proportion and features, and ends with a still life and a finished piece. It is written for graphite, the cheapest and most forgiving medium, but the final day suggests coloured pencil. If you would rather pick your own subjects, use the 60 drawing ideas for beginners.
Before you start
You need very little:
- A sketchbook or a stack of plain paper. A smooth, mid-weight sheet is fine; see drawing for beginners: where to start for what to buy.
- An HB and a 2B or 4B graphite pencil. The pencil grade chart explains what the grades mean.
- A kneaded eraser and a sharpener.
- A desk lamp, so light falls from one side.
Set up the habit as well as the kit. Choose a regular time, keep the sketchbook where you will see it and date every page. On day one, do a quick drawing of any object without help. Keep it. You will compare it with your last day.
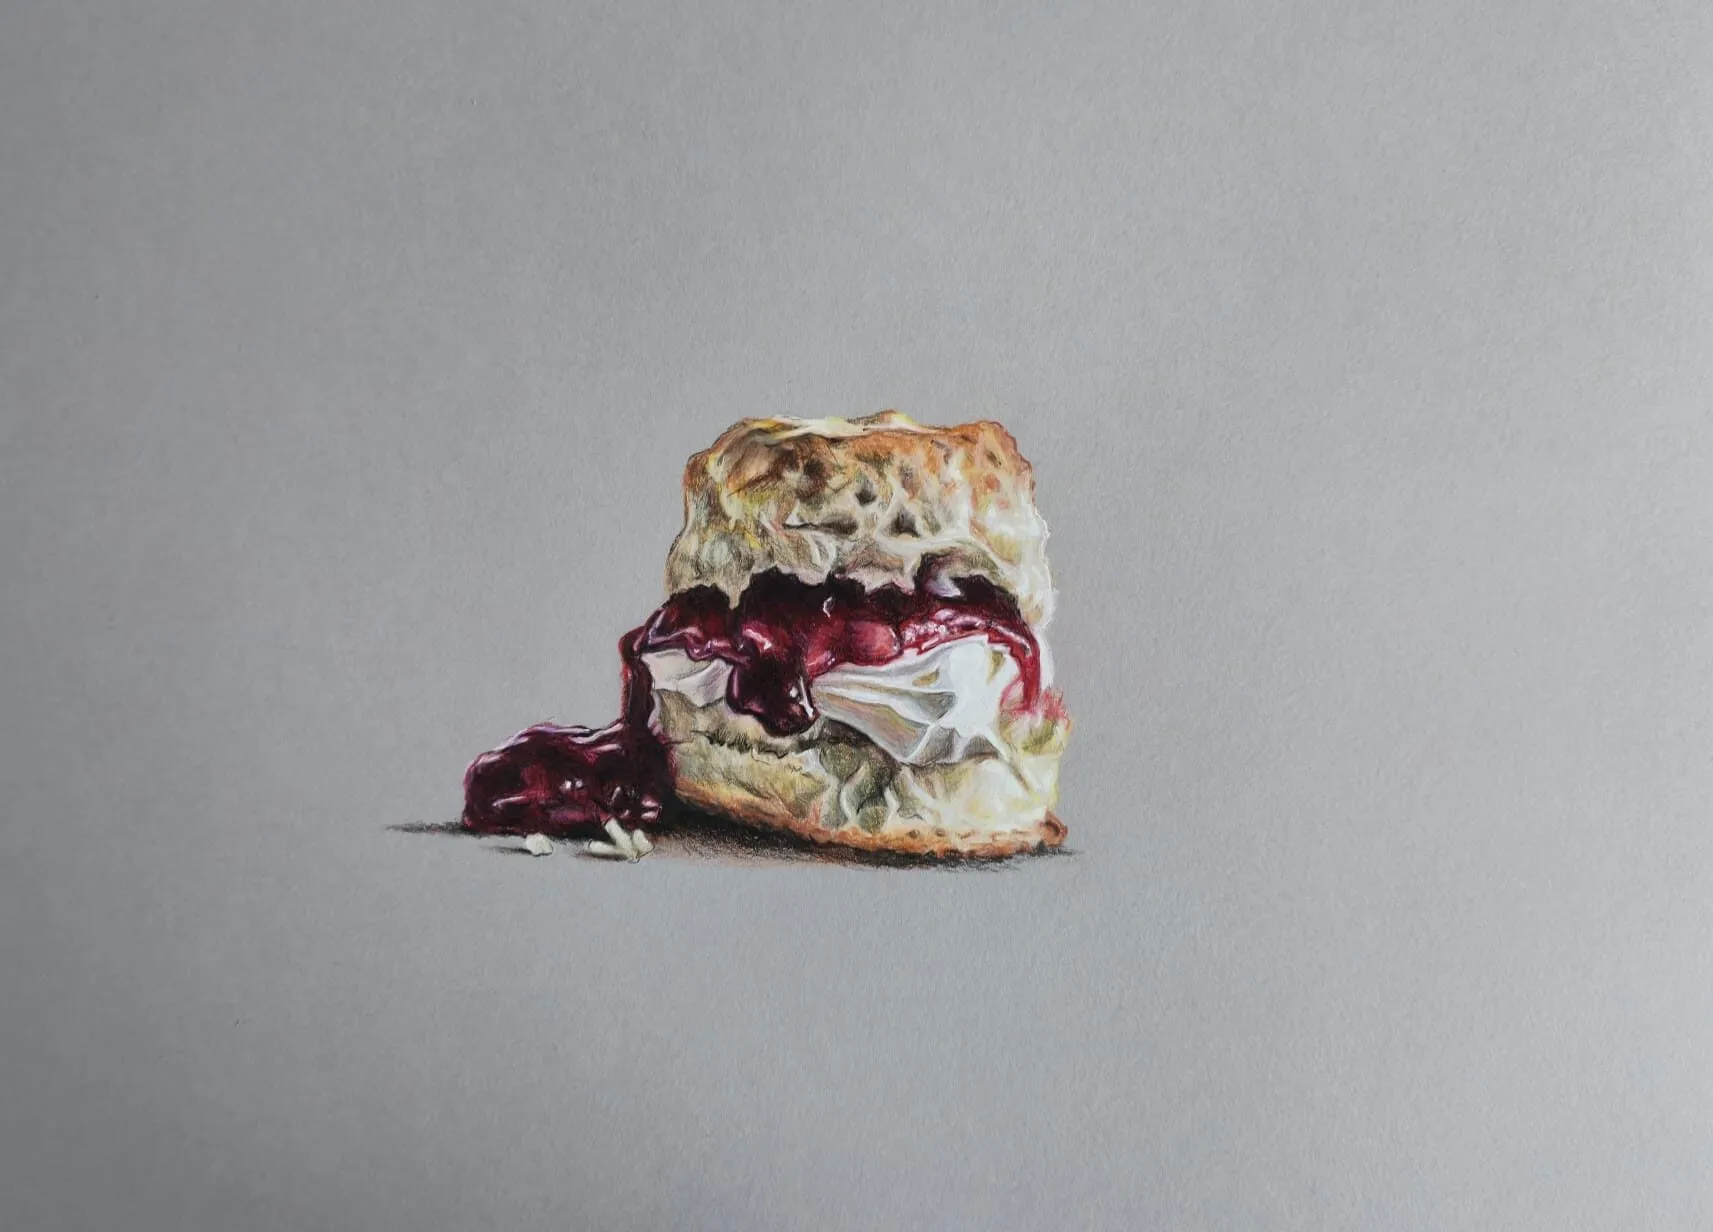
A scone with cream and jam drawn in coloured pencil on grey paper. Drawing by Michael Brace.
Week 1: control and shapes (days 1 to 7)
This week trains your hand and your eye to see simple shapes. Do not judge the results, just repeat.
Day 1 - Baseline drawing (20 minutes). Draw any small object without looking anything up. Purpose: a starting point to compare with day 30.
Day 2 - Lines and strokes (15 minutes). Fill a page with straight lines, curves and zigzags, drawing from the shoulder rather than the wrist. Purpose: build confident, smooth strokes.
Day 3 - Circles and ovals (15 minutes). Draw rows of circles, then ovals at different tilts. Purpose: ellipses appear in every rounded object.
Day 4 - Basic shapes (20 minutes). Draw squares, triangles and rectangles freehand, then combine them into a house or a robot. Purpose: see everything as combinations of shapes.
Day 5 - Draw what you see with shapes (25 minutes). Choose a mug or a book and reduce it to its basic shapes before adding detail. Purpose: learn to construct rather than trace outlines.
Day 6 - Contour drawing (20 minutes). Draw the edge of an object slowly, with your eyes on the object and not the paper. Purpose: connect eye and hand. It will look odd; that is normal.
Day 7 - Review week 1 (20 minutes). Lay out your work, circle the best stroke, the best shape and the biggest mistake. Redraw one item. Purpose: notice patterns in your own habits.
Week 2: light and form (days 8 to 14)
Now you add tone. Shading turns flat shapes into solid forms; see how to draw basic forms and shading if any day feels unclear.
Day 8 - A value scale (15 minutes). Draw a row of five squares from white to your darkest pencil tone, changing pressure only. Purpose: control of pressure. See how to shade with pencil.
Day 9 - Hatching and cross-hatching (20 minutes). Fill squares with parallel lines, then crossed lines, getting darker as lines get closer. Purpose: build tone with line; see hatching and cross-hatching.
Day 10 - A shaded sphere (25 minutes). Draw a circle and shade it with a light source from one side, leaving a soft edge between light and dark. Purpose: your first form. Add a cast shadow.
Day 11 - Cube, cylinder and cone (30 minutes). Draw and shade all three, keeping the same light direction. Purpose: recognise the forms in real objects.
Day 12 - Cast shadows (25 minutes). Set an object under a lamp and draw its shadow shape carefully. Purpose: grounding an object on a surface; see how to draw shadows and light.
Day 13 - Egg or apple in real light (30 minutes). Shade a real egg or apple. Look for four zones: light, mid-tone, core shadow and reflected light. Purpose: seeing real light on real form.
Day 14 - Review week 2 (20 minutes). Compare your day 10 sphere with day 13. Use the value study tool on a photo of your drawing to check whether your darks and lights are far enough apart.
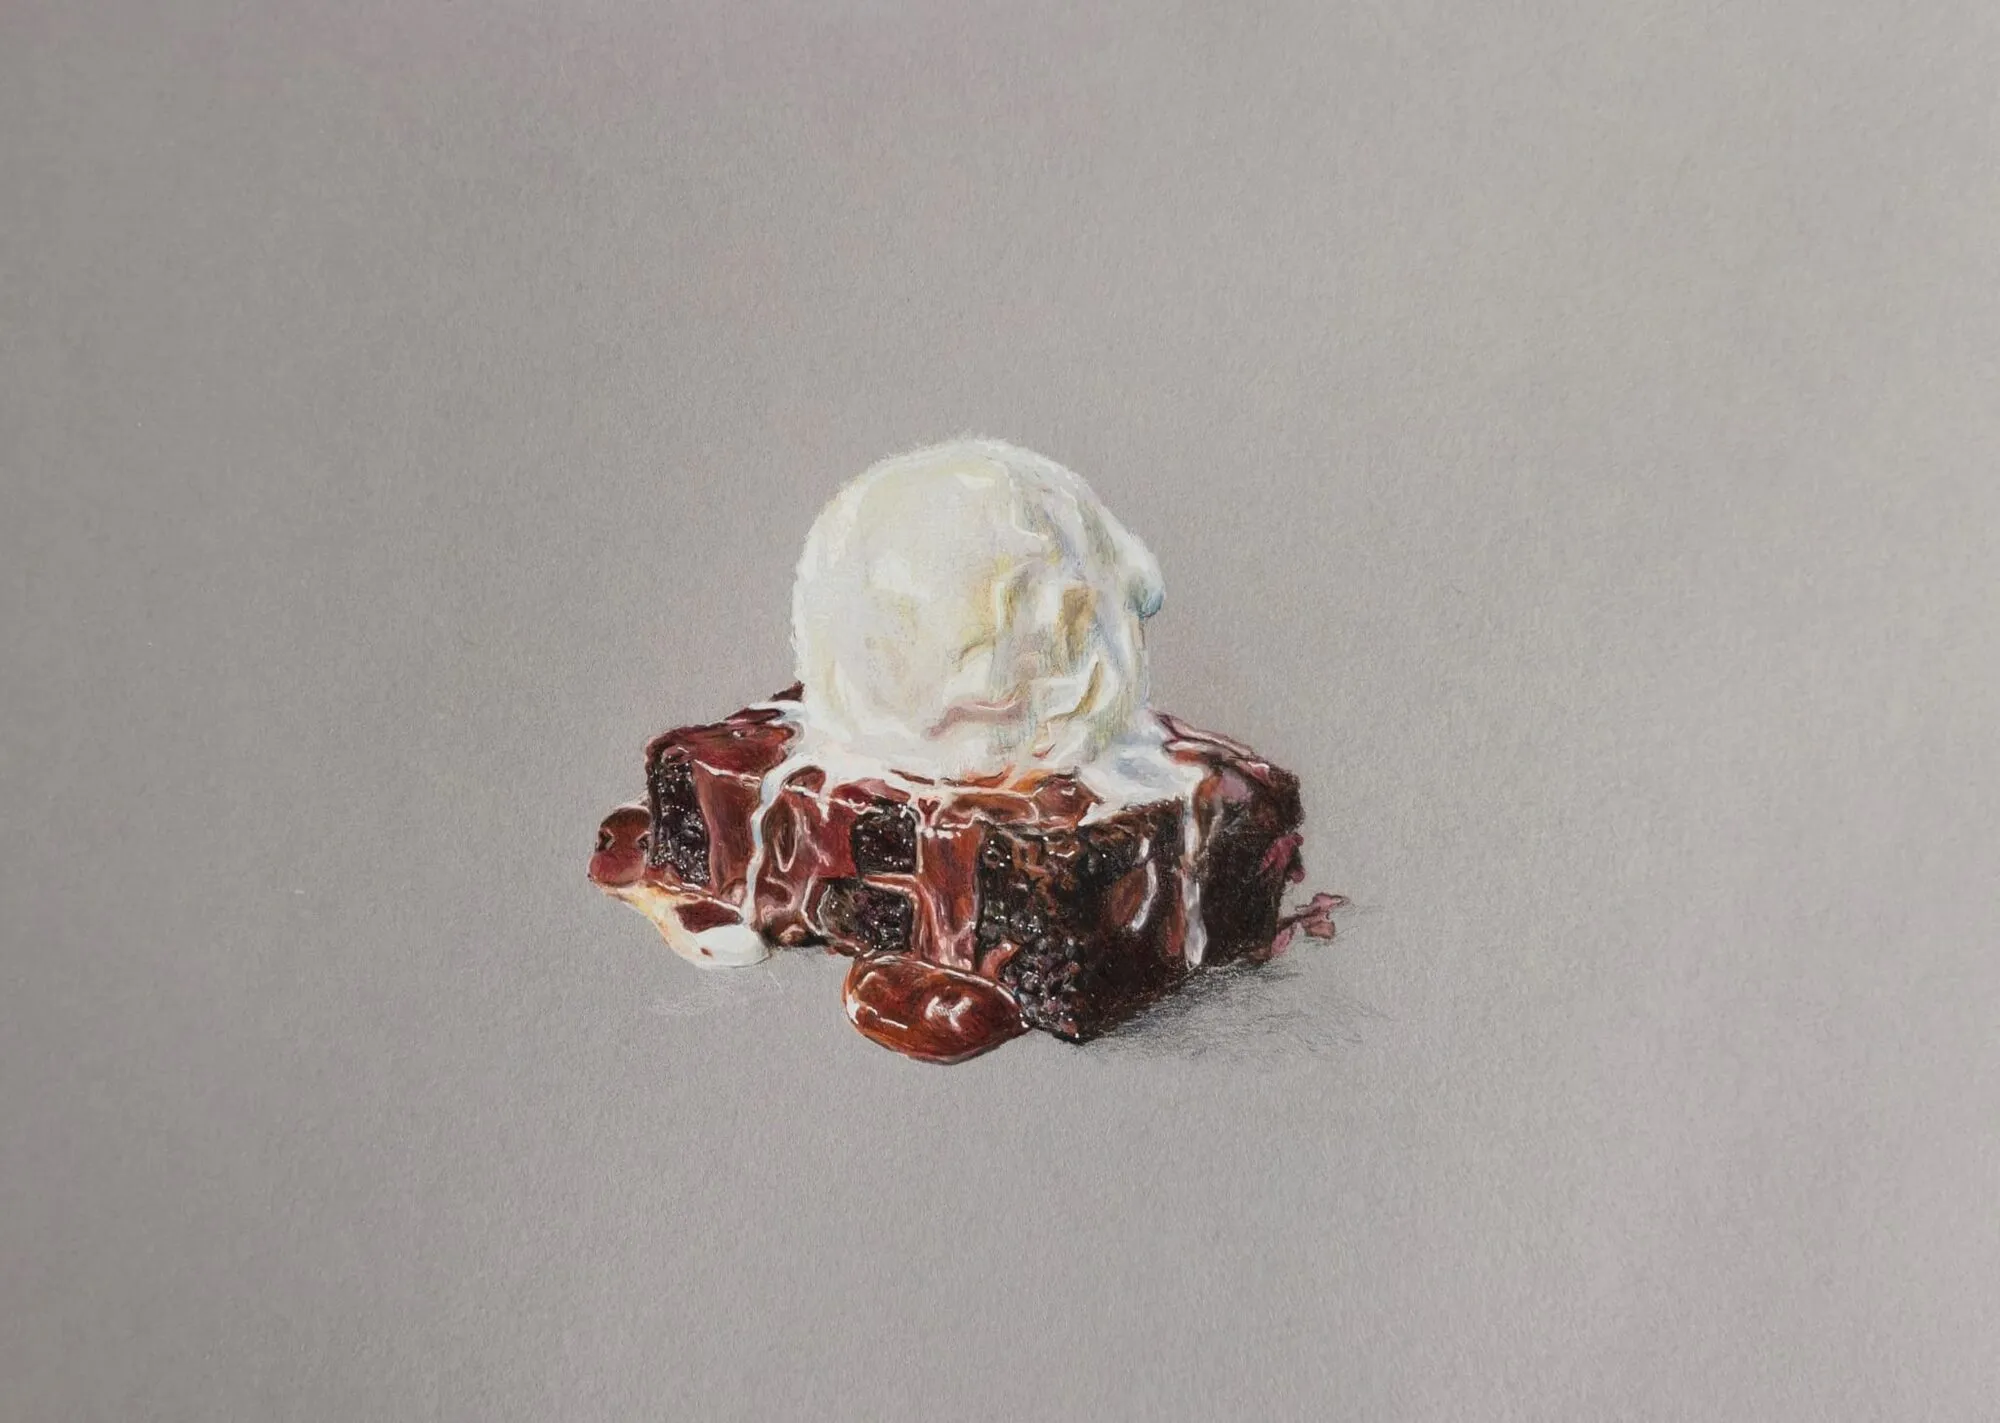
A brownie with ice cream and sauce drawn in coloured pencil on grey paper. Drawing by Michael Brace.
Week 3: proportion and features (days 15 to 21)
Proportion and features are where drawings start to look convincing. Use the widely taught guides, but treat them as guides, not laws.
Day 15 - Measure with your pencil (25 minutes). Hold a pencil at arm’s length to compare the height and width of an object, then draw those proportions. Purpose: accurate size relationships.
Day 16 - Perspective basics (30 minutes). Draw a box or a stack of books with two vanishing points. Purpose: convincing depth; see how to draw in perspective.
Day 17 - Face proportions (30 minutes). Draw an oval with a centre line and guide lines for the eyes, nose and mouth. The eyes sit about halfway down the head. Purpose: place features; see how to draw a face: proportions.
Day 18 - One eye (30 minutes). Draw a single eye from a photo, shading the iris and leaving a highlight. Purpose: fine detail; see how to draw realistic eyes.
Day 19 - Nose and lips (30 minutes). Draw each from a photo, with soft edges and few outlines. Purpose: shape by tone rather than line; see how to draw a nose and how to draw lips.
Day 20 - A hand (30 minutes). Draw your own hand as boxes and cylinders first, then refine. Purpose: simplify a complicated form; see how to draw hands.
Day 21 - Review week 3 (20 minutes). Choose your best feature drawing and ask what makes it work. Check proportions with the grid drawing tool if you are working from a photo.
Week 4 and the finish: still life and a finished piece (days 22 to 30)
The last stretch puts everything together. Slow down; these sessions are longer.
Day 22 - Compose a still life (30 minutes). Arrange three objects with different sizes and one light source, then make three quick thumbnail sketches to choose a layout. Purpose: composition before commitment.
Day 23 - Light layout (40 minutes). Draw the still life’s shapes lightly at full size, checking proportions. Purpose: an accurate foundation.
Day 24 - Darks first (45 minutes). Block in the darkest shadows and the cast shadows. Purpose: fix the value structure early.
Day 25 - Mid-tones (45 minutes). Build smooth mid-tones across all objects, leaving lights alone. Purpose: consistent form and volume.
Day 26 - Texture and edges (45 minutes). Sharpen the edges nearest the viewer and soften those further back. Purpose: depth through edge control.
Day 27 - Finishing touches (40 minutes). Add highlights with an eraser, deepen the darkest darks and clean the smudges. Purpose: polish. Stop while it still looks fresh.
Day 28 - Choose a finished piece (30 minutes). Pick a subject you care about, such as a pet, a flower or a dessert, and plan it with a reference photo and a grid. The drawing ideas list has 60 options.
Day 29 - Draw the finished piece (60 minutes). Layout, darks, mid-tones, then detail. If you want colour, this is the time for coloured pencil - colored pencil in the US. Purpose: use everything you have learned.
Day 30 - Final review and comparison (30 minutes). Redraw your day 1 subject and place both drawings side by side. Note three improvements and three things to work on next. Purpose: recognise progress and set a direction.
The weekly review
The review days are the hinge of the plan. On each one:
- Lay out the week’s work on a table or floor.
- Pick the best drawing and say why. It teaches you what you value.
- Pick the weakest and say why. Usually the problem is a single habit, such as pressing too hard or drawing too fast.
- Choose one thing to focus on for the next week.
- Photograph everything. A folder of dated photos makes progress visible.
Checklist
Tick each day when it is done:
- Week 1: [ ] Day 1 [ ] Day 2 [ ] Day 3 [ ] Day 4 [ ] Day 5 [ ] Day 6 [ ] Day 7
- Week 2: [ ] Day 8 [ ] Day 9 [ ] Day 10 [ ] Day 11 [ ] Day 12 [ ] Day 13 [ ] Day 14
- Week 3: [ ] Day 15 [ ] Day 16 [ ] Day 17 [ ] Day 18 [ ] Day 19 [ ] Day 20 [ ] Day 21
- Finish: [ ] Day 22 [ ] Day 23 [ ] Day 24 [ ] Day 25 [ ] Day 26 [ ] Day 27 [ ] Day 28 [ ] Day 29 [ ] Day 30
How to keep going
- Lower the bar on bad days. Ten minutes of lines counts.
- Draw at the same time each day. A fixed slot beats willpower.
- Do not erase pages. A bad drawing is evidence of where you started.
- Share only if it helps. Some people are motivated by a friend or group; others prefer privacy.
- Plan the next step. After day 30, keep going with how to practise drawing daily or pick a medium such as coloured pencil and follow our coloured pencil guide for beginners.
The short version
Thirty short sessions, in order: control, light, proportion, then a finished piece. Keep your first drawing, review every week and repeat the days you find hardest. The habit matters more than the day count.
Quick answers
Frequently asked questions
How long should each day of a drawing challenge take?+
Between 15 and 60 minutes. Early days are short, around 15 to 20 minutes, because they are drills. Later days grow to 45 or 60 minutes as you build a full drawing. Consistency matters more than length: a short daily session teaches your hand more than a long weekly one.
What materials do I need for a 30-day drawing challenge?+
A sketchbook or loose paper, an HB and a 2B graphite pencil (or a soft 4B if you have one), a kneaded eraser and a pencil sharpener. For the final days you can use coloured pencils, also called colored pencils in the US, if you want colour. Nothing expensive is needed.
What if I miss a day or fall behind?+
Continue from the next day rather than trying to double up. The plan is designed so each task takes about one session, and the weekly review absorbs small gaps. If you miss three or more days in a row, repeat the previous day before moving on, so the skill stays fresh.
Will I really improve in 30 days?+
You will see a noticeable change in control, shading and proportion if you finish the plan, especially by comparing day one with day 30. It will not make you a master. It gives you a solid foundation and a habit, which is what allows further progress.