How to Draw
How to Draw a Nose: Planes, Shadows and Shading
Learn how to draw a realistic nose in pencil: the planes, shadow shapes, nostrils and bridge, plus front, side and three-quarter views and a shading progression.
Key takeaways
- ◆A nose is a simple block-like form with planes, so draw the shadow shapes rather than outlining it.
- ◆The lightest and darkest areas sit close together: the bridge catches light, while the nostril, the underside and the cast shadow are the darks.
- ◆In the front view the nose is defined almost entirely by tone and a few soft edges, with very little line.
- ◆The nostrils are shapes cut into the base, not black holes. Keep their edges softer and their tone varied.
- ◆Build tone in gradual layers from light to dark, and keep the transition on the bridge soft.
To draw a nose, forget its outline and draw its planes. Break the nose into a bridge, two side planes, a rounded tip, the wings of the nostrils and the underside, then shade each with the tone it actually has under your light. The nose appears through shadow shapes, and the edges can stay soft or disappear altogether.
This lesson shows the structure, the shadow shapes, how to draw nostrils and the bridge, how the nose changes from different views, and a step-by-step shading progression in graphite. A section on colour covers coloured pencil (colored pencil in the US).
What you need
- Graphite pencils: an HB for construction, a 2B and a 4B for tone. See graphite pencil grades explained if you need a refresher.
- A blending stump or tissue and a kneaded eraser for lifting soft highlights.
- Paper with a little tooth, so tone builds smoothly. The best paper for graphite drawing covers options.
- A clear reference with side lighting, because flat frontal light hides the planes you are trying to learn.
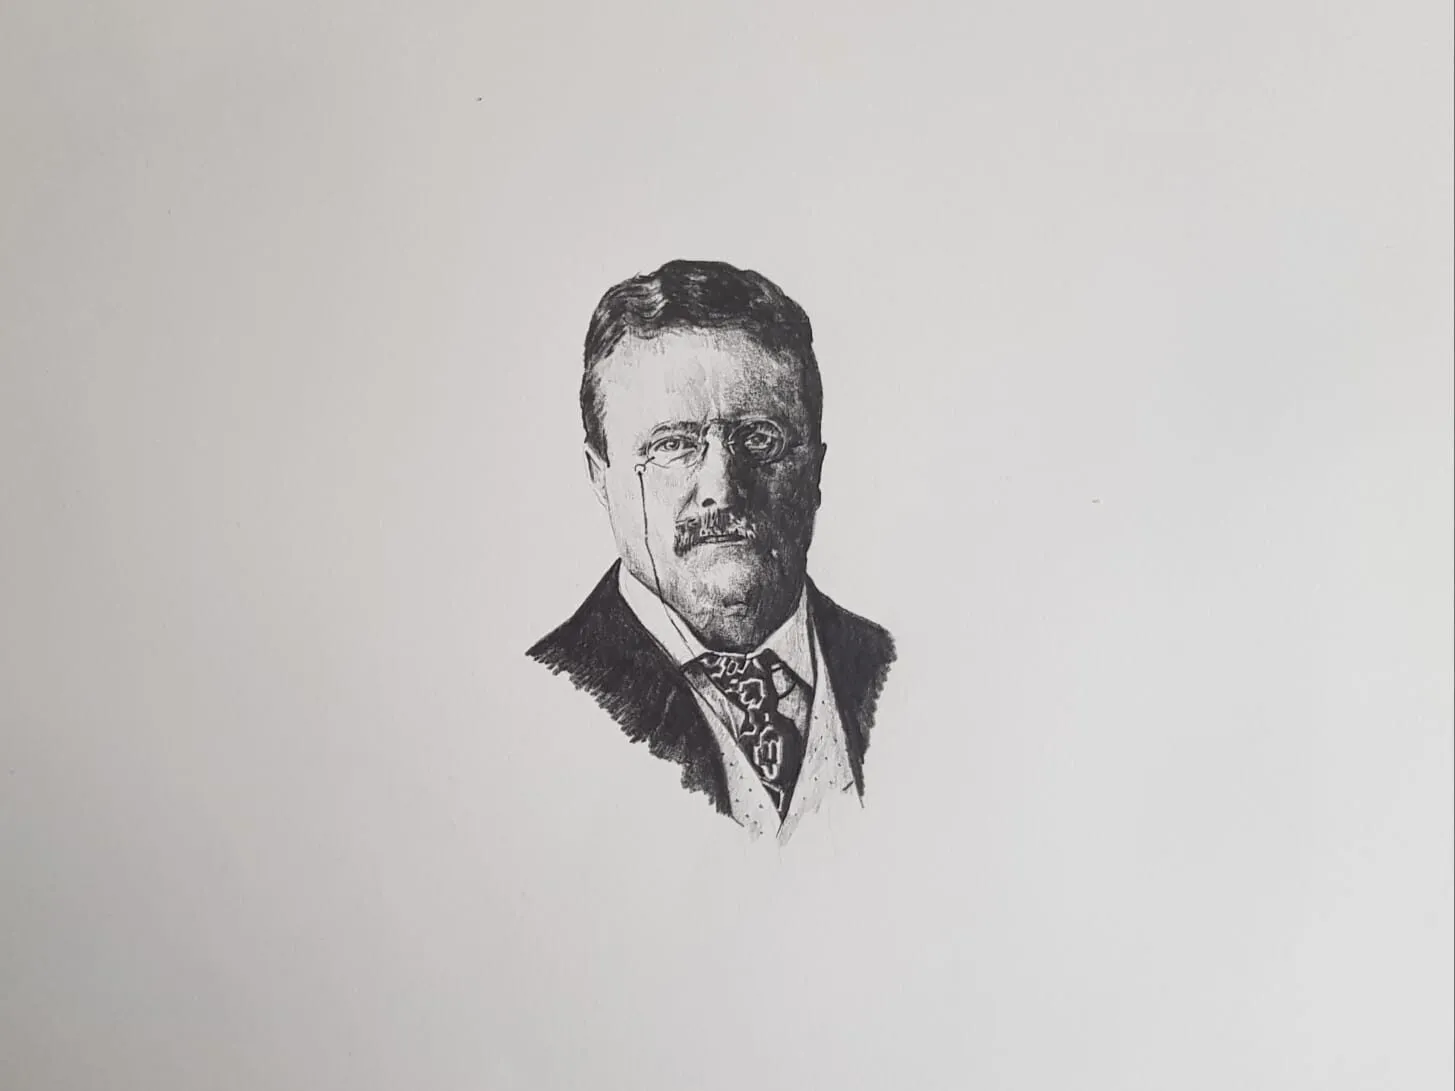
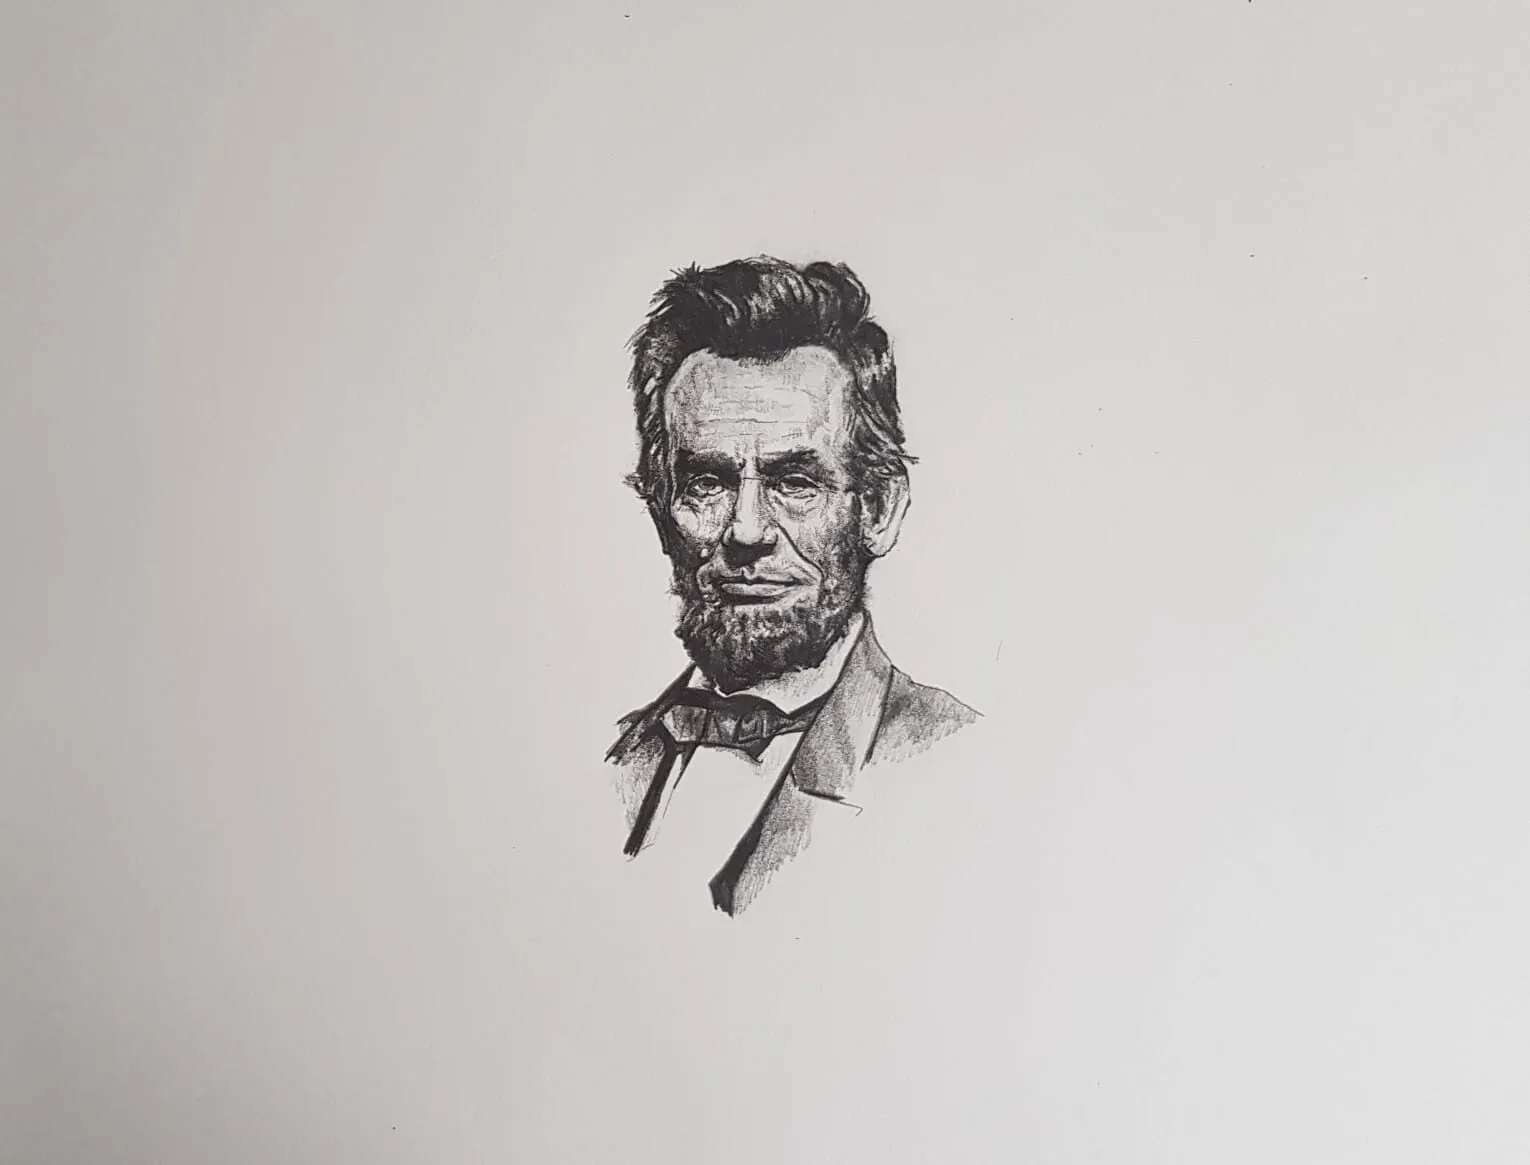
A graphite portrait of Theodore Roosevelt. Drawing by Michael Brace.
Understanding the structure
A nose is easiest to draw once you see it as a few connected forms.
- Bridge: the narrow ridge between the eyes, made of bone. It is the top of the nose.
- Side planes: the sloping surfaces on each side of the bridge, which turn away from the light on one side.
- Tip (ball): a rounded form at the front. It usually catches a small highlight.
- Wings (alae): the rounded flaps on either side of the tip, forming the outer edges of the nostrils.
- Nostrils: openings on the underside, angled slightly toward the centre.
- Septum: the strip between the nostrils, connecting the tip to the upper lip.
- Underplane: the flat underside of the nose, usually in shadow and the darkest area.
Draw these as simple solids first: a wedge for the bridge and side planes, a small sphere for the tip and two smaller spheres for the wings. Once you can shade them as spheres and wedges, the nose comes easily. The basic forms and shading lesson covers the underlying skill.
Shadow shapes: the key to a convincing nose
With a light coming from one side and slightly above, four areas repeat on nearly every nose.
- The lit plane: the bridge and the side of the nose facing the light. This is the lightest area and needs the least pencil.
- The shadow side plane: the far side of the nose, which turns from the light and is a mid-tone.
- The underplane and nostril: the darkest tones, under the tip and inside the nostrils.
- The cast shadow: a soft shape under the nose, falling onto the upper lip and sometimes onto the cheek.
Notice that the nose has almost no outline where it meets the lit cheek. The shadow beside the bridge does that job. Squint at your reference, or run it through the value study tool, and you will see the nose as three or four connected tones.
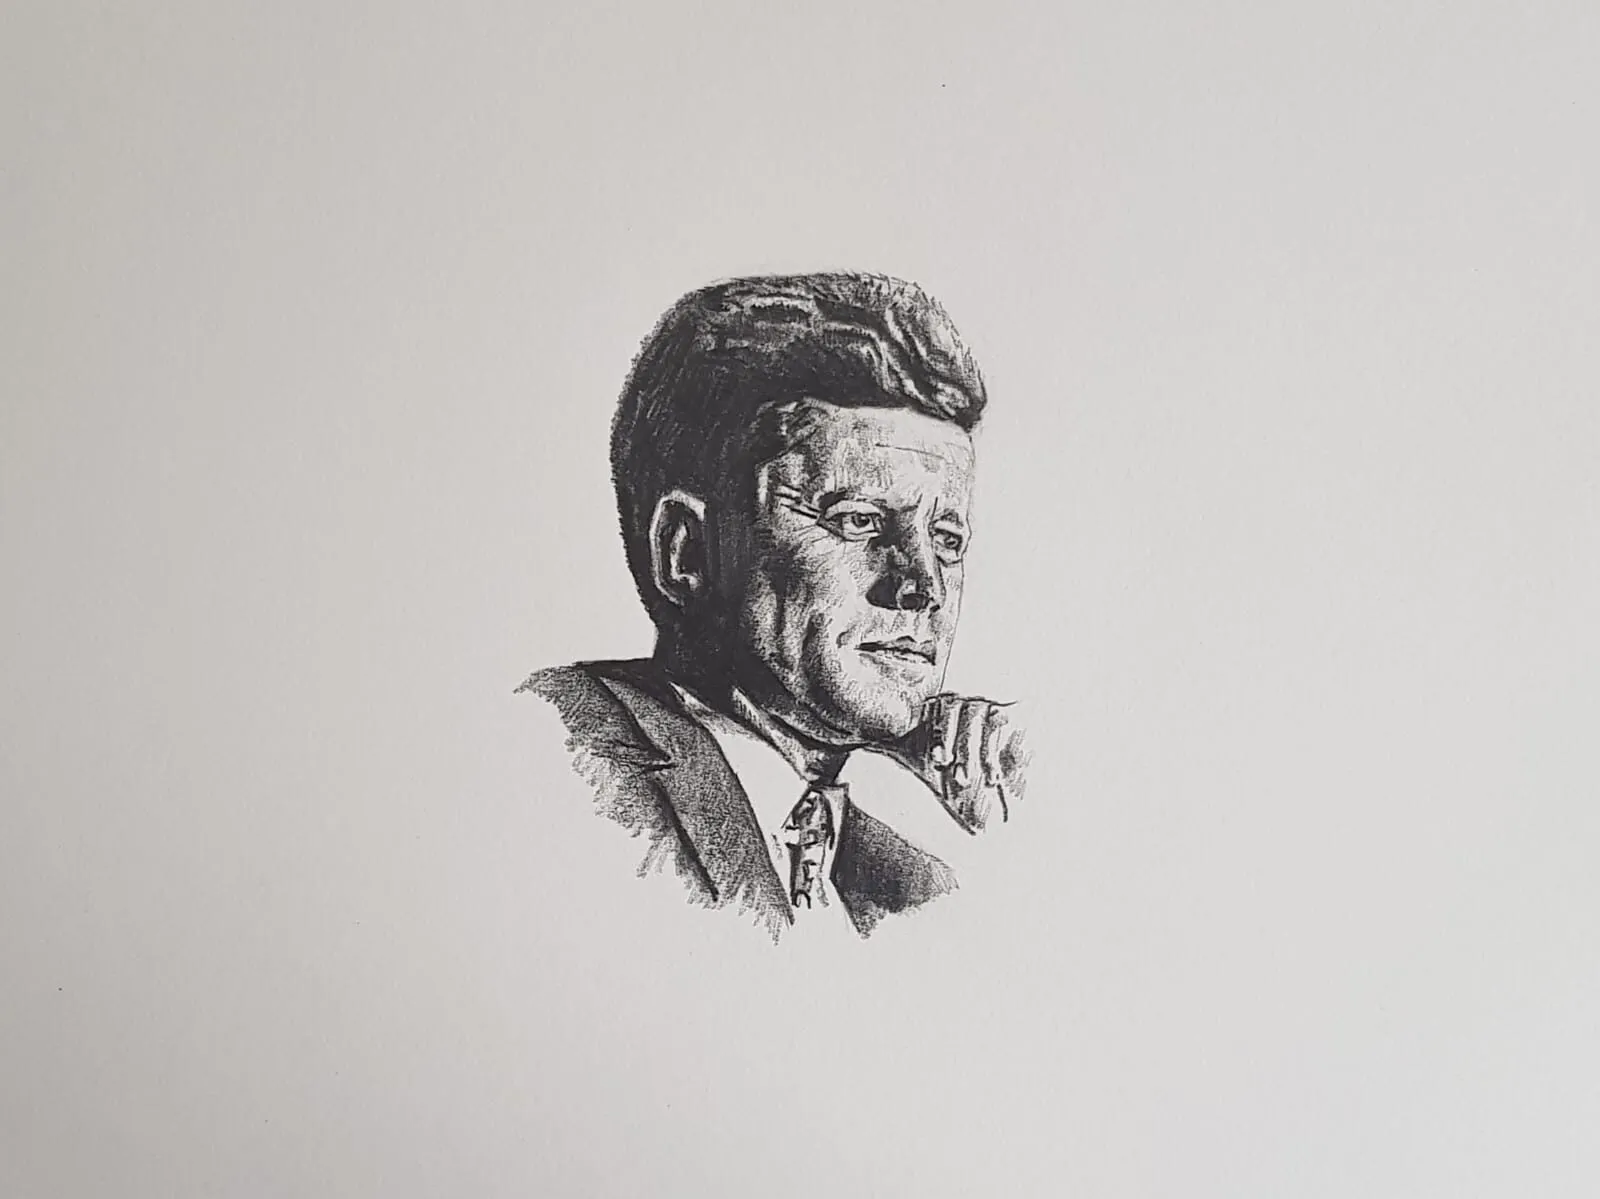
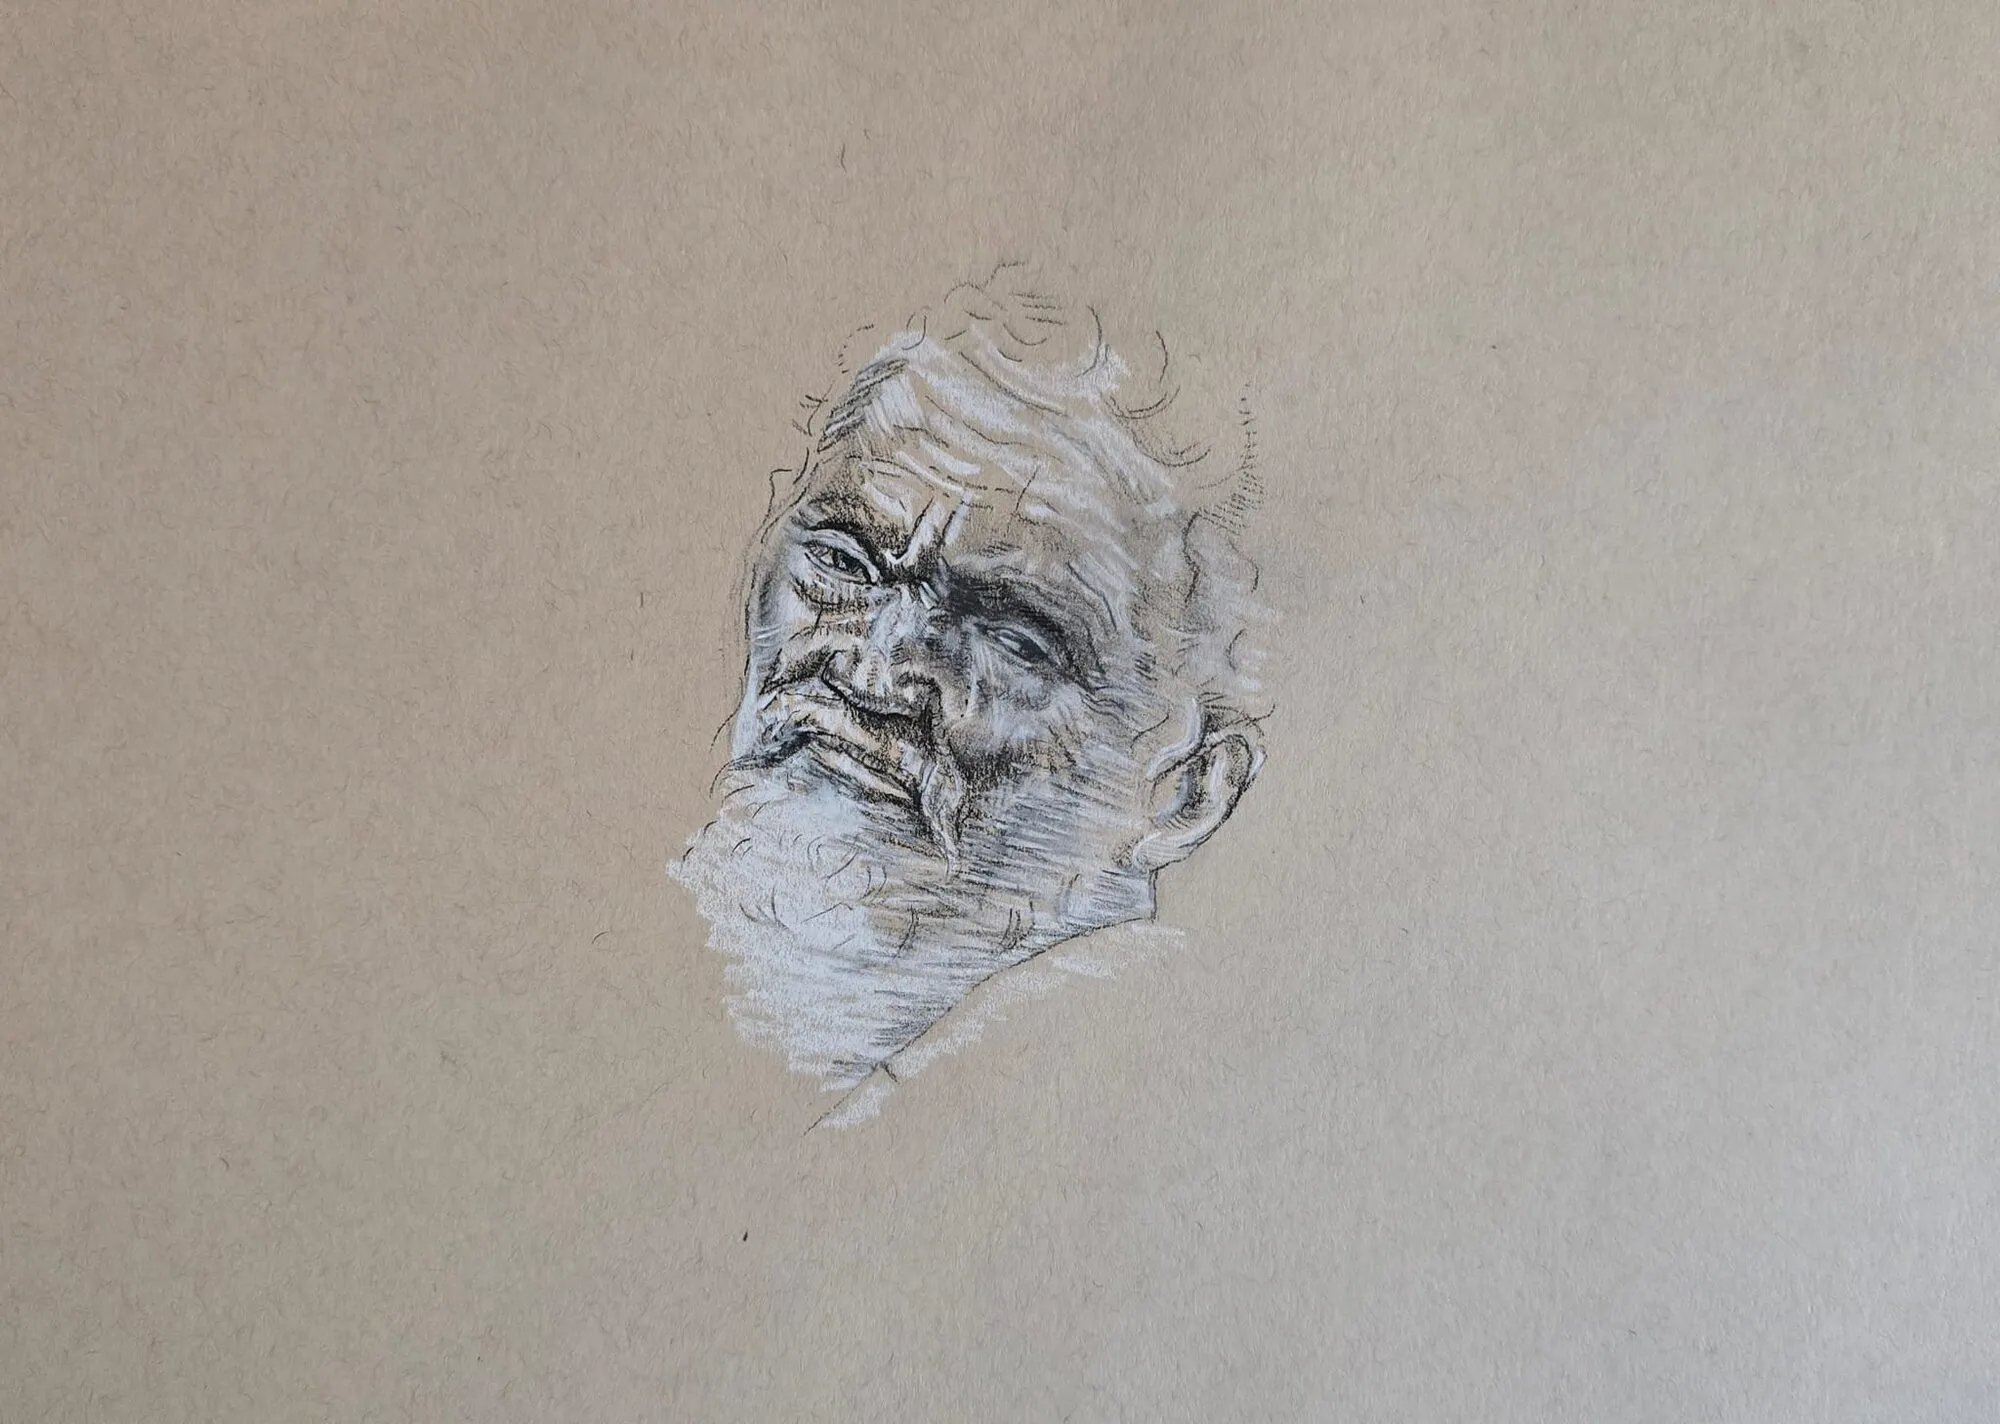
A graphite portrait of John F. Kennedy. Drawing by Michael Brace.
Step-by-step: shading a nose from the front and three-quarter view
- Place the nose in the face. Mark the nose base about halfway between the eye line and chin, and the width of the nostrils at roughly the distance between the inner corners of the eyes. These are guides from how to draw a face: proportions; check them against your reference.
- Draw the basic shapes. With a light HB line, indicate the bridge, the tip and the wings as soft shapes. Avoid a single outline, because you are only positioning forms.
- Map the shadow shapes. Lightly outline where the shadow side, the underplane, the nostrils and the cast shadow sit. Squint to see them as flat shapes of tone.
- Lay a first light tone. Using the side of a 2B, add an even light tone across the shadow shapes, and leave the lit plane bare. Keep this layer gentle and smooth.
- Deepen the underplane and nostrils. With a 4B, darken the underside of the tip, the nostrils and the space beneath. Make the inner nostril the darkest area but keep its outer edge soft.
- Model the side plane. Blend a soft gradient across the shadow side plane so it curves around toward the cheek. The transition should be smooth, with no visible stroke marks.
- Add the cast shadow. Shade the shadow under the nose onto the upper lip. It usually has a soft outer edge and a slightly harder edge close to the nose.
- Refine the bridge and tip. Lift a soft highlight along the bridge and a small one on the tip with a kneaded eraser. Add a faint tone beside the bridge to separate it from the eye socket.
- Blend and adjust. Use a stump to unify the tones, then re-darken the deepest accents. Compare the whole nose with the reference at arm’s length.
Nostrils, bridge and wings in detail
Nostrils. The most common error is drawing two dark ovals. Real nostrils are curved openings with a lit lower rim, a dark interior and a soft edge where the wing meets the cheek. Keep them slightly different in size, especially in three-quarter view, where the far nostril is partly hidden.
Bridge. In a front view the bridge is nearly invisible, defined by the soft shadows on either side and a highlight down its centre. In a three-quarter view, the bridge forms an edge on one side, and the shadow beside it creates the outline.
Wings. The wings are rounded forms that curve into the cheek. Draw the crease where they meet the cheek with a very soft line or tone, never a hard outline. This crease is often darker at the top and fades toward the bottom.
The nose from different views
- Front: almost no outline. Tone shows the bridge, the wings and the underplane. The nostrils are barely visible, and the shadow under the tip anchors the shape.
- Three-quarter: the near wing and side plane are prominent. The bridge and the far side of the nose create an edge against the far cheek. The far nostril is compressed.
- Profile: the wedge shape of the bridge and tip forms the outline. Here you can use a light line, but keep the tone on the wing and nostril to give volume.
- From below or above: the underplane grows larger or smaller, so nostrils become more or less visible. These angles are harder, so practise them last.
Adding colour
In coloured pencil, the planes work exactly as they do in graphite. Build the nose in warm skin layers, with a cooler grey or brown in the shadow side, a warm red or pink at the tip and wings, and a dark warm brown in the nostril rather than black. Use light pressure and several layers; see how to layer coloured pencils for the method. The overall approach to skin colour is explained in how to mix skin tones with coloured pencils.
Common mistakes and how to fix them
- Outlining the nose. Fix: draw the shadow shapes and lose the edge where the nose meets the lit cheek.
- Black nostrils. Fix: use a dark tone with soft edges and a lit lower rim, and keep them different in size.
- A hard bridge line. Fix: replace the line with a soft shadow beside the bridge and a subtle highlight along it.
- Too much detail on the tip. Fix: keep the tip a simple rounded form with one soft highlight and a gentle shadow beneath.
- No cast shadow. Fix: add the soft shadow under the nose to connect it to the lip and show how far it projects.
- Uniform tone. Fix: check that you have at least four steps of value, from light to dark.
Practice exercises
- Nose planes on a sphere. Draw one large sphere with two smaller spheres beside it and shade them with a single light source.
- Ten-minute noses. Draw ten noses in ten minutes from photos, using only four tones.
- Different views. Draw the same nose from the front, three-quarter and side to see how the planes rotate.
- Add it to a face. Place your nose in a full head using the guides in how to draw a face: proportions.
Next steps
Next, learn how to draw lips, then realistic eyes, to complete the main features. To deepen your shading skills, read how to shade with pencil, and browse the how to draw pillar for the full lesson list.
The short version
See the nose as planes: a light bridge, a mid-tone side, and a dark underside with nostrils and a cast shadow. Skip the outline, shade in gradual layers with soft transitions, and keep the nostrils varied and soft-edged. Check the tonal steps against your reference, and add colour over the same values.
Quick answers
Frequently asked questions
How do I draw a nose without outlining it?+
Shade the shadow shapes instead of drawing edges. Find the shadow under the nose tip, along the side of the nose and inside the nostril, block those in lightly, then soften them into the lit planes. Leave the bridge mostly unmarked in a front view. Tone, not line, tells the viewer where the nose is.
Why does my nose look flat?+
Usually because the tonal range is too narrow or the shadow shapes are missing. A nose sticks out from the face, so it needs a lit plane, a side plane in half shadow and a dark underplane, plus a cast shadow. Add those four tonal steps and the nose starts to project.
How do I draw nostrils?+
Treat them as small curved shapes on the underside of the nose, not dark circles. Make the inner edge darkest, soften the outer edge into the surrounding tone, and keep the nostril wall slightly lighter than the opening. Check their width and angle against the reference, because they change a lot from view to view.
How do I draw a nose from the side?+
In profile, draw the nose as a wedge from the bridge to the tip, with the wing of the nostril as a small rounded shape. Keep the outline gentle and let the eye, brow and lip shapes guide the angle. Then add tone on the underside and around the nostril to give it volume.