Drawing Techniques
How to Layer Coloured Pencils
Layering is the foundation of coloured pencil (colored pencil) realism. Learn the light-pressure method, stroke direction, colour order and how many layers to use.
This guide contains affiliate links. If you buy through them we may earn a small commission at no cost to you. How this works.
Jump to recommended products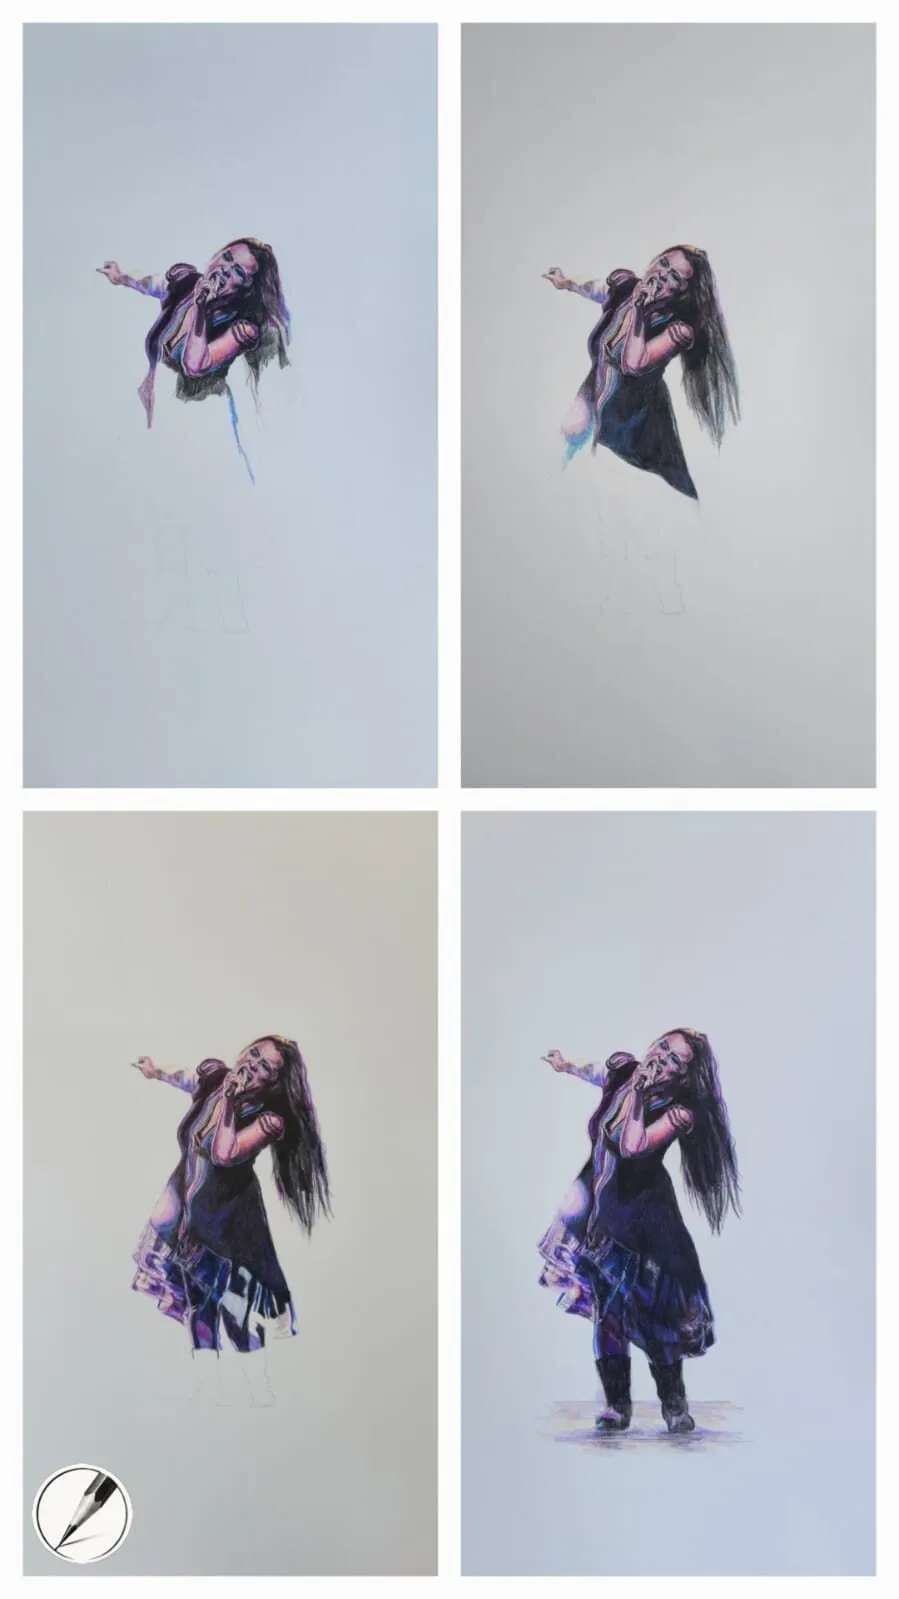
Key takeaways
- ◆Treat every layer as a whisper: start with light pressure and increase intensity only as the colour builds.
- ◆Pressing hard too soon flattens the paper's tooth and stops later layers from taking, so keep heavy pressure for the very end.
- ◆Many thin layers give luminous, adjustable colour; a few heavy ones give a flat, waxy surface.
- ◆Change stroke direction between layers and keep points sharp so the tone stays even.
- ◆Work from light to dark and from general colour to specific detail, and bring the whole drawing up together.
If your coloured pencil drawings look flat, streaky or strangely waxy, the cause is nearly always the same: the colour went on too heavily, too soon. Layering is the fix. It is the foundation technique in coloured pencil, and getting comfortable with it changes how everything else behaves, from blending to burnishing.
This guide gives you a numbered method, explains why light pressure matters, and covers stroke direction, colour order and the mistakes that stop layers from building. It is part of our complete guide to coloured pencil techniques, which shows where layering fits in the wider workflow.
What layering actually is
Layering means building colour and value in stages by laying one thin coat of pencil over another. Each layer is light enough that the layer beneath still shows through, so the colours combine in the eye. It is closer to glazing in painting than to colouring in.
The reason it works is the paper. Paper has a surface texture called tooth - tiny peaks and valleys that catch pigment. A light stroke deposits colour on the peaks and leaves the valleys open. A heavy stroke pushes pigment into the valleys as well, and then there is nowhere left for the next layer to grip. That is why the guiding principle is simple: think of each layer as a whisper.
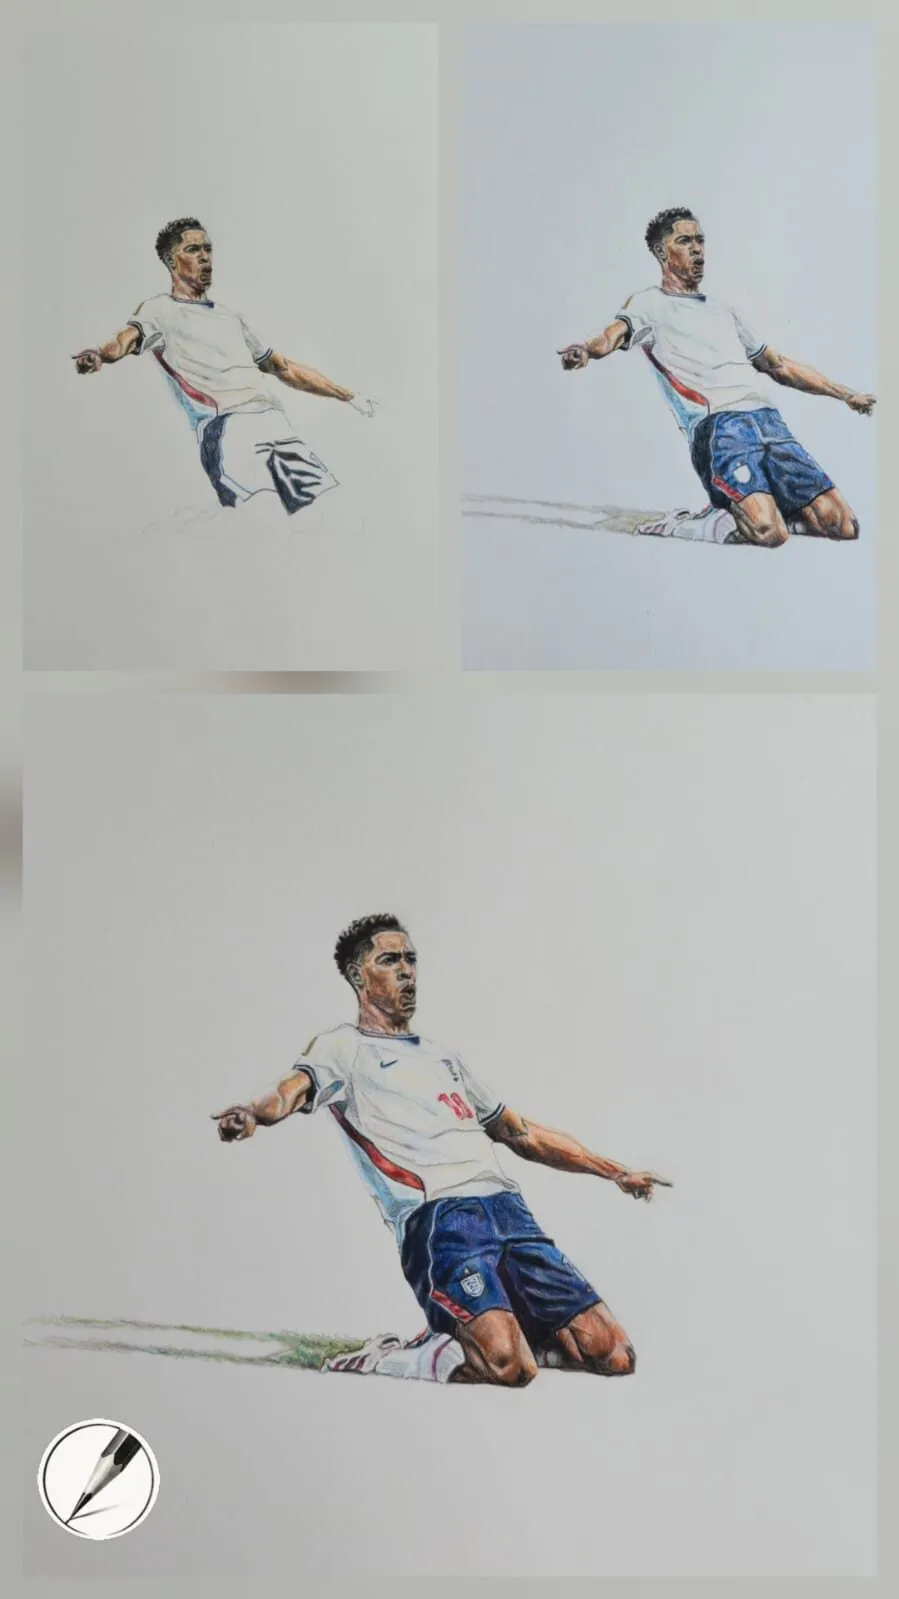
A kneeling footballer drawn in coloured pencil, shown in three stages. Drawing by Michael Brace.
Why pressure is the most important variable
Pressure controls how much pigment goes down, how much tooth remains and how many layers the paper will accept. Amateur artists often press too hard too soon, flattening the tooth and limiting future layers. More experienced artists spend their effort on pressure control, using many thin layers to create luminous colour.
Three benefits come from starting light:
- It prevents wax bloom. With wax-based pencils, heavy layering can bring a hazy film of wax to the surface. Light layers keep colours clean.
- It keeps values adjustable. You can darken an area in small steps. You cannot easily lighten one that is already heavy.
- It keeps the tooth open. More open tooth means more layers, and more layers mean more depth.
A step-by-step layering method
- Start with a sharp point. A blunt point skips over the tooth and leaves speckled gaps. Sharpen before you begin and whenever the tip rounds off. A good pencil sharpener pays for itself here.
- Lay down a first layer at the lightest pressure that shows colour. Use a low angle and steady, even strokes. You should barely see it. That is correct.
- Choose a stroke direction and keep it consistent within the layer. Short, parallel strokes or small, overlapping circles both work, provided the marks are even.
- Change direction for the next layer. Rotating the angle by 30 to 90 degrees covers the tooth from different sides and avoids visible lines building up.
- Add the second colour lightly. Layer over the first, still with a whisper of pressure. Notice how the colours combine.
- Repeat until the value is close. Build gradually, checking against your reference as you go. If the area looks patchy, add another light layer rather than pressing harder.
- Increase pressure only for the last layers. Once the tooth has been used, a firmer touch adds intensity to the darkest areas and detail.
- Move on to the next area and bring the whole drawing up together. Compare each part to its neighbours so colours and values stay consistent.
Stroke direction and evenness
Direction matters more than it seems. Strokes that always travel the same way leave a visible grain, especially when a light pencil is put over a dark one. Alternating direction gives a smooth, even tone that needs less blending later.
Follow the form where you can. On a curved surface, strokes that curve with it help the eye read volume. On a flat area such as a background, straight, evenly spaced hatching in alternating directions keeps it calm. For fur and hair, strokes follow the growth direction, as covered in how to draw animal fur.
Keep your hand relaxed. Tension shows up as inconsistent pressure, and inconsistent pressure shows up as blotchy tone.
Colour order: what goes on first
A reliable order is light to dark and general to specific:
- Start with the lightest, most neutral base. A pale yellow, warm grey or light ochre can underlie almost anything and unify what follows.
- Add the main local colour - the colour the object mostly is.
- Add shadow colours next. Rather than using black, deepen with darker, more saturated versions of the colour, or a complement, to keep shadows alive.
- Add accents and details last. Sharp darks, fine lines and highlights go on at the end.
For portraits and still life, a muted first pass can set shadow and temperature before the final colours. That approach is explained in underpainting in coloured pencil. For planning colour combinations, the colour scheme generator is a helpful starting point.
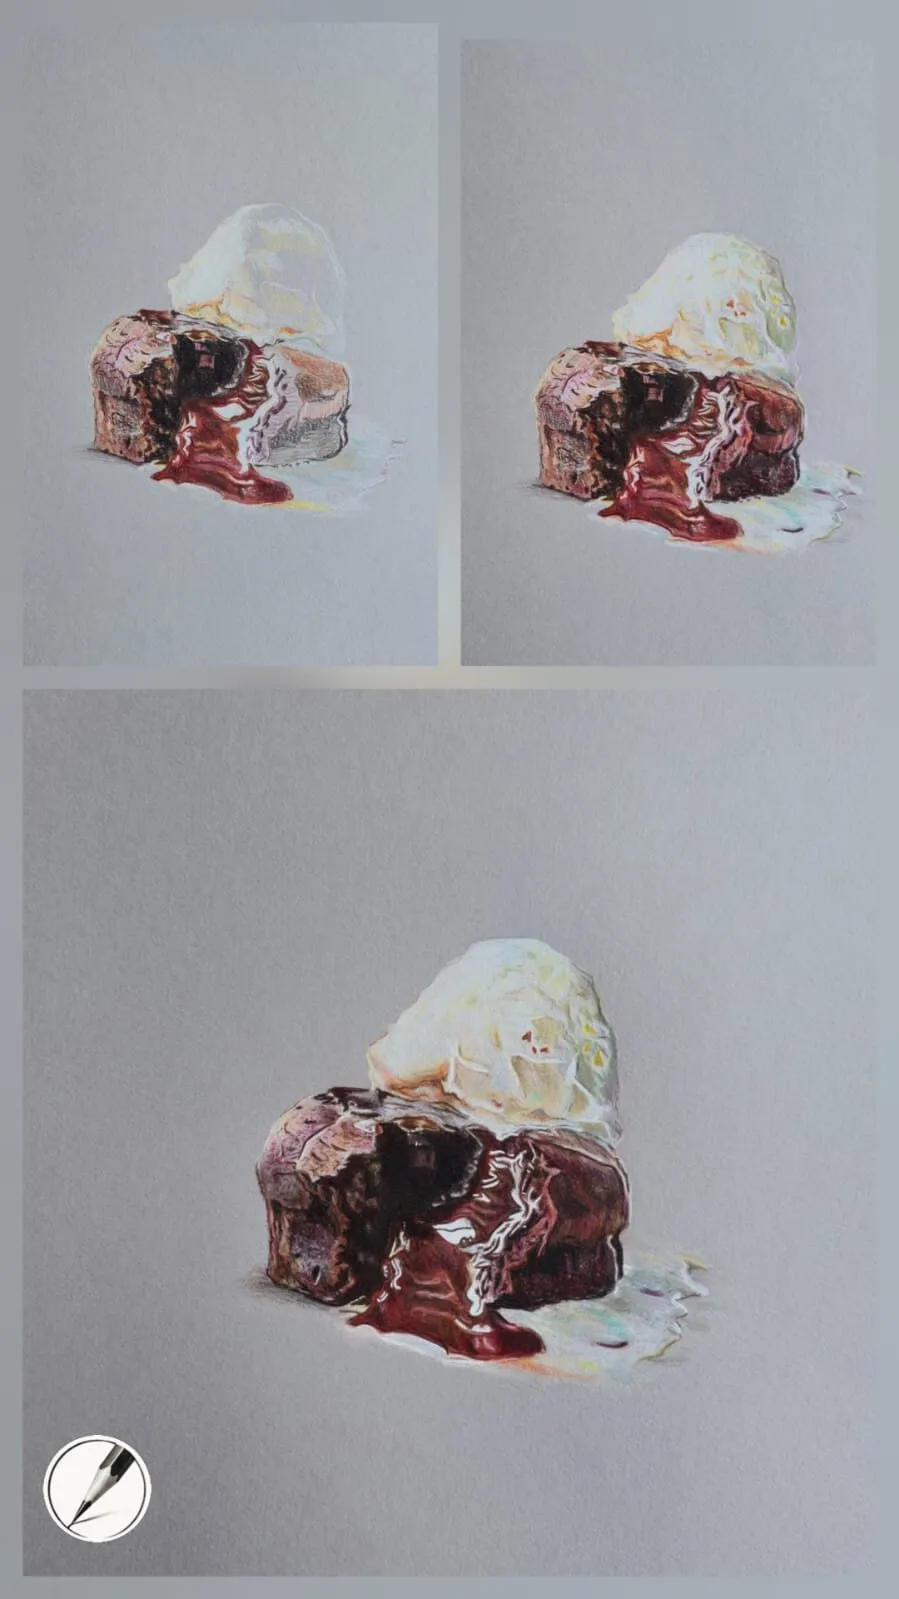
Three stages of one dessert. The shine arrives late, on top of layers that have already established the values.
How many layers is enough?
There is no magic number, and anyone quoting one is guessing. A rough guide is that a well-developed area on heavy paper commonly holds many thin layers - dozens is not unusual - but the count depends on your pencil, your pressure and your paper. What matters is not the number but the signs:
- Add more layers when the tone looks patchy, the colour is too pale, or the transition between values is rough.
- Stop layering when new strokes slide over the surface without leaving colour, or the area looks shiny and waxy.
At that point, you have two choices: blend or burnish to smooth what is there, or lift a little pigment with a kneaded eraser to re-open the tooth. See lifting and erasing coloured pencil for how.
Pencils and paper for layering
Softer, wax-based pencils lay down pigment quickly and blend easily, but they build up wax faster and can bloom. Firmer, oil-based pencils hold a point and layer in a more controlled way, which some artists prefer for fine detail. Our comparison of wax versus oil-based coloured pencils explains the differences and lists what suits which style.
Paper is equally important. Michael uses heavy paper because it stands up to layering, erasing and reworking. Heavier papers stay flat and resist damage, and they allow dozens of layers without the surface breaking down. Paper with a strong grain, such as Canson Mixed Media grey, lets pencils layer well and maintain their colour. Smooth papers fill up faster. See paper tooth: smooth versus textured and paper weight explained for the detail.
Common layering mistakes
- Heavy first layer. It fills the tooth and blocks later layers. Solution: begin lighter than feels necessary.
- One-direction strokes. They leave visible grain. Solution: alternate direction every layer or two.
- Finishing one section at a time. You lose track of overall value. Solution: bring the whole drawing up together.
- Darkening with black. Black flattens colour. Solution: build shadow from deep, saturated colour layers.
- Ignoring wax bloom. A cloudy film appears on wax-based pencils under heavy layering. Solution: use lighter pressure and, if it appears, gently wipe with a soft tissue or lift a little pigment.
- Chasing detail too early. Early sharp lines are hard to hide. Solution: keep edges soft until the values are settled.
Where layering leads next
Once you can build smooth, even tone, the next steps come easily. Blending merges layers into smooth transitions. Burnishing polishes finished layers. Colour matching shows how layering different pencils creates convincing colour. For a whole-drawing view, see how a realistic drawing comes together.
If you are just starting out, see coloured pencil drawing for beginners, and keep your points fine with our guide to sharpening coloured pencils. Put layering to work in the basic forms and shading lesson. Coloured pencils are called colored pencils in the US, and everything in this guide applies to both.
If you are just starting out, see coloured pencil drawing for beginners, and keep your points fine with our guide to sharpening coloured pencils. Put layering to work in the basic forms and shading lesson. Coloured pencils are called colored pencils in the US, and everything in this guide applies to both.
The short version
Layer in whispers. Sharp point, light pressure, changing direction, light colours first, and many thin layers instead of a few heavy ones. Save firm pressure for the end, and stop layering when the paper stops accepting colour.
Where to buy
Recommended products
Affiliate links. We may earn a small commission if you buy, at no extra cost to you. Why?
Pencils · Derwent
Derwent Coloursoft Pencils
Soft, velvety and richly pigmented - excellent for painterly blending and bold colour.
Pencils · Faber-Castell
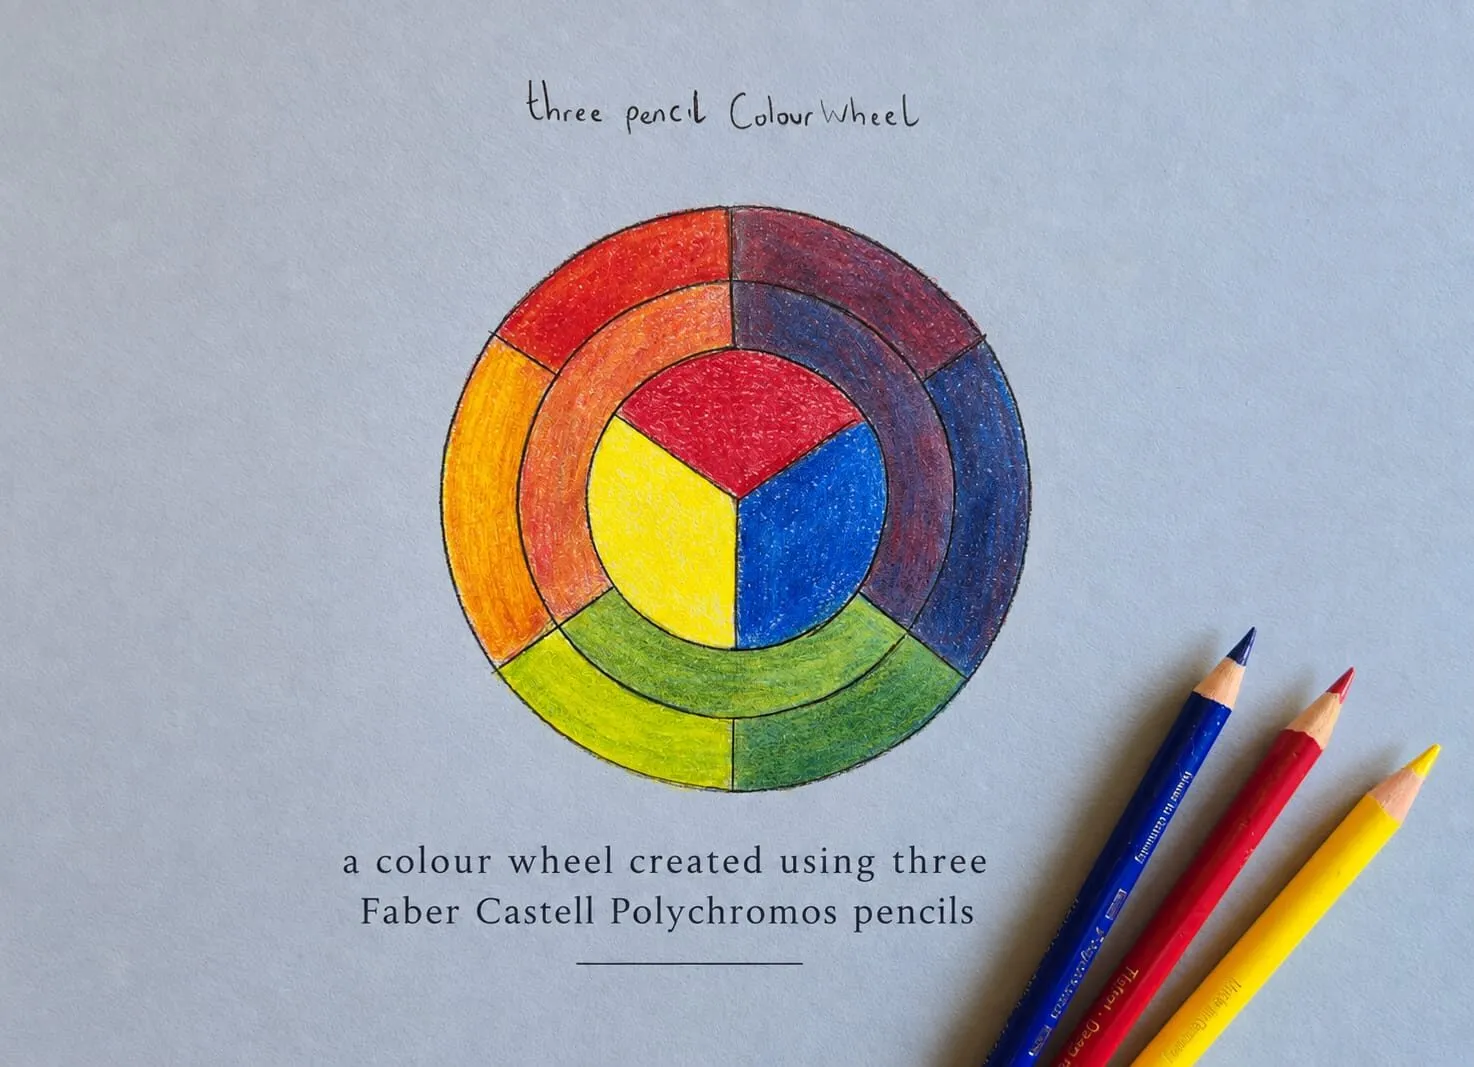
Faber-Castell Polychromos
Firm, oil-based artist pencils that hold a point - a benchmark for detail and clean layering.
Tool · Derwent
Derwent Pencil Sharpener
A dependable sharpener for keeping soft cores intact.
Buy on AmazonAffiliate link · opens Amazon
Quick answers
Frequently asked questions
How many layers of coloured pencil should I use?+
There is no fixed number. A finished area often holds many thin layers, sometimes dozens on heavy paper, but the right count depends on paper, pencil and subject. Stop adding layers when the pencil no longer deposits colour or the surface turns waxy and shiny. Use the tooth of the paper as your guide.
Why does my coloured pencil look waxy and shiny?+
That is usually wax bloom or a filled tooth. Wax bloom is a hazy film that appears when wax-based pencils are layered heavily. Pressing hard early fills the paper's grain so nothing more can stick. Use lighter pressure, more layers and sharp points, and reserve heavy pressure for burnishing.
Should I layer light colours first or dark colours first?+
Generally light first. Lighter colours are easier to cover with darker ones, and you can deepen gradually as you judge values. Dark pigment laid down early is difficult to lighten. The exception is deliberate underpainting, where muted darks establish shadow before final colour goes on.
Can I layer coloured pencils on any paper?+
You can layer on most paper, but heavier papers with some tooth take far more layers. Lightweight sketch paper wears down and buckles under heavy layering. For serious layered work choose a sturdy sheet with a little grain and test your pencils on a scrap first.
Do these layering tips work for colored pencils in the US?+
Yes. Colored pencils and coloured pencils are the same product with different spellings, so the light-pressure, sharp-point method applies whichever name you use.
Do these layering tips work for colored pencils in the US?+
Yes. Colored pencils and coloured pencils are the same product with different spellings, so the light-pressure, sharp-point method applies whichever name you use.