Drawing Techniques
Lifting and Erasing Coloured Pencil
Lifting removes pigment from coloured pencil (colored pencil) for crisp highlights and clean corrections. Learn which tools work and how each paper behaves.
This guide contains affiliate links. If you buy through them we may earn a small commission at no cost to you. How this works.
Jump to recommended products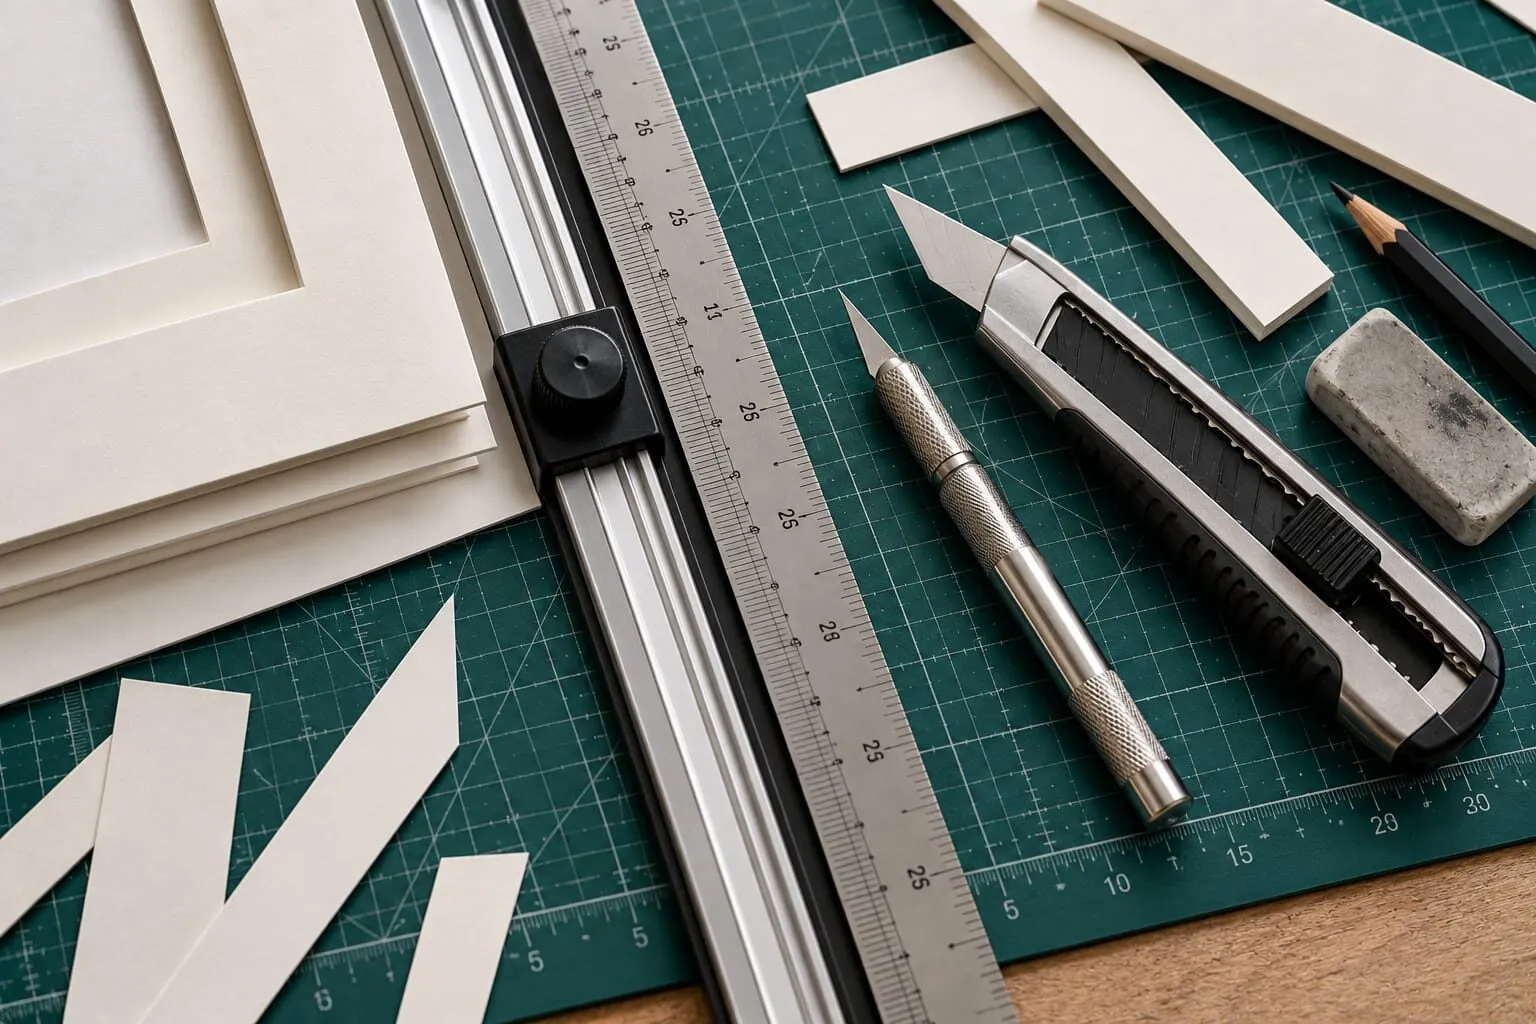
Key takeaways
- ◆Lifting removes pigment to create highlights and corrections, and it is essential for shine, sparkle and realism.
- ◆Eraser pencils, battery erasers, sticky putty and precision erasers each do a different job, so keep more than one to hand.
- ◆Paper decides how much comes off: textured papers lift well, smooth papers lift gently, and hot press can be hard to lift from.
- ◆Lift with light, patient passes and stop early. Rubbing hard damages the tooth and leaves a dull, scuffed patch.
- ◆Plan your highlights before you start, and treat lifting as a finishing tool rather than a rescue.
Most artists think of the eraser as a way to fix mistakes. In coloured pencil it is also a drawing tool. Taking pigment away is how you carve a crisp glint out of a dark surface, soften a hard edge, or bring back the sparkle on a wet-looking sauce. Used with intent, lifting is as creative as any layer you add.
This guide covers what lifting is, the tools that do it, how it behaves on different papers, and how to plan your highlights so you rarely need to rescue a drawing. If you are new to building colour in the first place, start with how to layer coloured pencils, because how you layer decides how easily you can lift.
What lifting actually does
Coloured pencil pigment sits in a binder of wax or oil, and that binder settles into the tiny hills and valleys of the paper, which is called tooth. Lifting means breaking that grip and pulling pigment out of the tooth so more of the paper, or of the lighter layer underneath, shows through.
Two things follow from this. First, lifting works best on layers that are still light and loose. The more pressure you used, the deeper the pigment has settled, and the harder it is to shift. Second, lifting rarely returns you to pure paper. It returns you to a paler version of what was there, which is usually exactly what a highlight needs.
Michael’s guides put it simply: lifting removes pigment to create highlights or corrections, and it is essential for shine, sparkle and realism. That last part matters. On glossy subjects a few lifted marks can do more than an extra hour of white pencil.
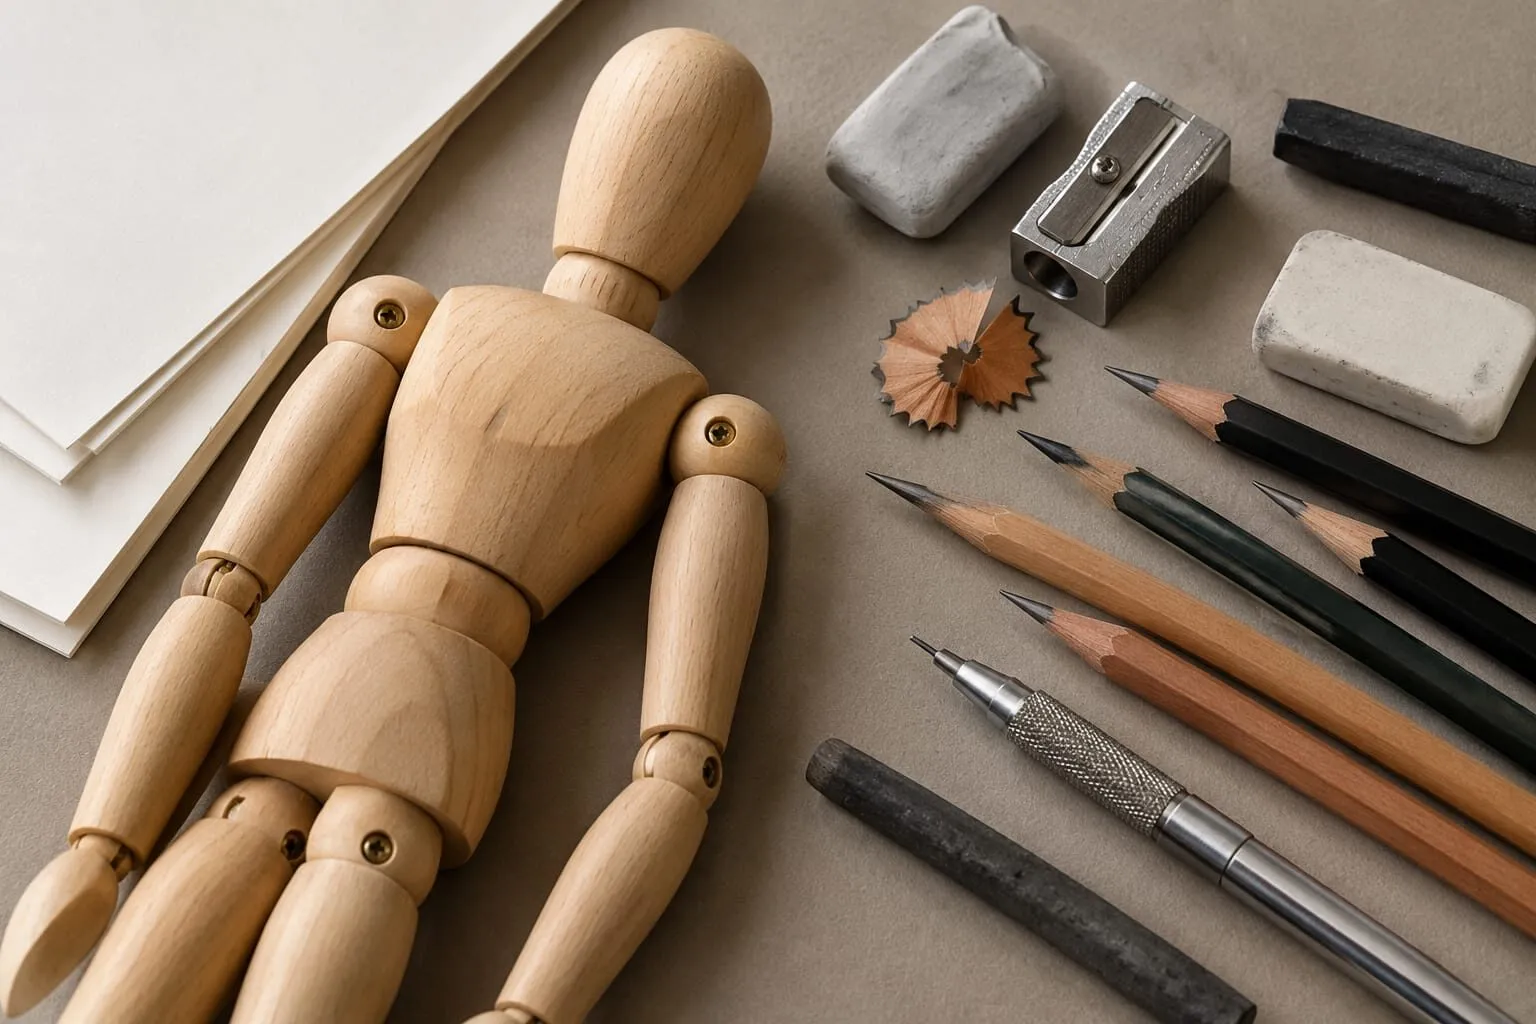
A wooden figure mannequin with pencils, an eraser, a sharpener and drawing paper.
The tools, and what each one is for
You do not need a large kit, but each of the four tools below solves a different problem.
| Tool | Best for | Watch out for |
|---|---|---|
| Eraser pencil | Small, precise highlights and clean edges | Needs sharpening or trimming; can burnish if pressed hard |
| Battery eraser | Larger areas, fast removal, straight lines | Can wear through the surface quickly |
| Sticky putty | Gentle lifting of light layers, softening tone | Does little on heavy pigment |
| Precision eraser | Hairline marks, cleaning tiny edges | Small contact area, slow on big patches |
Eraser pencils
An eraser pencil lets you place a highlight as accurately as you would place a pencil mark. Sharpen it to a point and use it to lift a thin line along the rim of a glaze, the edge of a spoon, or a strand of hair. The Pasler eraser pencils are a typical example of this style of tool, and our guide to the best erasers for coloured pencils compares the options.
Battery erasers
A battery eraser spins a small firm tip and removes pigment far faster than hand pressure. It is the tool for straight highlight bands on metal, for clearing a shape ready for reworking, and for correcting a larger error. Use it lightly and briefly. The speed that makes it useful also lets it grind through a surface in seconds. The Derwent electric eraser is a common choice.
Sticky putty
Kneaded, tacky putty presses onto the drawing and pulls pigment up without rubbing. It is the safest option for softening a tone that has gone too dark, or for lifting a soft-edged glow. Dab and lift rather than wiping, and knead a clean face of putty as it fills with pigment.
Precision erasers
These are the slimmest tools, made for cleaning a hairline or tidying a crisp edge. They suit finishing work more than large corrections.
How your paper changes everything
The same eraser behaves very differently on different surfaces. Michael’s paper notes are consistent on this point: textured papers lift well, and smooth papers lift gently.
| Paper | Lifting behaviour |
|---|---|
| Canson Mixed Media | Excellent, because of its strong tooth. Ideal for highlights on metal, icing and glossy surfaces. |
| Stonehenge | Gentle lifting that does not damage the fibres. Good for subtle highlights in portraits and realism. |
| Arches Hot Press | Harder to lift from, because pigment sinks into the smooth surface. Needs careful planning. |
| Clairefontaine Paint’On Gris | Lifts well, but may stain slightly with heavy pigment. |
The practical lesson is to match the paper to how much lifting you expect to do. If your subject depends on bright, sharp highlights, a grippy textured paper such as Canson Mixed Media grey forgives you and gives you room to correct. If you are working on smooth hot press for a portrait, you will lift far less, so highlights and light areas need to be planned rather than rescued. Our guide to smooth versus textured paper explains why the surface makes such a difference, and the Canson, Arches, Stonehenge and Clairefontaine comparison sets the four side by side.
A safe lifting method
- Test first. On a scrap of the same paper, lay down a patch of your darkest colour and try each tool on it. Ten minutes here shows you exactly how far your paper will go.
- Start with the gentlest tool. Try sticky putty, then an eraser pencil, then a battery eraser. Only move to a firmer tool when the softer one has done all it can.
- Mask the edges. For a sharp highlight, lay a strip of low-tack tape or a piece of card as a guide, or use an erasing shield, and lift along the edge.
- Work in short passes. Lift, look, lift again. Pressing hard to finish in one go leaves scuffed paper.
- Brush away the crumbs. Removed pigment and eraser debris smear if you drag your hand across them. Sweep them off with a soft brush rather than your palm.
- Rework the edges. A lifted highlight often looks too clean. Tint it with the colour it should be picking up from the surroundings so it sits in the drawing instead of on top of it.
Using lifting for shine, sparkle and realism
Highlights on glossy surfaces
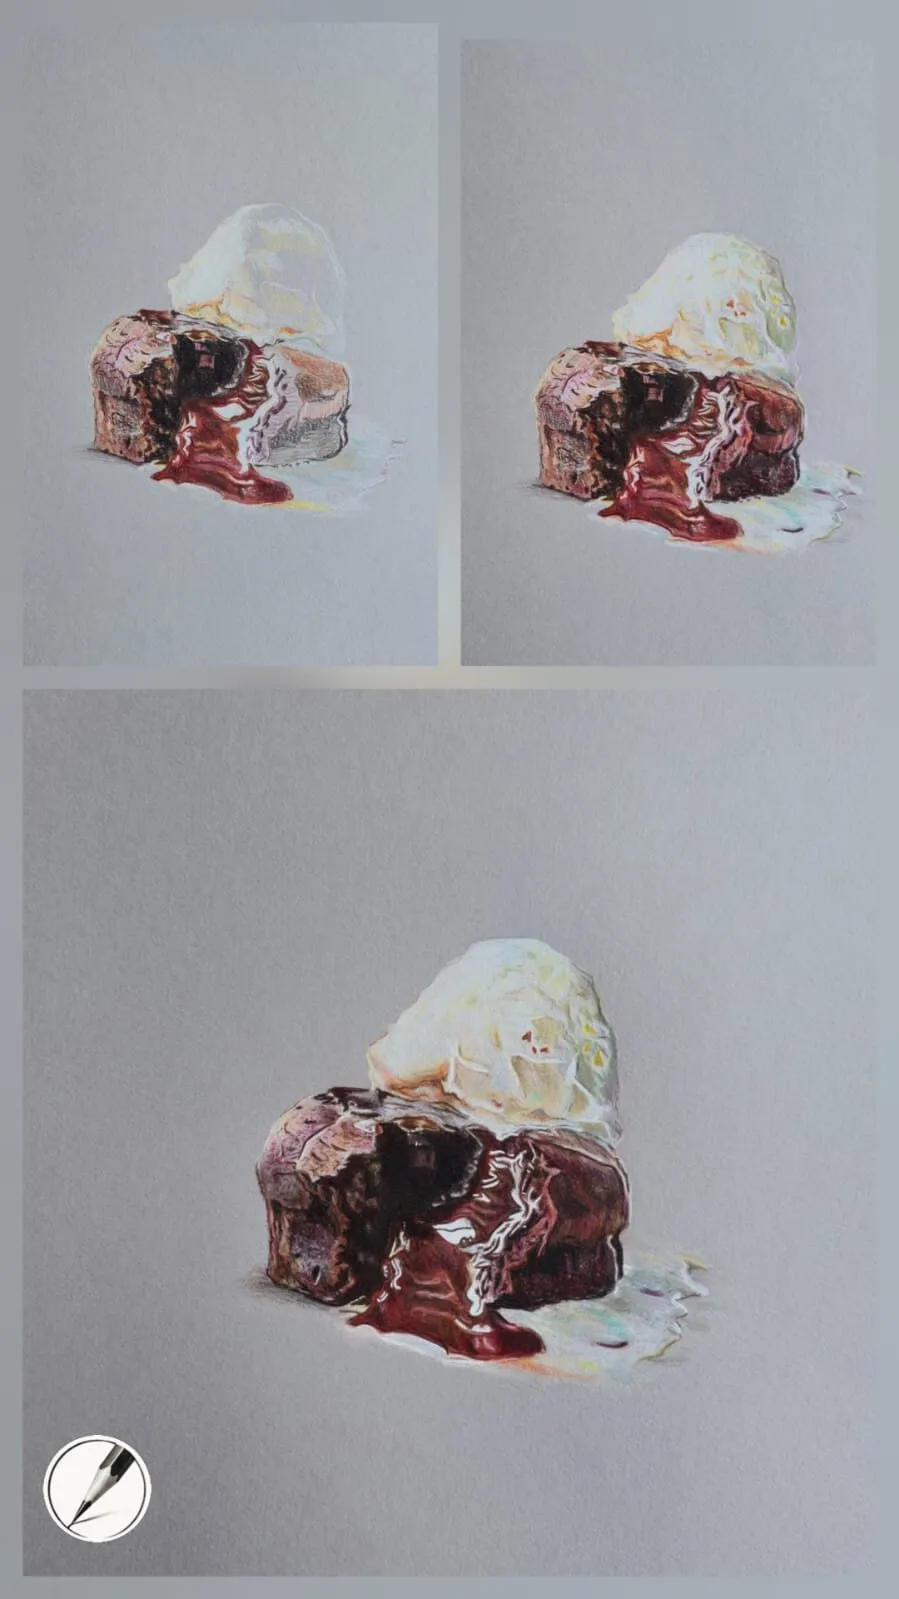
On a smooth dark tone, such as chocolate sauce or a glazed crust, a lifted mark reads as a glint of light. Because you are removing colour rather than adding white, the highlight keeps a trace of the surrounding hue, which is often more convincing than opaque white. You can then sharpen it with a touch of white pencil on top. The full approach is set out in how to draw glossy surfaces.
Sparkle on metal and glass
Bright, narrow glints along an edge are a job for the eraser pencil or the battery eraser with a straight guide. Metal in particular relies on hard edges between light and dark, and lifting makes those edges clean. Michael’s silver trophy drawing shows how much a few precise lights can do on a reflective surface.
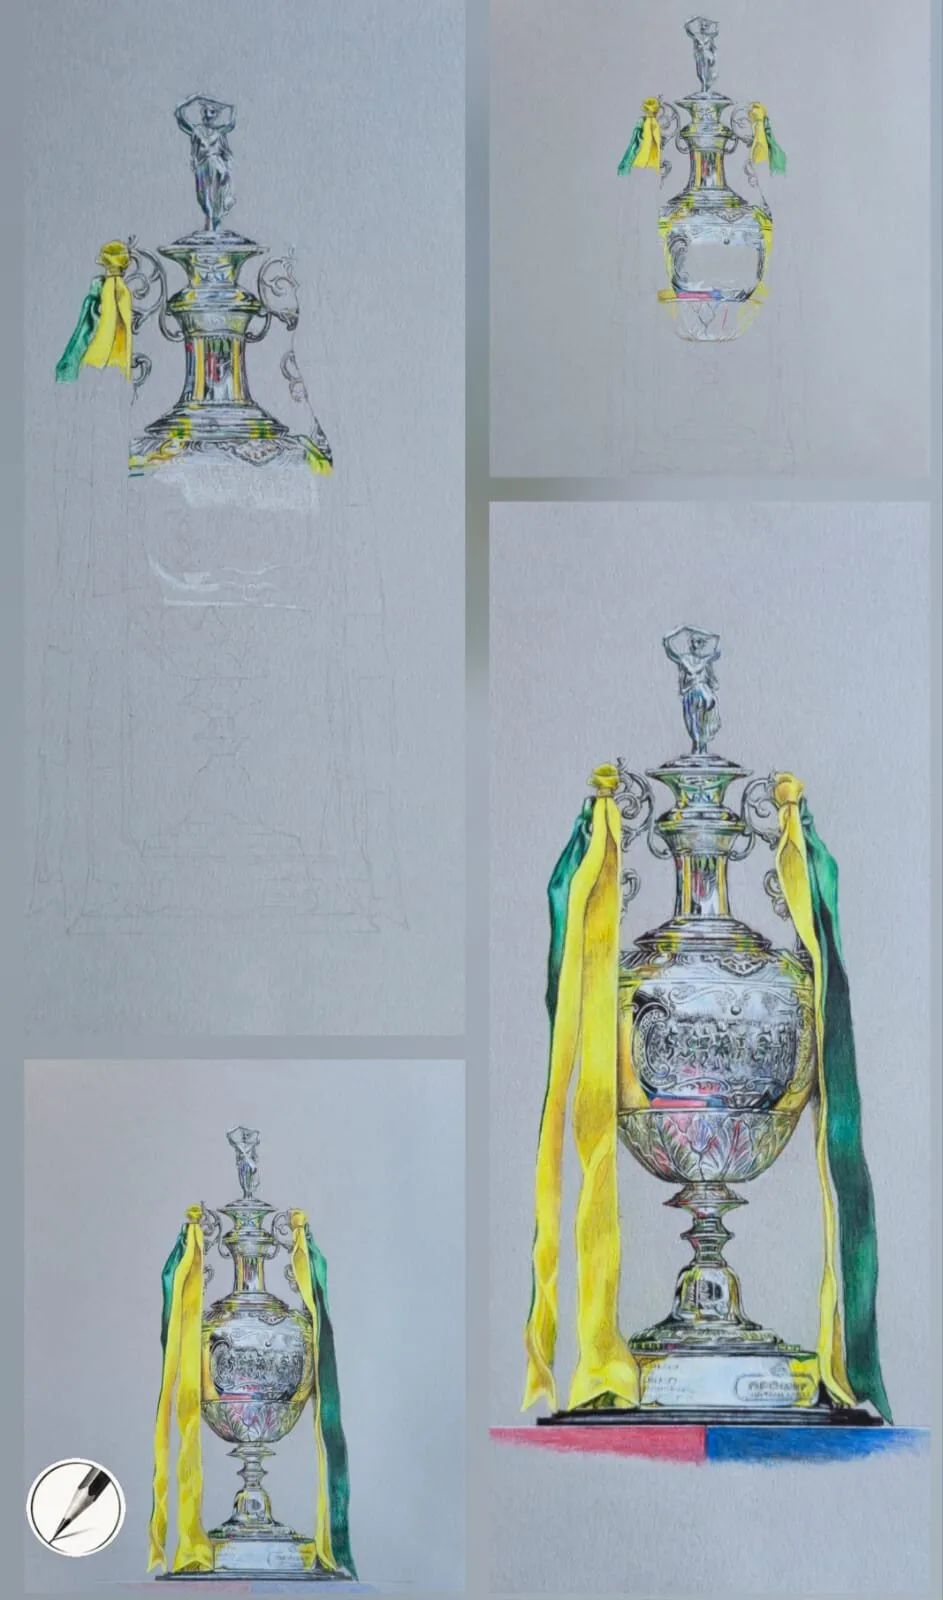
Shine on metal comes from crisp contrast. Lifted and added highlights are placed last, on top of settled mid-tones and darks.
Corrections and softening
Lifting also cleans up. A colour that has gone too strong can be dabbed back with putty, a wandering edge can be trimmed with a precision eraser, and a stray mark on the background can usually be removed on a textured paper. On smooth or hot press paper, be more cautious: corrections are harder, which is why accuracy at the layout stage matters so much there.
Plan your highlights so you lift less
The best lifting is the lifting you do not have to do. Before you start layering, spend a minute identifying where your brightest lights sit, then decide how you will make each one.
- Leave the paper. On white or pale paper, the brightest highlights are often best left untouched, with the surrounding tone built up around them.
- Add them last. On grey paper, the brightest marks are usually pencil, added at the end on top of settled tones.
- Lift them. On textured paper, lifted highlights suit small, sharp glints and soft-edged glows, and they can be tweaked after the layers are down.
A quick thumbnail or a value study makes these decisions visible before you commit. Working lightly in the early layers keeps your options open as well, so it is worth learning to control pressure. Our guide to how to layer coloured pencils covers that in detail.
Planning lights early helps, and our shadows and light lesson shows how to place them. For paper that survives corrections, see coloured pencil drawing for beginners. Coloured pencils are called colored pencils in the US, and everything in this guide applies to both.
The short version
Lifting is a drawing tool, not just an eraser. Keep an eraser pencil, a battery eraser, sticky putty and a precision eraser to hand, test them on scrap paper, and let the paper guide how much you attempt: textured papers such as Canson lift well, Stonehenge lifts gently, Clairefontaine lifts but may stain, and Arches Hot Press holds on hard. Work in light passes, place highlights before you burnish, and plan your lights early so lifting sharpens the drawing instead of rescuing it.
Where to buy
Recommended products
Affiliate links. We may earn a small commission if you buy, at no extra cost to you. Why?
Tool · Derwent
Derwent Electric Eraser
A battery eraser for precise highlights and clean lifting of pigment.
Buy on AmazonAffiliate link · opens Amazon
Tool · Pasler
Pasler Eraser Pencils
Pencil-style erasers for pin-point corrections and crisp highlights.
Buy on AmazonAffiliate link · opens Amazon
Quick answers
Frequently asked questions
Can you erase coloured pencil completely?+
Not always. Light layers on a textured paper can be lifted almost back to the surface, but heavy, burnished layers press pigment into the tooth and leave a ghost of colour. The lighter you work at the start, the more of it you can remove later. Test on a scrap of your paper first.
What is the best eraser for coloured pencil?+
There is no single best one. An eraser pencil gives you a fine point for small highlights, a battery eraser removes larger areas quickly, and sticky putty lifts gently without abrasion. Most artists end up using two or three of these together.
Why will my coloured pencil not erase?+
Wax pigment that has been pressed hard or burnished sits deep in the paper and grips it. Smooth hot press paper also holds pigment firmly. Try sticky putty first for light layers, then a firm eraser pencil, and accept that some marks can only be softened rather than removed.
Does lifting damage the paper?+
It can. Repeated hard rubbing wears down the tooth, so the area stops taking new pigment and looks shiny or scuffed. Heavier papers survive more rework than lightweight ones, but the safest approach is short, light passes and a change of tool before you press harder.
Can you erase colored pencils the same way as coloured pencils?+
Yes. Colored pencils and coloured pencils are the same product, so the same erasers and lifting methods apply. How much comes off depends on the paper and how heavily you pressed.