
Drawing well is only half of a working art life. The other half is less glamorous: photographing pieces so the colour is right, framing them so they last, choosing the competitions worth your money, pricing work without embarrassment, and putting it all in front of people who can say yes. Most artists learn these things slowly, and expensively, by getting them wrong first.
This pillar guide maps the whole territory for coloured pencil and graphite artists and points you to a detailed guide for each step. Read it as a route: learn from great drawings, present your own work well, enter the right competitions, then price and sell with confidence. Start wherever your biggest gap is.
If you are still building the drawing skills behind your portfolio, the how to draw hub and the 30-day drawing challenge are good places to start. Whether you work in graphite or colored pencil, the steps in this section apply equally.
The route in one page
| Stage | What you are doing | Start here |
|---|---|---|
| Learn | Raising your standard by studying strong drawings | Museums and galleries for drawings |
| Present | Recording and displaying work properly | Photographing and framing |
| Curate | Deciding which work represents you | Building a portfolio |
| Enter | Getting juried, exhibited and published | Best drawing competitions and how to enter |
| Sell | Pricing and selling honestly | How to price your drawings |
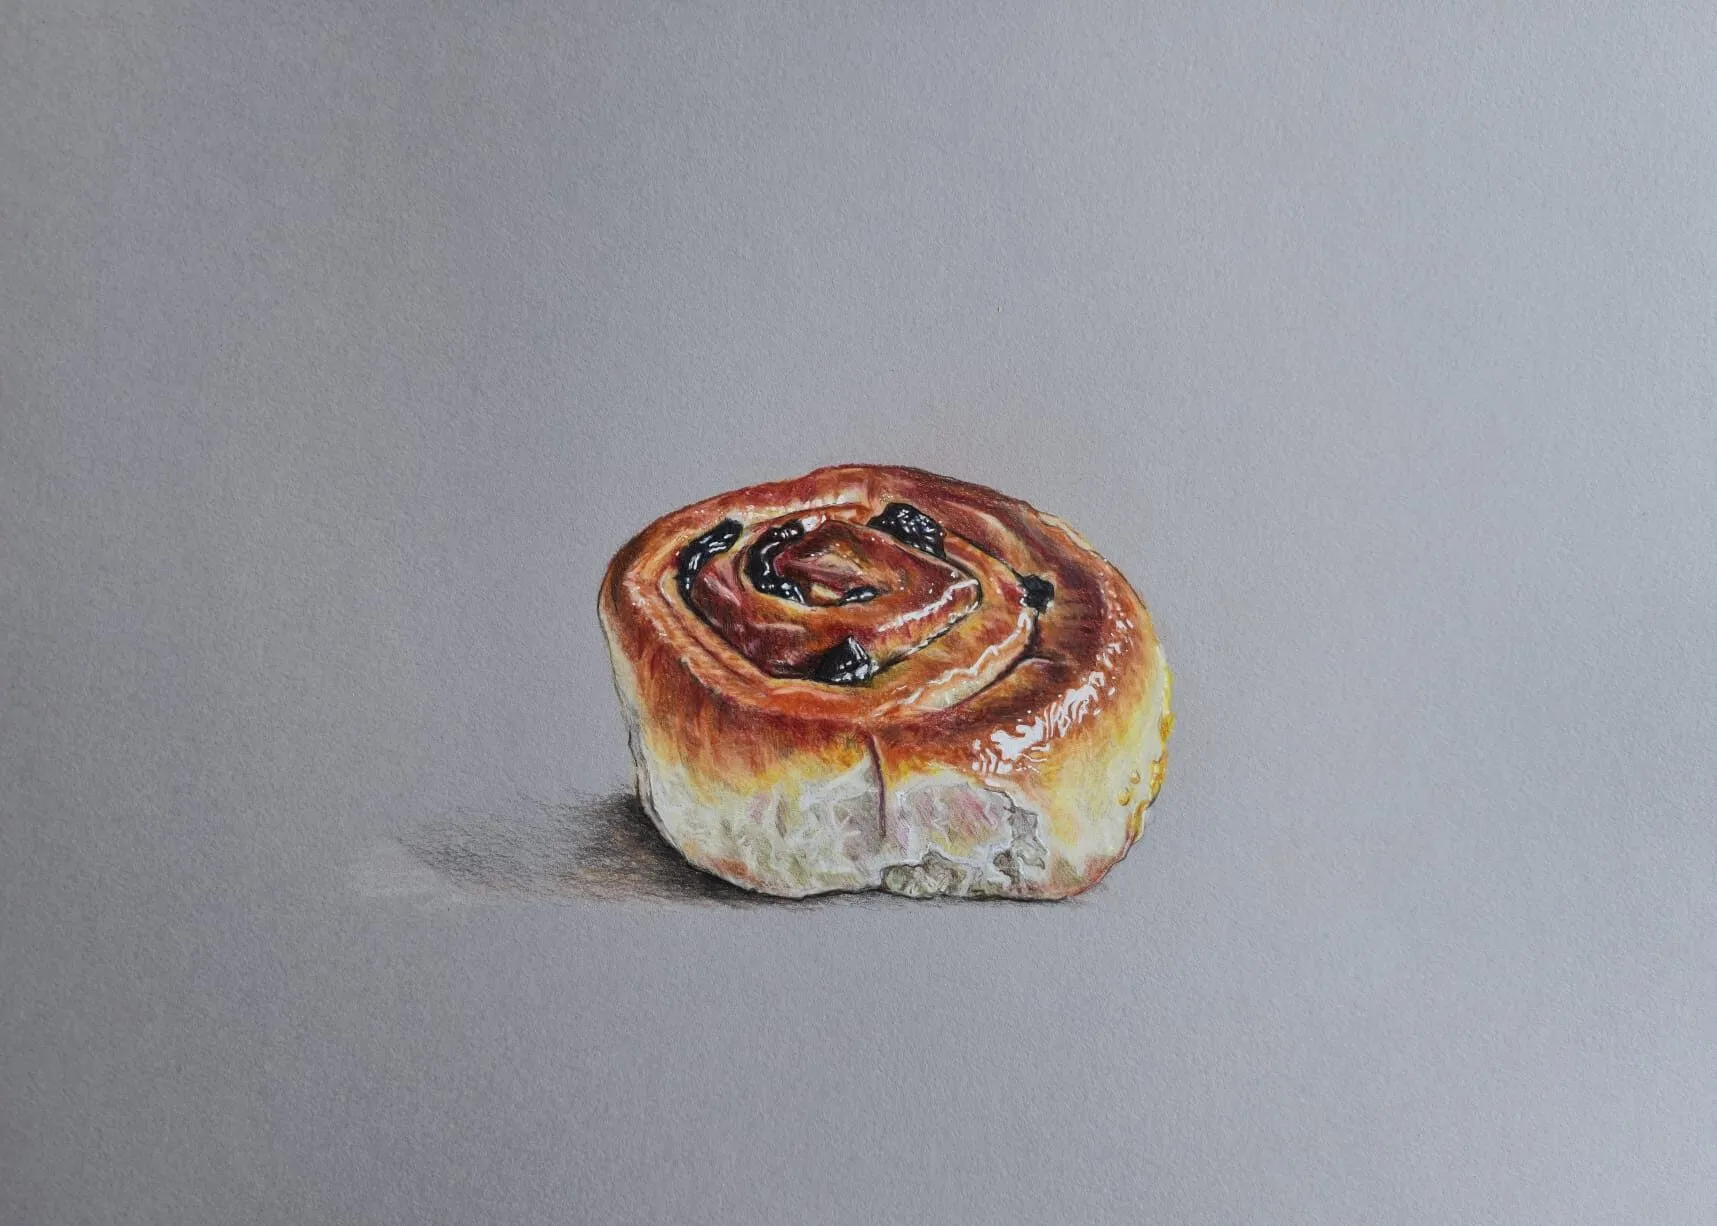
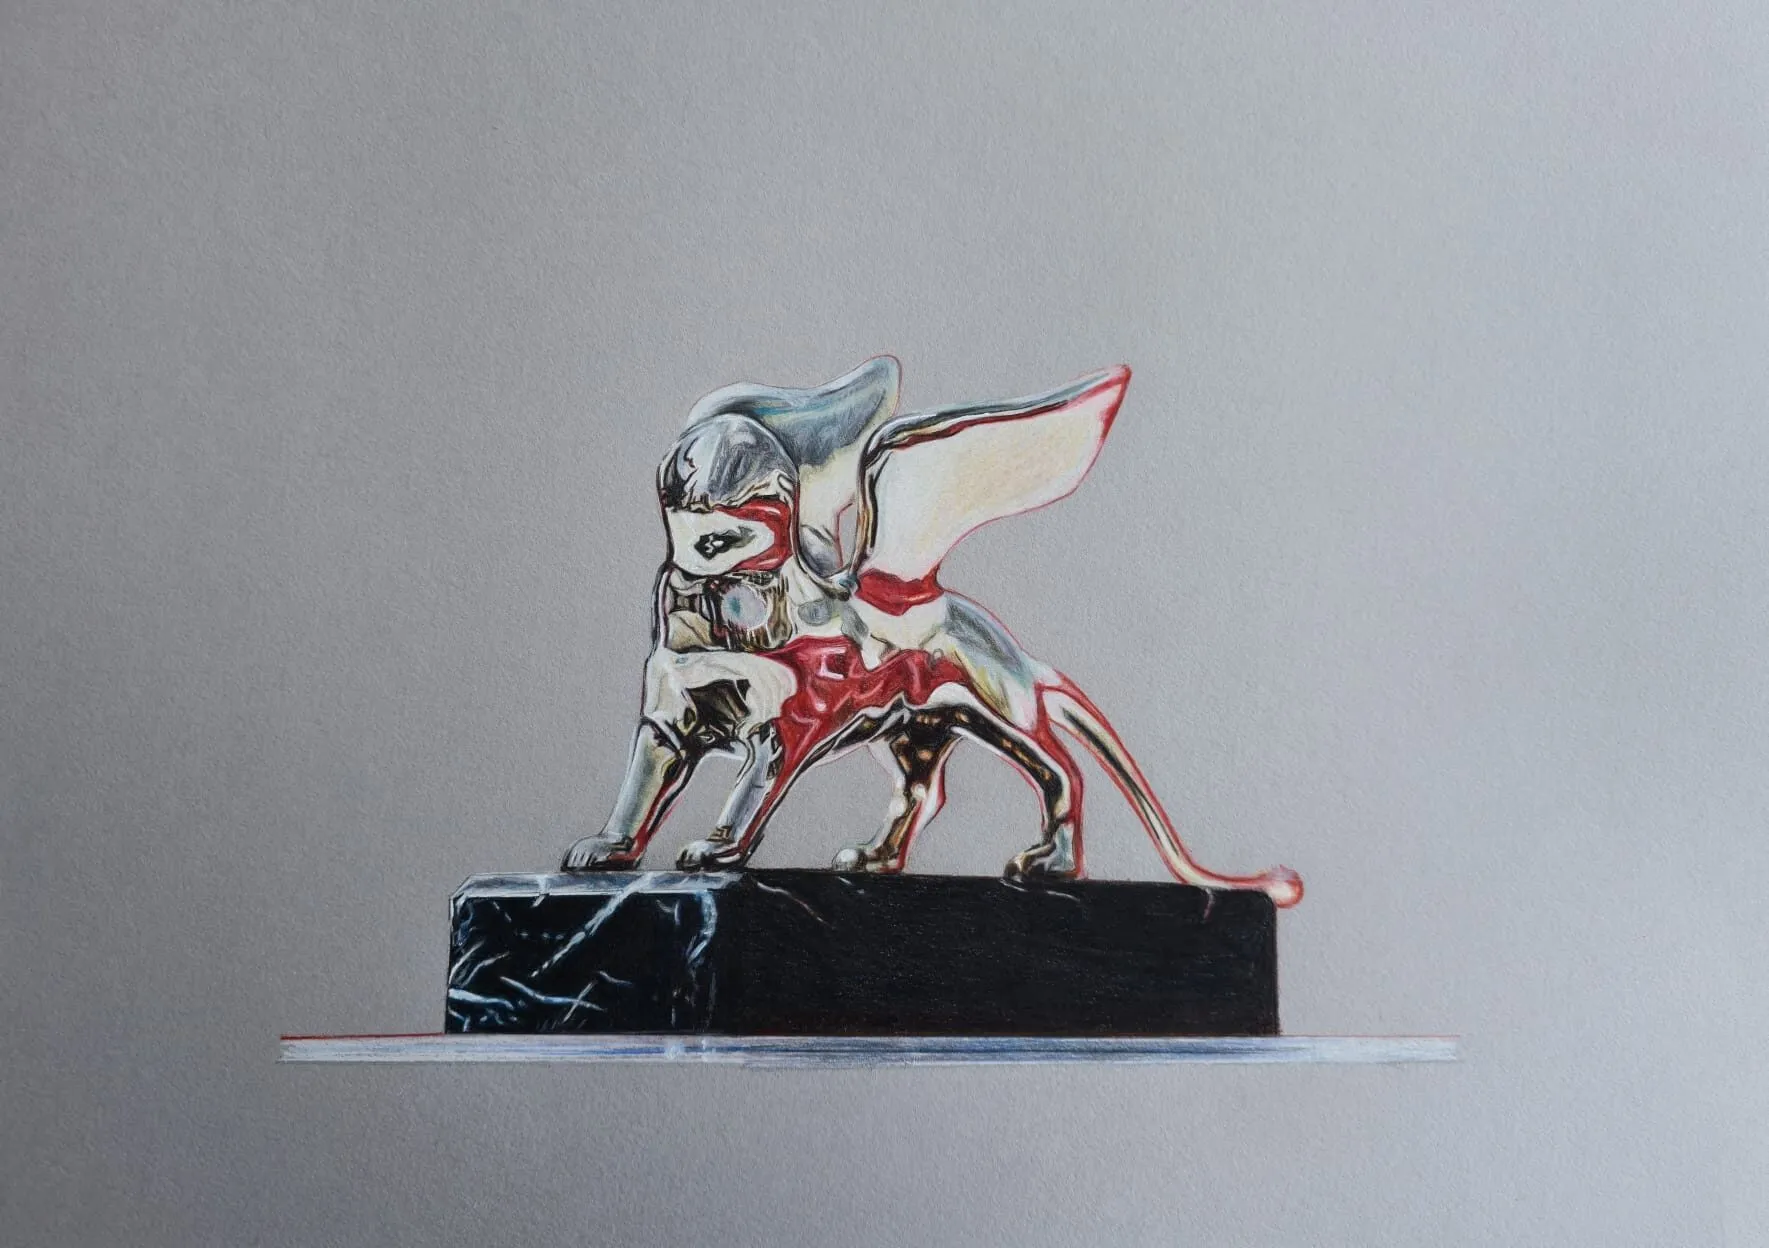
A glazed pastry swirl with raisins drawn in coloured pencil on grey paper. Drawing by Michael Brace.
Learn from great drawings first
Before you worry about audiences, look hard at what the best draughtsmen have done. Seeing a master drawing in person shows you things a reproduction hides: pressure changes, erased lines, the grain of the paper, and the confidence or hesitation in each stroke. It resets your idea of what “finished” means.
Our guide to museums and galleries for drawings covers ten collections worth travelling to, from the British Museum and the Courtauld to the Louvre, the Morgan and the Uffizi, and explains how to use a print room or study room rather than only walking past framed pieces. If a trip is not possible, pair it with master draughtsmen to study and the best books to improve your drawing, which give you a reading list of artists to look at closely and copy from.
Studying is not a detour from the art world; it is what keeps your own standard rising while you enter it. A juror sees hundreds of images, and the ones that stop them tend to show genuine looking behind the mark-making.
Present your work as if it matters
Two people can make identical drawings and get very different results because one photographs on a phone under a lamp and the other does not. Presentation is the cheapest upgrade available.
Photograph before you frame
Almost every submission, website and sale starts with a photograph, so it needs to be right. Even lighting, a camera parallel to the sheet, honest colour and a clean crop are all learnable in an afternoon. Coloured pencil and graphite add their own problem, which is sheen: burnished wax and dense graphite reflect light and can look patchy or silvery in a photo. The full method is in how to photograph your drawings, including file sizes and formats for competitions, web and print.
Frame to protect and to flatter
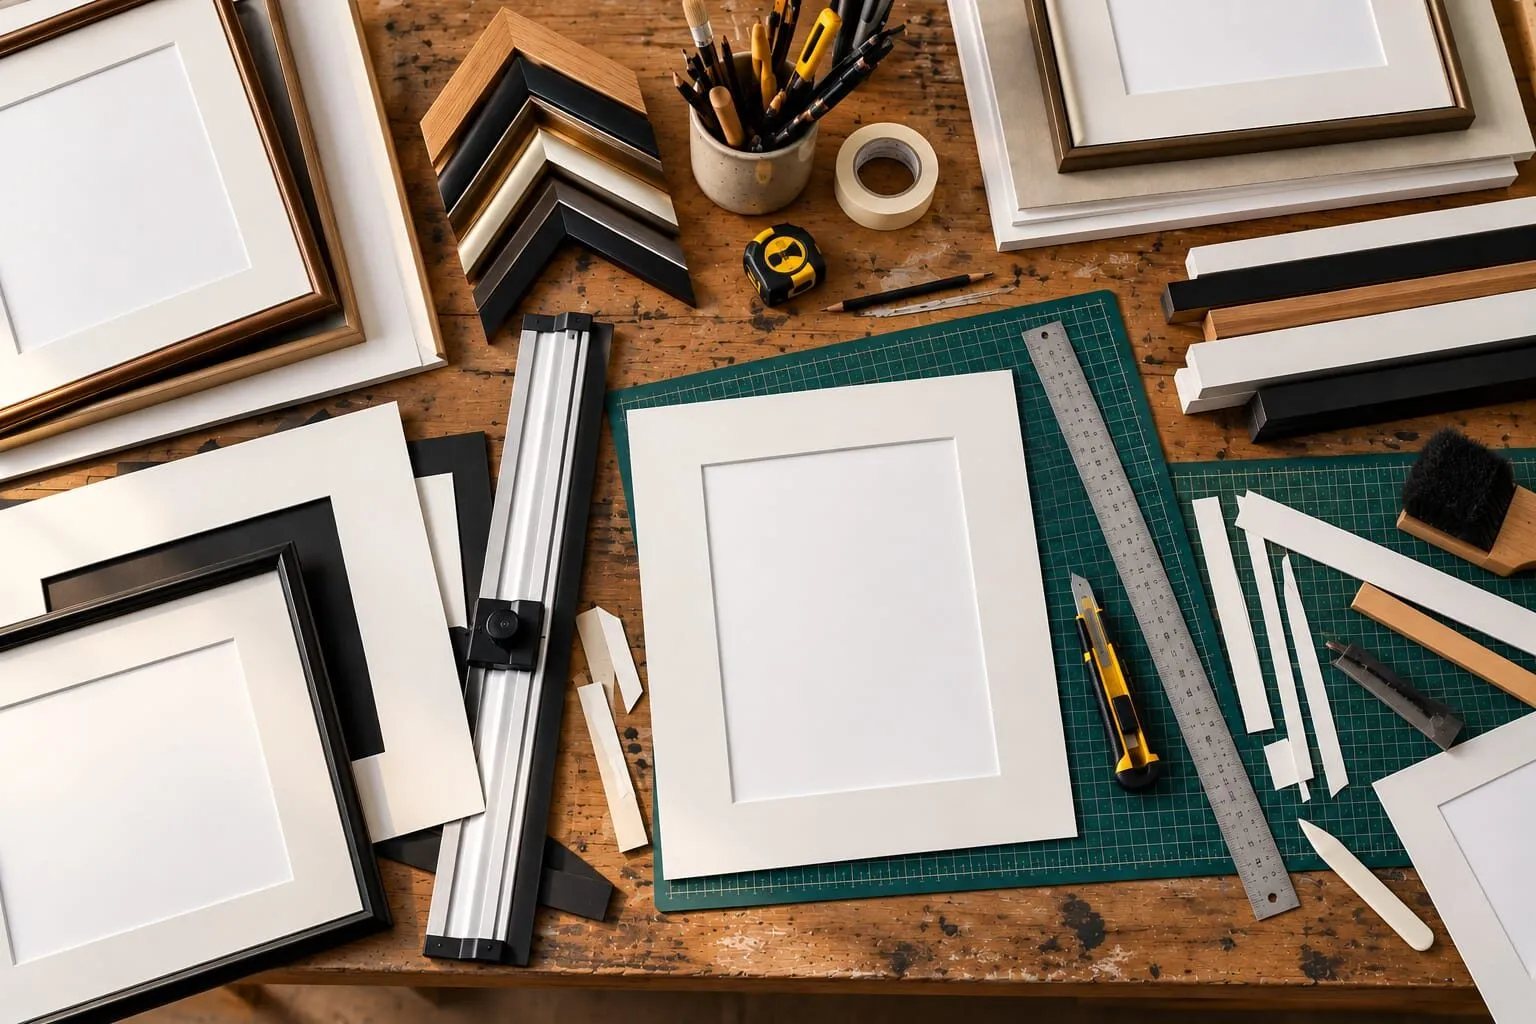
Framing serves two jobs. It protects the paper, and it makes the drawing look finished in a gallery or on a wall. Mount board, aperture size, hinges, acid-free materials and glazing all matter, and the drawing should never touch the glass. How to frame and mount a drawing walks through each choice, and the frame and mount calculator does the arithmetic for aperture and outer sizes. If you are working out sheet sizes before you start, the paper size converter helps.
The paper itself matters here too. If you plan to sell, read our guide to archival paper for selling your drawings so the work outlasts the sale.
Curate a portfolio that shows one artist
A portfolio is not a folder of everything you have made. It is a short, deliberate selection that shows a coherent voice: a subject, a technique, a way of seeing. Galleries and competition jurors both look for consistency, because it tells them you can produce more work of the same standard.
How to build an art portfolio explains how to choose pieces, group them in series, write an artist statement and bio, and set up a simple website. It also covers documenting your process, which is one of the most persuasive things you can add. A progress graphic showing a drawing from layout to completion answers the question every viewer has, “how did they make that?”, and it builds trust in a way a finished image alone cannot.
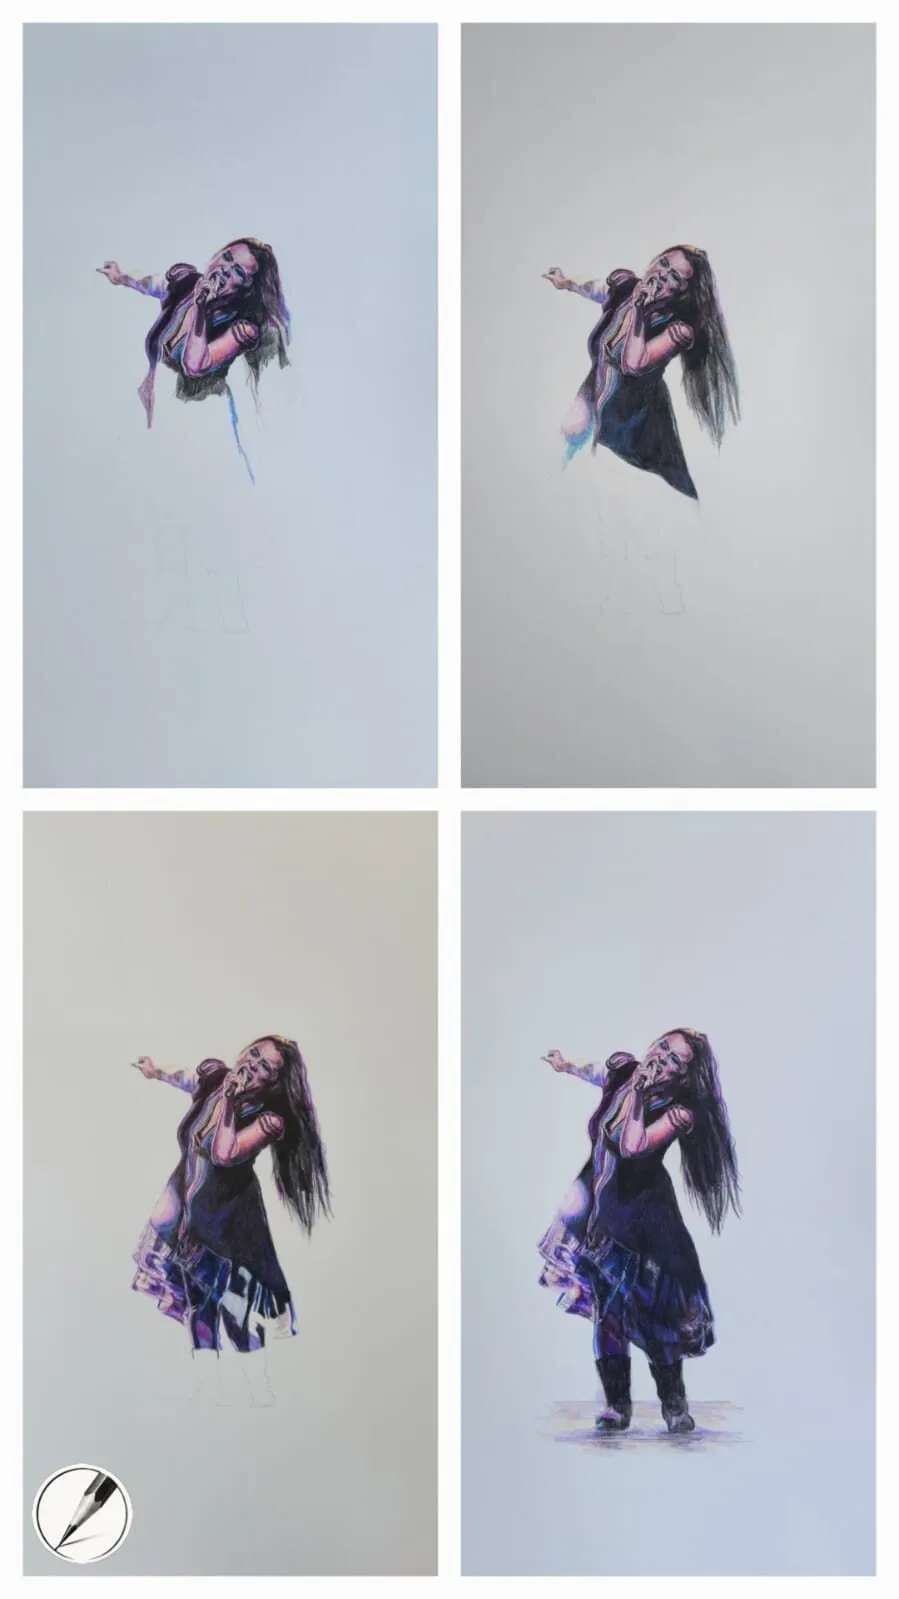
Process images turn a finished piece into a story. Michael’s progress figures show layout, base colour and final detail in sequence.
If you want to understand how a piece like this is built, how a realistic drawing comes together follows the same stages in detail.
Enter competitions with a plan
Competitions are one of the fastest ways to gain deadlines, exposure and credentials. The best ones give you a public venue, a catalogue or online gallery, and sometimes feedback. They also cost money and time, so the aim is to choose well rather than enter widely.
Start with the best drawing competitions, which covers ten respected options, including the Derwent Art Prize, the Royal Academy Summer Exhibition, the International Drawing Annual and the British Art Prize, and says who each one suits. Then read how to enter an art competition for the practical side: reading the rules properly, selecting images, writing a statement, framing requirements, handling rejection and tracking entries.
Michael has been shortlisted for the Derwent Art Prize 2026, the British Art Prize 2025 and the CCA Galleries Emerging Artist Award, and longlisted for the Visual Arts Open 2025. Outcomes vary from one competition to the next, which is why it pays to treat each submission as its own project, with images, statement and rules checked well before the deadline.
Price and sell honestly
Pricing is where confident artists become quiet. The trick is to stop thinking of a price as a judgement on your worth and start treating it as a method you can explain. Time, materials, overhead, size and comparable artists all feed into a number you can defend, and that number should be the same whether a buyer finds you at an exhibition, on your website or through a gallery.
How to price your drawings sets out the main frameworks, when originals and prints make sense, the basics of commissions, and when to raise prices. It deliberately avoids quoting “the” going rate, because rates depend on your market, reputation and medium, and the honest answer is to research comparable artists yourself.
Selling honestly also means describing materials accurately, being clear about editions, and using paper and pencils that will last. Our guides to coloured pencil lightfastness and archival paper explain the durability side of that promise.
Where to start: a sensible order
If you are not sure what to tackle first, this order works for most artists.
- Photograph your best five to ten pieces properly. Everything else depends on it. Use the photography guide.
- Put them into a simple portfolio and website. Follow the portfolio guide and cut anything that does not match your strongest work.
- Frame one or two pieces to a standard you are proud of. The framing guide will help you decide what to buy and what to skip.
- Choose one accessible competition. Use best drawing competitions to shortlist, then how to enter to prepare.
- Set your prices before anyone asks. The pricing guide will give you a method so you are not improvising at a fair or in an email.
- Go and look at drawings. Plan a trip using the museums guide so your standards keep rising.
Connecting to the rest of the site
The art world is downstream of the making. If your work is not yet where you want it, the strongest move is often to improve the drawings themselves rather than the packaging.
- For paper and materials choices that affect how your work photographs, frames and lasts, browse the paper guides and the coloured pencil guides.
- For technique, start with the techniques cluster and the colour theory cluster, which help you build the kind of depth and colour that stands out in a competition.
- For graphite work, the graphite and charcoal guides cover grades, shading and avoiding smudges that ruin an otherwise finished piece before it is framed.
- For structured learning, see best drawing courses and the wider learn cluster.
What to expect and how to stay motivated
Progress in the art world is slow and uneven, and rejection is the normal state of affairs. Juried competitions take a small share of entries and jurors disagree with each other. A rejection rarely says your work is poor; it more often says the fit, the selection or the moment was not right. What compounds is the habit: finishing work, presenting it properly, entering thoughtfully and reviewing what happened.
It also helps to measure yourself against your own earlier work rather than against every shortlist you read about. Michael’s drawing-skills progress figures, which set two drawings of the same subject made at different times side by side, are a good reminder that improvement is usually visible when you look at a longer span than a single season.
The short version
Learn from the best drawings you can see, photograph and frame your own to a professional standard, curate a small portfolio that shows one clear voice, enter a few well-matched competitions, and price with a method you can explain. Do those in that order and each step makes the next easier. Pick the guide above that matches your biggest gap today and start there.