Drawing Techniques
Coloured Pencil Drawing for Beginners
A complete starter guide to coloured (colored) pencil drawing: what to buy, first exercises, layering, blending, burnishing, a first project and common mistakes.
This guide contains affiliate links. If you buy through them we may earn a small commission at no cost to you. How this works.
Jump to recommended products
Key takeaways
- ◆You need a modest set of decent pencils, a sharpener that does not break the cores, and a paper with a little tooth - not a huge collection.
- ◆Coloured pencil is built, not pressed: light pressure and many layers give richer colour than one heavy pass.
- ◆Four short exercises - a swatch chart, gradients, layering and colour mixing - teach nearly everything you need before you begin a real drawing.
- ◆Blending and burnishing are finishing tools; use them after your layers are built.
- ◆Start with a simple, glossy or rounded subject on grey or white paper and expect to spend several short sessions on it.
Coloured pencils - colored pencils in the US - look like the easiest medium there is. Pick one up, scribble, done. In practice, the difference between a scribbled page and a rich, smooth drawing is a handful of habits: how you sharpen, how hard you press, how you build colour and what you draw on. None of them is difficult once you know them.
This guide is the complete starter path. It covers what to buy, four exercises to do before your first real drawing, the three core techniques, a first project and the mistakes that trip up nearly every beginner. Each section links to a deeper guide when you want more.
What coloured pencil is good at
Coloured pencil is controllable, portable and clean. You can make fine detail, smooth gradients and deep, saturated colour, and you can stop and start whenever you like. The trade-off is speed: the medium rewards slow, patient building of many light layers, not fast coverage.
That is also why it suits beginners. You can correct as you go, work in short sessions and see improvement quickly if you practise the right things.
What to buy
You do not need a huge kit. You need five things.
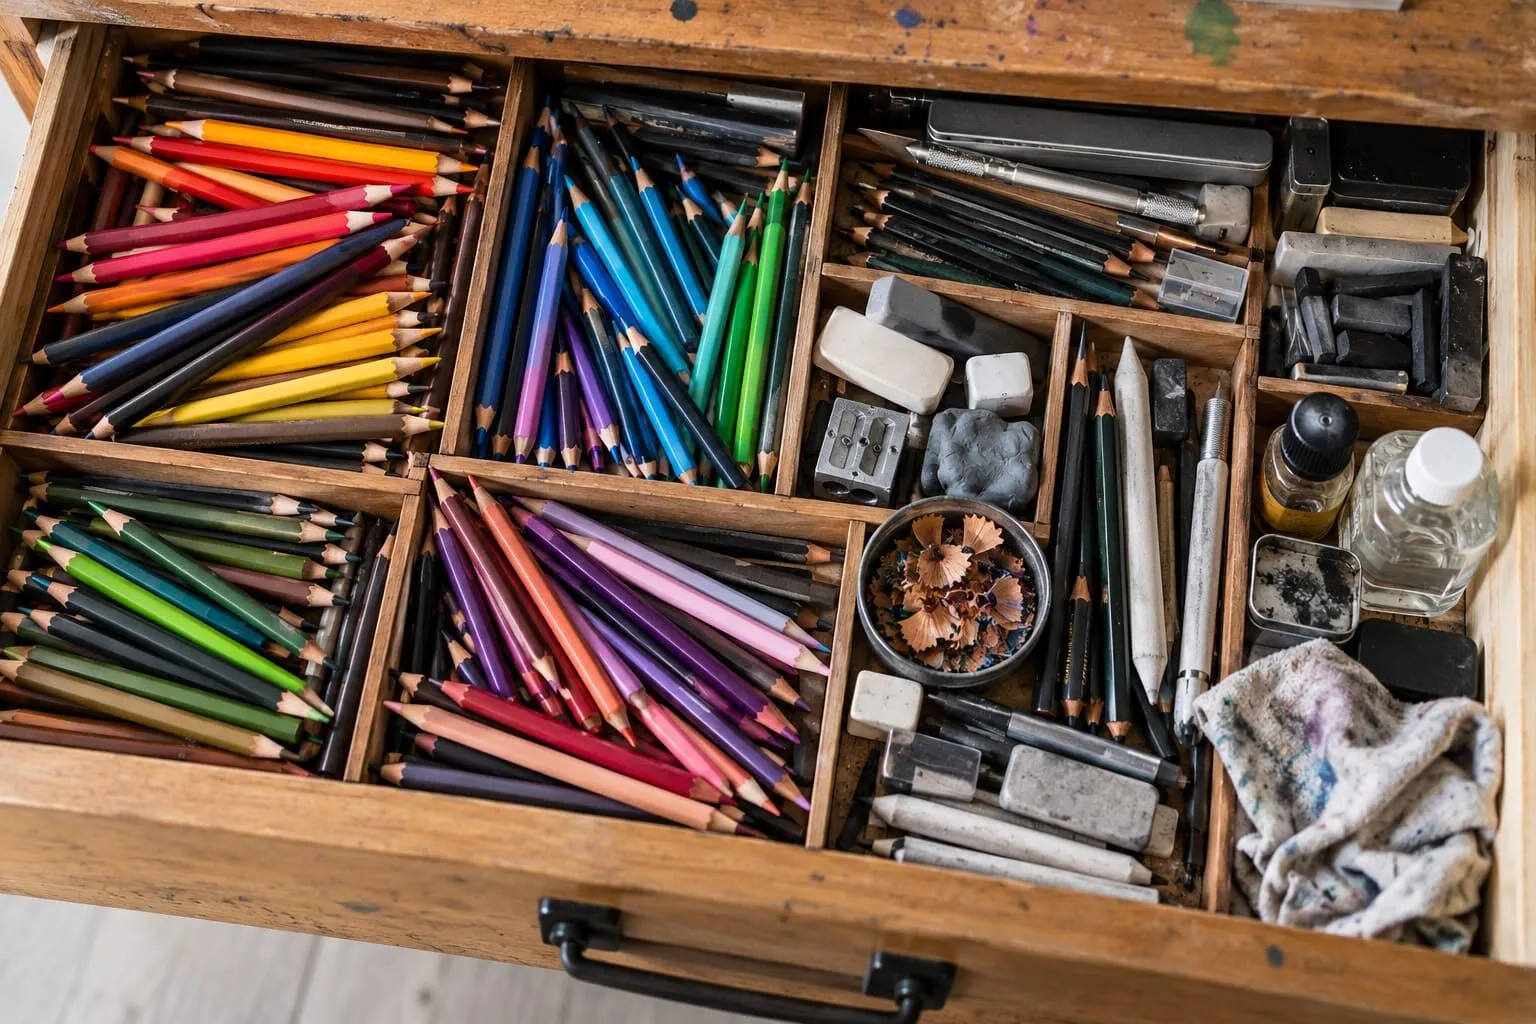
Pencils
Coloured pencils come in two main types. Wax-based pencils are soft, creamy and blend easily. Oil-based pencils are firmer, hold a sharper point and layer cleanly. Many artists use both. Our guide to wax versus oil-based coloured pencils explains the difference in more detail.
For learning, a mid-range set is the sweet spot. Soft, blendable pencils such as Derwent Coloursoft and Derwent Chromaflow are easy to layer and forgiving, while Faber-Castell Polychromos are firm, oil-based pencils that suit detail. Our list of the best coloured pencils for beginners compares sensible options, and the pencil set quiz can narrow the choice.
Buy a smaller set of better pencils rather than a giant set of poor ones. You can mix colours, so 24 good pencils will teach you more than 100 chalky ones.
A sharpener
A poor sharpener snaps soft cores. Read how to sharpen coloured pencils and see our picks for the best pencil sharpeners for coloured pencils.
Paper
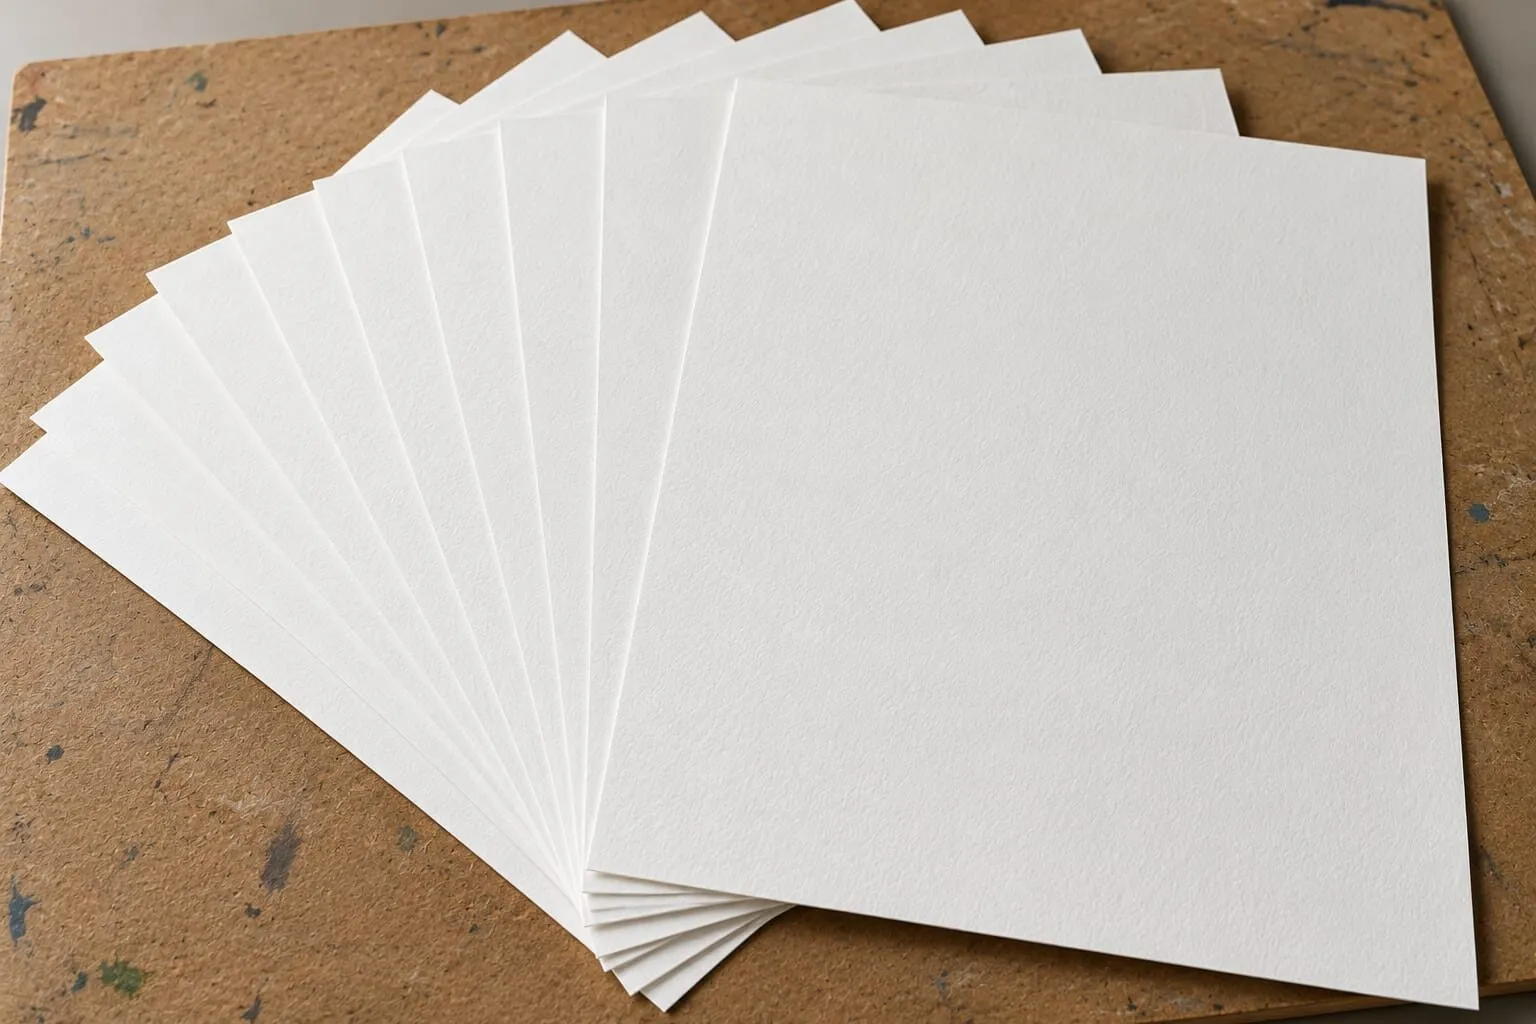
Paper matters as much as pencils. Look for a heavier sheet with some tooth so that it accepts many layers. Michael works on heavy paper of around 300 gsm; a lighter paper will still work for practice, but it wears down sooner. Grey paper such as Canson Mixed Media is excellent for glossy subjects, and smooth white paper suits soft blending. See the best paper for coloured pencils and paper weight explained.
An eraser and a blender
A kneaded eraser lifts light marks and reopens tooth. A colourless blender or a lighter pencil is enough for blending; you can try other tools later in our list of blending tools for coloured pencil.
A place to practise
A flat surface, a lamp and a sketchbook of the paper you plan to use. Practising on the same type of paper as your finished work saves nasty surprises.
First exercises
Do these four before starting a real drawing. They take about an hour in total, and they teach your hand what the pencils can do.
Exercise 1: a swatch chart
Draw a small square for every pencil in your set, and label it. Make each square in two ways: once with light pressure and once with firm pressure. You now have a reference for how each colour looks, and you have found out which pencils are soft, which are firm and which barely show on your paper.
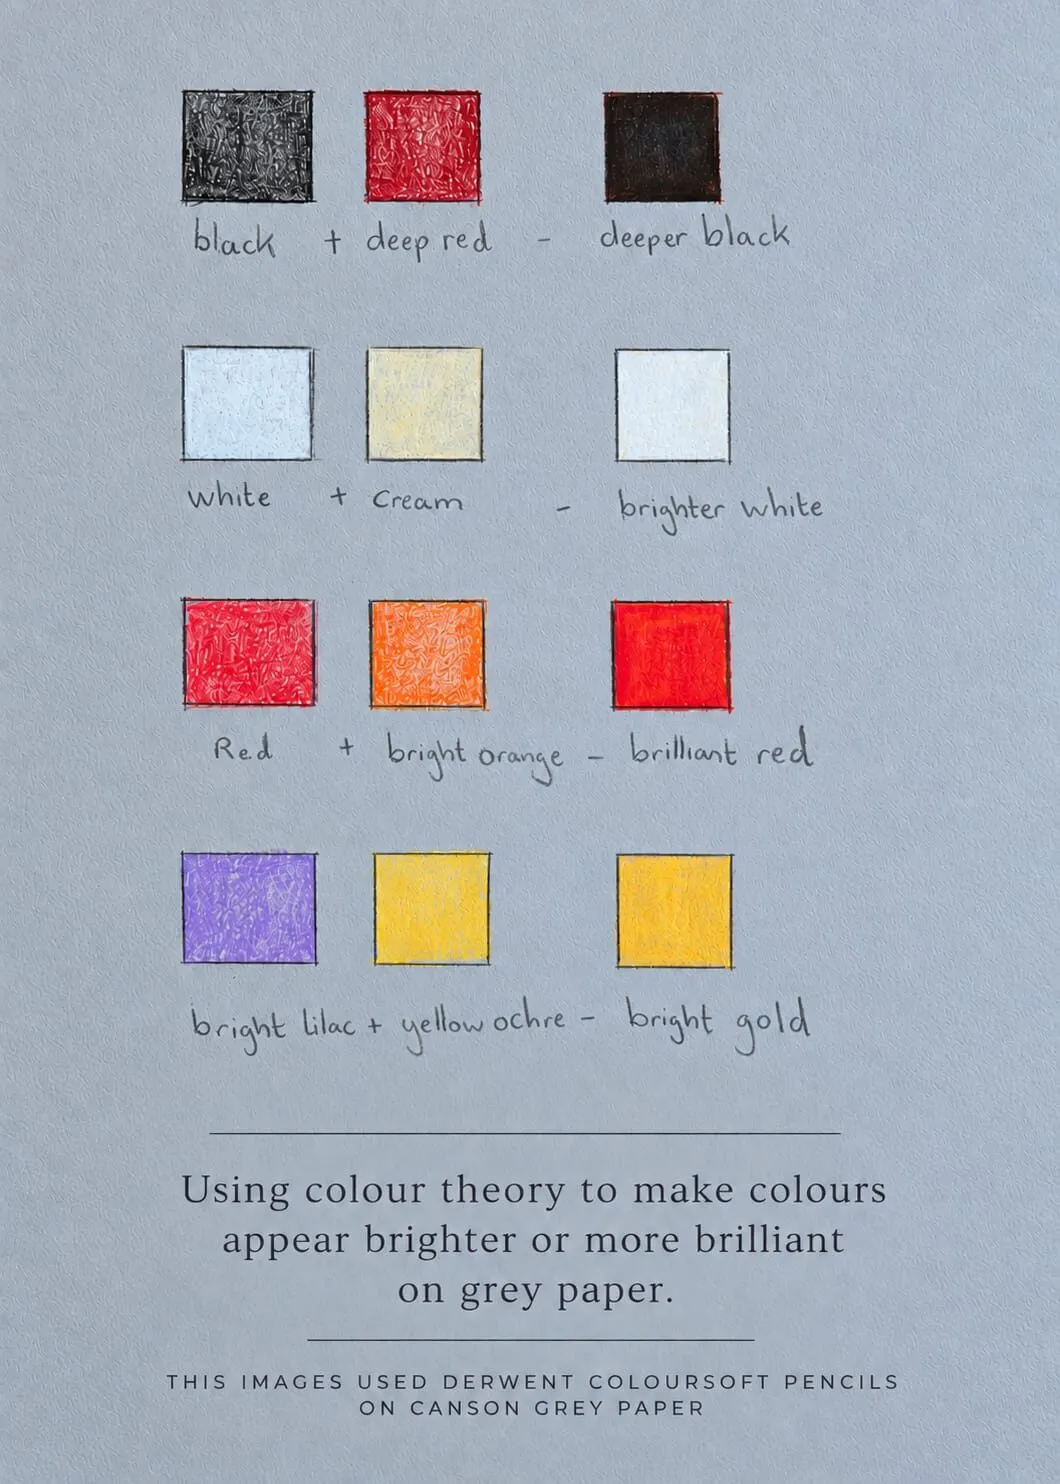
A swatch card on grey paper, made with Derwent Coloursoft on Canson grey. Pairing colours - for example white with cream - makes them read brighter than either alone.
Exercise 2: gradients
Draw a long rectangle and fill it with one colour, starting with heavy pressure at one end and fading to almost nothing at the other. Then do it again with a different pencil. Practise until the change looks smooth. This is the skill behind every shadow and highlight.
Exercise 3: layering
Fill a square with one light layer of yellow, then add a second colour over it, such as red. Add another light layer of a third colour. Notice how the colours combine into new ones. Read how to layer coloured pencils for the method, and remember the rule: each layer is a whisper.
Exercise 4: colour mixing
Make a simple colour wheel with three pencils, a red, a yellow and a blue, layering them to create the in-between colours. The wheel shows you how much you can make from very few pencils.
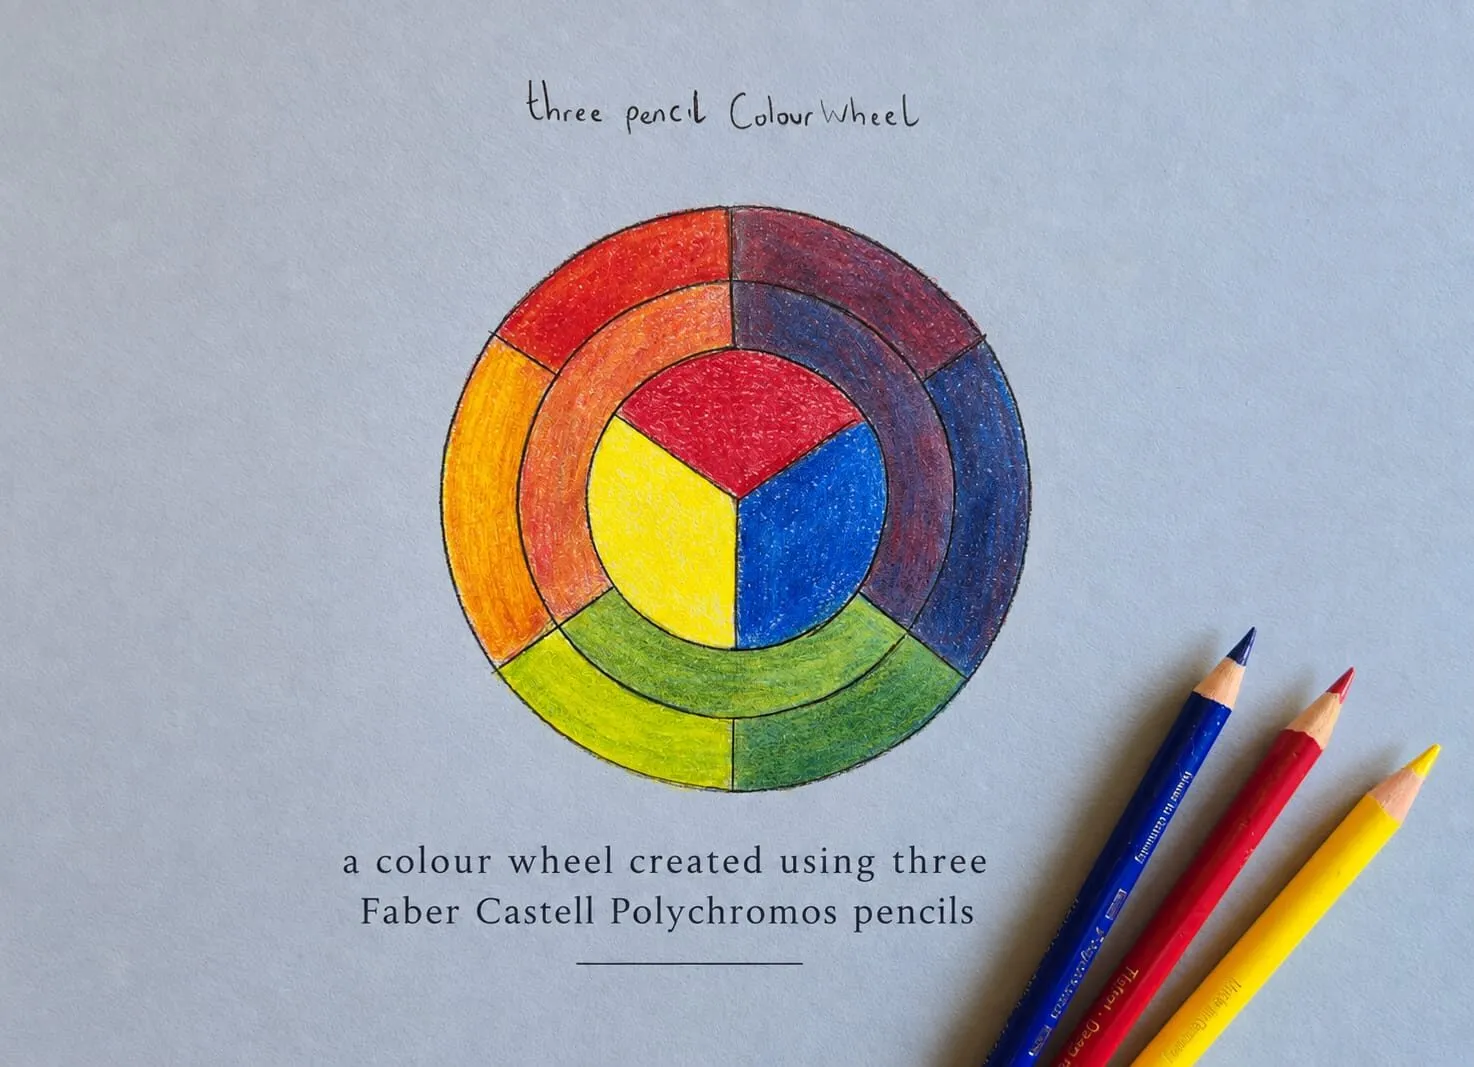
A hand-drawn colour wheel made with three Faber-Castell Polychromos pencils. Layering two primaries gives the colours between them.
For more, see how to match and mix colours with pencils.
The three core techniques
Layering
Layering builds colour and value with many thin coats. Start with light pressure so the paper’s tooth stays open, change stroke direction between layers, and work from light to dark. Layering is where coloured pencil becomes painterly - slow, deliberate and satisfying.
Blending
Blending merges layers into smooth transitions. You can blend with a lighter pencil, a colourless blender, or simply by adding more layers. Soft pencils blend easily; firm pencils blend cleanly. The key is patience, not pressure. The full method is in how to blend coloured pencils.
Burnishing
Burnishing is the final polish: pressing hard with a light pencil or a colourless blender to flatten the tooth and create a smooth, glossy finish. Do it only when the layers are complete, because you cannot add much colour afterwards. See how to burnish coloured pencils.
Your first project: an iced bun
A single, simple, rounded subject teaches you more than an ambitious one. A glazed bun, an apple or a cupcake all work well. The steps below use a bun on grey paper.
- Set up the subject. Place a real bun or a clear photo where a single lamp lights it from one side.
- Draw the outline lightly. Use the lightest pressure and simple shapes. The lines should nearly disappear under later layers.
- Block in the darkest areas. The shadow under the bun and the darkest part of the cherry go in first, in layers.
- Build the mid-tones. Layer warm browns and yellows with light pressure until the surface looks smooth.
- Add reflected colour. A little warm colour on the shadow edge helps the form turn.
- Add the icing. On grey paper, use a light or white pencil, keeping it slightly warm or tinted.
- Place highlights last. A few crisp highlights on the cherry and icing are enough.
- Step back. Squint at the drawing, or use the value study tool, to check that lights and darks are far enough apart.
For a fuller look at how glossy subjects are built, read how to draw glossy surfaces.
Common beginner mistakes
- Pressing too hard too soon. It fills the tooth and stops layers. Start lighter than feels necessary.
- Blunt points. They skip over the tooth and leave speckles. Sharpen often.
- Too few colours in one area. Objects are rarely one colour. Build them from several.
- Black for shadows. Black flattens colour. Use deep, saturated colours or a complement.
- Finishing one part at a time. Bring the whole drawing up together to keep values consistent.
- Wrong paper. Thin, smooth paper wears out quickly. Choose a heavy sheet with tooth.
- Fixing with more pressure. If it looks patchy, add another light layer, not a heavier one.
What to learn next
Once the four exercises and a first project feel comfortable, move on in this order: underpainting in coloured pencil for depth, lifting and erasing for corrections, and how a realistic drawing comes together for the whole workflow. For subject ideas, browse our coloured pencil drawing ideas. The full set of guides is in coloured pencil techniques.
The short version
Buy a modest set of good pencils, a proper sharpener and heavy paper with tooth. Do four short exercises - swatches, gradients, layering, colour mixing - then draw one simple subject in many light layers. Blend and burnish only at the end, and expect the first few drawings to be practice.
Where to buy
Recommended products
Affiliate links. We may earn a small commission if you buy, at no extra cost to you. Why?
Pencils · Derwent
Derwent Coloursoft Pencils
Soft, velvety and richly pigmented - excellent for painterly blending and bold colour.
Pencils · Faber-Castell
Faber-Castell Polychromos
Firm, oil-based artist pencils that hold a point - a benchmark for detail and clean layering.
Tool · Derwent
Derwent Pencil Sharpener
A dependable sharpener for keeping soft cores intact.
Buy on AmazonAffiliate link · opens Amazon
Paper · Canson
Canson Mixed Media Grey Paper
A toothy mid-tone grey paper that grips pigment and makes highlights glow.
Quick answers
Frequently asked questions
Are colored pencils and coloured pencils the same?+
Yes. Coloured is the UK spelling and colored is the US spelling of the same product. The pencils, techniques and papers are identical. You will see both used on shop pages and in books, so search for either spelling when looking for sets, tutorials and reviews.
What is the best way to start coloured pencil drawing?+
Start with a small set of good pencils, a sharpener and a sheet of heavier paper with some tooth. Make a swatch chart, practise light-pressure layering and gradients, then draw one simple subject such as an apple or a glazed bun. Keep sessions short and note what happens when you change pressure.
Do I need expensive pencils to begin?+
No. A mid-range set is enough to learn layering, blending and colour mixing, and it will teach you more than a huge student set. Upgrade when you feel the pencils limiting you, not before. Our guide to the best coloured pencils for beginners compares sensible starting points.
Why do my coloured pencil drawings look flat or waxy?+
Usually the colour went on too heavily too soon, filling the paper's tooth so later layers cannot grip. Use a sharp point, light pressure and more layers, and keep firm pressure for the last stage. Very smooth paper and heavy layering with wax-based pencils can also produce a waxy haze called wax bloom.