How to Draw
How to Draw Shadows and Light: Form, Cast and Colour
Learn to draw shadows and light: direction, form and cast shadow, core shadow, reflected light, edges, contact shadow and shadow colour in coloured (colored) pencil.
This guide contains affiliate links. If you buy through them we may earn a small commission at no cost to you. How this works.
Jump to recommended products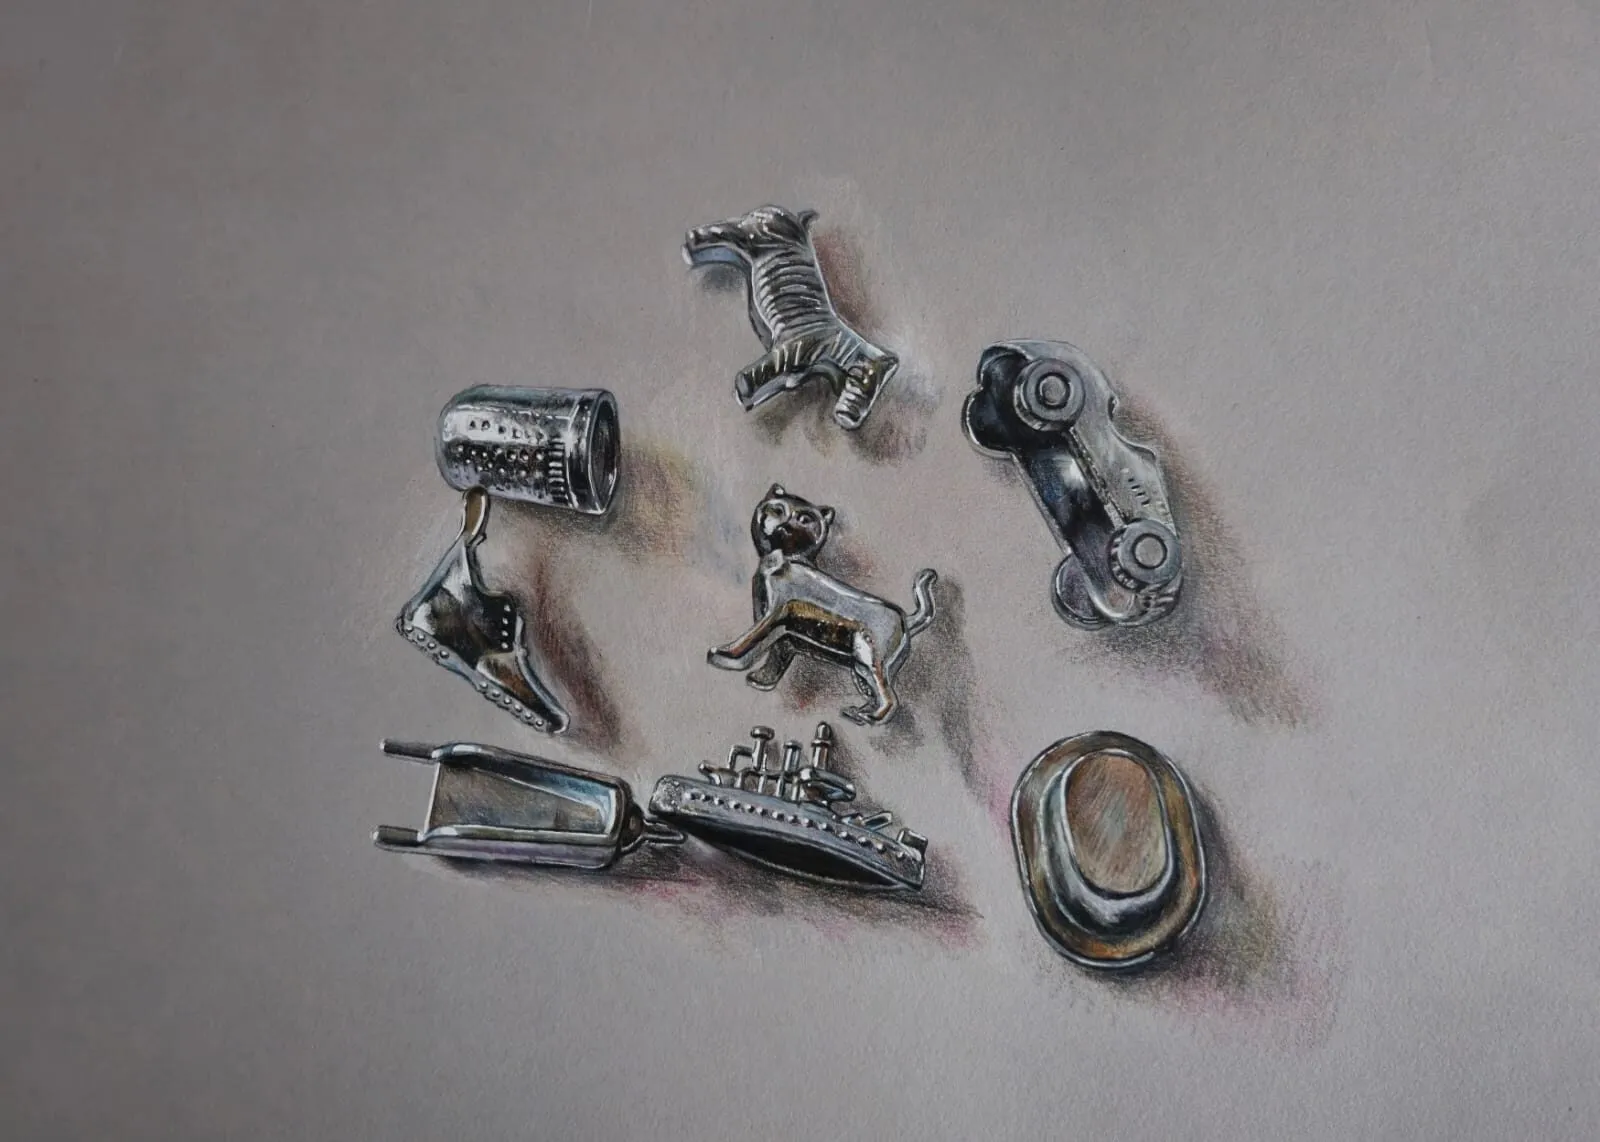
Key takeaways
- ◆Decide the light direction first and keep it consistent, because every shadow in the drawing depends on it.
- ◆Form shadow sits on the object and shapes it, while cast shadow falls on other surfaces and anchors the object to the ground.
- ◆The core shadow is the darkest part of the form, and reflected light inside the shadow keeps it from looking flat.
- ◆Shadow edges vary: sharp near the object and where light is hard, softer as the shadow moves away or when light is diffuse.
- ◆Shadows have colour: in coloured pencil, avoid black and use darker, cooler or more muted versions of the surrounding colours.
Shadows are what make a drawing feel solid. A perfect outline with no shadow looks like a sticker; a rough outline with good shadows looks like an object in a room. Beginners often treat shadow as the darkest thing they can make, but shadows are more subtle than that. They have types, edges, a direction and a colour, and each of those can be learned.
This lesson explains how to choose the light direction, the difference between form shadow and cast shadow, the core shadow and reflected light, how shadow edges change, how to draw a convincing contact shadow on the ground, and how to colour shadows in coloured pencils (colored pencils in the US).
What you need
- Graphite and paper: an HB, 2B and 4B are enough for the exercises. See how to shade with pencil for pressure control.
- Coloured pencils: for shadows you need dark blue, purple, dark green and warm brown as well as the local colours. Grey paper helps by providing a mid-tone.
- A lamp and objects: an egg, a cup and a box, lit by one light, teach more than any diagram.
- Optional: the value study tool helps you check your light and dark pattern.
Start with the light
Every shadow depends on the light, so decide it before you draw. Ask three questions:
- Where is the light coming from? Left, right, above, behind? Mark it with a small arrow at the edge of the paper.
- How strong is it? Direct sun or a bare bulb gives hard, dark shadows with sharp edges. Overcast light gives soft, pale shadows with blurred edges.
- What colour is it? Warm sunlight or cool daylight will tint both lights and shadows.
Stick to one main light. Two competing directions confuse a drawing, and it is the most common reason shadows look wrong. When copying from a photograph, look for the direction of the shadows first and check that every object agrees.
Form shadow and cast shadow
There are two types of shadow, and they do different jobs.
- Form shadow lies on the object itself. It is the darker side, where the surface turns away from the light. It describes the shape: a sphere gets a curved band, a cube gets a darker face.
- Cast shadow falls onto another surface. It is the dark shape an object throws on the table, wall or ground. It describes the position: where the object stands and how far it is from the surface.
Both are needed. Form shadow without cast shadow leaves the object floating, and cast shadow without form shadow leaves it flat. The basic forms and shading lesson practises both on simple shapes.
The direction of the cast shadow is opposite to the light. Light from the top left casts shadow to the bottom right. The length depends on the height of the light: low light gives long shadows and high light gives short ones.
Core shadow and reflected light
Inside the form shadow are two more zones.
The core shadow is the darkest band on the form. It is not at the very edge, but a little way in from it, where the surface turns furthest from the light.
Reflected light is the slightly lighter band between the core shadow and the edge. It comes from light bouncing off the nearby surface back onto the object, and it often carries the colour of that surface. A white cup on a red cloth picks up a little red in its shadow side.
Reflected light is what gives a shadow depth. Keep it lower in value than the lit side, or the form will look as though it has two lights. In coloured pencil, add the reflected light as a soft, tinted layer, not a bright one.
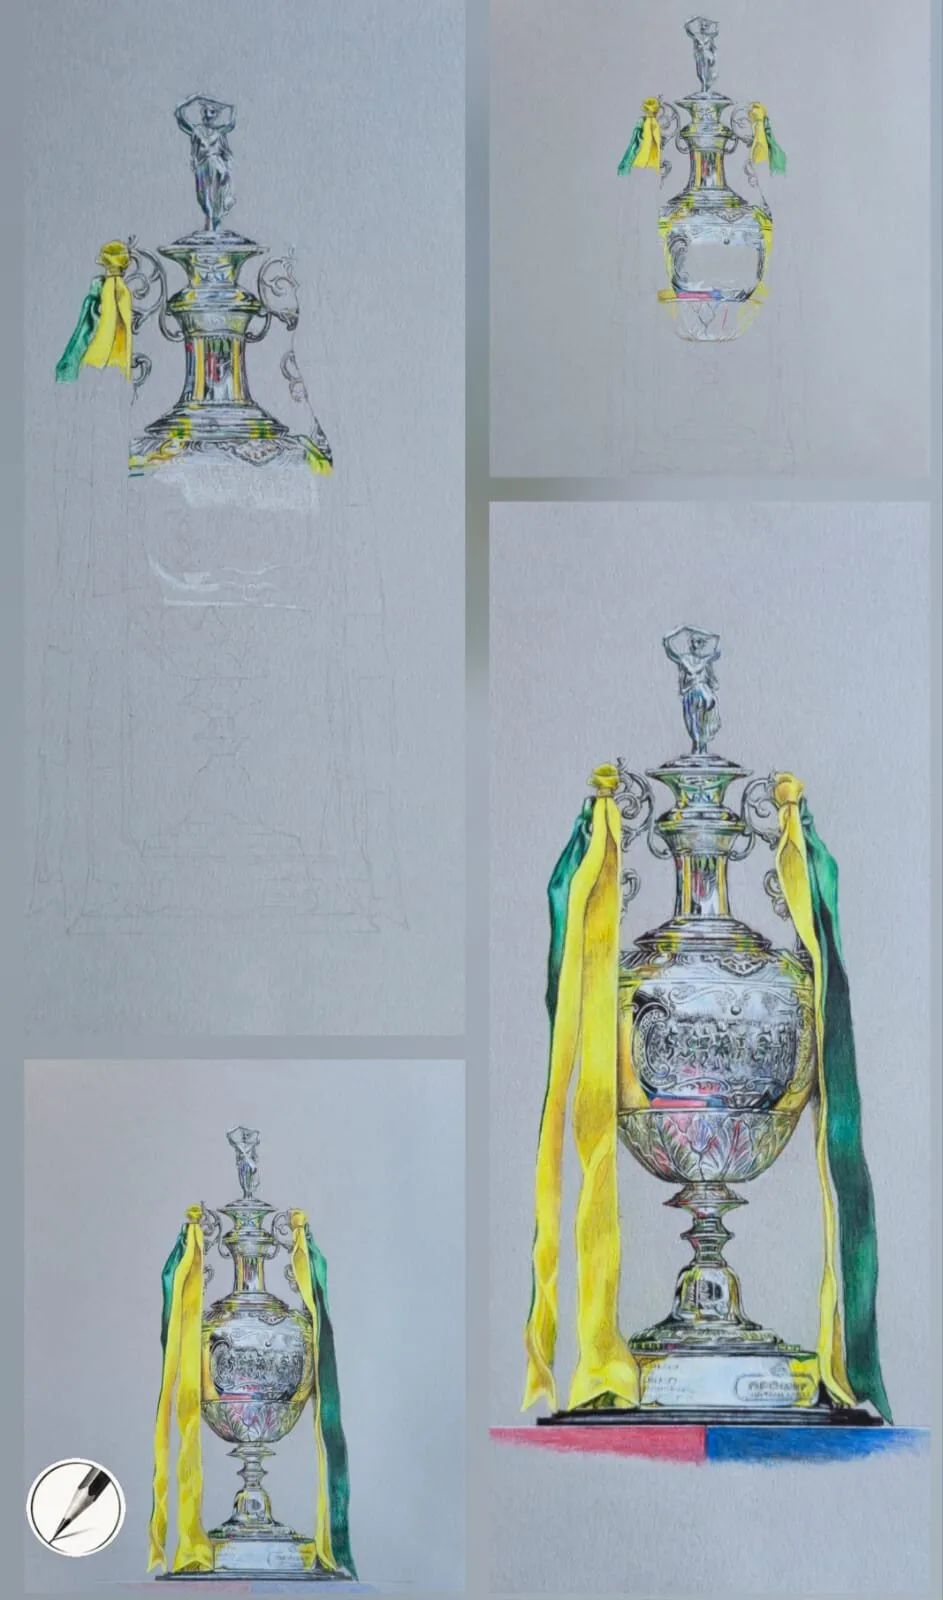
Michael’s silver trophy in stages on grey paper: dark shadows and reflected light build the form before the brightest highlights are added.
Edge quality
Not every edge in a shadow is the same, and varying them is what makes shadows look real.
| Edge | Where it happens | How to draw it |
|---|---|---|
| Sharp | Hard light, near the object, at a crisp corner | Firm pencil, clean line between light and dark |
| Soft | Diffuse light, far from the object, curved forms | Light, overlapping strokes, gradual transition |
| Lost | Where shadow tone matches the background | Let the edge disappear into a similar value |
A cast shadow is usually sharpest where it touches the object and softens as it moves away. The form shadow on a curved surface has soft edges that melt into the light, while a cube has sharp edges where two faces meet.
The ground contact shadow
The darkest, most important shadow in most drawings is the one right where the object meets the surface. It is called the contact shadow, and it is what convinces the eye that the object is resting on the ground rather than floating over it.
- Draw the cast shadow shape first, extending away from the light and following the object’s base.
- Make it darkest and crispest at the point of contact, where light cannot reach.
- Fade it gradually and soften the edge as it moves away from the object.
- Add a slight tint of reflected light near the object if the surface is glossy.
Michael’s dynamic footballer figure shows how much a little shadow and grass does for a figure. Adding them anchors the pose and gives movement.
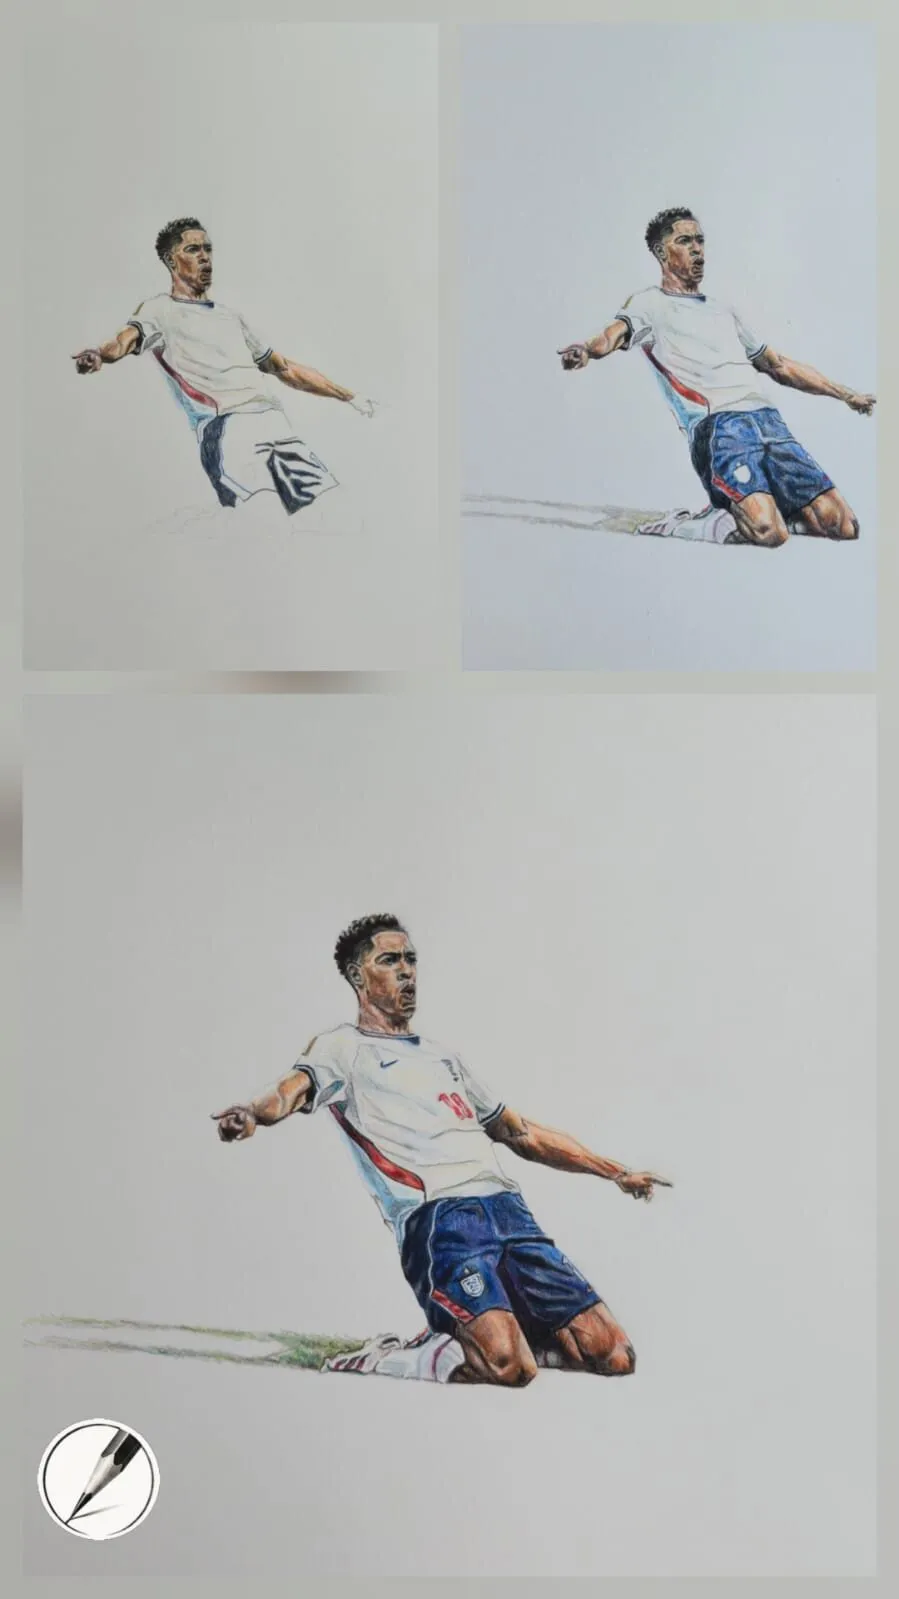
Adding shadow and grass helps ground the pose and add movement, another of Michael’s progress figures.
For food drawings, the same contact shadow keeps a dessert on its plate, as in the food drawing lesson.
The colour of shadows in coloured pencil
In colour work, shadows are not just darker; they change colour too. Some guidelines:
- Avoid pure black. Black flattens colour. Use a very dark blue, purple, green or brown layered over the local colour.
- Temperature contrast. Under warm light, shadows tend to lean cool (blue, purple). Under cool light, shadows lean warmer. See colour temperature: warm and cool.
- Muted, not dead. Shadows are usually less saturated than lights. You can tone a colour down with a touch of its complement. See saturation and muted colours.
- Reflected colour. Let the colour of nearby surfaces tint the shadow side.
- Layer, do not press. Build shadows in several light layers so the colour stays rich and you can adjust as you go.
On grey paper, your paper is already a mid-tone, so shadows only need to go a little darker than the paper and lights go above it. This makes it easy to see the light and dark pattern. Read why use grey paper for coloured pencil for more on this. The value in drawing guide explains how to judge your lights and darks.
Shadows on shiny and matte surfaces
Matte objects such as bread or clay have soft, gradual shadows and diffuse highlights. Shiny objects, like the trophy, have sharp reflections, dark edges and bright highlights that sit right next to the shadow. If you draw a shiny object with soft matte shadows it will not look shiny, so look at the surface and ask how it treats light. For metals, see how to draw shiny metal and reflections.
Common mistakes
The remedy is usually observation. Set up a real object under a lamp, look for the five zones, and draw only what you see, not what you expect.
Practice exercises
- One egg, three lights: draw an egg lit from the left, from above and from the right, with its cast shadow.
- Edge study: draw a cube in hard light and in soft light and note the difference in edges.
- Contact shadow drill: draw five objects, floating first, then grounded with a contact shadow.
- Colour shadows: draw a yellow object with a grey shadow, then again with a blue-violet shadow, and compare.
- Reflected light: place a white cup on a coloured cloth and draw the tint in the shadow side.
The short version
Choose one light direction, then draw the form shadow, core shadow, reflected light and cast shadow in that order. Make the contact shadow the darkest, vary the edges, and in coloured pencil build shadows from cool, muted layers rather than black. Continue with perspective to place objects in space, or return to the how to draw hub.
Where to buy
Recommended products
Affiliate links. We may earn a small commission if you buy, at no extra cost to you. Why?
Pencils · Faber-Castell
Faber-Castell Polychromos
Firm, oil-based artist pencils that hold a point - a benchmark for detail and clean layering.
Paper · Canson
Canson Mixed Media Grey Paper
A toothy mid-tone grey paper that grips pigment and makes highlights glow.
Quick answers
Frequently asked questions
How do you draw shadows realistically?+
Fix the direction of the light, then draw the form shadow on the object and the cast shadow on the surface beside it. Make the cast shadow darkest and sharpest where the object touches the ground, and lighter and softer further away. Add reflected light inside the shadow so it does not look flat.
What is the difference between form shadow and cast shadow?+
A form shadow is the darker side of the object itself, where the surface turns away from the light. A cast shadow is the shadow the object throws onto another surface. Both need drawing, and they usually share a direction, but the form shadow shapes the object while the cast shadow grounds it.
What colour should shadows be in coloured pencil?+
Rarely black. Shadows are usually darker, cooler and more muted versions of the surface colour, often with a little blue, purple or a complementary colour. Layer these over the local colour so the shadow still reads as part of the object. Warm light tends to give cool shadows, and cool light gives warmer ones.
Are colored pencils and coloured pencils the same?+
Yes, colored is the US spelling and coloured the UK spelling of the same pencils. The shadow methods in this guide work with either, and with wax or oil-based types. Use light layers and build shadows gradually rather than pressing hard, so you keep control over the value and colour.