Drawing Techniques
How to Draw Animal Fur in Coloured Pencil
Realistic fur comes from direction, layers and sharp points. Build a base tone, add fine strokes and shadow beneath the hair with coloured pencil (colored pencil).
This guide contains affiliate links. If you buy through them we may earn a small commission at no cost to you. How this works.
Jump to recommended products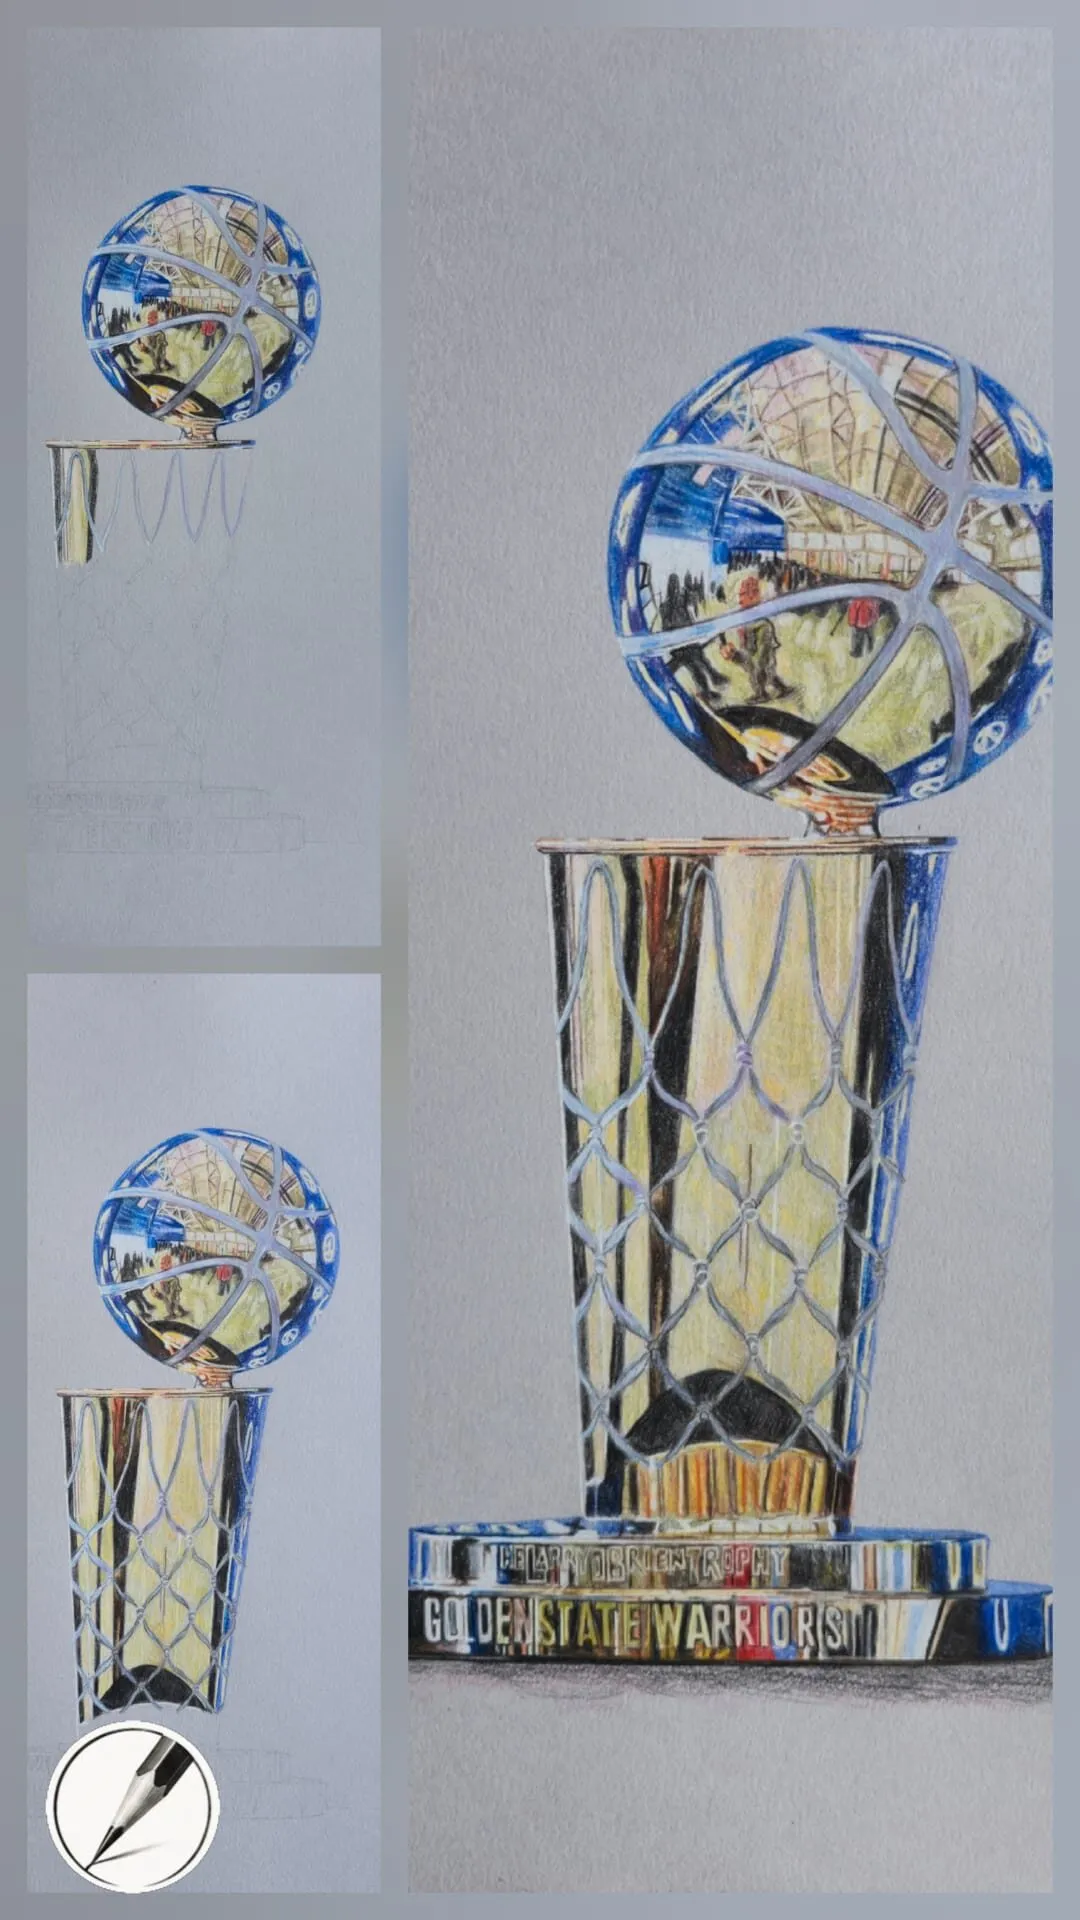
Key takeaways
- ◆Fur is drawn in the direction it grows, and the direction changes across the form.
- ◆Build a smooth base tone first, then add layers of finer and finer strokes on top.
- ◆Shadow beneath and between the hairs is what makes fur look thick rather than scratchy.
- ◆Firm, oil-based pencils such as Polychromos are good for fur, hair and crisp edges, while wax pencils suit soft areas like eyes and noses.
- ◆Keep points very sharp, and use lifting for pale whiskers and light strands.
Fur puts people off because it looks like thousands of individual hairs. The good news is that nobody draws thousands of hairs. Convincing fur is a trick of direction, layers and shadow, with a small number of fine strokes placed exactly where they will be noticed. Once you see it that way, a dog, a cat or a rabbit becomes an approachable subject.
This guide gives a method you can repeat on any coat, then covers pencils, paper and the mistakes that make fur look scratchy or flat. For the theory behind building depth in general, how to layer coloured pencils is the essential companion.
How fur really works
Before you pick up a pencil, look at how the coat behaves.
- Direction. Hair grows in a pattern that follows the form. It fans out from the nose, sweeps back over the skull, and falls down the chest. Strokes that follow that pattern look right, and strokes that cross it look wrong.
- Clumping. Hairs group into locks and tufts. You draw the clump first, then a few hairs at its edge.
- Depth. Fur has layers. There are hairs on top, hairs behind them, and dark gaps between. Those gaps are what give fur volume.
- Length and edge. Short fur has a crisp, close edge. Long or fluffy fur has a broken, feathered silhouette.
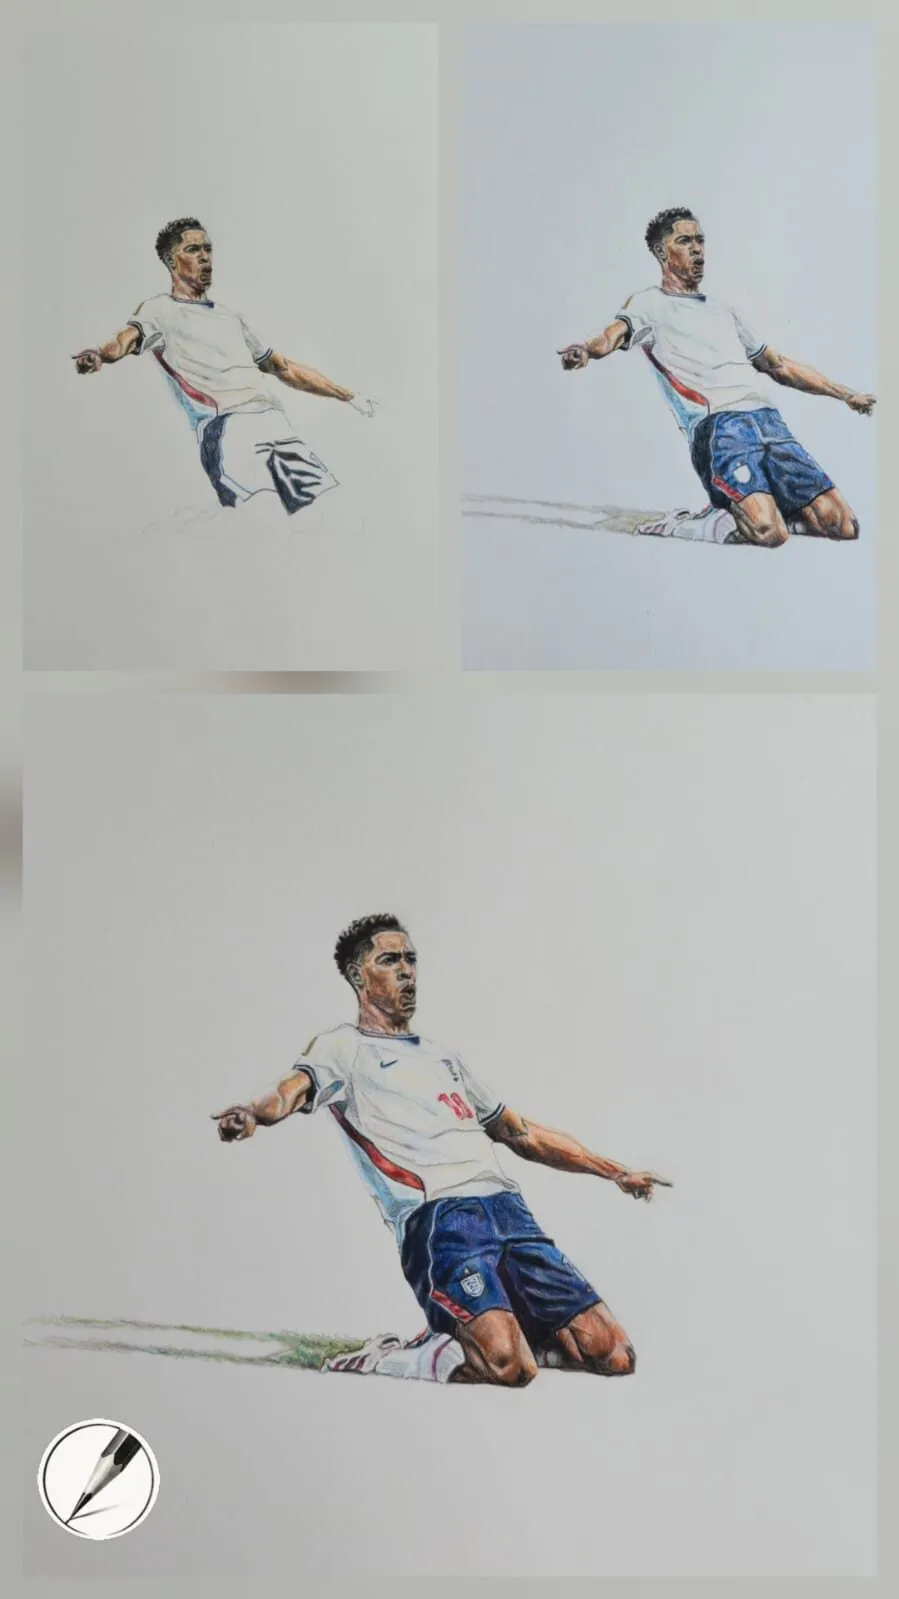
A kneeling footballer drawn in coloured pencil, shown in three stages. Drawing by Michael Brace.
Pencils for fur
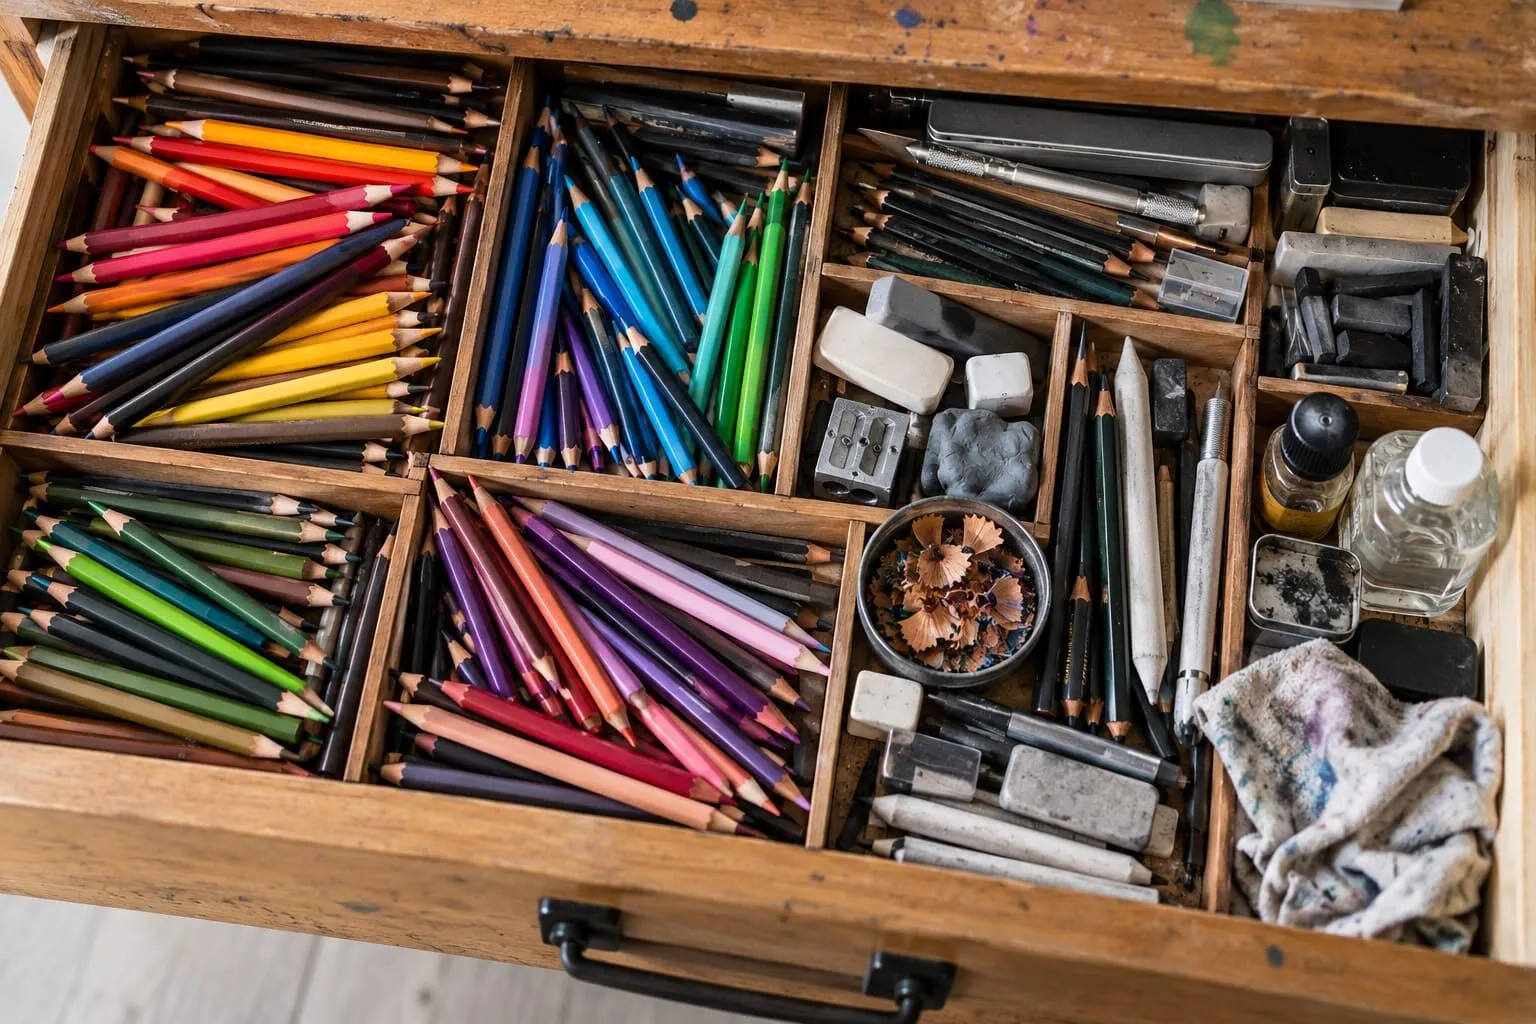
Michael’s pencil notes are clear on this. Oil-based pencils are firm, precise and layer cleanly, which makes them perfect for fur, hair and crisp edges. Wax-based pencils are soft, creamy and blend easily, which suits smooth gradients and soft areas.
In practice:
- Firm oil-based pencils such as Faber-Castell Polychromos hold a fine point for a long time, so they are the tool for the individual hairs, whiskers and sharp edges.
- Softer wax pencils such as Caran d’Ache Luminance suit the eyes, nose and smooth base tones where you want gentle transitions.
- Many artists use both, wax for softness and oil for precision.
Our guide to wax versus oil-based coloured pencils explains the difference in more depth. Whatever you choose, keep the points very sharp. A dull pencil makes thick, blunt strokes that look like string, not hair. A quality sharpener helps, and our sharpener guide covers the options.
Paper for fur
Stonehenge White is velvety and forgiving, and Michael notes it is perfect for skin, fur and natural textures. It lets you layer deeply without a scratchy feel, and colours sink into the fibres for a soft finish. Arches Hot Press is smoother and suits fine detail, though it is harder to correct.
Grey or toned paper can suit white and pale animals, because white pencil stands out against the mid-tone. For warm, soft subjects, white or cream paper often works better, since warm underlayers matter more. See our guides to when to use cartridge paper and the best paper for realistic drawing.
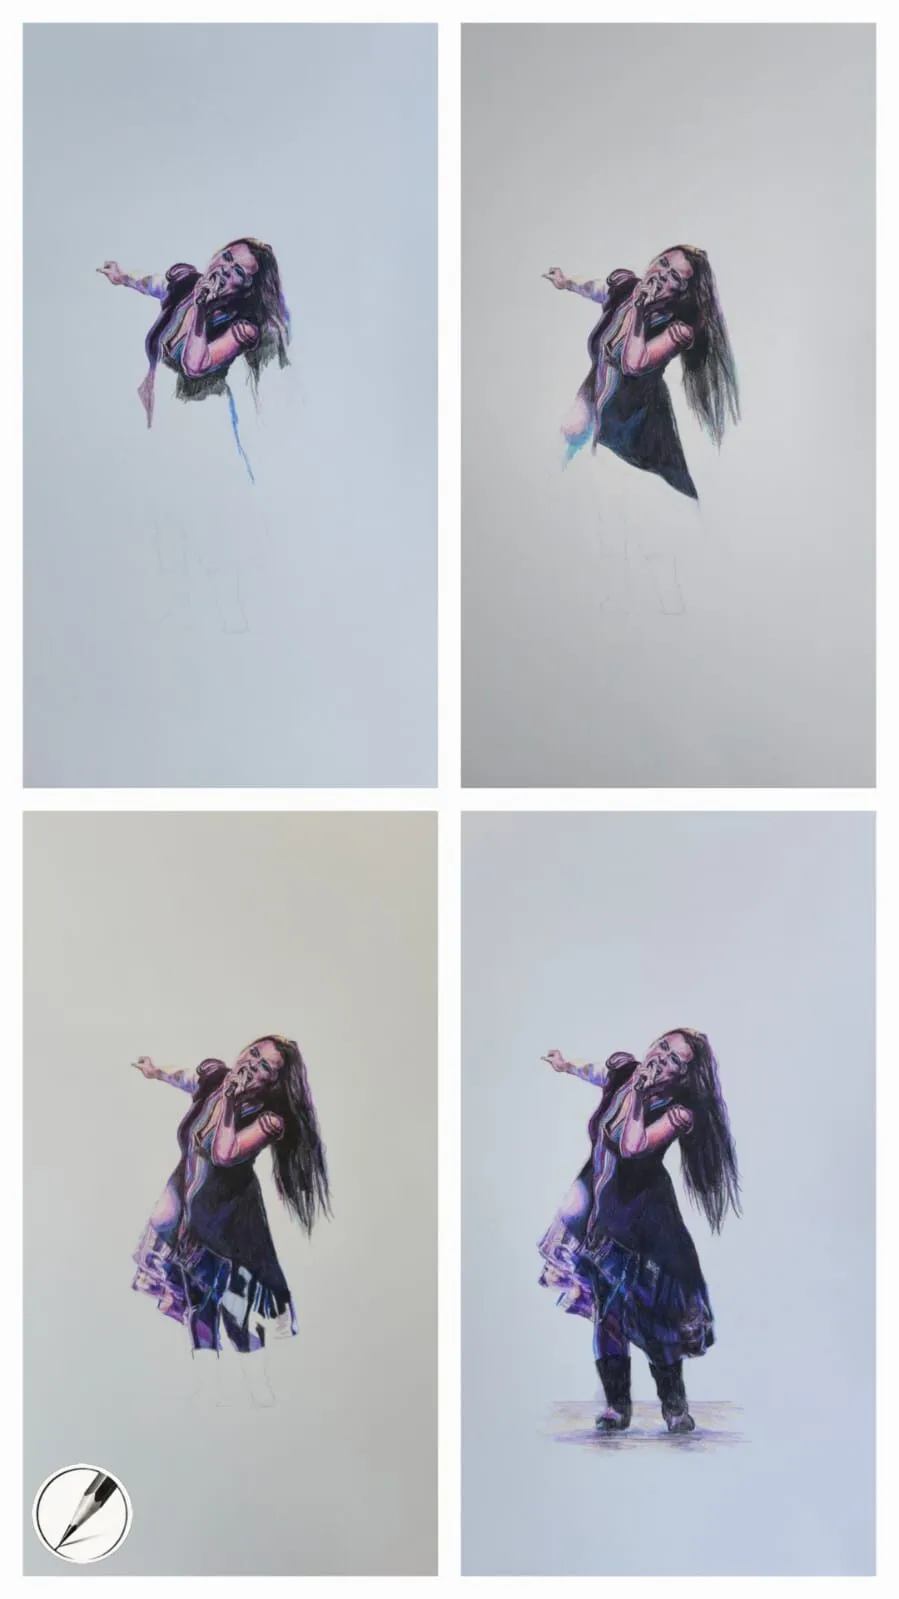
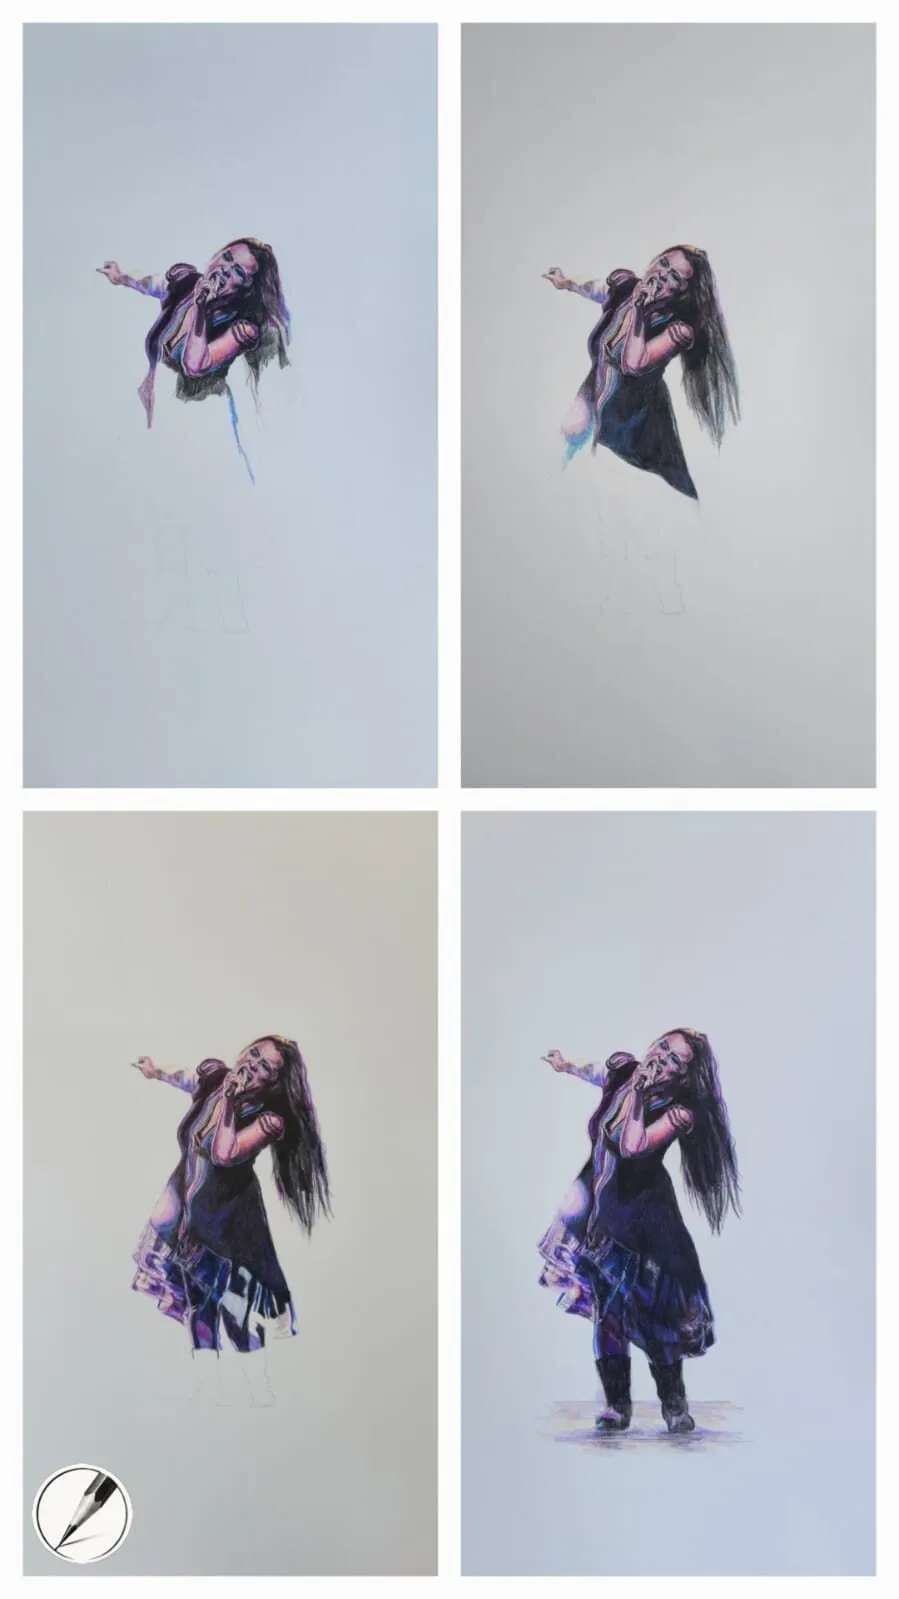
A figure drawing built up in four stages of coloured pencil. Drawing by Michael Brace.
Step-by-step method
- Draw a clear layout. Outline the animal and mark the main shadow shapes. Also sketch the direction of growth with a few light arrows or lines.
- Lay a smooth base tone. Block in the overall colour of the coat with light, even pressure, following the direction of the fur. This base is a colour and value guide, not the final texture.
- Add the shadow shapes. Put in the larger areas of shadow under the chin, behind the legs, in the ears and between clumps of fur. These broad shadows give the animal form.
- Build the fur layer by layer. Now add strokes, starting with the darker colours. Use a sharp point, flick each stroke out from the root and lift at the end so it tapers. Vary length, direction and spacing to avoid a mechanical look.
- Work the shadows between hairs. Between and beneath the tufts, deepen the tone. Those dark gaps are what make the light hairs in front stand out, and they are the difference between fur and scribble.
- Add mid-tone and highlight strokes. Come back with lighter and warmer colours over the top, following the same directions. Keep some areas smooth so the eye has somewhere to rest.
- Finish with a few crisp strands. Add individual hairs at the edges, on the brow and around the ears. Fewer is better. A dozen well-placed strands do more than a hundred random ones.
- Refine eyes, nose and mouth. These are the soft focal points, and a wax pencil helps here. Place a crisp highlight in the eye last.
Layering is the backbone of this method. Build slowly, in thin passes, so colour stays clean and you can adjust it. If you press too hard early, you flatten the tooth and cannot add later hairs.
Whiskers and light hairs over dark fur
Pale hairs on top of dark fur are the hardest strokes to add. There are two pencil-only approaches.
- Lift them out. With a sharp eraser pencil or a precision eraser, pull a curved line out of the dark layers. This works well on textured paper while the layers are still light. Our guide to lifting and erasing coloured pencil covers the tools and how each paper behaves.
- Draw them on top. Use a very sharp pale or white pencil, and use one confident stroke per whisker with a slight curve and a taper. Pressing firmly lets the hair sit on top of the darker layers.
Plan whiskers early, because they depend on the paper. On smooth hot press paper, lifting is harder, so draw them on top instead.
A second example: feathers and texture
Fur and feathers share the same logic: direction, layers and shadow between elements. Saturated colour and fine, directional strokes give a strong sense of plumage.
Colour in fur
Fur is almost never one colour. A brown coat contains warm ochres, cool umbers, near-blacks in the shadows and lighter, warmer notes where light hits it. A white coat is built from pale greys, creamy yellows, and touches of blue in the shade. Mixing several pencils in the same stroke area gives the coat richness that a single pencil cannot.
Start with the local colour of the coat, then add a warmer or cooler variation depending on where the light is coming from. Reflected colour from the ground or the background often tints the underside of the fur, and including it ties the animal into its setting. The colour scheme generator can help you plan a harmonious palette before you start, and how to match and mix colours with pencils explains how to see undertones.
Areas that need different handling
- Face and muzzle. The fur is short and lies close to the skin. Use tiny, precise strokes, and let the underlying form show through.
- Ears. Thin fur over cartilage lets warm colour glow through at the edges. Keep the strokes fine and the tones warm.
- Chest and belly. Longer, softer fur with visible clumps. Use longer strokes and more broken edges.
- Eyes and nose. These are smooth, wet-looking surfaces rather than fur. Wax pencils give the smooth gradients, and a crisp highlight makes them come alive. See how to draw glossy surfaces for the principles behind that shine.
Common mistakes
Practice ideas
Start with a small patch of short fur, such as a section of a cat or a horse, rather than a whole animal. Practise a smooth base, then three layers of strokes, then a few crisp hairs. Once that feels natural, try long or fluffy fur. For further reading on animals, see our list of the best books for animal drawing, and for how a whole drawing fits together, how a realistic drawing comes together.
Put the method to work in lessons on drawing a dog and drawing a horse, and keep your points fine with our guide to sharpening coloured pencils. Coloured pencils are called colored pencils in the US, and everything in this guide applies to both.
The short version
Follow the growth direction, lay a smooth base, build the coat in layers of ever finer strokes, and darken the gaps between hairs so the fur has depth. Use firm oil-based pencils for crisp hair and edges, softer wax pencils for eyes and noses, and keep every point sharp. Finish with a handful of well-placed strands, and lift or draw pale whiskers last.
Where to buy
Recommended products
Affiliate links. We may earn a small commission if you buy, at no extra cost to you. Why?
Pencils · Faber-Castell
Faber-Castell Polychromos
Firm, oil-based artist pencils that hold a point - a benchmark for detail and clean layering.
Tool · Derwent
Derwent Pencil Sharpener
A dependable sharpener for keeping soft cores intact.
Buy on AmazonAffiliate link · opens Amazon
Quick answers
Frequently asked questions
How do you draw realistic fur with coloured pencil?+
Draw a smooth base tone first, then add layers of fine strokes that follow the direction of growth. Add darker tones between and beneath the hairs to create depth, and finish with a few crisp, individual strands. Keep the pencils sharp and vary the length, direction and pressure of the strokes.
Which pencils are best for drawing fur?+
Firm, oil-based pencils such as Faber-Castell Polychromos hold a fine point and give crisp edges, so they suit fine hair. Softer wax pencils suit smooth base tones and soft areas such as eyes and noses. Combining both gives the best of each.
How do you draw white fur?+
White fur is really made of soft greys, cream, pale blues and warm reflected tones. Build shadows with light greys and cool tints, leave the lightest areas untouched or lightly toned, and add fine white or pale strands last. Grey or toned paper helps a white pencil stand out.
How do you draw whiskers and light hairs over dark fur?+
Lift them out with a sharp eraser pencil or a precision eraser, or draw them with a sharp pale pencil over the top. Lifting works best on textured paper and while layers are light. Use one confident stroke for each whisker, curved slightly, tapering at the end.
Does the fur method work with colored pencils as well as coloured pencils?+
Yes. They are the same pencils under two spellings, so the base tone, fine strokes and shadow-between-hairs approach works with either.