How to Draw
How to Draw Realistic Eyes
Draw realistic eyes step by step in graphite, then add colour with coloured (colored) pencils. Anatomy, construction, value structure and common mistakes.
Key takeaways
- ◆An eye is a sphere sitting under two eyelids, so shade it as a rounded form rather than drawing a flat almond.
- ◆The iris is partly covered by the upper lid, and the eyelid casts a shadow on it. That shadow is what makes the eye look real.
- ◆Keep the highlight a crisp, clean shape and place it last, and never colour it in.
- ◆The white of the eye is never pure white. It is a light grey that darkens toward the corners.
- ◆Build lashes as tapered flicks that follow the curve of the lid, after the tone is in place.
To draw a realistic eye, treat it as a glossy ball tucked between two eyelids. Sketch a light construction, model the iris and pupil with the shadow the upper lid casts on them, tone the white of the eye in soft greys, then finish with a crisp highlight and lashes that taper along the lid. Do it in that order and most of the usual problems disappear.
This lesson gives the graphite method first, because it teaches value more clearly, then shows how to add colour with coloured pencils (colored pencils in the US). It also covers eye anatomy, the value structure that makes an eye read as round, and the mistakes that make eyes look flat.
What you need
- Graphite: an HB or 2B for construction, a 4B for the darks, and a sharp point throughout. See the graphite pencil grades explained guide if you are unsure which grade is which.
- Erasers: a kneaded eraser for lifting and soft tone, and a fine eraser pencil for the highlight.
- Paper: smooth or lightly textured paper handles fine detail well. The best paper for graphite drawing compares options.
- For colour: a few firm coloured pencils in brown, blue or green, and grey, plus a light warm tone for the surrounding skin. Our best coloured pencils for portraits guide covers choices.
- Reference: a large, sharp photo. Enlarge the eye until the details are obvious.
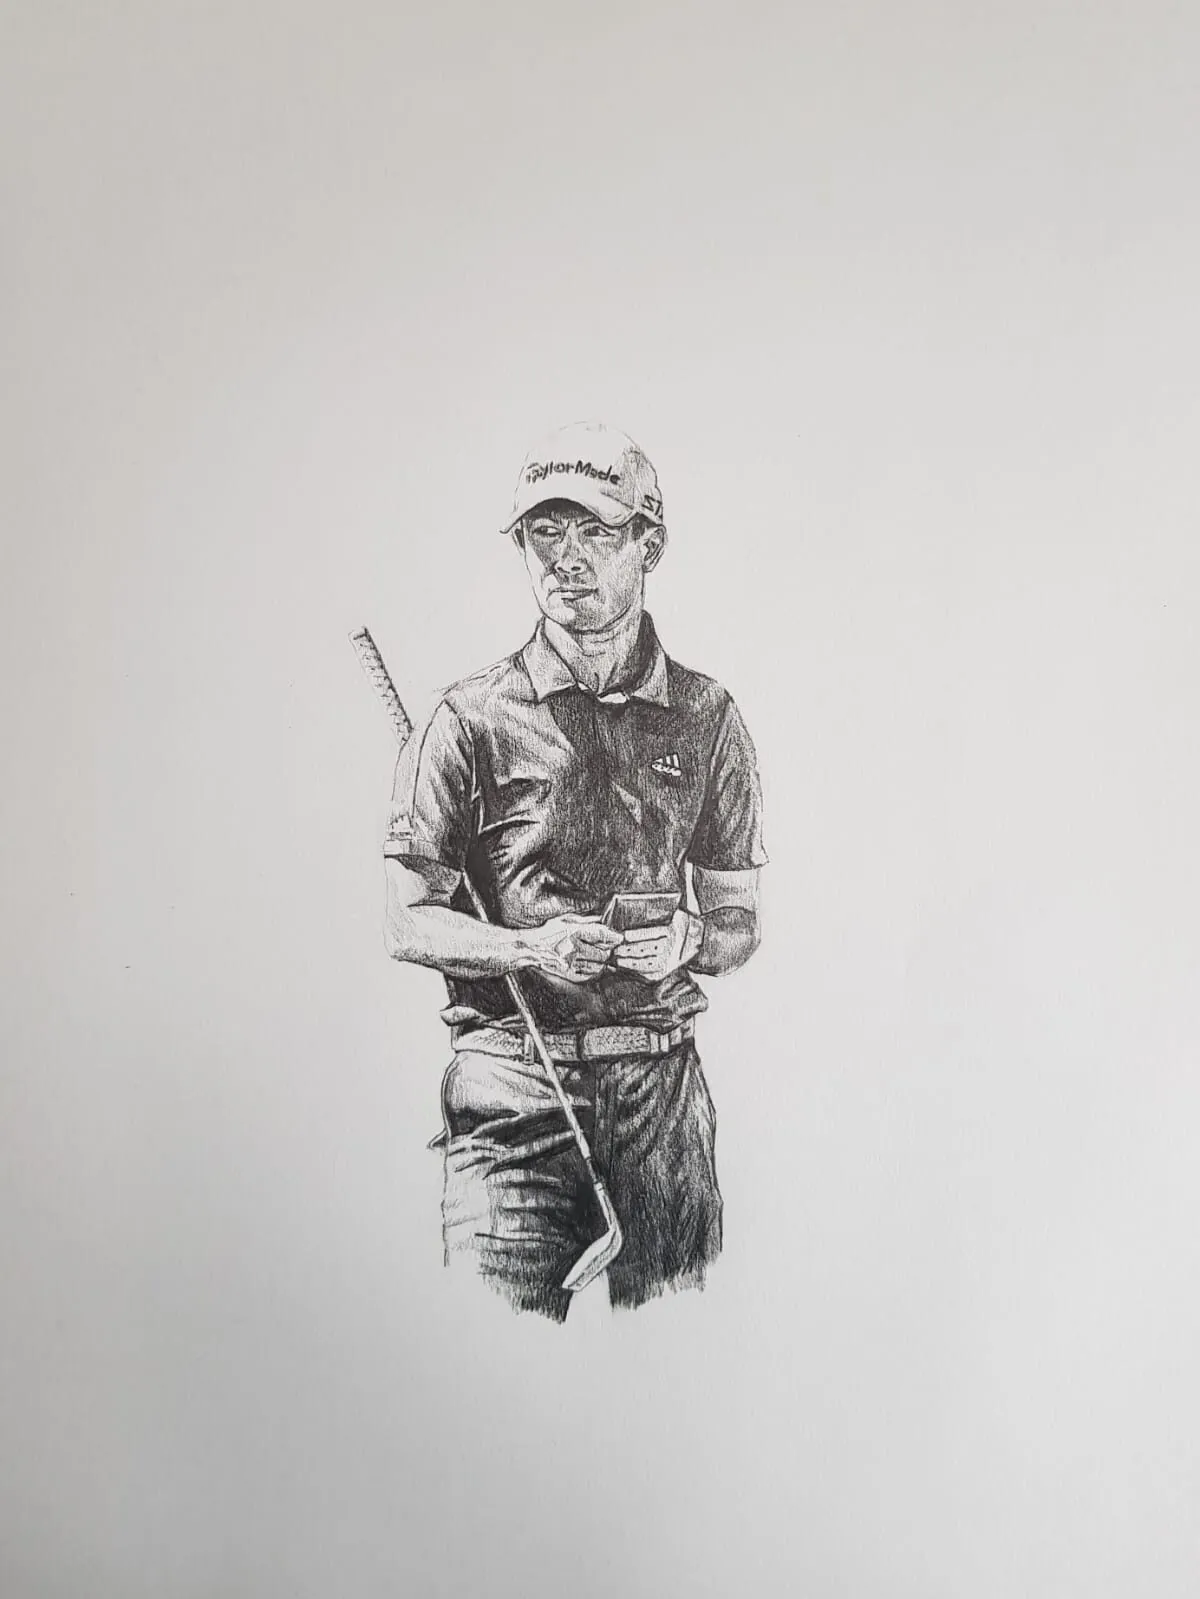
A graphite drawing of a golfer holding a club. Drawing by Michael Brace.
Eye anatomy in plain terms
Knowing what each part is stops you drawing symbols instead of forms.
- Eyeball: a sphere. You only see the front of it, but it is why everything curves.
- Iris: the coloured disc. The upper eyelid usually covers its top edge, so you rarely see a full circle.
- Pupil: the dark centre of the iris. It is not pure black in the drawing until the very end, and it sits in the exact middle of the iris.
- Sclera: the white of the eye. It is shaded, especially where the lids curve away and near the upper lid.
- Upper eyelid: a thick fold with a visible thickness. It casts a shadow onto the top of the eyeball and iris.
- Lower eyelid: a thinner ridge with a lit edge, sitting slightly in front of the eyeball.
- Tear duct (caruncle): the pink, damp shape in the inner corner. It is a small rounded form, slightly lower than the outer corner.
- Lashes: grow from the edge of the lids. Upper lashes are longer and curve upward; lower lashes are shorter, sparser and often clump.
- Crease: the fold above the upper lid. Its position and depth vary widely between people.
Notice that the inner corner is usually a little lower than the outer corner, and the highest point of the upper lid sits slightly toward the inner side of centre. These are guides, not laws, but they help the shape look natural.
Step-by-step method (graphite)
- Draw the eye’s basic shape. Use a light HB line to place the two corners and the curve of the upper and lower lids. Keep the line pale, because you will lose it under tone. Check the angle between the corners against your reference before adding anything else.
- Place the iris and pupil. Draw a circle for the iris so that it touches or is slightly covered by the upper lid, and add the pupil in its centre. Check that the circle is not a full circle floating in the middle of the opening. Being partly hidden by the lid is what makes it look natural.
- Mark the highlight. Lightly outline the shape of the highlight now, so you know to keep it clean. Put it at the same side as the light source and let it overlap the pupil edge slightly if your reference does.
- Block in the lid shadow. The upper lid casts a soft shadow across the top of the iris. Lay a light tone across that area with the side of a 2B. This single shadow gives the eye depth more than any other mark.
- Model the iris. Shade the iris darker around its rim and near the top, lighter toward the bottom where light passes through. Add radial strokes from the pupil outward, then a few darker flecks. Leave the lower part lighter.
- Darken the pupil. Fill the pupil with a 4B, keeping the edge crisp. Avoid a solid black disc that is heavier than the rest of the drawing, and preserve the highlight.
- Tone the sclera. Shade the white of the eye in soft grey, darker at the corners and under the upper lid, lighter at the centre. If it stays paper-white, the eye will look glassy and stuck on.
- Build the lids and surrounding form. Add the thickness of the upper lid, the crease, and a narrow lit edge along the lower lid. Blend the tone into the surrounding skin with a stump or tissue, so the eye is set into the face, not drawn on top of it. How to blend graphite explains the technique.
- Add lashes last. Draw each lash as a quick flick that starts thick at the lid and tapers to a point, curving along the lid’s direction. Vary length and spacing, group a few together, and keep the lower lashes shorter. Then check the whole eye against the reference.
- Lift or clean the highlight. Sharpen the highlight shape with an eraser pencil and darken the pupil beside it if needed. The contrast between the two is what makes the eye sparkle.
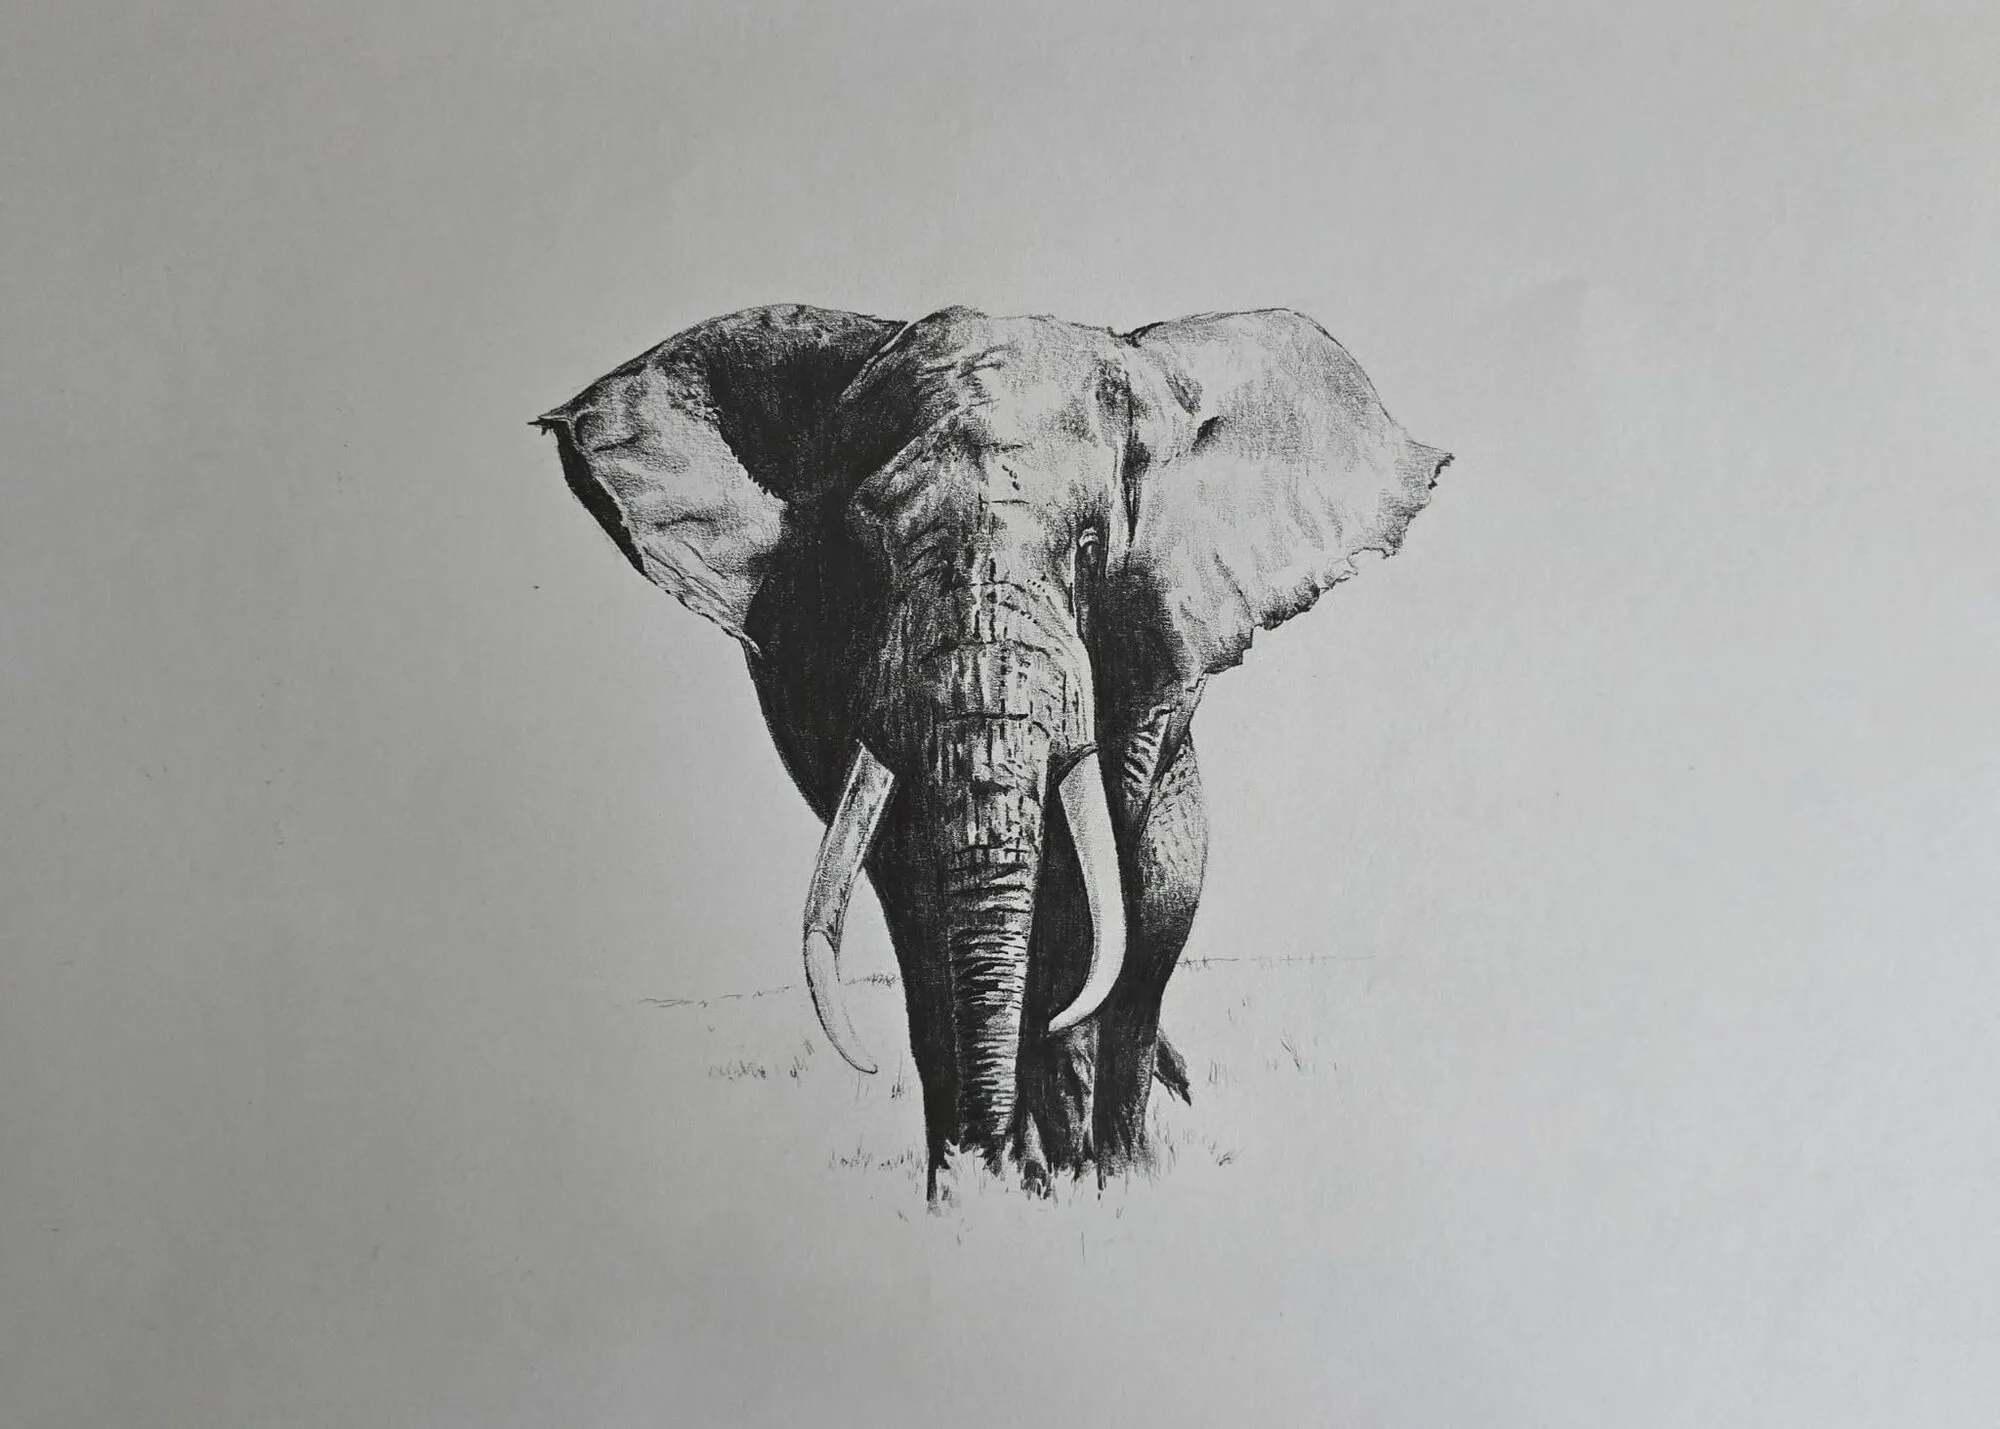
An elephant walking forward drawn in graphite pencil. Drawing by Michael Brace.
Value structure: why an eye looks round
Most of the realism in an eye comes from five value decisions, and none of them depend on colour.
- The darkest darks are the pupil and the deepest line where the upper lid meets the eyeball.
- The lightest light is the highlight, and it is a small area. The sclera is a mid-light grey, not white.
- A gradient across the iris, darker at the top under the lid shadow and lighter at the bottom.
- A soft shadow cast by the upper lid across the sclera and iris.
- A gentle darkening of the sclera at the corners, which rounds it off.
Do a quick value study of your reference to see these five areas clearly. Squint at the photo, or reduce it to three tones, and you will see that the eye is mostly a handful of simple shapes. If you want the principle in depth, read value in drawing.
Adding colour
The graphite method carries over almost exactly, because colour sits on top of the same values.
- Complete the eye in graphite or a neutral colour first. Some artists do the value structure in a dark grey or brown pencil, then colour over it. Others go straight to colour. Either way, the tonal plan must be right.
- Choose two or three colours for the iris. Brown eyes are rarely a single brown: use a warm ochre and a dark brown, with a touch of orange or green in the flecks. Blue eyes need grey and darker blue near the rim, with warm brown at the pupil edge. Green eyes benefit from a yellow-green base and a deeper green rim.
- Layer light to dark. Lay the light base across the whole iris, then add darker colour at the top and rim. Work in the direction of the radial strokes. See how to layer coloured pencils for the basic method.
- Colour the sclera. Use a warm or cool grey with a faint tint of the skin tone, and a little pink at the inner corner and along the lower lid. Do not use white or leave paper untouched.
- Keep the highlight clean. If it has been covered, lift it out with an eraser, or add white pencil. On toned paper, a white pencil is often the last mark. Lifting and erasing coloured pencil covers the tools.
- Sample colours with a photo. The palette from photo tool pulls a set of colours from your reference so you can match the iris and the skin around it.
Skin around the eye is a separate challenge. It is warmer and pinker than most people expect, and slightly darker toward the inner corner. How to mix skin tones with coloured pencils explains the layers involved.
Common mistakes and how to fix them
| Mistake | Why it happens | Fix |
|---|---|---|
| Flat, colouring-in highlight | The highlight is filled with white or a sharp paper hole is left too big and round | Keep it small, matched to the light source, with one crisp edge. Lift it out at the end and darken the pupil next to it |
| Drawn-on lashes | Lashes are drawn as a row of straight dark lines before the tone is in | Add them last, as tapered flicks that curve with the lid. Vary length, and clump some together |
| Too-dark sclera | Grey is shaded too heavily, or the same weight of tone is used everywhere | Keep the sclera a mid-light grey and darken it only at the corners and under the upper lid |
| Staring, full-circle iris | The whole iris is drawn inside the eye opening | Let the upper lid cover the top of the iris, and let the lower lid touch its base |
| Heavy outline | The eyelid edges are drawn as a single dark line | Model the lid as a form with thickness and a lit edge. Let tone define the shapes |
| Symmetrical, dead eyes | The pupil and iris are perfectly circular and centred | Follow the angle of the head and the light. The shapes shift subtly in three-quarter views |
Practice exercises
- Ten-minute spheres with lids. Draw a sphere and add two overlapping lid shapes on it. This shows how the lids follow the form.
- Five values only. Draw one eye using just five tones, then compare it with your reference. This fixes the value structure in your head.
- Different eyes. Draw a closed eye, an eye looking sideways and an older eye with heavy lids, because each one changes the shapes.
- Pairs. Once single eyes feel comfortable, place two in a face using the guides in how to draw a face: proportions.
Next steps
Eyes work best as part of a whole face, so continue with how to draw a face: proportions, then the nose and lips. For a full workflow with colour, read how to draw portraits in coloured pencil, and return to the how to draw pillar for the full lesson list.
The short version
Sketch the almond and the iris lightly, let the upper lid cover the top of the iris, and cast a soft lid shadow across it. Shade the white of the eye in grey, darken the corners, save the crispest highlight and the darkest darks for the end, and add lashes last as tapered flicks. For colour, layer it over the same values, from light to dark.
Quick answers
Frequently asked questions
What is the easiest way to draw a realistic eye?+
Start with a light construction of the almond shape, the circle of the iris and the arc of the upper lid. Then shade the iris and pupil, add the lid shadow across the top of the iris, tone the white of the eye in soft grey, and finish with the highlight and lashes. Work from light tones to dark and keep the highlight for last.
Why do my drawn eyes look flat or cartoonish?+
Usually the eye is outlined instead of modelled. Real eyes are a sphere under the lids, so the white is shaded toward the corners, the upper lid casts a shadow on the iris, and the edges are soft. Missing lid thickness, a pure white sclera and a heavy outline all make eyes look flat.
What pencils are best for drawing eyes?+
For graphite, a sharp HB or 2B for construction, a 4B for the pupil and darkest accents, and a kneaded eraser for lifting the highlight. For colour, choose firm coloured pencils that hold a point, such as oil-based pencils, so the fine detail stays crisp. Colored pencils and coloured pencils are the same thing, only spelt differently.
How do I draw the highlight in the eye?+
Plan the highlight from the start by leaving a small shape of paper untouched, or lift it out with a kneaded eraser or a sharpened eraser pencil. Make it a clean shape that matches the light source, with a crisp edge on one side. It should be the brightest, highest-contrast point in the whole face.