Graphite & Charcoal
How to Blend Graphite: Tools and Techniques
How to blend graphite smoothly with stumps, tortillons, tissue, chamois, brushes and fingers, when to layer instead, and how to keep your darks clean.
Key takeaways
- ◆Blending spreads graphite across the paper; it does not add tone, so darks can turn grey if over-worked.
- ◆Stumps and tortillons give control in small areas, tissue and chamois cover large ones, and soft brushes give the gentlest result.
- ◆Skin oils on fingers can leave patches that resist later graphite, so use them sparingly.
- ◆Layering light strokes gives smooth tone without blending, and often keeps the drawing crisper.
- ◆Re-darken and clean up after blending so shadows keep their depth and highlights stay bright.
Smooth, soft tone is what makes a graphite portrait look like skin rather than a pattern of pencil marks. There are two ways to get it: build it slowly by layering, or spread it by blending. Most drawings use both, and the skill is knowing when to reach for a blending tool and when to leave the pencil marks alone.
This guide covers every common blending tool, the pros and cons of each, how blending differs from layering, how to get smooth or textured results and how to keep darks rich rather than muddy. The tips build on our guide to how to shade with pencil, so start there if shading is new to you.
What blending actually does
Graphite sits on the surface of the paper as tiny flakes. Blending pushes those flakes around, filling the valleys of the paper’s texture and softening the edges of individual strokes. The tone gets smoother, but the total amount of graphite on the page stays the same. Two consequences follow:
- A blended area is usually lighter than the same area before blending, because graphite has been spread out. Dark tone often needs another pass of pencil afterwards.
- Blending moves graphite into places you did not intend. A dirty blender can carry dark graphite into highlights and dull them.
Understanding this is the difference between clean, smooth drawings and drawings that look smudgy.
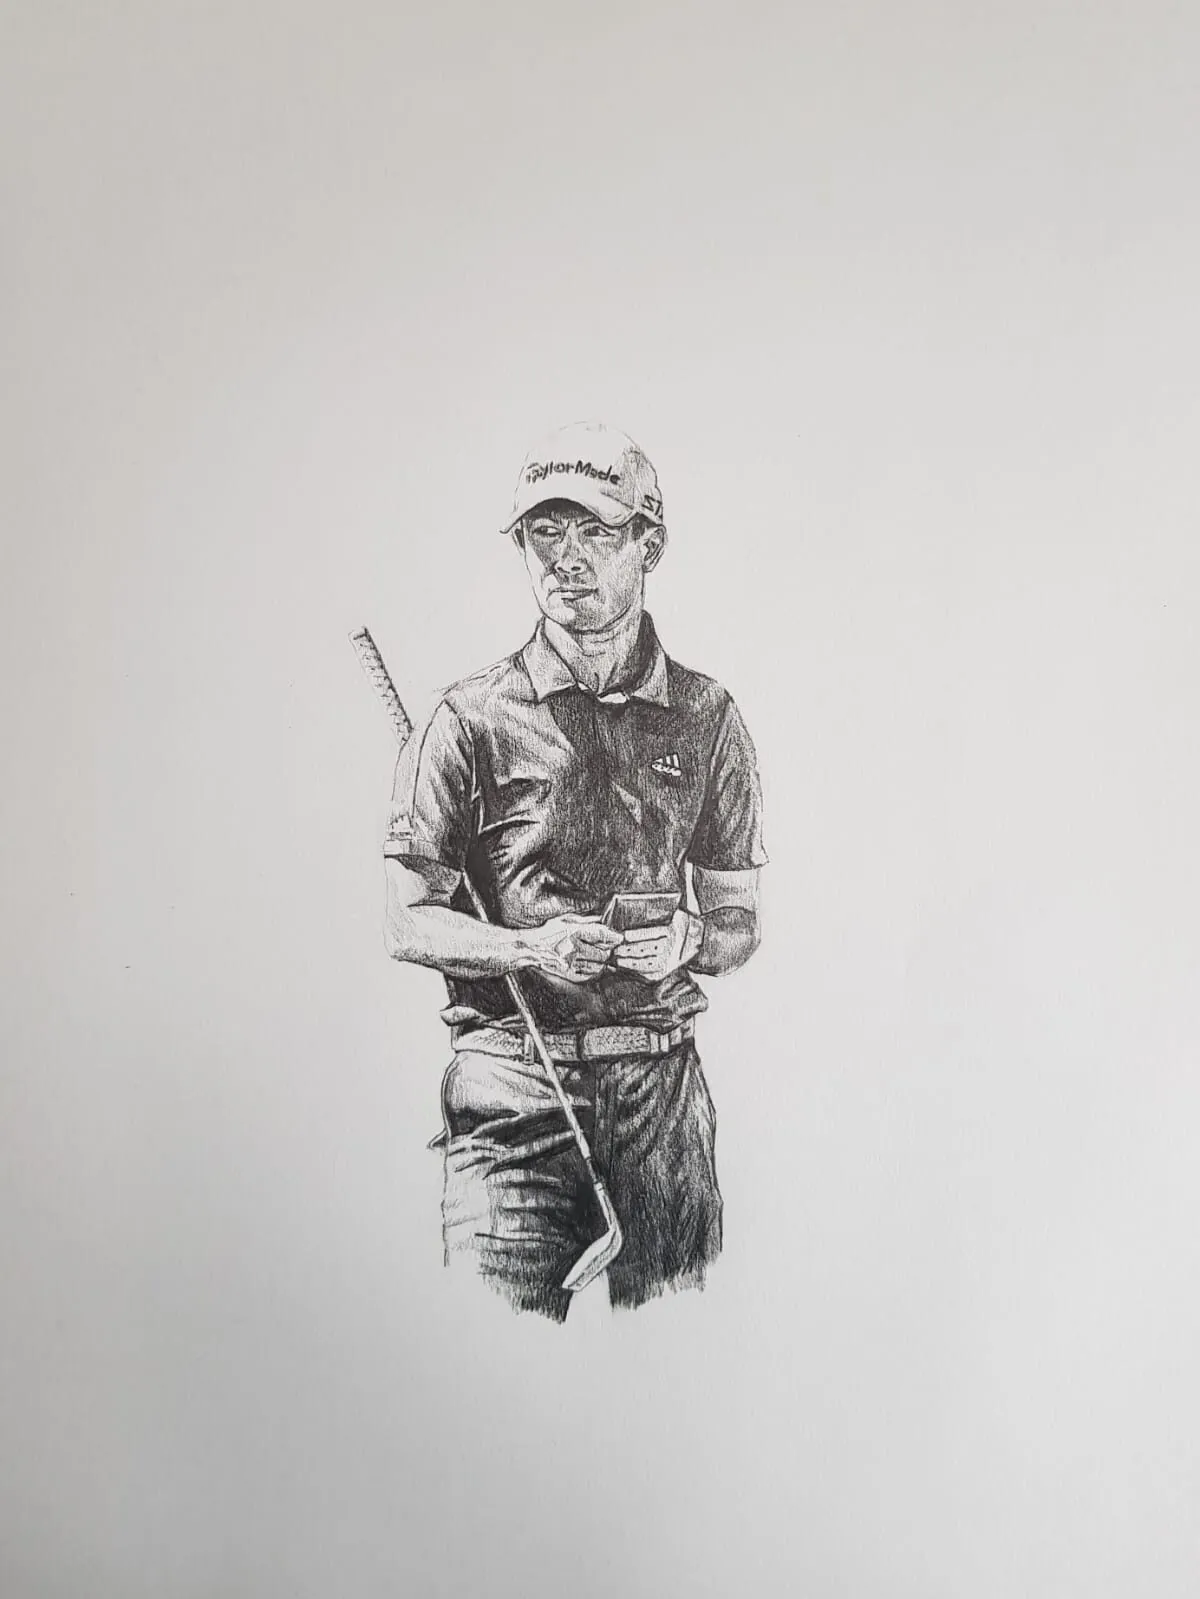
A graphite drawing of a golfer holding a club. Drawing by Michael Brace.
Blending tools
Blending stumps
A blending stump is a tightly rolled paper tool with a pointed end. It is firm and precise, so it is the tool of choice for small and medium areas such as eyes, lips, folds and shadows next to edges. Use the tip for small details and the side for broader areas. As the stump becomes loaded with graphite it can be used like a pencil to add soft tone, and it can be cleaned lightly with sandpaper.
Best for: control in small areas. Watch for: stumps get dirty, and using a dark stump in a light area transfers tone.
Tortillons
A tortillon is similar to a stump but hollow, rolled from a thin sheet of paper. It is a little softer and more flexible, and it can be unrolled and reused. It is useful for small, delicate blending, though it tends to wear out faster than a stump.
Best for: fine detail and delicate transitions.
Tissue and paper towel
A piece of soft tissue wrapped around a finger, or a folded piece of paper towel, covers large areas quickly and gives a very smooth result. It is good for skies, backgrounds and broad shadows. Use tissue that is free of lotions and additives, and avoid heavily textured kitchen towel, which can leave a pattern.
Best for: large areas and initial tone. Watch for: it can smear graphite widely and lighten tone.
Chamois
A chamois is a soft leather cloth that blends and lifts graphite at the same time. It gives a very smooth, even effect, and it can be used to tone a whole sheet with graphite powder. It needs occasional cleaning and can hold a lot of graphite.
Best for: very smooth, even tone.
Soft brushes
A large, soft brush, such as a makeup or soft watercolour brush, spreads graphite very gently. It is the mildest method, well suited to graphite powder and to very light tone that you do not want to disturb. It is less effective on heavily built tone.
Best for: gentle blending, powder graphite and delicate work.
Fingers
Fingers are the most accessible tool, and they give a natural, soft blend. The concern is skin oil. The oils transfer to the paper and can create slick patches that later layers of graphite cannot grip, and they can leave visible marks. Fingers also cover a wide area unevenly, which can cause patchy tone. If you use a finger, keep it clean and dry, use it sparingly, and consider a barrier such as a piece of tissue.
Best for: quick, rough blending in early stages. Watch for: skin oils, uneven results and smudging the rest of the drawing.
| Tool | Area | Control | Softness | Risk |
|---|---|---|---|---|
| Stump | Small to medium | High | Medium | Dirty tip |
| Tortillon | Small | High | Medium | Wears out |
| Tissue | Large | Low | High | Lightens tone |
| Chamois | Large | Medium | Very high | Loads with graphite |
| Soft brush | Large | Medium | Very high | Limited on dense tone |
| Finger | Any | Low | High | Skin oils |
Blending versus layering
There are two routes to smooth tone.
Layering builds tone from many light strokes, changing direction slightly each time, so the marks merge. It keeps the paper’s tooth open, preserves crisp darks and gives you the most control. It takes time.
Blending spreads existing graphite to smooth it. It is fast, but it can fill the tooth, dull the darks and leave the drawing looking flat if overused.
The most reliable approach is to use layering as the foundation and blending as a finishing touch. Lay in tone with a soft pencil, blend lightly to smooth the transitions, then add another layer of pencil to restore depth. Where you want a visible pencil texture, such as on fur or rough surfaces, skip blending altogether.
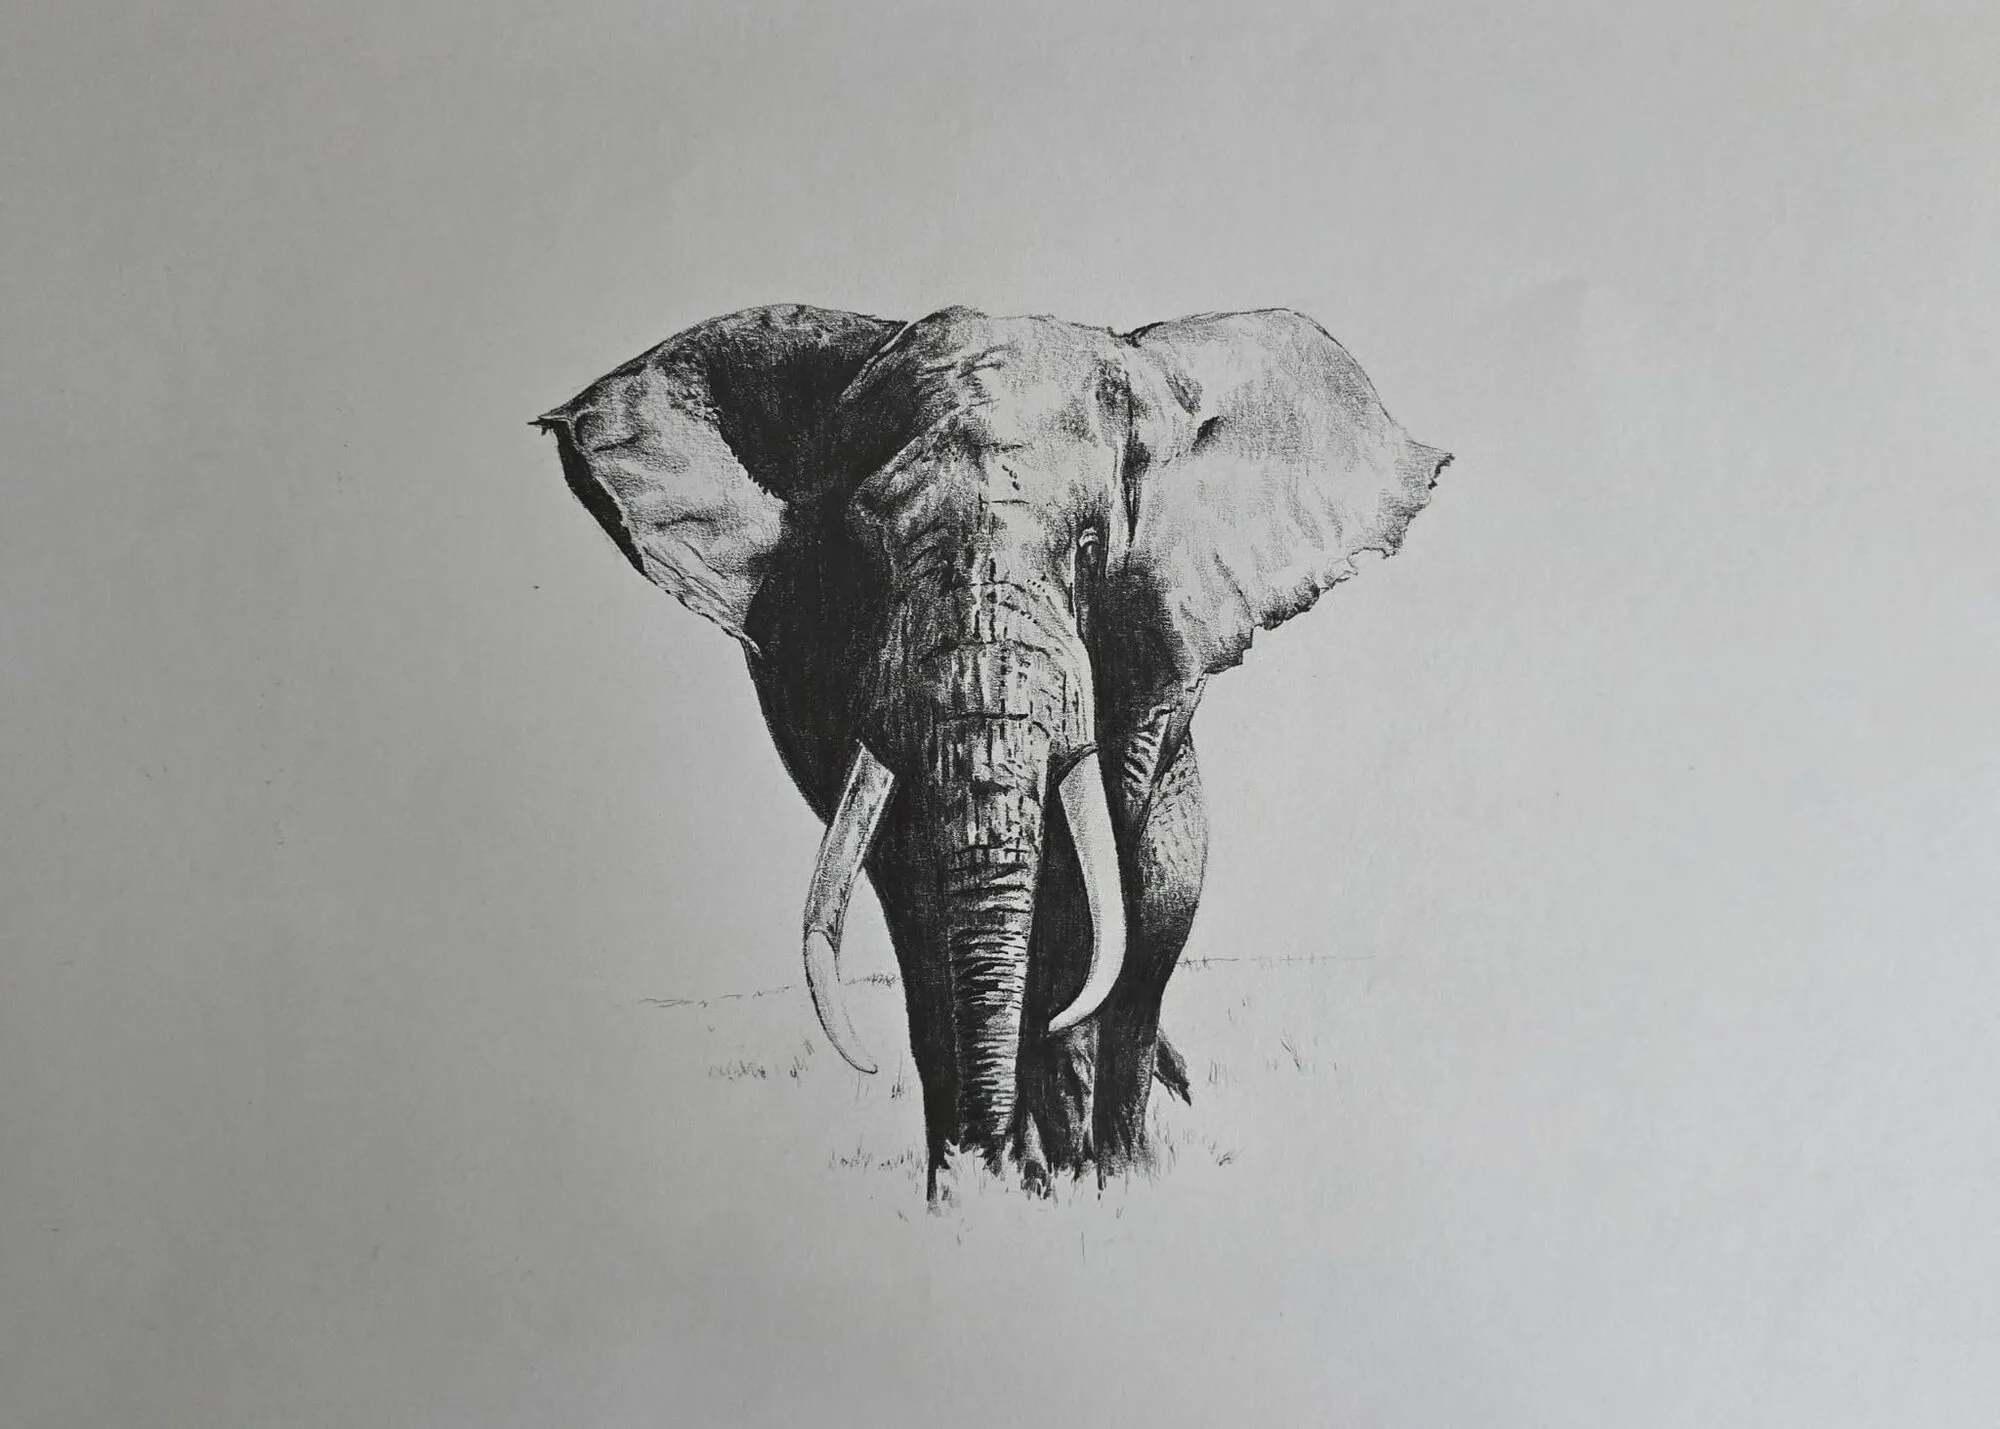
An elephant walking forward drawn in graphite pencil. Drawing by Michael Brace.
How to blend step by step
- Lay down tone with a soft to mid pencil, using light overlapping strokes in one direction.
- Choose the tool to suit the area: a stump for small shapes, tissue for large ones.
- Blend with light pressure, using small circular or back-and-forth motions in the direction of the form.
- Start in the lighter areas and move toward the darker, so that you push graphite from dark to light only where you mean to.
- Check the tone. If the area has lightened, add another layer of pencil and blend again.
- Clean up the edges. Use a kneaded eraser to lift highlights and define edges. See the best erasers for graphite.
Smooth versus textured results
The look of a blended area depends on the paper and the tool.
- Smooth paper blends to a very even, almost photographic finish. This suits portraits and polished surfaces.
- Toothy paper keeps a grain even after blending, because graphite stays on the peaks and skips the valleys. This suits rough textures, landscape and expressive drawing.
To keep some texture, use light pressure and a soft brush or tissue; to remove it, use firm pressure with a stump and build tone in many thin layers. Michael’s preferred graphite papers, Arches Cold Press and Winsor and Newton cartridge, have the tooth for rich shadows and cross-hatching, so blending on them tends to leave a subtle grain rather than a glassy finish. Our guide to smooth versus textured paper shows how tooth changes results, and the best paper for graphite drawing covers what to choose.
Keeping darks clean
Dark areas are where blending most often goes wrong. Because blending spreads graphite, a heavily blended dark can turn a dull mid-grey, and dark smudges migrate into light areas. To protect your darks:
- Add the darkest tone last. Do the smooth blending in mid-tones, then add the deepest darks with a soft pencil on top.
- Use separate tools for light and dark areas. A stump loaded with dark graphite will muddy a highlight.
- Blend from light toward dark, not the other way.
- Blend once and stop. Repeated blending overworks the surface and fills the tooth.
- Re-establish edges. After blending, sharpen important edges with a pencil or a precise eraser.
Preparing and cleaning blending tools
A stump or tortillon builds up graphite and should be cleaned when it is too loaded. Rub the tip on fine sandpaper or a scrap of paper, or keep a few stumps in different states of use: a clean one for highlights, a well-used one for shadows. Wash chamois cloths gently, following the maker’s care advice, and let them dry flat. Keep tools in a separate container so they do not rub against finished drawings.
When not to blend
Blending is not always the right choice. Avoid it:
- When you want visible marks, such as in hatched textures.
- On very soft, heavily built tone, where more blending only makes it grey.
- On delicate paper such as light cartridge, where repeated rubbing can damage the surface.
- In small, sharp highlights and edges, where smearing destroys the contrast.
Protecting the drawing while you blend
Blending is a smudge-prone process. Rest your hand on a clean slip sheet, work from the top of the drawing downward, and keep loaded tools off finished areas. For more on hand position and storage, read how to avoid smudging pencil drawings. To check that blending has not flattened your values, view the drawing through the value study tool and see whether your lights and darks still read clearly.
For a lesson that uses smooth tone, see drawing clouds and skies and the basic forms and shading lesson.
The short version
Use layering for the foundation and blending to smooth. Reach for a stump or tortillon for small areas, tissue or chamois for large ones, a soft brush for gentle work and fingers only occasionally. Blend lightly, work from light to dark, keep tools clean and re-darken the shadows afterwards. For the wider context, see the graphite and charcoal guide.
Quick answers
Frequently asked questions
What is the best way to blend graphite?+
For most drawings, a paper blending stump or tortillon gives the most control, and tissue or a soft brush suits large areas. Use light pressure, blend in the direction of your original strokes, and keep the tool clean. The best method also depends on your paper, since very smooth or very rough paper changes the result.
Is it bad to blend graphite with your finger?+
It is not forbidden, but it has drawbacks. Fingers carry skin oils that can leave greasy patches, and they spread graphite unevenly, so tone can look blotchy. If you use a finger, keep it clean, use it only on small areas and prefer a stump or tissue for the rest of the drawing.
How do I blend graphite without making it look muddy?+
Work from light to dark, blend lightly, and do not blend the same area repeatedly. Keep separate tools for light and dark areas so that dark graphite does not smear into highlights. After blending, re-darken the deepest shadows with a soft pencil and lift highlights with a kneaded eraser.
Can I blend graphite without any tools?+
Yes. Layering many light strokes with a soft pencil, changing direction slightly each time, gives smooth tone without blending. It takes longer, but it keeps the tooth of the paper open and the darks crisp. Many artists use layering for most of the drawing and blending only for the smoothest areas.