How to Draw
How to Draw a Cat: Proportions, Face and Fur
Draw a cat with believable proportions: block in the body, build the head, place eyes, nose and ears, then add whiskers and fur in graphite or coloured (colored) pencil.
This guide contains affiliate links. If you buy through them we may earn a small commission at no cost to you. How this works.
Jump to recommended products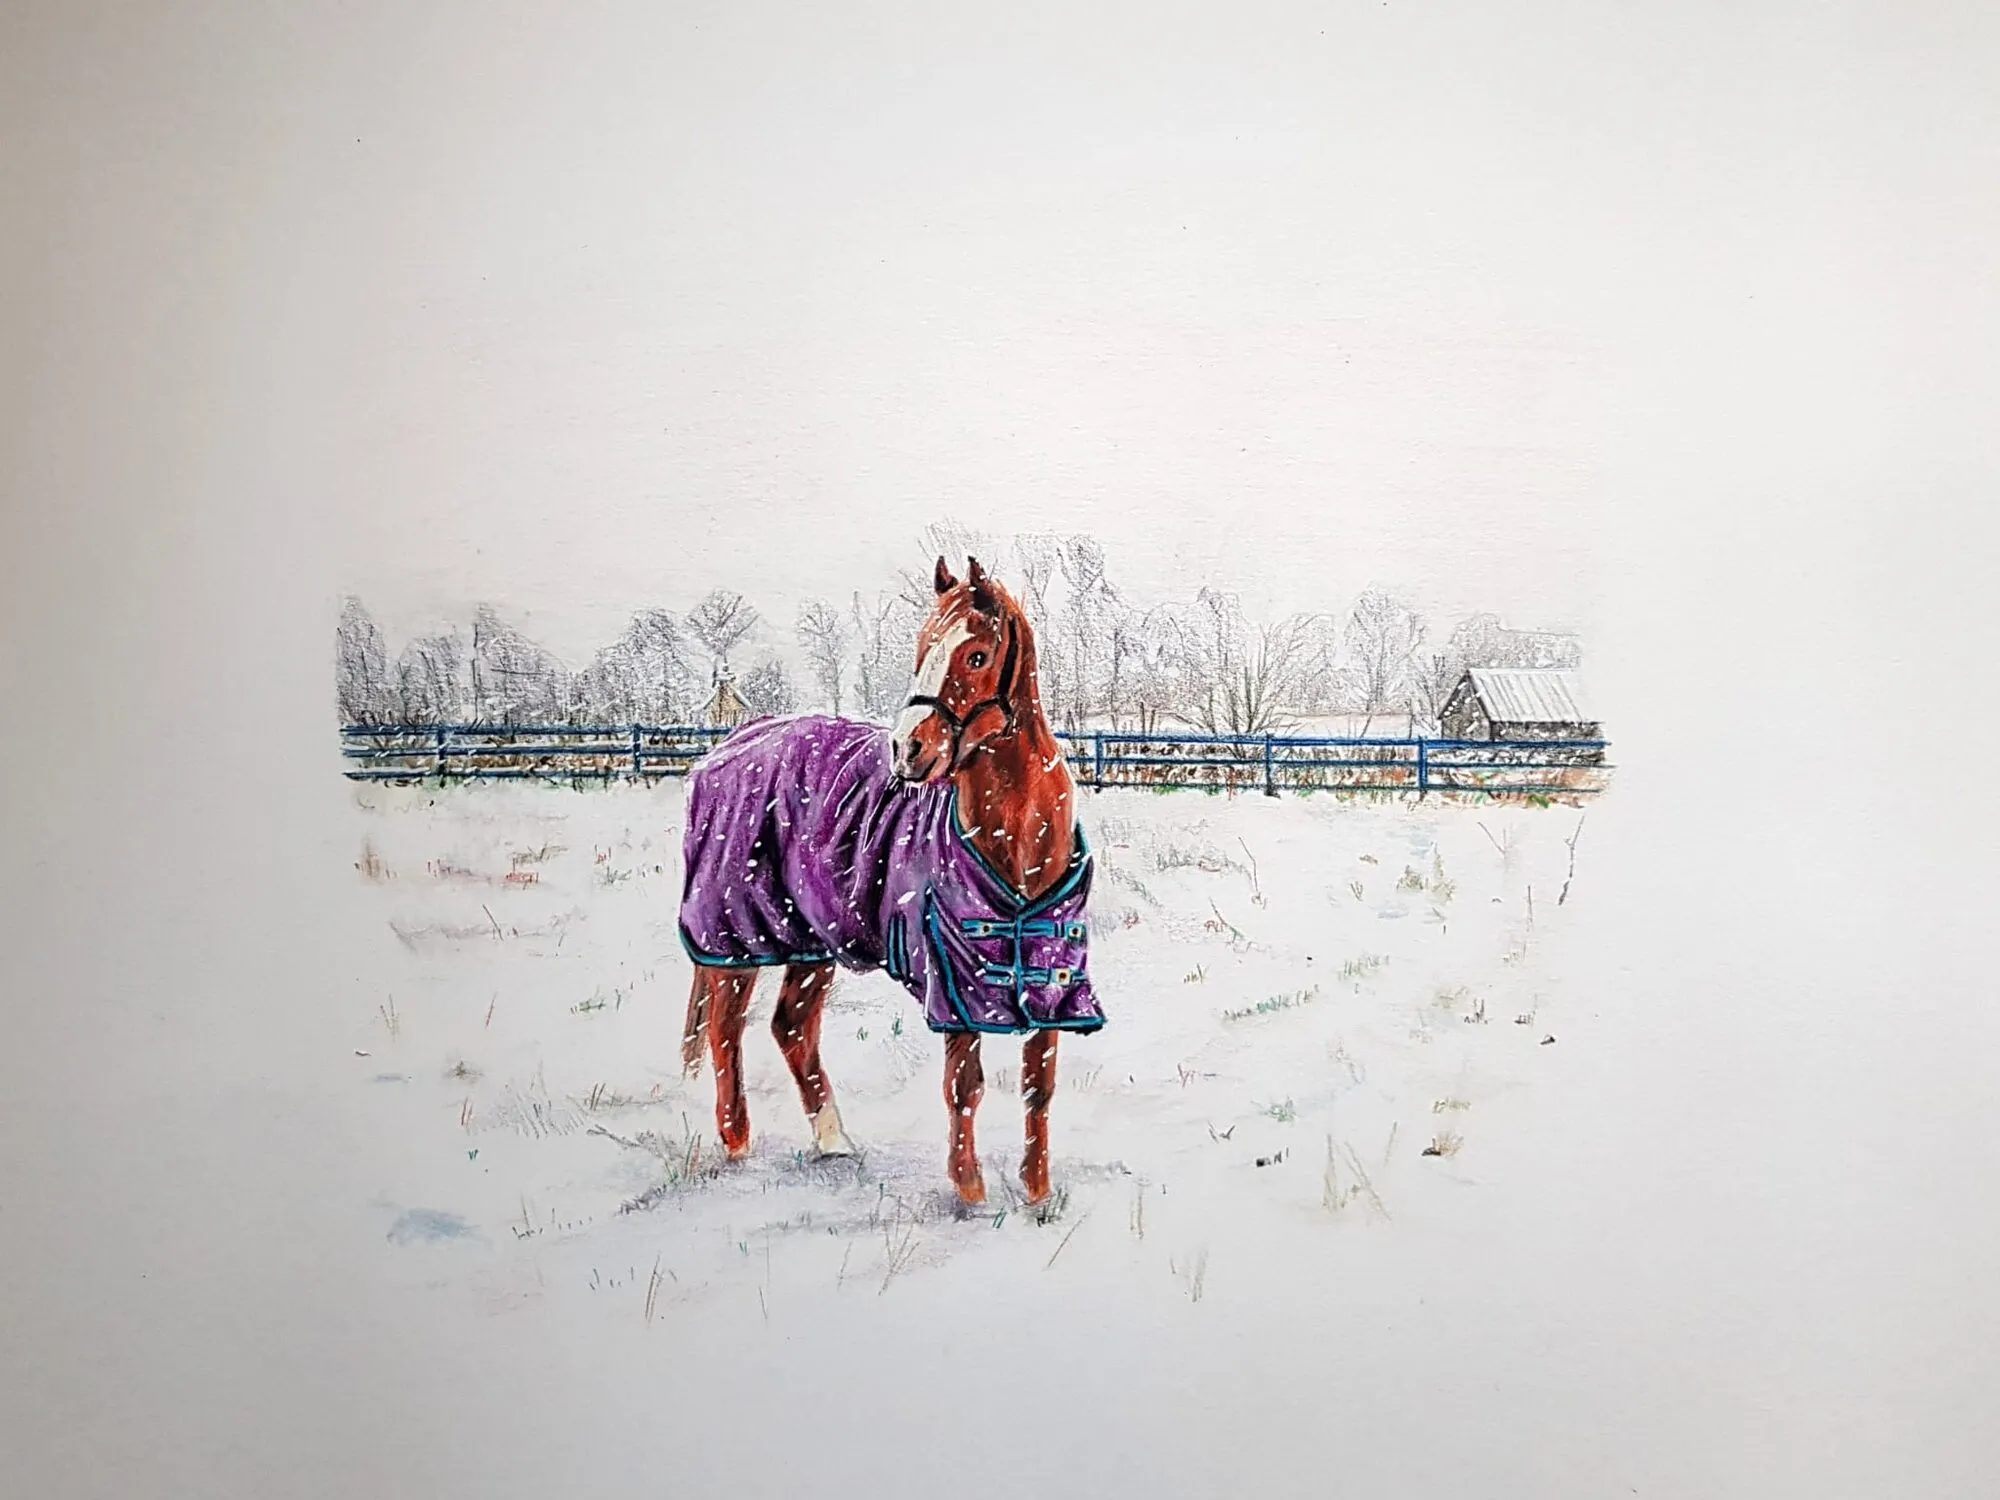
Key takeaways
- ◆Build a cat from two simple shapes, a rounded head and an egg-shaped body, then connect them before adding any features.
- ◆Place the eyes on the horizontal midline of the head and leave about one eye-width between them, then adjust for your reference.
- ◆Ears, nose and mouth follow a simple triangle and a small 'Y' shape that you can check against a photograph.
- ◆Fur is drawn in short strokes that follow the direction of growth, with darker tone pushed into the gaps and edges.
- ◆Keep whiskers and highlights until the very end, and draw them with a sharp point in one confident stroke.
A cat is easiest to draw when you stop seeing it as fur and whiskers and start seeing it as a few solid shapes: a rounded head, an egg-shaped body, and a tail that follows the curve of the spine. Place the eyes, nose and ears against simple guidelines, then add fur last, stroke by stroke, in the direction it grows.
This lesson works in graphite or in coloured pencils (colored pencils in the US). It covers proportions, the head, eyes, nose and mouth, ears, whiskers, fur direction, pose and shading.
What you need
- Paper: smooth to lightly textured paper with a little tooth. White paper suits a pale cat, while grey or tan paper helps with white whiskers and light fur. See the best paper for coloured pencils if you are choosing.
- Pencils: an HB and a 2B for the layout, then a 4B to 6B for the darks in graphite. For colour, a firm oil-based set such as Faber-Castell Polychromos keeps a fine point for eyes and whiskers. The pencil grade chart explains the range.
- Reference: a sharp photograph with clear light, ideally at the cat’s eye level. A side-lit cat shows the shapes of the face far better than a flash photo.
- An eraser: a kneaded eraser for lifting highlights and softening the layout lines.
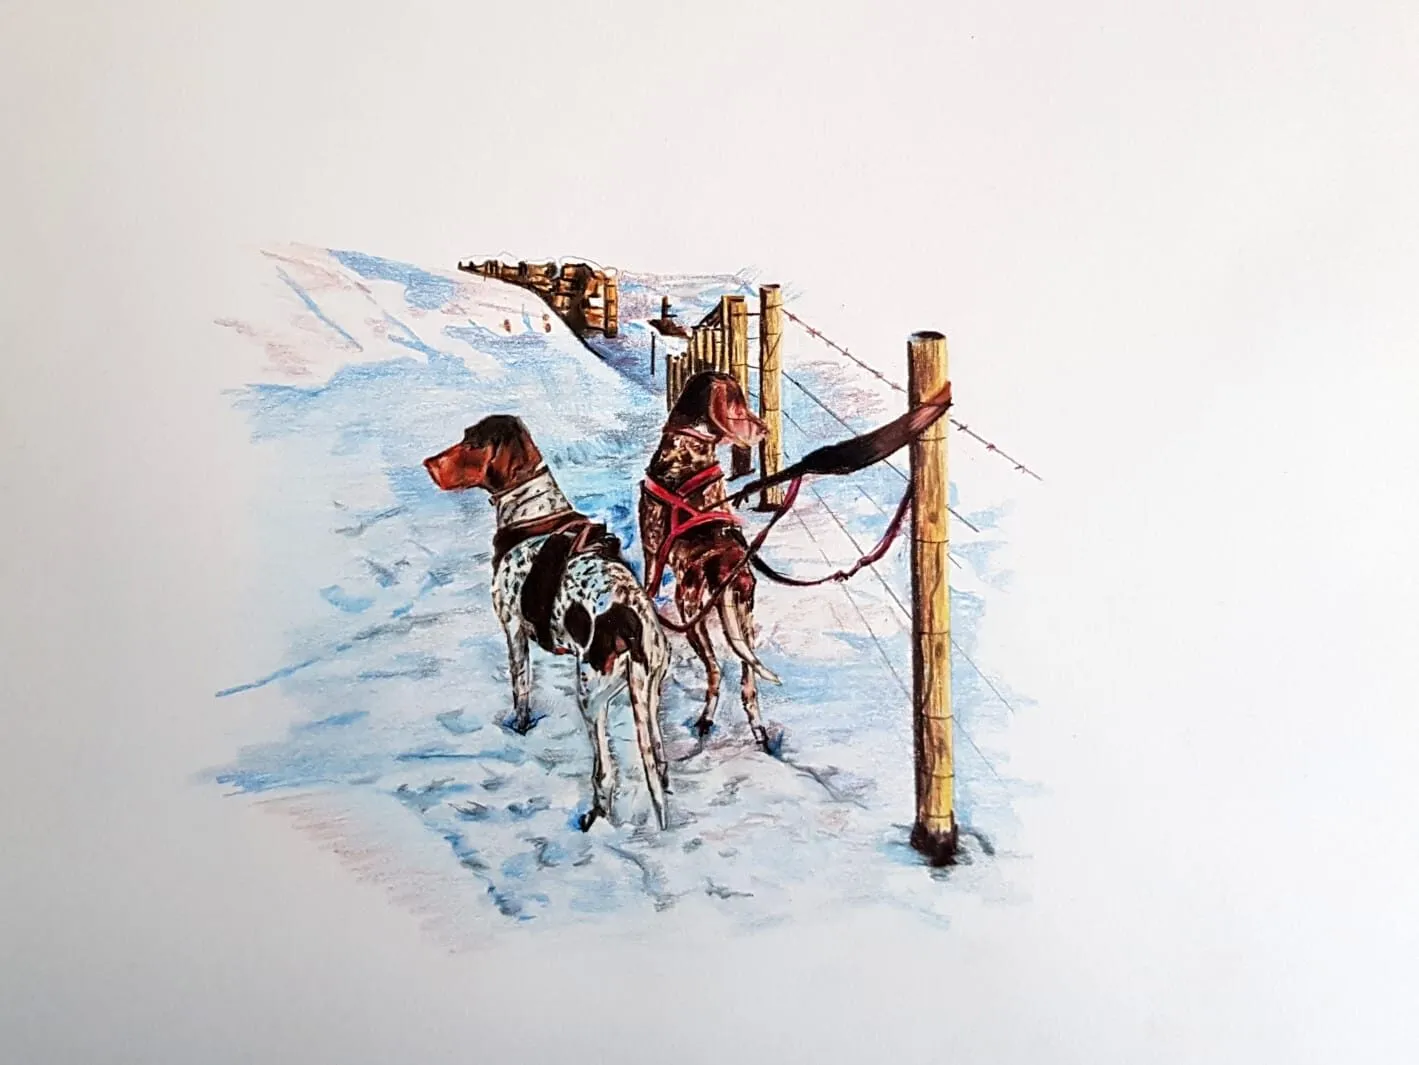
Two dogs in a snowy scene by a fence post, drawn in coloured pencil. Drawing by Michael Brace.
Proportions of a cat
Cats look very different from breed to breed and a pose can hide half the body, so treat every proportion here as a starting guide rather than a law. For a seated cat in side view, these checks catch the most common errors:
| Check | Rough guide |
|---|---|
| Head width vs body | The head is small, roughly a quarter to a third of the body length |
| Body shape | An egg or teardrop, with the heavier end at the hips |
| Front legs | Straight and close together, set under the chest |
| Hind legs | A large folded thigh, with the hock near the ground |
| Tail | As long as the body or a little shorter, following the curve of the spine |
The most frequent mistake is a head that is too large. A cat’s body is long and flexible, so give it room. Hold your pencil at arm’s length and measure the head against the body in your reference, then copy the ratio you see, not the ratio you expect.
If you want to transfer proportions precisely, the grid drawing tool lets you lay a grid over your photo and draw square by square.
Step by step: drawing a cat
- Block in the head and body. Draw a circle, slightly wider than tall, for the head, and an egg shape for the body. Use an HB and keep the lines faint. Connect them with a short neck and check the overall angle against your reference.
- Add the guidelines. Draw a vertical line down the centre of the head, curving it to follow the turn of the face, and a horizontal line across the middle. The eyes will sit on this horizontal line. If the cat looks up or down, curve both lines.
- Place the ears. Draw two triangles sitting high on the head, at the outside of the top of the circle. The inner edge of each ear is usually a little lower and set slightly in from the top of the head. Check that both ears look like a matching pair at the same angle.
- Position the eyes. Draw two almond or rounded shapes on the horizontal line, with roughly one eye-width between them. The inner corners tilt slightly down toward the nose. Mark the pupil and leave a clear highlight, which you will keep as bare paper.
- Draw the nose and mouth. The nose is a small rounded triangle just below the eyes, on the centre line. From it, a short vertical line drops down and splits into a soft ‘Y’ or upside-down ‘Y’ shape that forms the mouth. Add the muzzle as two soft pads either side of this shape.
- Sketch the legs, paws and tail. Draw the front legs as two slim columns, the hind leg as a large rounded thigh, and the paws as small ovals. Add the tail as a simple tube that follows the spine’s curve, then refine the outline.
- Establish the fur direction. Before shading, lightly mark the direction the hair grows: outward from the nose, sweeping back across the cheeks, flowing down the neck and along the ribs, and splitting at the chest. A few guide strokes are enough.
- Build tone and colour. Work from light to dark. Add the mid-tones first, pushing darker tone into the gaps between clumps of fur, under the chin and inside the ears. Use short strokes that follow your direction marks.
- Finish the details. Darken the pupils, the nostrils and the lines of the mouth. Add whiskers, the highlight in each eye and any crisp edges on the ears. Stand back and compare the drawing with the reference before adding final touches.
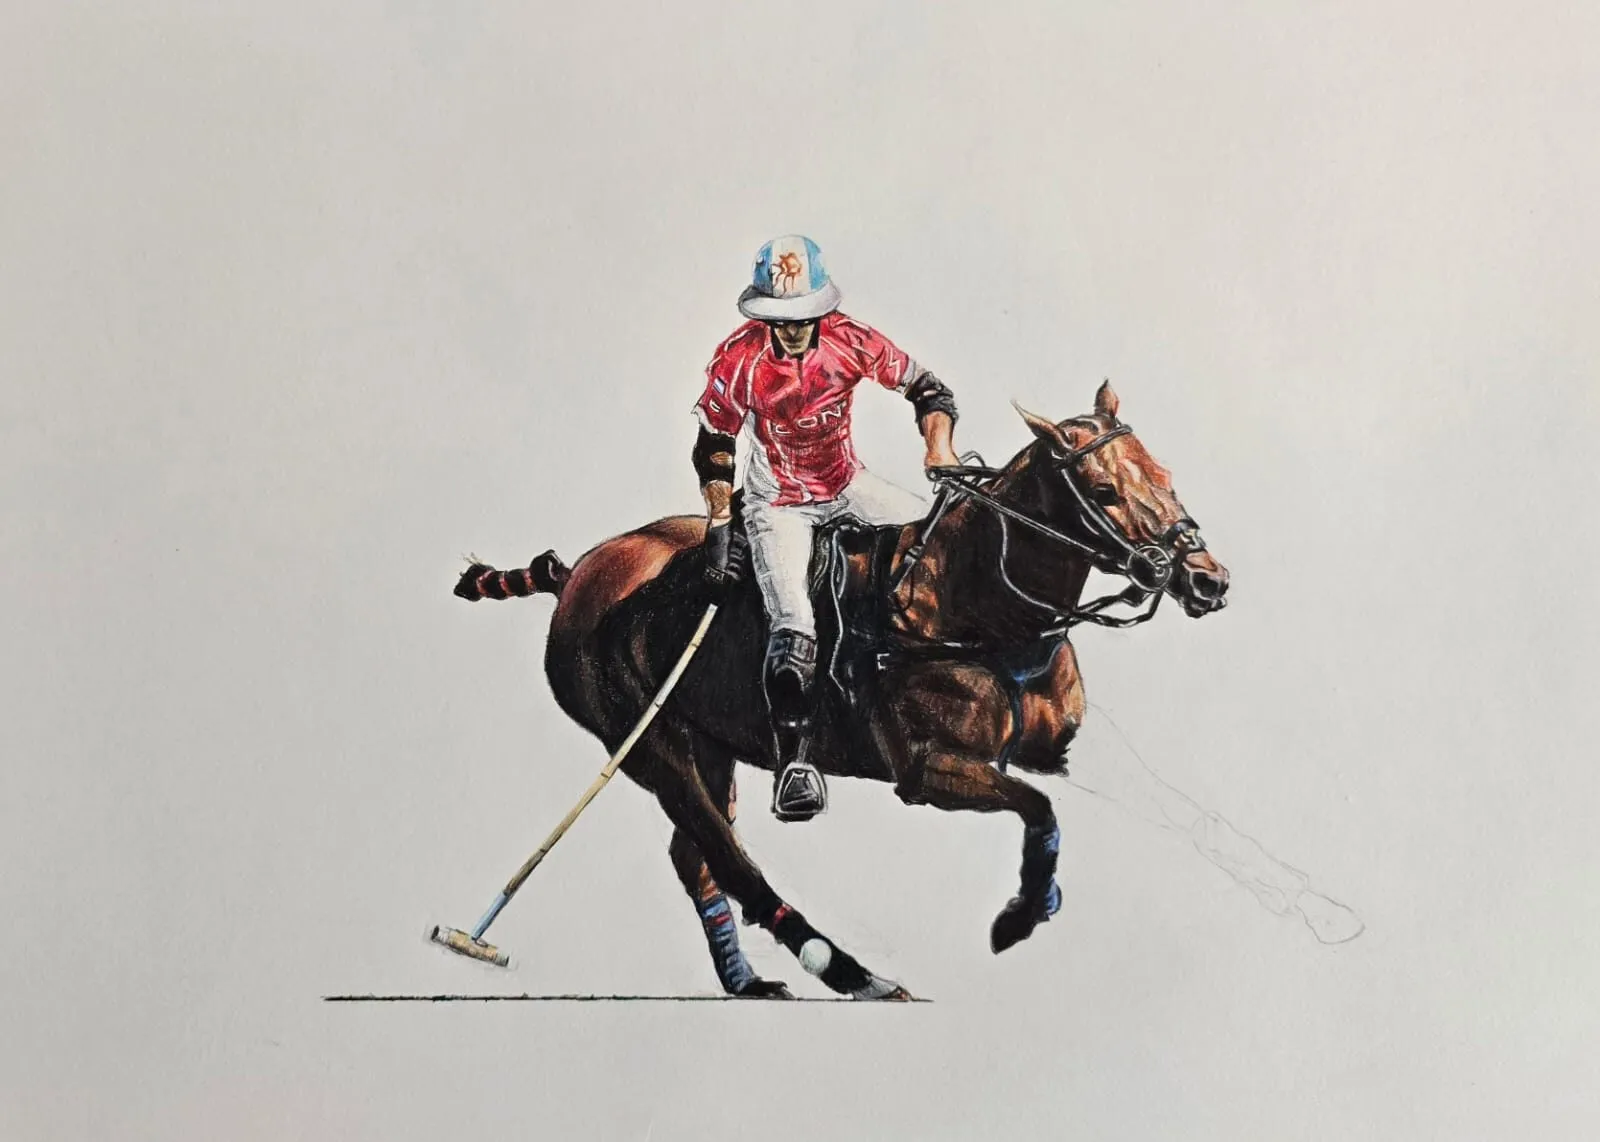
A polo player on a galloping horse drawn in coloured pencil. Drawing by Michael Brace.
The face in detail
The face is where a cat drawing succeeds or fails, because we read expression in a few small marks.
Eyes. Cat eyes are large and set forward. Draw the almond shape, then the iris, then a pupil that may be a narrow vertical slit in bright light or a wide round circle in dim light. Place the highlight on the same side as your light source, and leave it as bare paper or lift it out later. A dark rim around the eye helps it sit in the face.
Nose and mouth. The nose is a soft, slightly damp-looking shape with a highlight on top. Keep the lines of the mouth light and thin, and let the shadow beneath the lower lip do much of the work.
Ears. The outside of each ear is covered in short fur, and the inside has fine tufts surrounding a pale, pinkish hollow. Shade the hollow softly and add a few fine strokes for the hairs at the edge.
Whiskers and fine lines
Whiskers are best added at the very end, with a sharp pencil and a single quick stroke for each one. Drawing them slowly makes them wobble. On a dark cat, use a white or pale pencil on top of the finished tone. On a light cat, the whiskers can be a little darker than the fur behind them.
Because most whiskers are thin, you can also create them by lifting: press a sharp eraser edge or a kneaded eraser shaped to a point through a layer of tone. Try both methods on scrap paper first.
Fur direction and texture
Fur is the part that puts people off, but it is a matter of direction and variety, not of drawing every hair.
- Follow the growth. Short fur lies flat on the face and flows outward from the nose. On the body it follows the ribs. Longer fur on the chest, cheeks and tail forms clumps and sweeps.
- Vary your strokes. Mix long and short strokes, and change the pressure so some strokes are dark and some barely there.
- Draw the gaps. The dark gaps between clumps of fur make the light fur appear to stand forward. Put the deepest tone there.
- Keep edges broken. A smooth outline looks like a cut-out. Break the edge with small flicks of fur that extend past the line.
Soft fur built up in layered strokes with careful edges is the same approach that works for a long-haired cat.
For a longer look at coat texture, see how to draw animal fur.
Pose and gesture
A cat can look stiff even when the proportions are correct. Before you start, find the main line of the pose: the curve from the back of the head down the spine to the tail. A sleeping cat is a curled oval, a sitting cat is a tall egg, a stretching cat is one long curve.
For a first drawing, choose a seated or lying cat. The shapes are simpler than a running or jumping cat, the pose is held for a long time in photographs, and the weight of the body is easier to read. Leave a little space in front of the face so the cat has somewhere to look.
Shading the form
A cat is round, and the tone should say so. Decide where the light comes from, then darken the side away from it: under the chin, beneath the body, the far side of each leg and the inside of the ears.
In graphite, use the 2B for mid-tones and keep the 4B to 6B for the deepest accents around the eyes, the nostrils and the darkest fur. In colour, layer a warm and a cool tone rather than using grey or black, and build the darks gradually. The value study tool turns a photo into light and dark shapes so you can see where the main tones sit before you start. For colour choices, the palette from a photo tool and the colour scheme generator help you pick a set of pencils that work together.
The graphite version
- Use an HB for a light layout and keep the lines easy to erase.
- Shade with a 2B using strokes that follow the fur, and move to a 4B for the darker areas.
- Leave the paper bare for the brightest highlights, such as the eye catchlight and whiskers on a pale cat.
- For a white cat, model the shape with soft grey shadow rather than outlines. For a black cat, build dark tone in layers and lift highlights with a kneaded eraser.
- The how to shade with pencil guide explains the pressure control this needs.
Common mistakes
The fix for most of these is to return to the layout. Check the head against the body, redraw the guidelines and compare eye positions with your reference. Correct the structure first, then the fur.
Practice exercises
- Shape studies: draw ten cats in five minutes each using only an egg, a circle and a tail line.
- Eye and nose studies: fill a page with eyes and noses from different photographs.
- Fur patches: draw small squares of short fur, long fur and striped fur, changing stroke direction each time.
- Value thumbnails: make three small black and white sketches of a cat before choosing one to finish.
Where to go next
Once a cat feels comfortable, try a dog in the dog drawing lesson or a larger animal in the horse lesson. The best books for animal drawing list points to anatomy references worth owning, and the how to draw hub has the full set of lessons.
The short version
Build the cat from a head circle and an egg body, place the eyes on the midline and the ears high, and add nose and mouth with a simple ‘Y’. Draw fur in the direction it grows, push the darkest tone into the gaps, and keep whiskers and highlights for last. If something looks wrong, go back to the layout.
Where to buy
Recommended products
Affiliate links. We may earn a small commission if you buy, at no extra cost to you. Why?
Pencils · Faber-Castell
Faber-Castell Polychromos
Firm, oil-based artist pencils that hold a point - a benchmark for detail and clean layering.
Book · Eliot Goldfinger
Animal Anatomy for Artists
The definitive animal anatomy reference for artists.
Buy on AmazonAffiliate link · opens Amazon
Quick answers
Frequently asked questions
What is the easiest way to start drawing a cat?+
Start with a circle for the head and an egg shape for the body, joined by a short neck. Add two triangles for ears, a cross of guidelines for the face, then sketch the eyes, nose and mouth. Keep every line light so you can correct the proportions before adding fur.
Where do the eyes go on a cat's face?+
As a rough guide, the eyes sit on the horizontal centre line of the head, with about one eye-width between them. Cats have rounder, more forward-facing eyes than many animals, but breeds and angles vary, so check against your own reference photograph.
How do you draw cat fur realistically?+
Use short, slightly curved strokes that follow the direction the hair grows, and change direction at the cheeks, ears and chest. Build tone in layers and keep the pencil sharp at the edges so the coat looks soft rather than scribbled. Leave small gaps of light paper for highlights.
Are colored pencils and coloured pencils the same?+
Yes. Colored is the US spelling and coloured the UK spelling of the same pencils. The colour method in this lesson works with either wax or oil-based sets, and the graphite version works with an ordinary HB to 6B set.