How to Draw
How to Draw a Lion: Mane, Face and Fur Masses
Draw a lion in graphite or coloured (colored) pencil: block in the head and body, structure the mane, place the eyes and muzzle, then build fur masses and tone.
This guide contains affiliate links. If you buy through them we may earn a small commission at no cost to you. How this works.
Jump to recommended products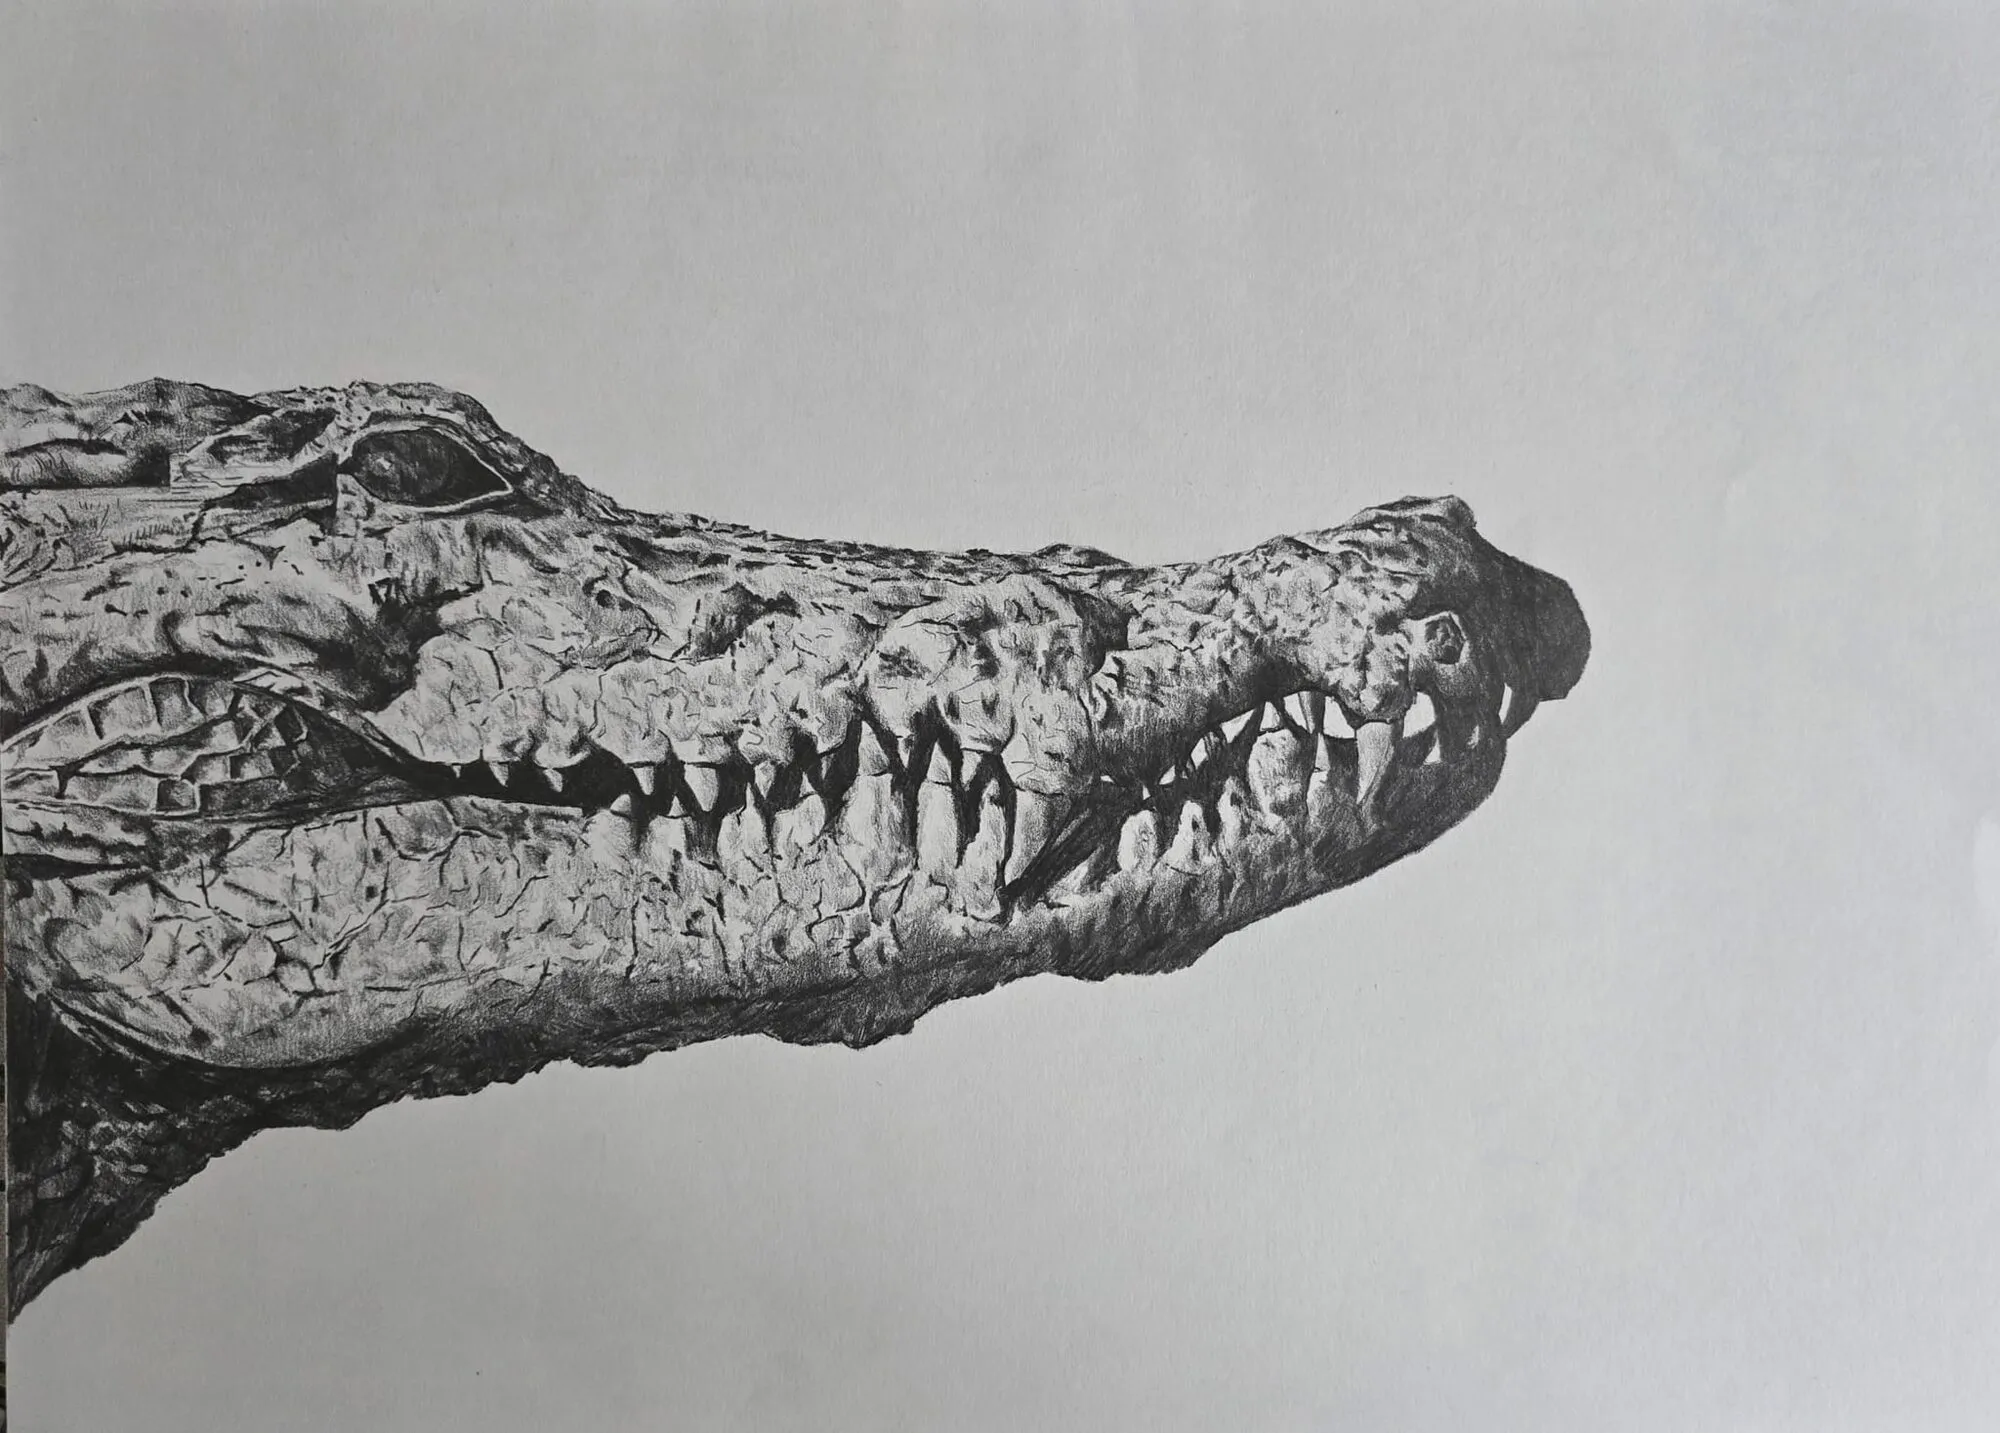
Key takeaways
- ◆Draw the lion as a big head, a deep chest and a long body before you touch the mane, because the mane hides the structure beneath it.
- ◆Treat the mane as a few large masses of light and shadow, then add hair strokes only at the edges and in the lit areas.
- ◆Keep the face simple: a broad nose bridge, a wide muzzle, deep-set eyes and a heavy brow that throws shadow.
- ◆Short coat on the body and long hair on the mane need different strokes, so change your mark-making between them.
- ◆Squint at your reference to find the main light and dark shapes, and build tone in layers instead of outlining every hair.
A lion looks intimidating to draw because of the mane, but the mane is a problem of masses, not hairs. Build the head, chest and body first, treat the mane as a few big shapes of light and shadow, keep the face simple and strong, and save the fine hair strokes for the edges.
This lesson works in graphite or in coloured pencils (colored pencils in the US). It covers the mane structure, face and muzzle, eyes, body, fur masses and tone. Heavy mammal fur and texture are built in tone, which is the same challenge a lion presents.
What you need
- Paper: a smooth to lightly textured paper with a little tooth, so you can layer tone without the grain taking over. Grey or tan paper suits a golden coat, because you can lift highlights with white. See the best paper for graphite drawing for options.
- Pencils: an HB, 2B, 4B and 6B for graphite. For colour, a range of ochre, warm brown, burnt orange and a cool dark, such as a dark blue or green, for the shadows. The pencil grade chart explains the grades.
- Reference: a clear photograph with strong directional light, which reveals the shapes of the mane and face.
- Erasers: a kneaded eraser for lifting highlights, and a precision eraser for individual hairs.
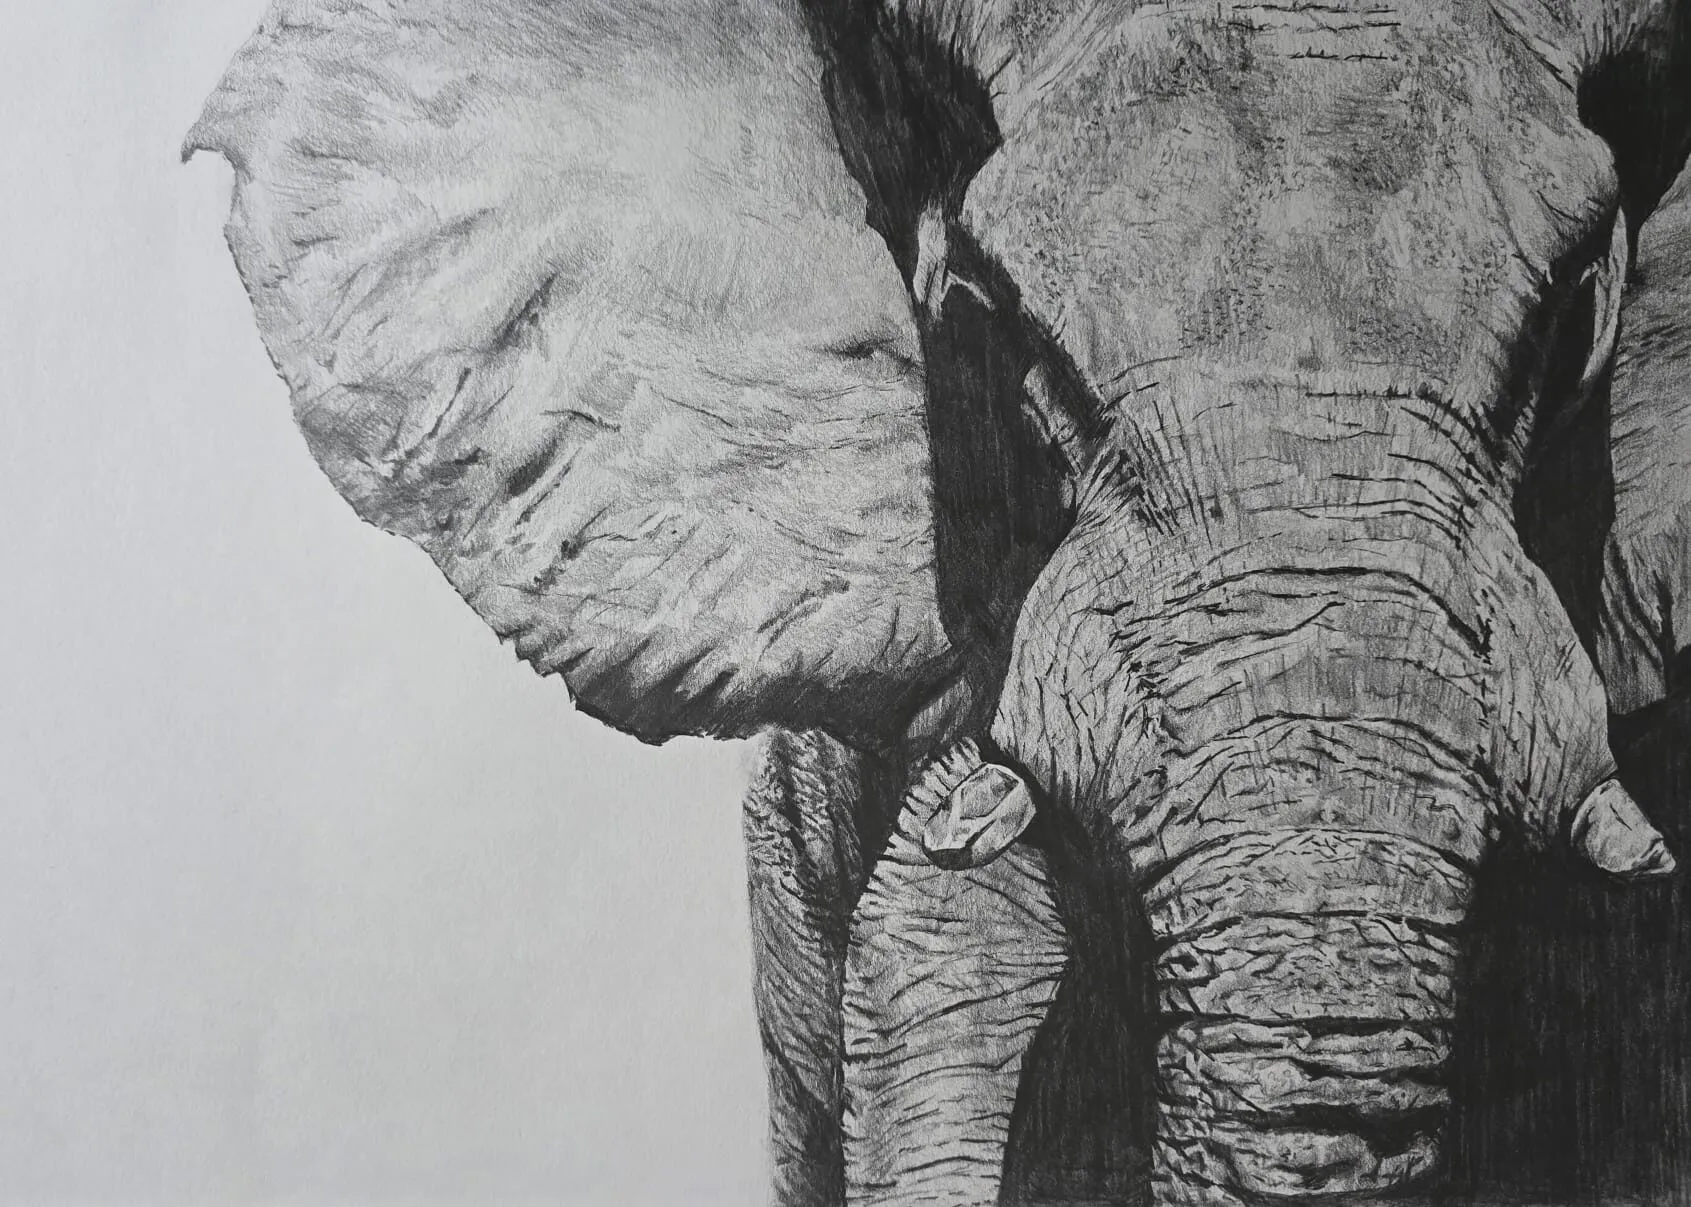
A close-up of an elephant’s ear, trunk and skin drawn in graphite pencil. Drawing by Michael Brace.
Understand the structure first
The mane is huge, but underneath it a lion is a cat: a heavy skull, strong jaw, deep chest and long, muscular body. Draw these first and the mane will sit on them convincingly.
| Part | Rough guide |
|---|---|
| Head | A broad, blocky shape, wider across the cheeks than a domestic cat |
| Mane | Starts above the ears, wraps the cheeks and throat, and reaches the shoulders and chest |
| Chest | Deep, often the heaviest part of the drawing |
| Body | Long and lean behind the chest, with the hips lower than the shoulders |
| Tail | Long, ending in a dark tuft |
These are rough guides only. A lioness has no mane, so the same structure shows clearly and makes a good first study. Male lions vary a great deal in the size and shape of the mane.
Step by step: drawing a lion
- Block in the head, chest and hips. Draw a large circle for the skull, a rounded shape for the chest and a smaller one for the hips. Join them with light curved lines for the back and belly. Check the angle of the head against the body.
- Mark the guidelines on the face. Draw a curved centre line down the face and a horizontal line across the middle for the eyes. Mark the nose a little below halfway and the mouth below it. A lion’s muzzle is wide, so keep the lower half of the face broad.
- Place the eyes and brow. Draw the eyes on the horizontal line, deep-set under a heavy brow ridge. Keep them almond shaped, with the pupil round and a clear highlight. The brow throws a soft shadow over the top of each eye.
- Build the nose and muzzle. The nose is a broad, slightly flat triangle at the end of a strong bridge. Draw the upper lip as two rounded pads with dark dots for the whiskers, and a clear line for the mouth. The chin sits below with a soft shadow.
- Outline the mane as masses. Draw the outer shape as a few large overlapping curves that wrap around the face. Do not draw hairs yet. Mark where the mane is light, where it is in shadow and where it breaks into separate clumps.
- Add the body, legs and tail. Draw the front legs as thick columns and the paws as broad, rounded shapes. Add the hips and hind legs, then the tail with its dark tuft. Keep everything still in light lines.
- Lay in the main tones. Squint at your reference and shade only the big shadow shapes: under the chin, beneath the brow, the side of the mane away from the light and under the belly. Use light pressure and build in layers.
- Add fur direction and hair strokes. On the face, use short strokes that flow outward from the nose. On the mane, use long curved strokes that follow the clumps. On the body, use short strokes that follow the muscle.
- Deepen the darks and refine. Darken the eyes, nostrils, mouth and the gaps between the mane clumps. Add highlights on the top of the nose, in the eyes and on the lit edges of the mane. Step back and check the overall balance.
Structuring the mane
The mane is where most lion drawings go wrong, because people try to draw every hair and end up with a flat, scribbled mess. Think in three levels instead.
- Large masses: the overall shape of the mane, divided into lit and shaded areas. Get these right and the drawing already reads as a lion.
- Clumps: groups of hair that hang together. Draw the gaps between clumps as dark, curved shapes.
- Individual hairs: only at the edges, in the lit areas and where hairs cross a dark shadow. A few well-placed strokes suggest many more.
Work from dark to light in graphite, leaving the brightest hairs as bare paper or lifting them out with an eraser. In colour, lay a warm base in the lit areas, add a darker brown in the shadows, and finish with a pale ochre or cream on top of the lightest clumps. The same idea appears in how to draw animal fur.
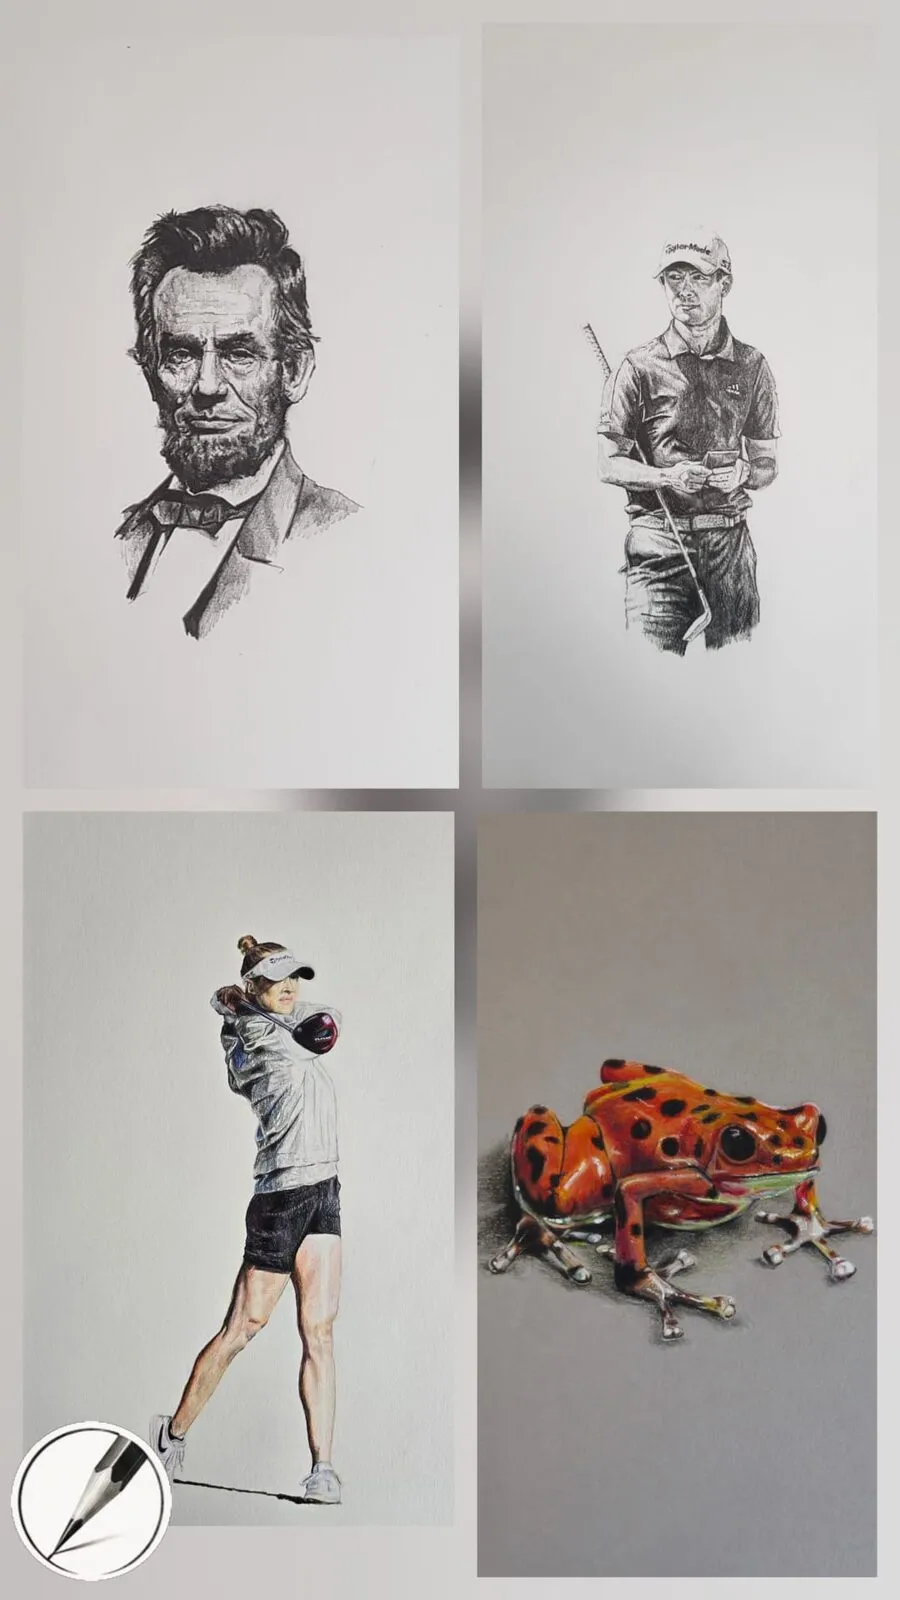
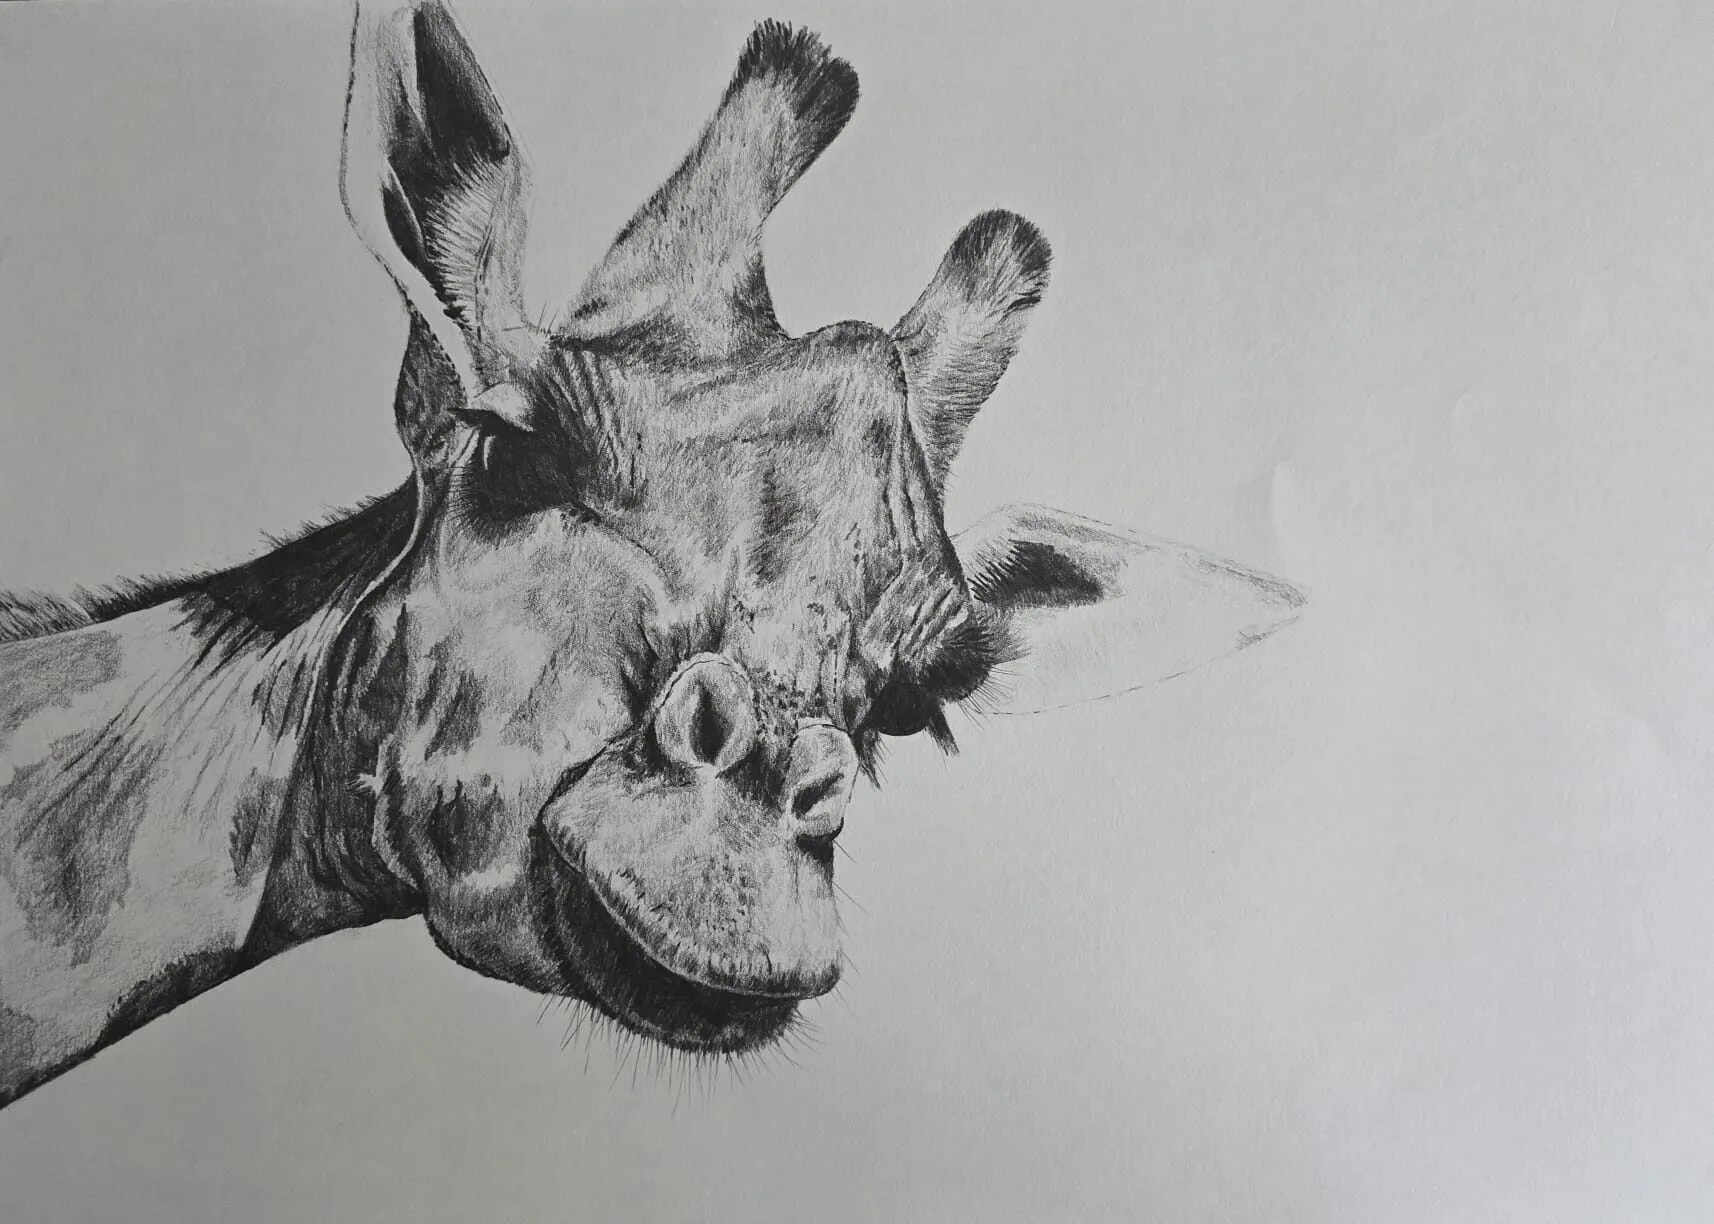
A collage of Michael’s graphite and charcoal drawings, including animal studies. Fur and skin are built from layered tone, the same way as a mane.
The face and muzzle
The face is where the lion comes alive. Keep the lines few and deliberate.
Eyes. Deep-set and intense. Shade the area above the eye under the brow to create depth, and leave a small highlight to give the eye life. The lower lid is a thin line, not a heavy outline.
Nose. Broad and flat at the top with two dark nostrils. A single soft highlight along the ridge gives it form.
Muzzle. The whisker spots on the upper lip and the dark line of the mouth give the face its character. Keep the lines thin and the shadows soft.
The body and coat
The short coat on the body behaves very differently from the mane. Use shorter, more controlled strokes that follow the muscle, and keep the tone smoother. The shoulder, ribs and hips are soft rounded forms, so shade them as you would a simple cylinder, darker on the side away from the light.
The belly and inner legs are often paler and sit in shadow, so do not over-darken them. Finish with the dark tuft at the end of the tail and the darker markings on the back of the ears.
Shading and tone
Lions are dramatic when the contrast is strong. Decide on a light direction and keep it consistent. The value study tool turns a photo into simple light and dark shapes, which helps you see the pattern before you commit. The how to shade with pencil guide covers pressure control, and the graphite textures guide helps with building fur and skin in tone.
For colour, a warm palette of ochre, orange and brown with a cool dark, such as a dark blue or green, keeps shadows rich. The palette from a photo tool is a quick way to choose colours from your reference.
Coloured pencil variant
Use the same layout in light graphite, then switch to colour. Layer a pale yellow-ochre across the whole coat as a base, then add orange-brown and burnt sienna on the shaded side. Put a cool dark into the deepest shadows, then use a cream or pale yellow on top of the lightest hairs. Keep pressure light for the first layers so you can build gradually, and save the dark accents for the end.
Common mistakes
The fix for most of these is to go back to big shapes. Squint at your reference, redraw the mane as three or four masses and then rebuild the tone.
Practice exercises
- Mane masses: draw a lion’s head five times using only large light and dark shapes, with no hairs.
- Muzzle study: draw the nose, mouth and chin from three angles.
- Fur samples: fill a page with short fur, long fur and clumped fur in graphite.
- Lioness study: draw a lioness to learn the structure without the mane.
Where to go next
Try a smaller cat in the cat drawing lesson or a larger animal in the elephant lesson. Return to the how to draw hub for more subjects.
The short version
Build the structure under the mane, treat the mane as big masses, keep the face strong and simple, and save fine hair strokes for last.
Where to buy
Recommended products
Affiliate links. We may earn a small commission if you buy, at no extra cost to you. Why?
Book · Eliot Goldfinger
Animal Anatomy for Artists
The definitive animal anatomy reference for artists.
Buy on AmazonAffiliate link · opens Amazon
Book · Hugh Laidman
Drawing Animals
Building animals from simple forms before adding detail.
Buy on AmazonAffiliate link · opens Amazon
Quick answers
Frequently asked questions
How do you start drawing a lion?+
Start with a large circle for the head and a rectangle or oval for the chest, then add the body behind. Draw the shape of the mane as a rough outline around the head, and place guidelines for the eyes, nose and mouth. Keep the lines light until the proportions look right.
How do you draw a lion's mane?+
Draw the mane as big overlapping masses, not individual hairs. Mark where it is lit and where it falls into shadow, then add long curved strokes that follow the flow of the hair. Darken the gaps between clumps, and leave a few highlights on the top of each mass.
What pencils are best for drawing a lion?+
In graphite, an HB for the layout, a 2B and 4B for mid-tones and a 6B for the deepest shadows work well. In colour, a range of warm browns and ochres with a few cool darks gives a rich coat. A kneaded eraser helps to lift light hairs.
Are colored pencils and coloured pencils the same?+
Yes. Colored is the US spelling and coloured the UK spelling of the same pencils. The colour variation in this lesson works with wax or oil-based sets, and the graphite method works with an ordinary HB to 6B set.