How to Draw
How to Draw Fruit: Apples and Citrus in Pencil
Learn how to draw an apple and a citrus fruit in graphite or coloured (colored) pencil: basic forms, light and shadow, skin texture, colour layering and highlights.
Key takeaways
- ◆Every piece of fruit is a simple solid first: an apple is a sphere with a dip at the top, an orange is a slightly squashed sphere. Draw the form before the skin.
- ◆Shade in the same order every time: light side, core shadow, reflected light, then cast shadow on the table.
- ◆Skin texture is the last layer. A smooth apple needs smooth, even layers; an orange needs tiny dimples drawn as shadows, not outlines.
- ◆In coloured pencil, build colour in thin layers from light to dark and keep the highlight as bare paper or a late, light touch.
- ◆A highlight is a shape with a soft edge, placed where the light source meets the surface. Its size tells the viewer how glossy the skin is.
Fruit is one of the best subjects a beginner can choose. It is cheap, it holds still for as long as you need, and it contains every problem of realistic drawing in a small package: form, light, shadow, texture and colour. Get an apple and an orange right and the same thinking carries over to portraits, glass and animals.
The method is simple. Draw the fruit as a basic solid, find the light and shadow pattern, then add skin texture and colour in thin layers, saving the highlight for last. This guide works in graphite first, then shows how to translate each step into coloured pencil (colored pencil in the US). If you have not drawn spheres and shaded them yet, try how to draw basic forms and shading first.
What you need
- A real apple and an orange or lemon. Real fruit beats a photo because you can move the light and see the shadows change. A photo is fine if you cannot get fruit.
- A lamp or a window to one side. A single light source makes the shadow pattern easy to read. See how to draw shadows and light for more on this.
- Pencils. For graphite, an HB, a 2B and a 4B cover most needs; the pencil grade chart shows how they compare. For colour, a small set of artist-grade coloured pencils is enough.
- Paper. Smooth drawing paper for graphite. For coloured pencil, choose paper with enough tooth to hold several layers, as explained in best paper for coloured pencils.
- A kneaded eraser for lifting highlights and softening edges.
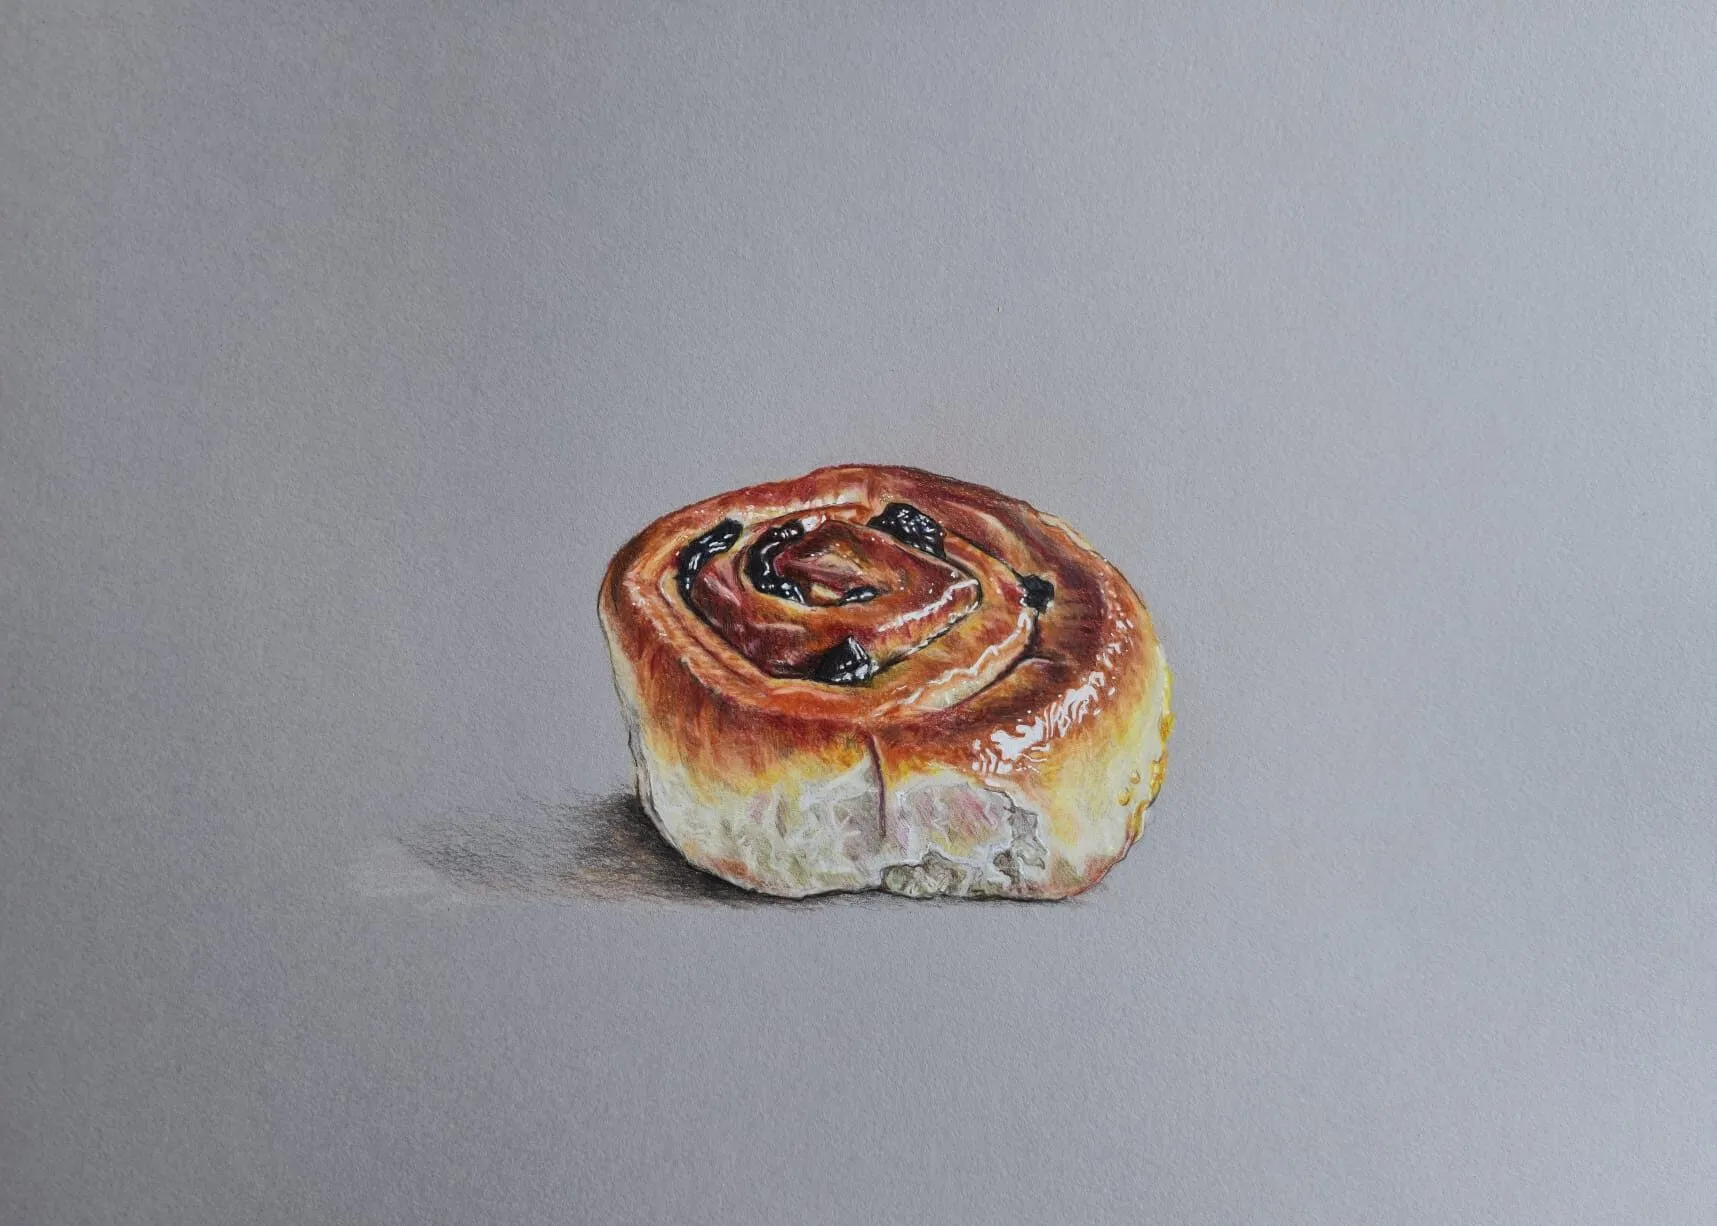
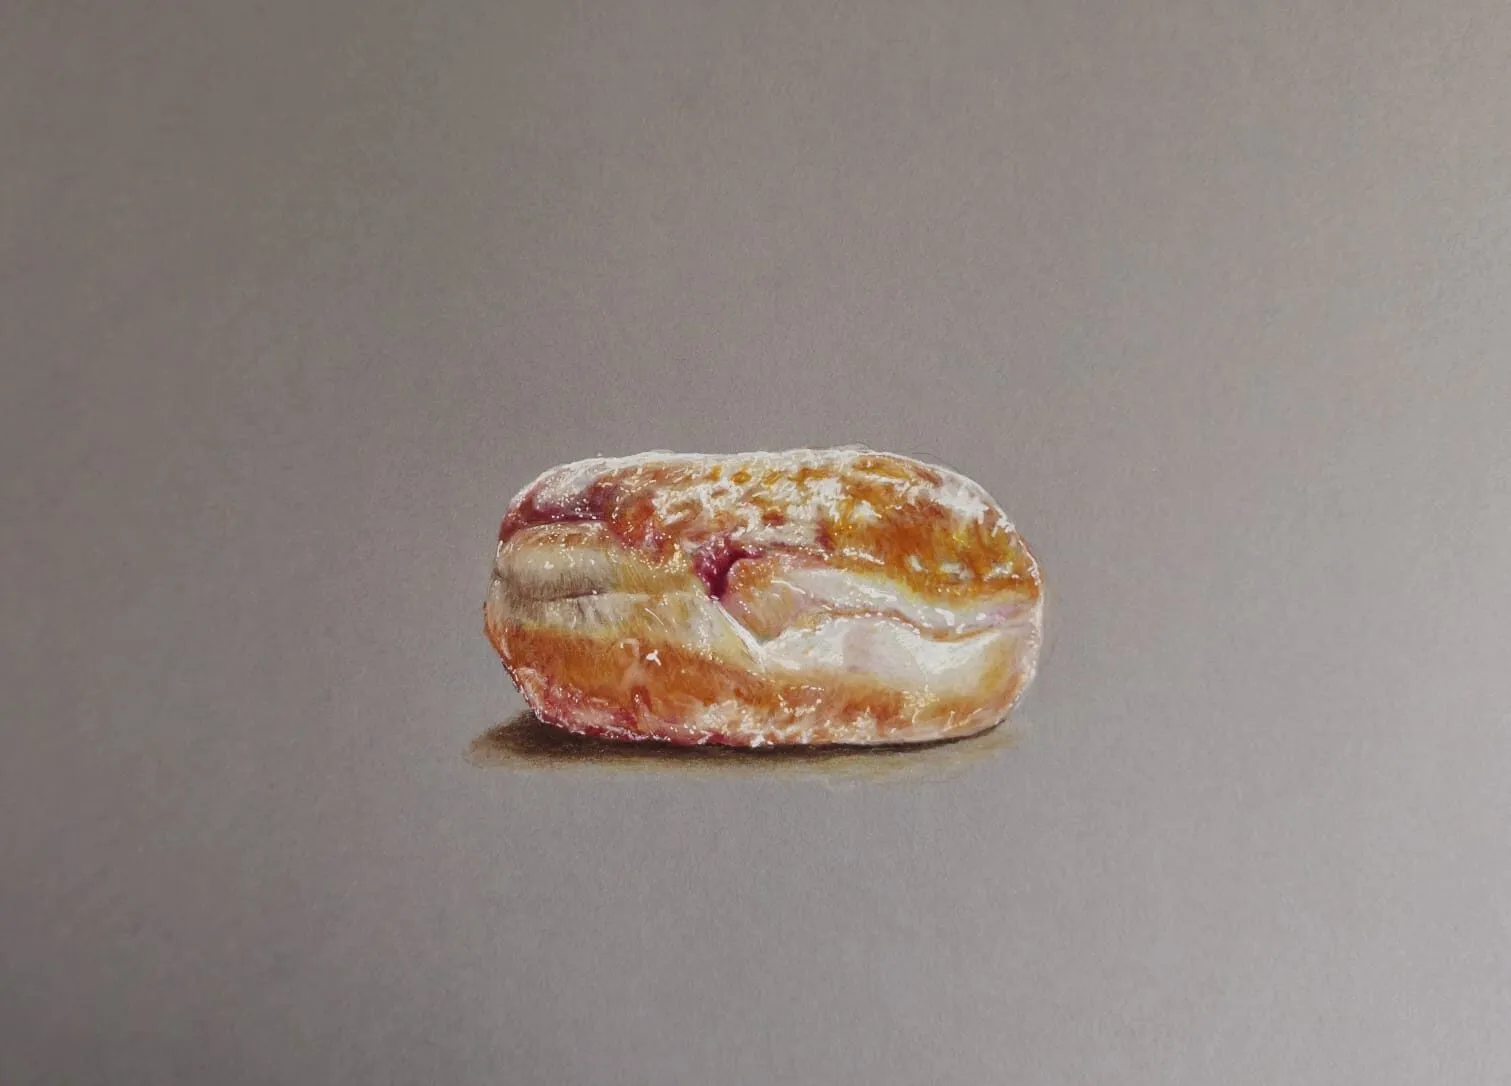
A glazed pastry swirl with raisins drawn in coloured pencil on grey paper. Drawing by Michael Brace.
The short answer: form, shadow, skin, colour
Fruit looks real when four things are right, in this order: the form (is it round and solid?), the light pattern (is there a clear light side, core shadow and cast shadow?), the surface (does the skin feel glossy, waxy or pitted?) and the colour (is it built in layers rather than laid on flat?). Beginners usually start at the end and wonder why their apple looks like a red circle. Work in the order above.
Understand the light on a round object
On a sphere lit from one side, there are five zones. Learn to name them and you can shade almost anything.
| Zone | Where it is | How to draw it |
|---|---|---|
| Highlight | Brightest spot, where light hits the surface most directly | Bare paper or a very light touch |
| Light side | The area facing the lamp | Lightest tone, smooth layers |
| Core shadow | The darkest band on the fruit, before it turns away from the light | Your darkest tone on the fruit |
| Reflected light | A slightly lighter edge on the shadow side, bounced from the table | Lift or shade less, never as light as the light side |
| Cast shadow | The shadow the fruit throws on the table | Darkest right beside the fruit, fading away from it |
The most common error is skipping reflected light. Without it, the shadow side looks flat and the fruit looks cut out. Leave a narrow, soft band between the core shadow and the edge.
How to draw an apple
- Block in the basic form. Draw a light circle, then adjust it: apples are usually a little wider at the shoulders and narrower toward the base, with a shallow dip at the top for the stem. Draw the ellipse of the table under it so it sits on a surface.
- Mark the light and shadow shapes. Decide where the lamp is. Draw faint lines for the highlight, the edge of the core shadow and the outline of the cast shadow, which falls on the side away from the light.
- Shade the core shadow. With a 2B, lay down even, smooth layers along the curve of the fruit, following its roundness instead of shading straight across. Hatching that curves around the form helps it read as solid. See how to shade with pencil for the technique.
- Fill in the half tones. Blend gently from the core shadow toward the light side, leaving the light side close to the paper colour. Keep the transition smooth. A sudden jump looks like a stripe.
- Add the stem and dimple. Draw the stem as a small cylinder, dark where it meets the fruit. Shade the dip around it darker toward the centre, which makes the hollow feel deep.
- Place the cast shadow. Shade it darkest where it touches the base of the apple, then let it fade as it moves away. A cast shadow that is the same tone everywhere makes the fruit float.
- Lift the highlight. Press a kneaded eraser into the highlight area to make a soft-edged shape. Keep it small and let it follow the curve of the apple.
- Step back and adjust. Look at the whole drawing from a distance. Darken the core shadow if the form looks weak, and check that the cast shadow is darker than anything on the fruit itself.
How to draw citrus: oranges and lemons
An orange follows the same five zones as an apple, with two differences. The shape is closer to a true sphere, slightly flattened top and bottom, and the skin is textured.
- Draw the sphere and the stem end. Keep the outline gentle. Add a tiny circle where the stem was, with a slight dimple.
- Shade the form first, with no texture. Do steps 2 to 6 of the apple method on a smooth sphere. Texture applied to a flat drawing will not rescue it.
- Add the pitted texture. The skin of a citrus fruit is covered in tiny pores. Do not outline each one. Instead, dot or press small, irregular marks, slightly darker on the shadow side and almost absent on the light side. Vary their size and spacing so they do not look like a pattern. Follow the curve of the fruit so the texture wraps around it.
- Soften the highlight. Citrus skin is semi-matt, so the highlight is broader and softer than on an apple. Lift it with a kneaded eraser and let it fade out.
- Add a segment or peel for interest. A peeled curl or a cut half shows the wet, glossy flesh. Draw the inner segments as a radial pattern, and leave small bright highlights on the wet surface.
Drawing fruit in coloured pencil
Coloured pencil adds one new idea: colour is built by layering, not by pressing hard. The same light pattern applies, but each zone gets several thin layers of different colours.
A layering plan for a red apple
- Underlayer. Start with a light yellow or cream over the whole fruit, including the highlight area only very lightly. This gives the red a warm glow.
- First red. Lay a mid red over the fruit with light pressure, following the form. Go a little heavier in the shadow side.
- Shadow colour. Add a deep red or a dark brown over the core shadow. Avoid pure black, which goes dead. A small amount of green or indigo in the darkest parts neutralises the red and deepens it naturally, since these colours sit opposite each other on the colour wheel. Read complementary colours in drawing for why.
- Variation. Real apples are streaked and mottled. Add short strokes of yellow and green, and of a darker red, following the curve of the skin.
- Reflected light. Keep a narrow band on the shadow edge lighter and a touch warmer.
- Cast shadow. Use a dark brown, blue or purple over a light grey-brown, not plain black. The shadow is also coloured by the fruit, so a touch of red helps it feel connected.
- Highlight and finish. Leave the highlight as bare paper, or lift a little with an eraser. A light layer of white or cream over the lightest area can soften it. If you want a smoother finish, see how to burnish coloured pencils.
A layering plan for an orange
Use yellow first, then a bright orange, then a deeper orange or red-orange on the shadow side, and finish with a little brown in the core shadow. Keep the texture marks in the same colours as the layer beneath, slightly darker. For background reading on building colours, see how to layer coloured pencils.
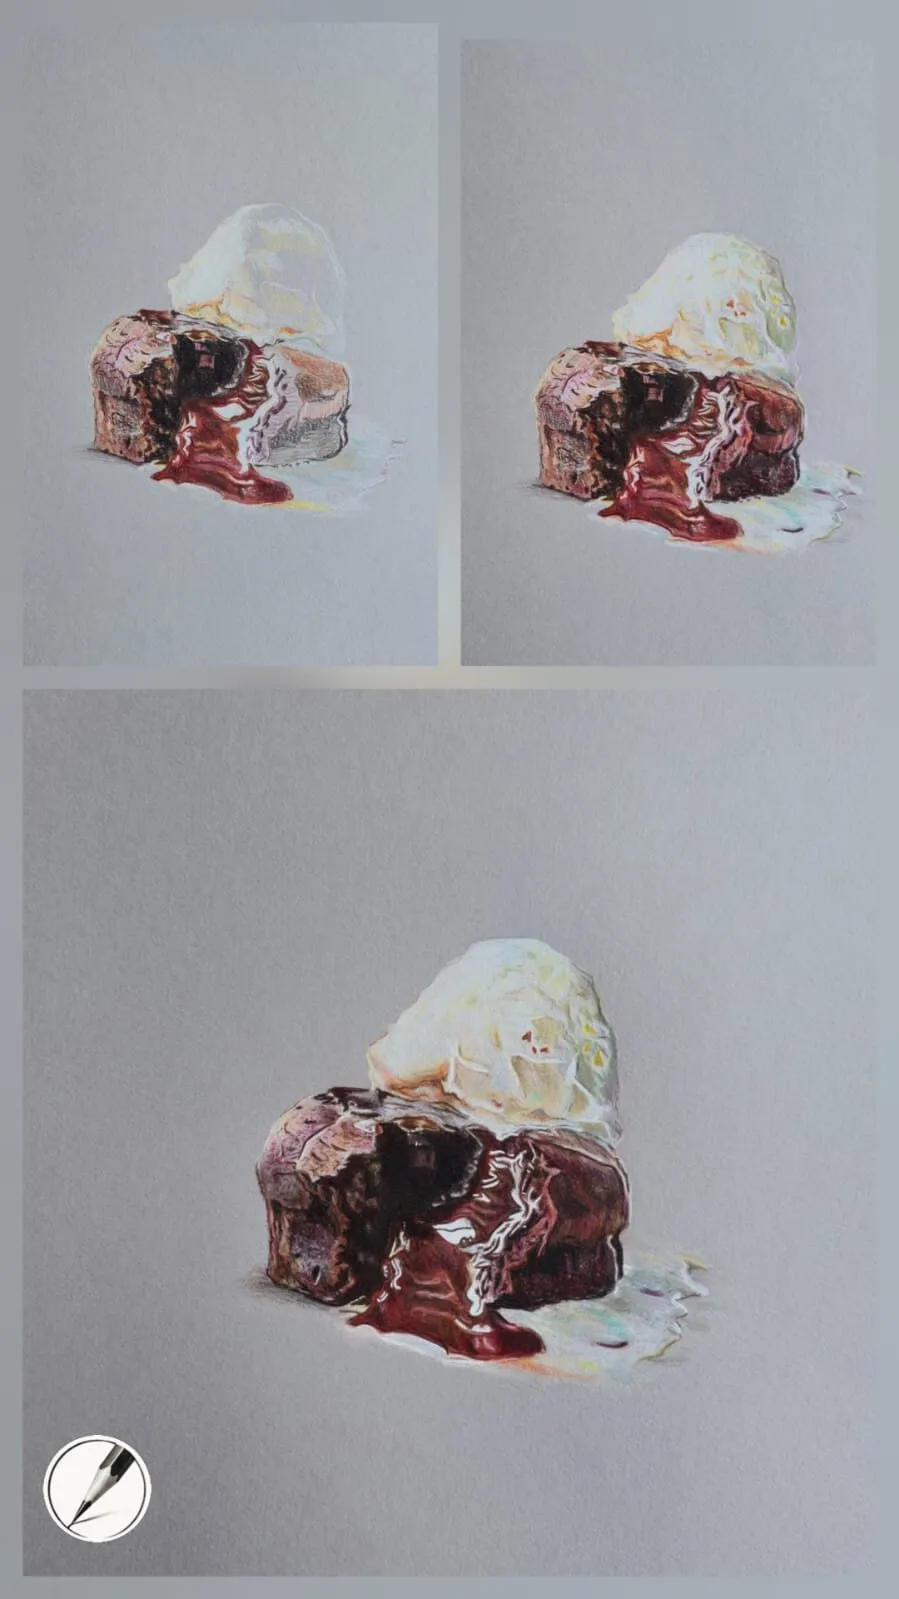
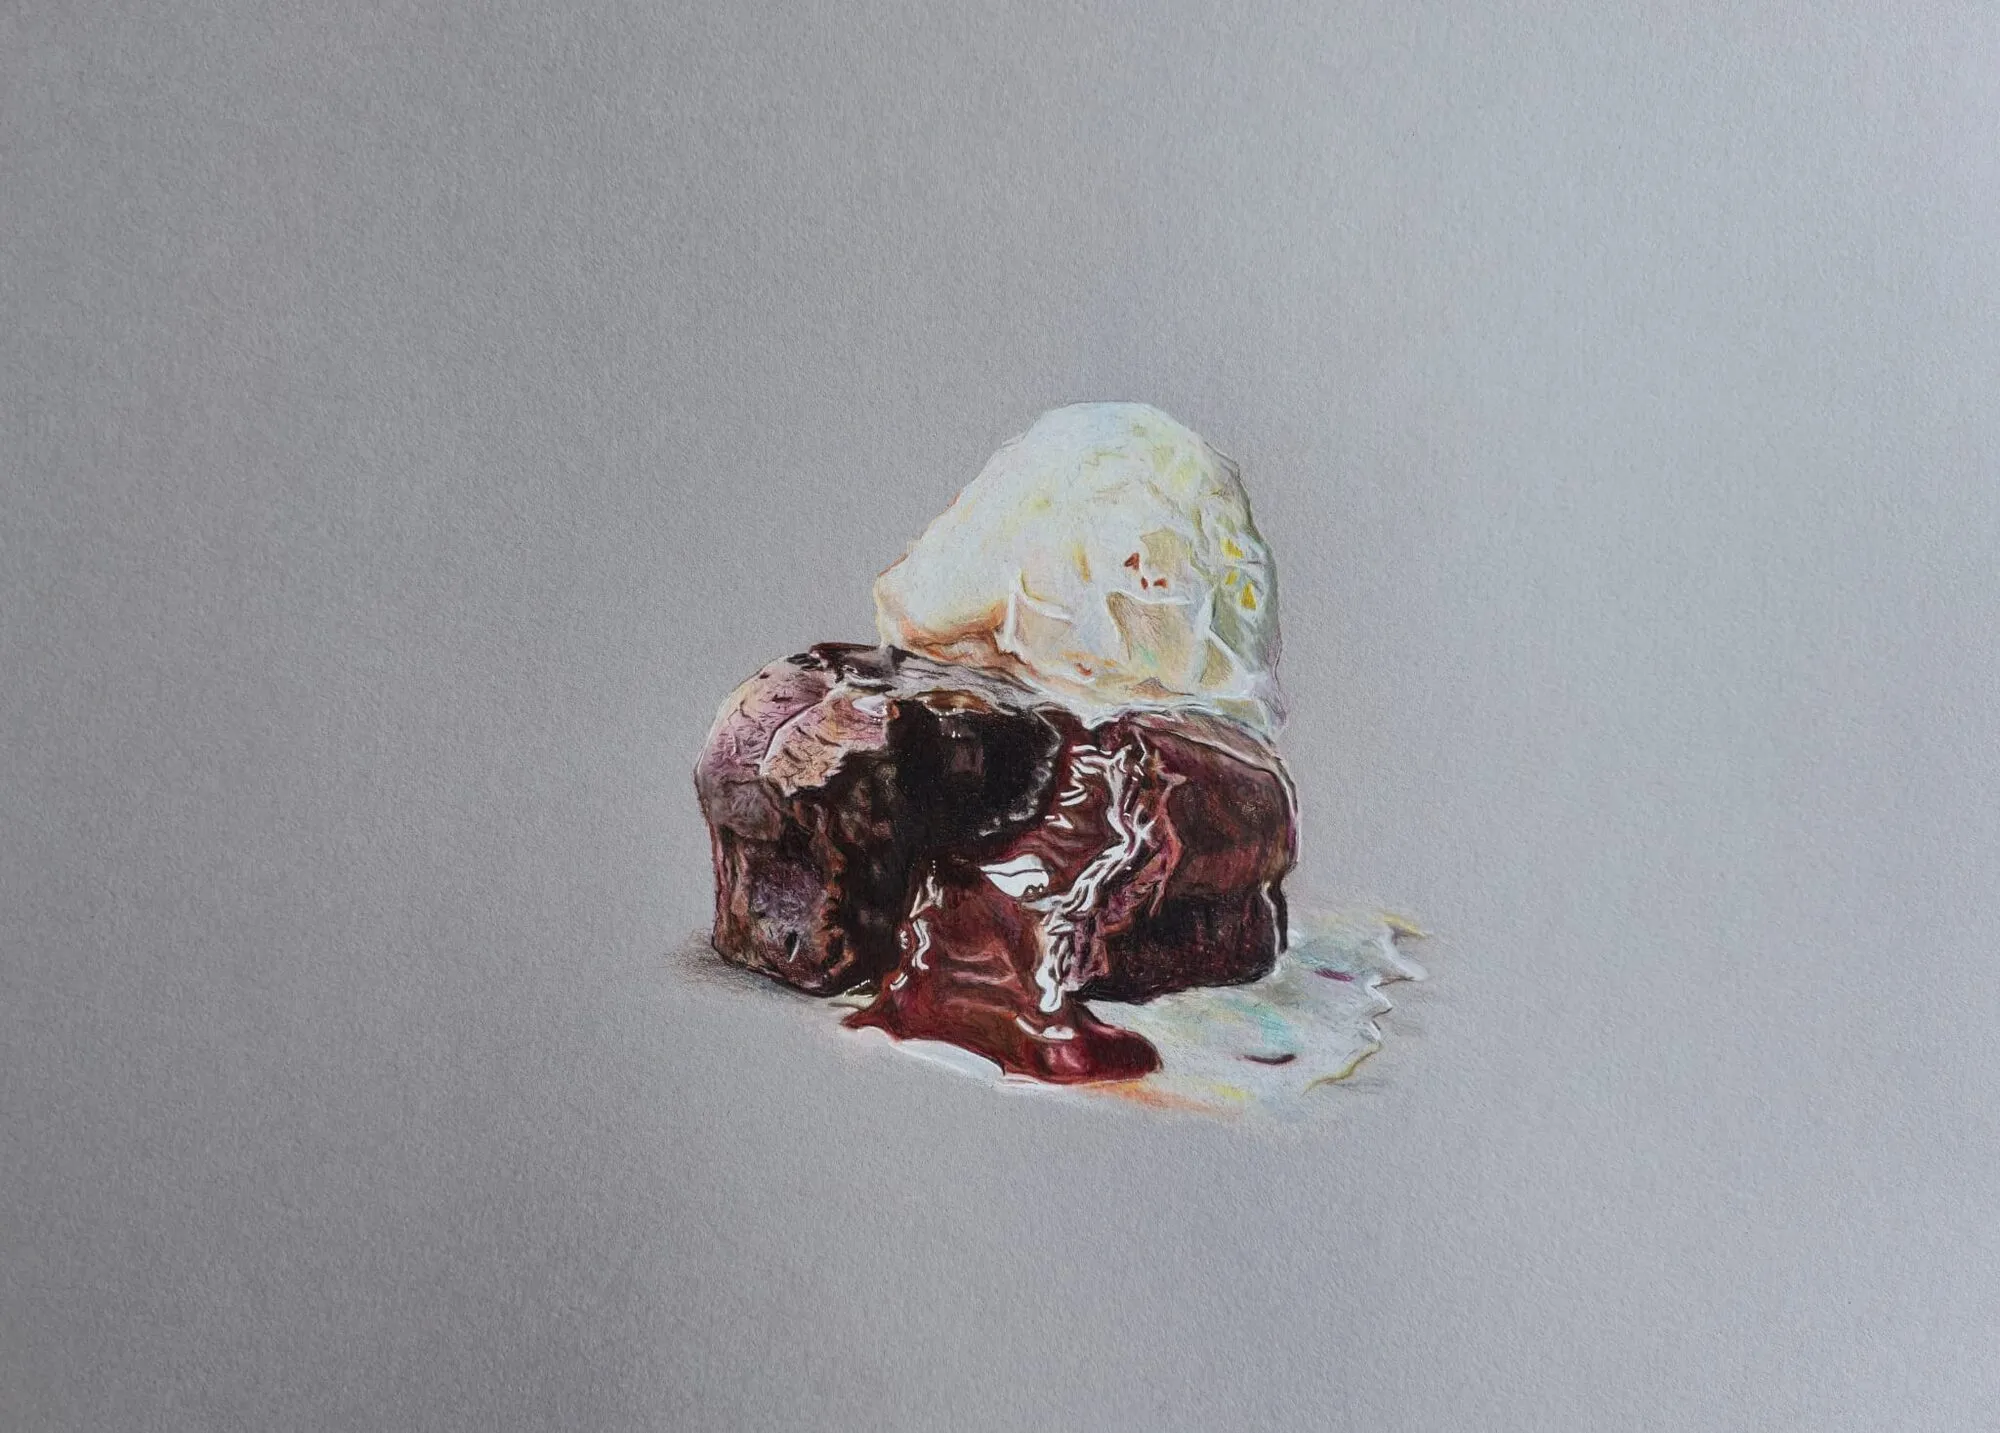
Michael’s three-stage drawing of a chocolate dessert shows how layering builds shine. The same idea applies to fruit: a smooth base first, then darker layers, then crisp highlights.
Placing highlights
The highlight is the most important mark on glossy fruit, and it is easy to get wrong. A few rules:
- Follow the light. The highlight sits on the side of the fruit facing the lamp, at the point where the surface turns to face the light.
- Size tells the surface. A small, sharp highlight reads as glossy. A large, soft one reads as matt. Apples are usually in between; citrus is softer.
- Keep the edge soft on the shadow side. A highlight that stops abruptly on all sides looks like a sticker.
- Protect it early. It is easier to leave the paper bare than to restore it later. In coloured pencil, mark its position faintly and draw around it.
- Do not make it pure white everywhere. On a coloured fruit, a slightly tinted highlight looks more natural than a hole in the drawing.
For a deeper look at shiny surfaces, see how to draw glossy surfaces.
Common mistakes and fixes
- The fruit looks flat. The core shadow is too light, or the transition is missing. Darken the core shadow and leave a band of reflected light.
- The fruit floats. The cast shadow does not touch the fruit. Darken it where fruit and table meet.
- The apple looks like a ball. Apples are not perfect spheres. Add the wider shoulders, the dip and a slight lean.
- Texture looks like a pattern. Vary size, spacing and pressure, and fade it on the light side.
- The colour looks waxy or flat. Too much pressure too early. Use lighter layers and build gradually.
- Highlights look pasted on. Soften the edges and keep them small.
Practice exercises
- One fruit, three lights. Draw the same apple with the lamp on the left, then the right, then overhead. Note how the shadows move. About 20 minutes each.
- Three finishes. Draw a smooth apple, an orange and a lemon side by side and compare how each surface handles the highlight. 30 to 40 minutes.
- Value only. Do a graphite version in three tones. Then repeat in colour and compare. Use the value study tool on a photo of your fruit to check your tones.
- Cut fruit. Draw half an orange or a sliced apple, paying attention to the wet highlights and the radial pattern. 30 minutes.
- A small group. Arrange three pieces of fruit with overlapping cast shadows and draw them together.
Next steps
Once fruit feels comfortable, try how to draw food realistically, which applies the same layering to glossy sauces and pastries. For more subjects at this level, browse drawing ideas for beginners, and use the palette from photo tool to pick a colour set from your reference.
The short version
Draw fruit as a simple solid, then map the highlight, light side, core shadow, reflected light and cast shadow before shading. Add skin texture as tiny shadows, not outlines. In coloured pencil, build thin layers from light to dark, use complements in the shadows instead of black and keep the highlight small, soft-edged and protected.
Quick answers
Frequently asked questions
How do I draw an apple step by step?+
Draw a light circle, flatten it slightly at the top and add a shallow dip for the stem. Map the light side, core shadow and cast shadow with faint lines. Shade the core shadow first, then the half tones, leaving the light side and a highlight nearly untouched. Add the stem and a soft cast shadow last.
What colored pencils should I use to draw an apple or orange?+
You do not need a large set. For a red apple, a light yellow or cream, a mid red, a deep red, a green and a dark brown or indigo for shadow are enough. For an orange, use yellow, a bright orange, a deeper orange and a brown. Any decent artist-grade range works, so check the current range for your budget.
Are colored pencils and coloured pencils the same thing?+
Yes. Colored is the US spelling and coloured is the UK spelling, and both describe wax-based or oil-based pencils with pigmented cores. The techniques in this guide, including layering, burnishing and leaving highlights, are identical whichever spelling your pencil box uses.
How do I make fruit look shiny and three-dimensional?+
Three things make fruit look solid: a clear change from light to core shadow, a cast shadow that touches the base of the fruit, and a highlight with a soft edge. To make it shiny, keep the highlight small and bright, and make the darks next to it slightly darker. Matt skin gets a larger, softer highlight.