How to Draw
How to Draw Glass and Transparent Objects in Pencil
Learn to draw glass and transparent objects: edges, highlights, refraction, reflected light, cast shadows and caustics, in graphite or coloured (colored) pencil.
Key takeaways
- ◆Glass reads through its edges, highlights, distortion and shadow, not through its own colour, so you draw what is seen through and on it.
- ◆The darkest values in glass are usually at the edges and in the thick base, and the brightest highlights are small, sharp and placed with care.
- ◆Refraction bends and distorts what is behind the glass, so objects seen through it shift, shrink or flip.
- ◆A cast shadow from glass is lighter in the middle than at the edges and can contain a bright patch of focused light called a caustic.
- ◆Work from dark to light, and save the brightest highlights for the end, leaving paper or lifting colour where needed.
Glass seems impossible because it has nothing of its own to draw. There is no local colour and no surface texture, and yet a few well-placed marks can make a pencil drawing look clear and wet. The answer is that glass reads through edges, highlights, distortion and shadow. Draw the dark edges and thick parts, show the background bent behind it, keep the highlights small and sharp, and let the shadow be lighter in the middle.
This lesson explains what makes glass read, then gives a step by step method in graphite and in coloured pencil (colored pencil in the US), including working on grey paper.
What you need
- Graphite: HB, 2B and 4B, with a sharp point for edges. See the pencil grade chart.
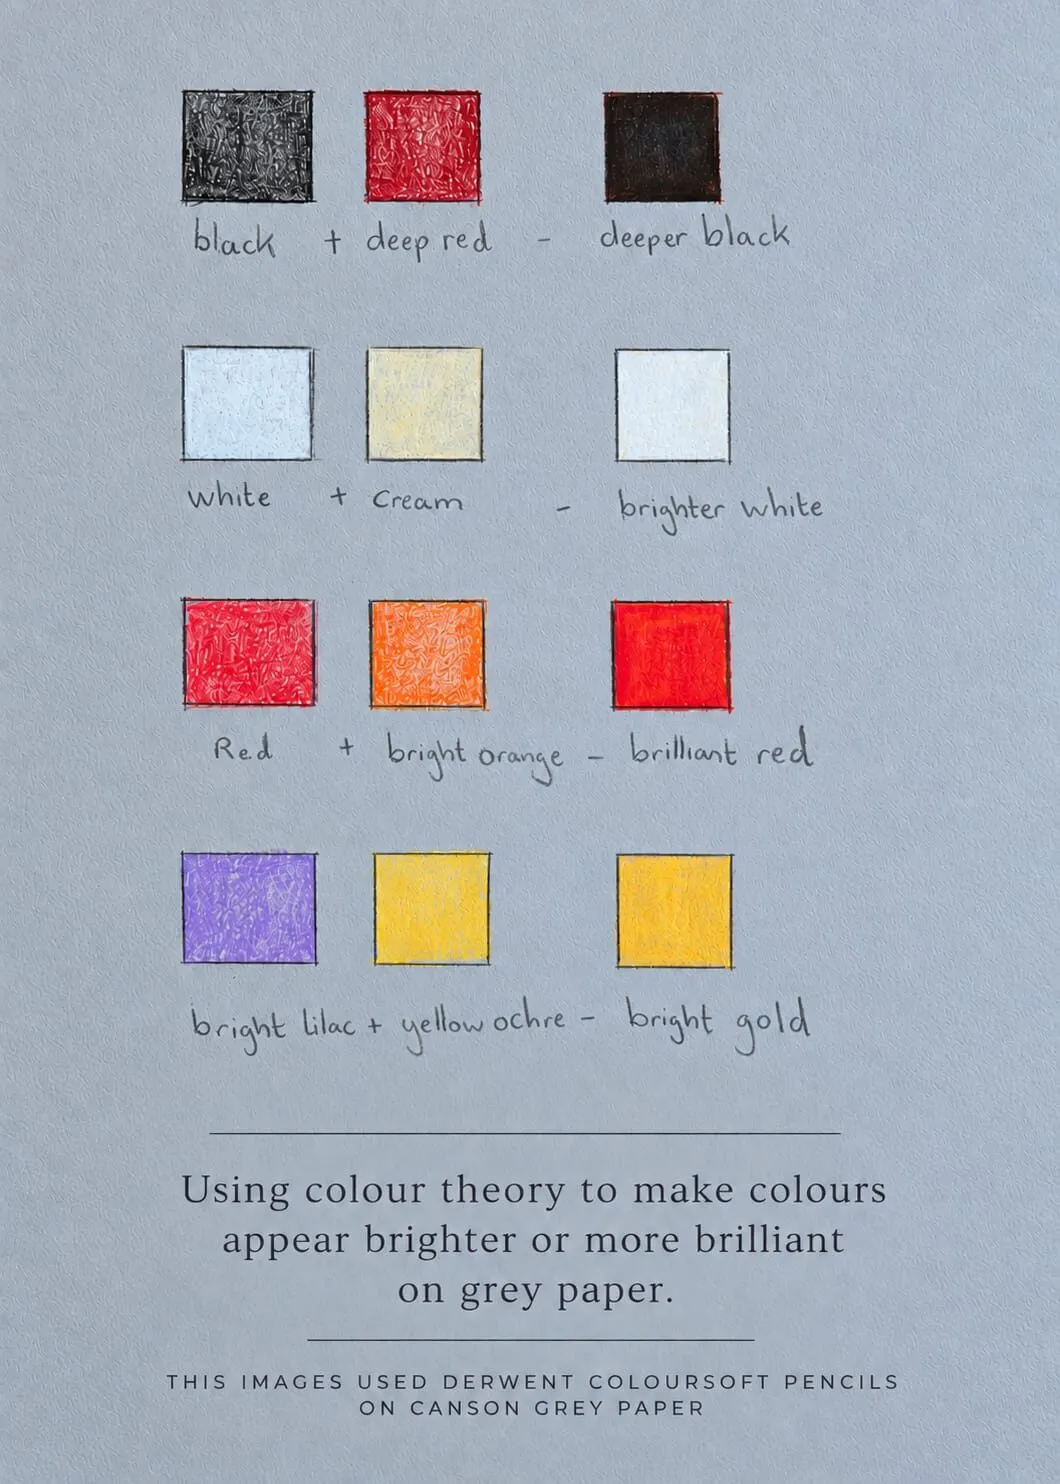
- Smooth paper: a fine tooth helps you blend clean, even tone. Grey or toned paper is ideal, and why use grey paper for coloured pencil explains why.
- An eraser: a kneaded eraser or a precision eraser pencil for lifting highlights. See best erasers for graphite.
- White pencil: for highlights on grey or toned paper. Check the current range of white pencils before buying.
- A simple glass and a lamp: a plain drinking glass on a light surface with a single light is the best subject.
- Coloured pencils: dark blue, violet, green and brown for shadow colours, and a range of greys.
What makes glass read
Five visual ingredients make glass believable. You do not need every one in each drawing, but the more you include, the clearer the glass.
| Ingredient | What you see | How to draw it |
|---|---|---|
| Edges | Darker outline and thick rim, because light is bent and absorbed at the edge | Dark, slightly irregular line, thicker at the base |
| Highlights | Small, sharp, bright reflections of windows or lamps | Bare paper, lifted graphite or white pencil |
| Refraction | The background looks bent, shifted or flipped inside the glass | Draw the distorted shapes, with stronger contrast |
| Reflected light | A thin lighter band just inside the dark edge from light bouncing around | Subtle, soft lighter line |
| Cast shadow | Soft and lighter in the middle, with a darker outline and sometimes a bright caustic | Shade the edge, leave a bright patch |
Caustics are the bright patterns where glass focuses light onto the surface behind it, usually inside the cast shadow. They are a fine finishing touch, and worth adding if the light is strong. The general principles of light and edge are in how to draw shadows and light.
How to draw glass step by step
1. Set up and simplify
Place the glass on a plain, light surface in front of a simple background with a few strong shapes, such as a dark stripe and a light one. Use one light from the side. A simple background lets you see refraction clearly. Look at the glass for a minute, squinting, and pick out the darkest and brightest shapes.
2. Draw the outline accurately
Use light lines to draw the shape. For round glasses, draw a vertical centre line and ellipses for the rim and base, with the base ellipse slightly rounder than the rim in a low view. Check that both sides are symmetrical. See how to draw basic forms and shading for cylinders and ellipses. Mark where the thick base begins and the waterline if there is liquid.
3. Map the shapes inside
Do not draw the glass, draw what you see in it. Lightly mark the shapes of the background that show through, the bright windows or lamps reflected on the surface, the darker edges and any liquid line. Outline the highlights as shapes and leave them. This step is where the pattern of light and dark comes from.
4. Block in the darkest values
Start with the darks, because glass is built from dark to light. Shade the edges, the thick base, the areas where the background is darkest and the reflected shapes of dark objects. Use firm pressure, smooth and even, and keep the edges of the dark shapes crisp where the glass is sharp. The value in drawing guide explains how to control this range.
5. Add the mid-tones and distortion
Fill in the mid-tones where the background is seen through the glass, and show its distortion. Through a round glass of water, objects tend to look flipped or widened, and through a thick base they look magnified. You do not have to be scientific about it. Draw the shapes as you see them, and exaggerate the contrast slightly between inside and outside the glass.
6. Soften and add reflected light
Soften the transitions where light glides across curved surfaces, using smooth strokes or a blending stump with care. Add a thin, soft band of lighter tone inside the dark edge, which is the reflected light. This keeps the dark edge from looking like an outline and gives the glass thickness. How to blend graphite covers smooth gradation.
7. Draw the cast shadow
Glass casts a shadow that is usually lighter and more transparent than an opaque object’s, because light passes through. Draw the outer edge of the shadow darker, with a lighter interior, and a bright caustic patch if the light is strong. The shadow is darkest where the base touches the surface. In coloured glass, the shadow carries some of the colour.
8. Add the highlights last
Now add or restore the brightest highlights. Lift graphite with a kneaded eraser or a precision eraser pencil, or use white pencil on grey paper. Keep them small, sharp-edged and deliberately placed, usually a long vertical strip along one side and a small dot or two. Highlights are the brightest part of the drawing, so make sure everything else is darker. Use them sparingly, because too many make the glass look chaotic.
9. Check and adjust
Squint and compare the drawing with the glass. Strengthen any darks that have lightened, and check the silhouette and symmetry. If the glass looks flat or milky, increase the contrast between the darkest edges and the highlights.
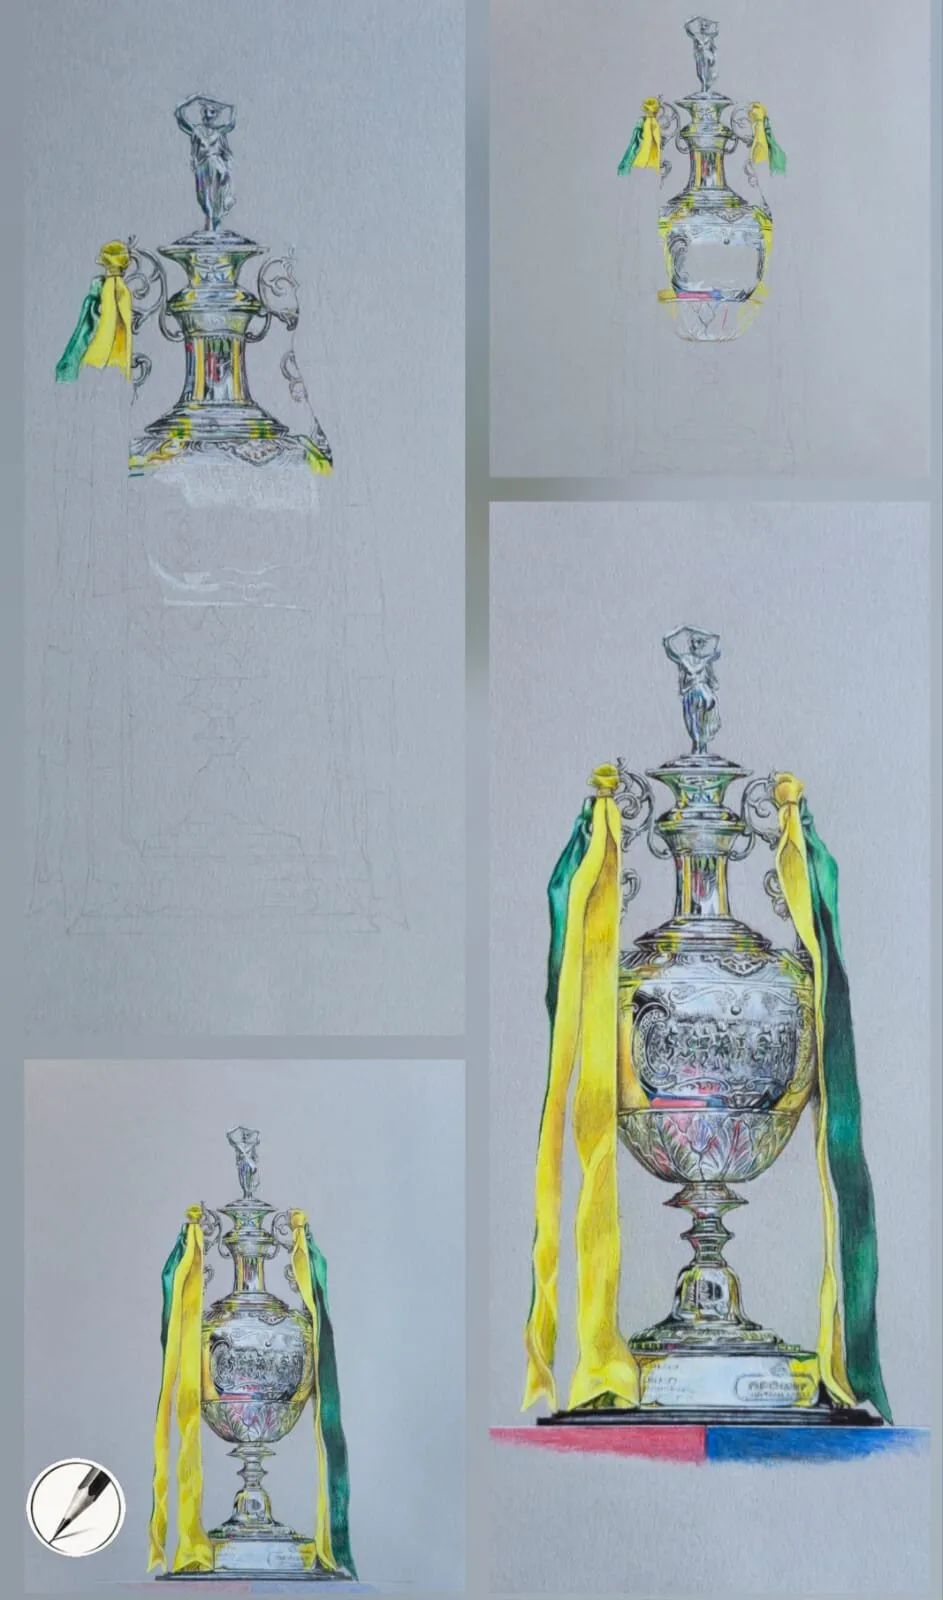
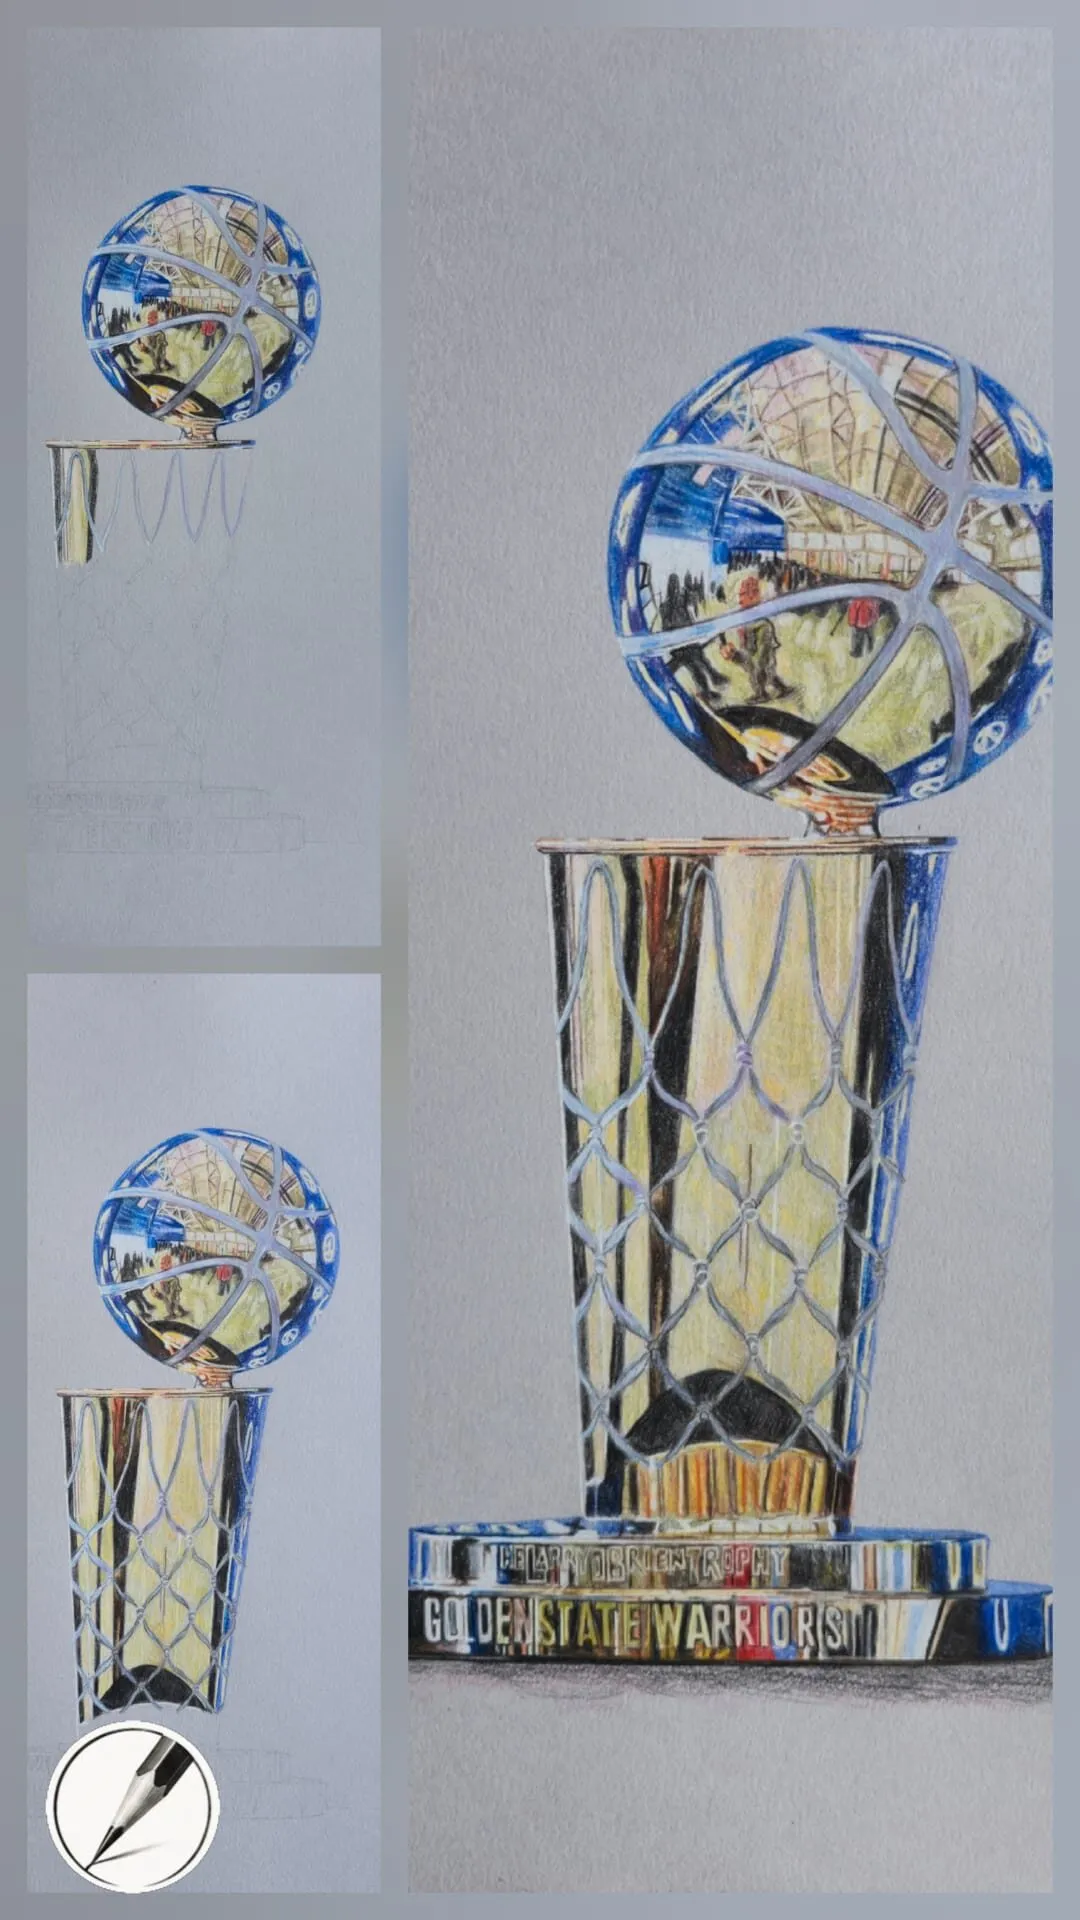
Michael’s silver trophy in stages on grey paper. It is metal, not glass, but it shows the same order of work: build the darks and mid-tones first, then add the bright highlights last.
Working on grey paper
Grey or toned paper is a natural fit for glass, because the paper is already a mid-tone. You then add darks below it and lights above it, which matches the way glass behaves.
- Lay the dark edges and shadows first in graphite, dark blue or brown pencil.
- Add mid-tones in the glass with cool greys, blues or greens, leaving the paper as the middle value.
- Add the bright highlights last with a white pencil, pressing firmly for the brightest points.
- Keep the highlights crisp. Soft white gives the glass a foggy look.
- Use a little colour from nearby objects in the reflected light.
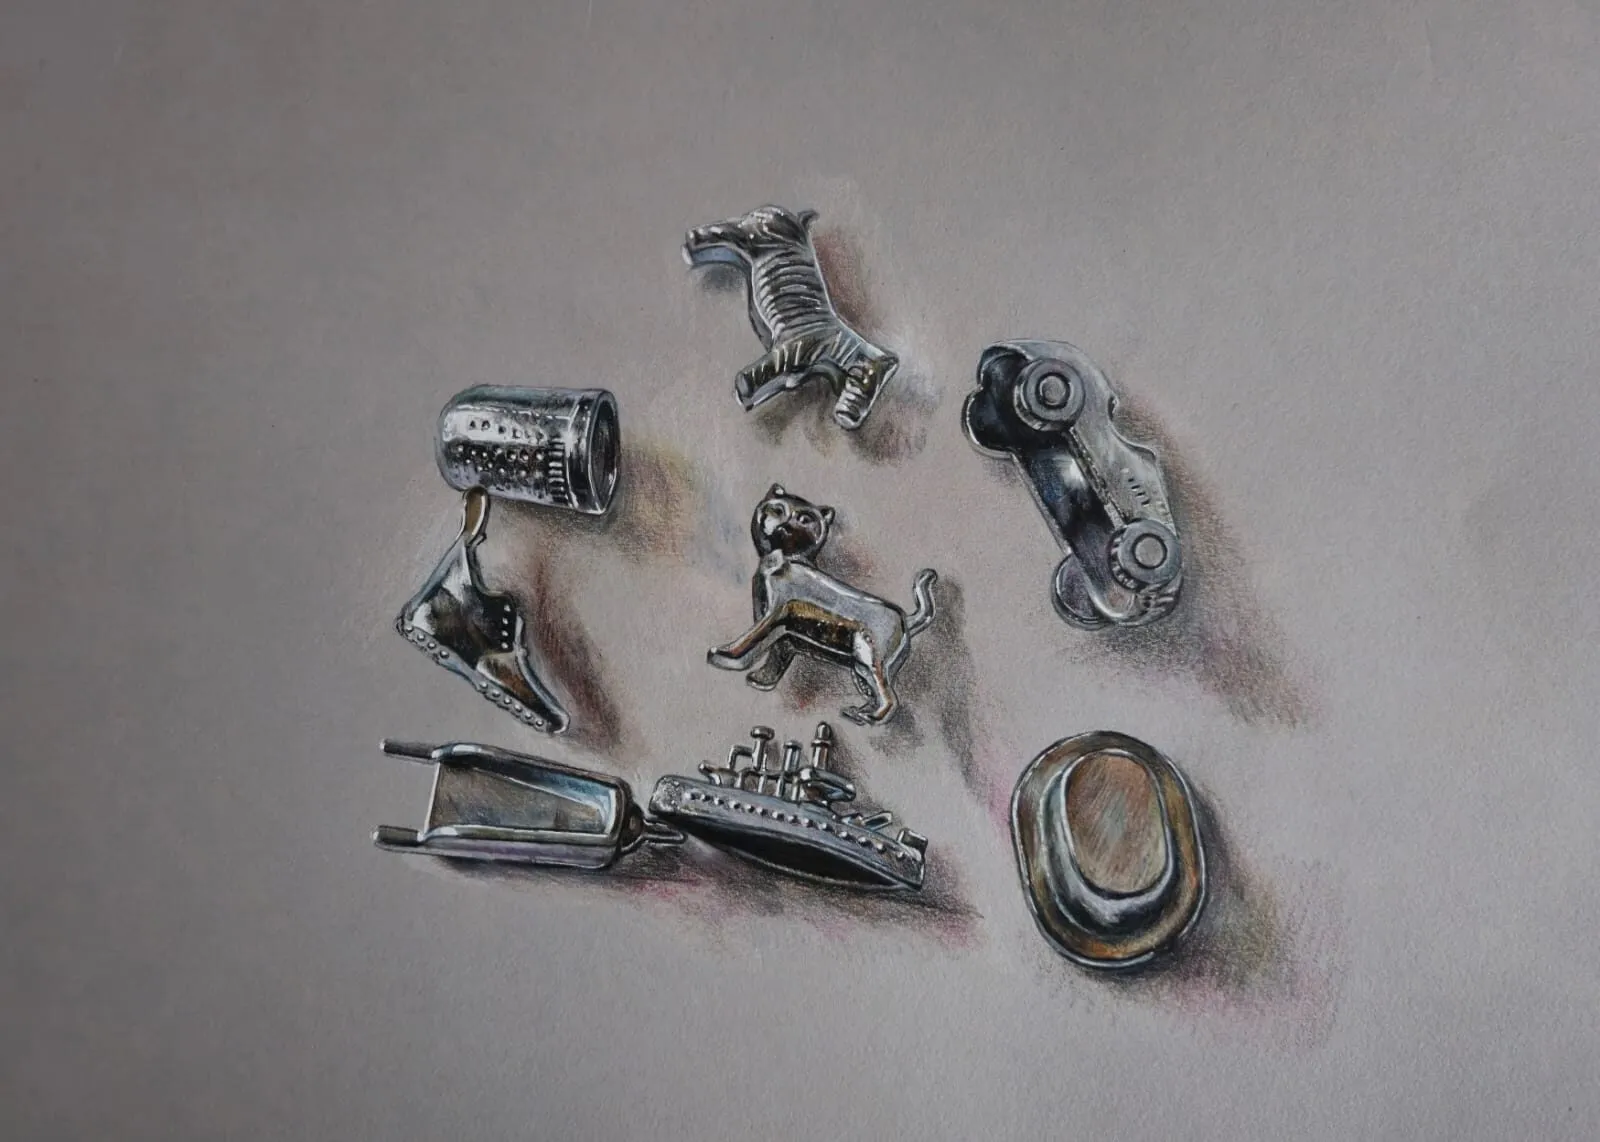
This approach is described in more detail in how to draw glossy surfaces, and for reflections on metal, see how to draw shiny metal and reflections. The hero image of the tokens shows how strong contrast and small highlights read as shiny on a toned background.
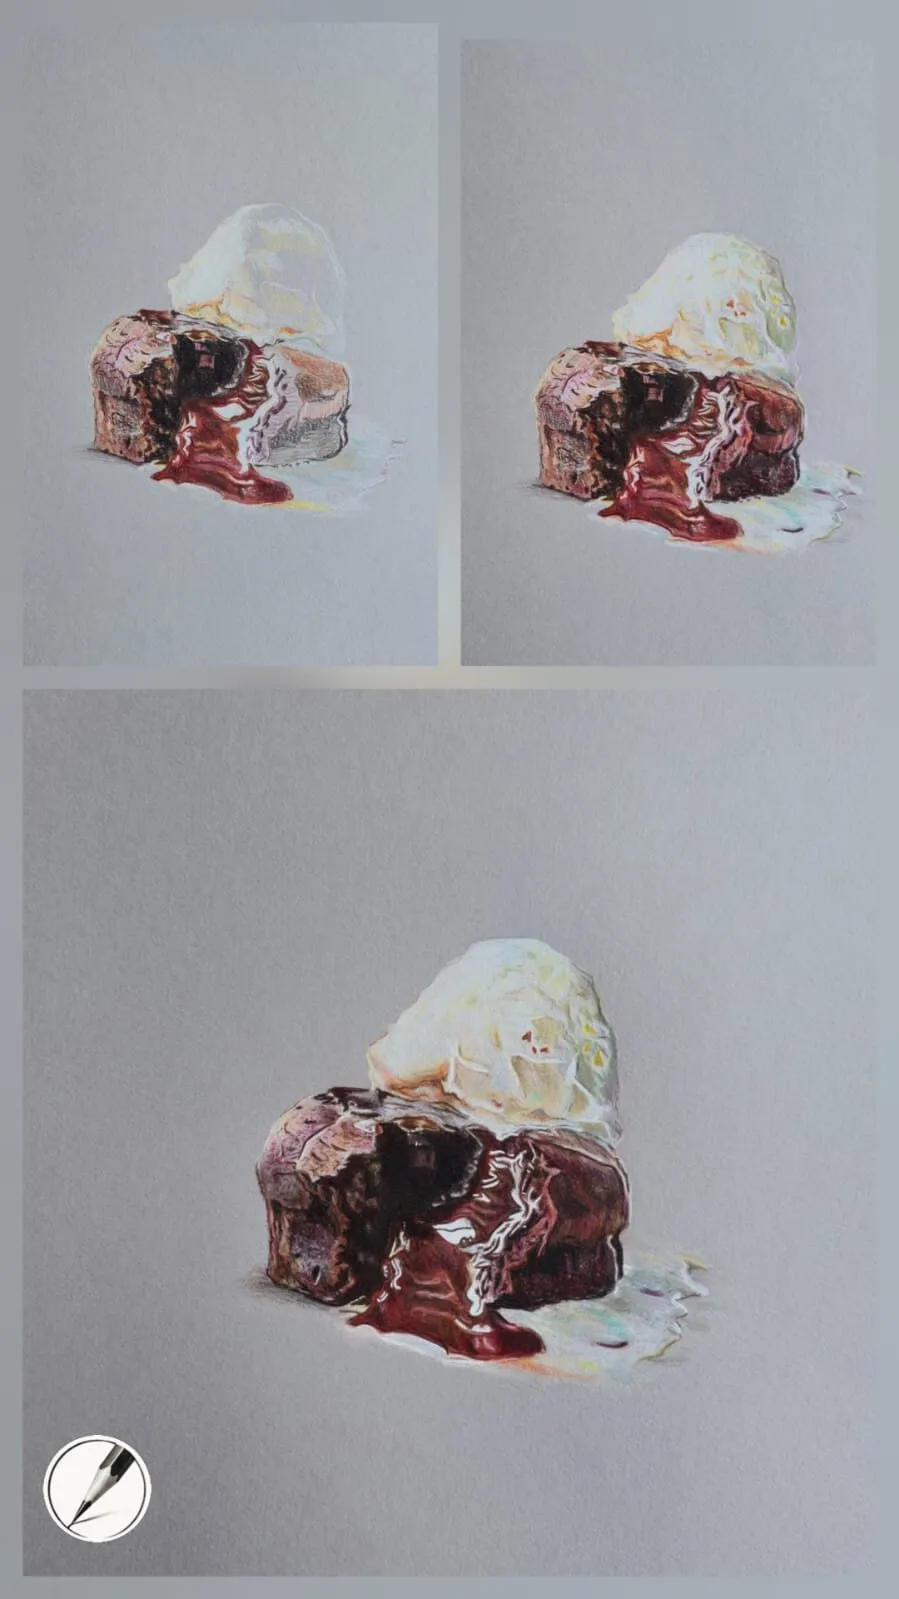
Michael’s chocolate dessert in three stages, showing layering building up shine. It is a glossy food subject, not glass, and is included to show how highlights and darks build gradually.
Colour and coloured glass
Clear glass picks up colour from its surroundings, and coloured glass adds its own. For coloured pencil, use these ideas.
- Clear glass: use cool greys, blue-greens and a little of the colours of the background. Avoid a solid colour.
- Coloured glass: build the colour in thin layers, darker at the thick edges and base, lighter in thin areas. The cast shadow and caustic carry the same colour.
- Liquid: a glass of water, juice or wine changes value and colour from the glass above the waterline.
- Shadows: avoid black. Use dark blue, violet or brown. The colour scheme generator can help you pick a restrained palette.
Common mistakes
The fix is to work dark to light and to save the highlights for last.
Practice exercises
- Single glass: draw a plain drinking glass in graphite with only three values: dark edge, mid-tone and highlight.
- Through the glass: draw a striped background and then the same stripes distorted behind a water glass.
- Shadow study: draw just the cast shadow and caustic of a glass on a light surface.
- Grey paper version: draw the same glass on grey paper with white pencil highlights.
- Coloured glass: draw a coloured glass in coloured pencil with a tinted shadow.
Next steps
For the surface qualities of other shiny subjects, see how to draw glossy surfaces and how to draw shiny metal and reflections. To add a liquid setting, read how to draw water and reflections, and browse the how to draw hub for the rest.
The short version: draw the shapes you see in and on the glass, start with the darks, distort the background, add a lighter cast shadow and keep your brightest highlights small, sharp and last.
Quick answers
Frequently asked questions
How do you draw glass with a pencil?+
Draw the outline lightly, then shade the darker edges, the thick base and whatever is seen through the glass. Leave small, sharp highlights as bare paper or lift them out later. Add a cast shadow with a lighter centre and a darker edge. Glass looks clear because of contrast and distortion, not because of a colour.
What makes glass look transparent in a drawing?+
Transparency comes from seeing the background through the object, slightly distorted, together with bright highlights, reflected light and a dark edge that defines the thickness. The shadow is also lighter than an opaque object would cast. Without these cues, the object looks like a solid white or grey shape.
How do you draw a glass of water?+
Draw the glass shape with correct ellipses, then the waterline. Shade the darker edges and base, and show the background distorted through the water, usually slightly shifted and more contrasty. Add a bright highlight on each side, a lighter reflected edge and a cast shadow with a bright caustic patch in the middle.
Are colored pencils and coloured pencils the same?+
Yes, colored is the US spelling and coloured the UK spelling. Coloured pencil on grey paper suits glass well, because the paper gives a mid-tone, so you can add darks and then highlights with white. The approach in this guide is the same for graphite and colour.