How to Draw
How to Draw a House and Buildings in Pencil
Learn to draw a house and buildings: boxes, one and two-point perspective, windows and doors, materials, light and shadow, in graphite or coloured (colored) pencil.
Key takeaways
- ◆Every building starts as a simple box, so draw the big volume and its perspective before any windows, doors or decoration.
- ◆One-point perspective suits a building seen face on, and two-point perspective suits a corner view, and both rely on a horizon line and vanishing points.
- ◆Windows, doors and other details must follow the same vanishing points as the walls, or the building will look twisted.
- ◆Materials such as brick, stone, wood and tile are suggested with texture in a few areas, not drawn brick by brick.
- ◆Simplify: decide what to include, keep the light direction consistent and let value shapes define the building.
A building is easier to draw than most people expect, because it is made of straight lines, flat planes and repeating shapes. The trick is to start with a box. Get the box right in perspective, add the roof, then place windows and doors on the walls using the same vanishing points, and only then bring in materials and shadow. If the box is wrong, no amount of detail will rescue the drawing.
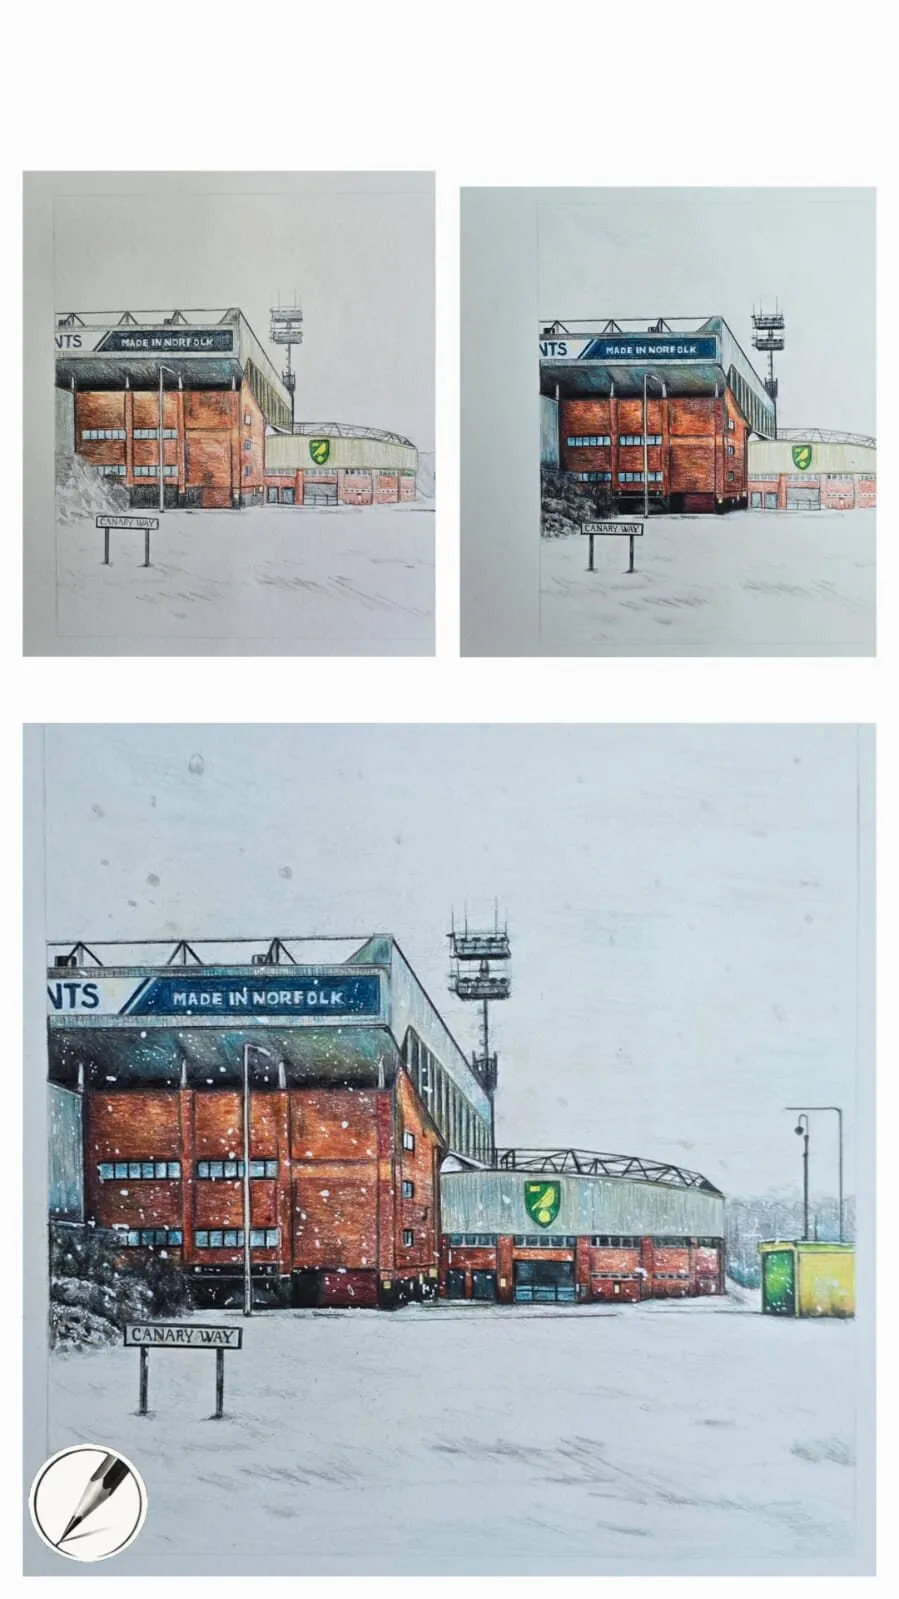
This lesson explains how to draw a house and other buildings step by step in graphite or coloured pencil (colored pencil in the US): boxes, one and two-point perspective, windows and doors, materials and textures, light and shadow, and how to simplify. The drawing at the top of the page is Michael’s snowy football stadium shown in three stages, from layout to base colours to final detail. It is a large building drawn in the order this lesson recommends.
What you need
- Graphite: 2H or H for construction lines, HB and 2B for the drawing, and 4B for deep shadows. See the pencil grade chart.
- A ruler: a long one for vanishing-point lines. Freehand is fine later, but rules help you learn.
- Paper: smooth or fine tooth, big enough to give room for a horizon line. A taped sheet on a board is useful for long lines.
- Coloured pencils: warm reds and browns for brick, greys and cool blues for shadow, and sky colours.
- Reference: a photograph of a simple house, or a real building. The grid drawing tool helps you transfer it.
- Background reading: how to draw in perspective covers the theory in depth.
How to draw a house step by step
1. Choose a simple building and viewpoint
Pick a house with a clear shape, such as a simple gabled cottage. A viewpoint at an angle, showing two walls and the roof, is more interesting than a flat front view. Decide where the eye level is, because it sets the horizon line. A horizon line at about standing height means you look slightly up at the roof and see the ground plane in front.
2. Draw the horizon line and vanishing points
Draw a light horizontal line across the paper for the horizon. For two-point perspective, place two vanishing points on it, well apart and ideally beyond the edges of the page. For one-point, place a single point near the centre of the horizon. Everything that recedes will head towards these points.
3. Build the main box
Draw the nearest vertical edge of the house. Then draw lines from its top and bottom to each vanishing point. Decide how long each wall is and draw the two far vertical edges, keeping all verticals truly vertical. You now have a box. Check that it looks solid, and adjust it before going further. Drawing the hidden edges lightly helps you see the whole volume.
4. Add the roof
A simple gable roof is a triangular prism on top of the box. Find the centre of each end wall by drawing crossing diagonals, then draw a vertical from the crossing to the height of the roof peak. Connect the peaks with a ridge line that heads to the same vanishing point as the side wall. Add the overhang on the edges by extending lines slightly beyond the walls.
5. Place doors and windows
Draw the doors and windows as rectangles on the wall, using the wall’s vanishing point for the horizontal lines and vertical lines for the sides. Windows that are further along the wall look narrower and closer together. To place a door or window in the centre, use diagonals across the wall. To repeat windows at equal spacing in perspective, divide the wall with diagonals and verticals rather than measuring by eye.
6. Add secondary forms
Add the chimney, porch, steps, garage or an extension as smaller boxes, each in the same perspective. Keep them simple. Check that each secondary form shares the same vanishing points as the main block, unless the building has an angled section, in which case it needs its own points on the same horizon.
7. Add thickness and detail
Give the doors and windows depth by drawing the inside edge of the frame on the side away from the light, which is called the reveal. Add sills, the glazing bars, the door handle and the eaves. These small details increase realism more than extra lines, because they show the thickness of the walls.
8. Establish the light and shadow
Choose one light direction, and shade the walls that face away from it with a mid tone. Add cast shadows under the eaves, beside the chimney and on the ground, using the lesson how to draw shadows and light. The roof, walls and ground should each have a separate value. A light wall, a mid-tone roof and a dark shadow side are enough to make a house look solid. The value study tool helps you simplify the pattern.
9. Suggest materials and textures
Indicate brick, stone, wood or tile with texture in some areas, and leave the rest smoother. Use the section below as a guide. Keep the texture lighter and less defined on the shadow side and in the distance.
10. Ground the building and finish
Add the ground, path, fence, plants and sky, so the house sits in a place. A cast shadow on the ground and a few dark touches at the base anchor the building. Step back, check that the verticals are vertical and strengthen the darkest darks.
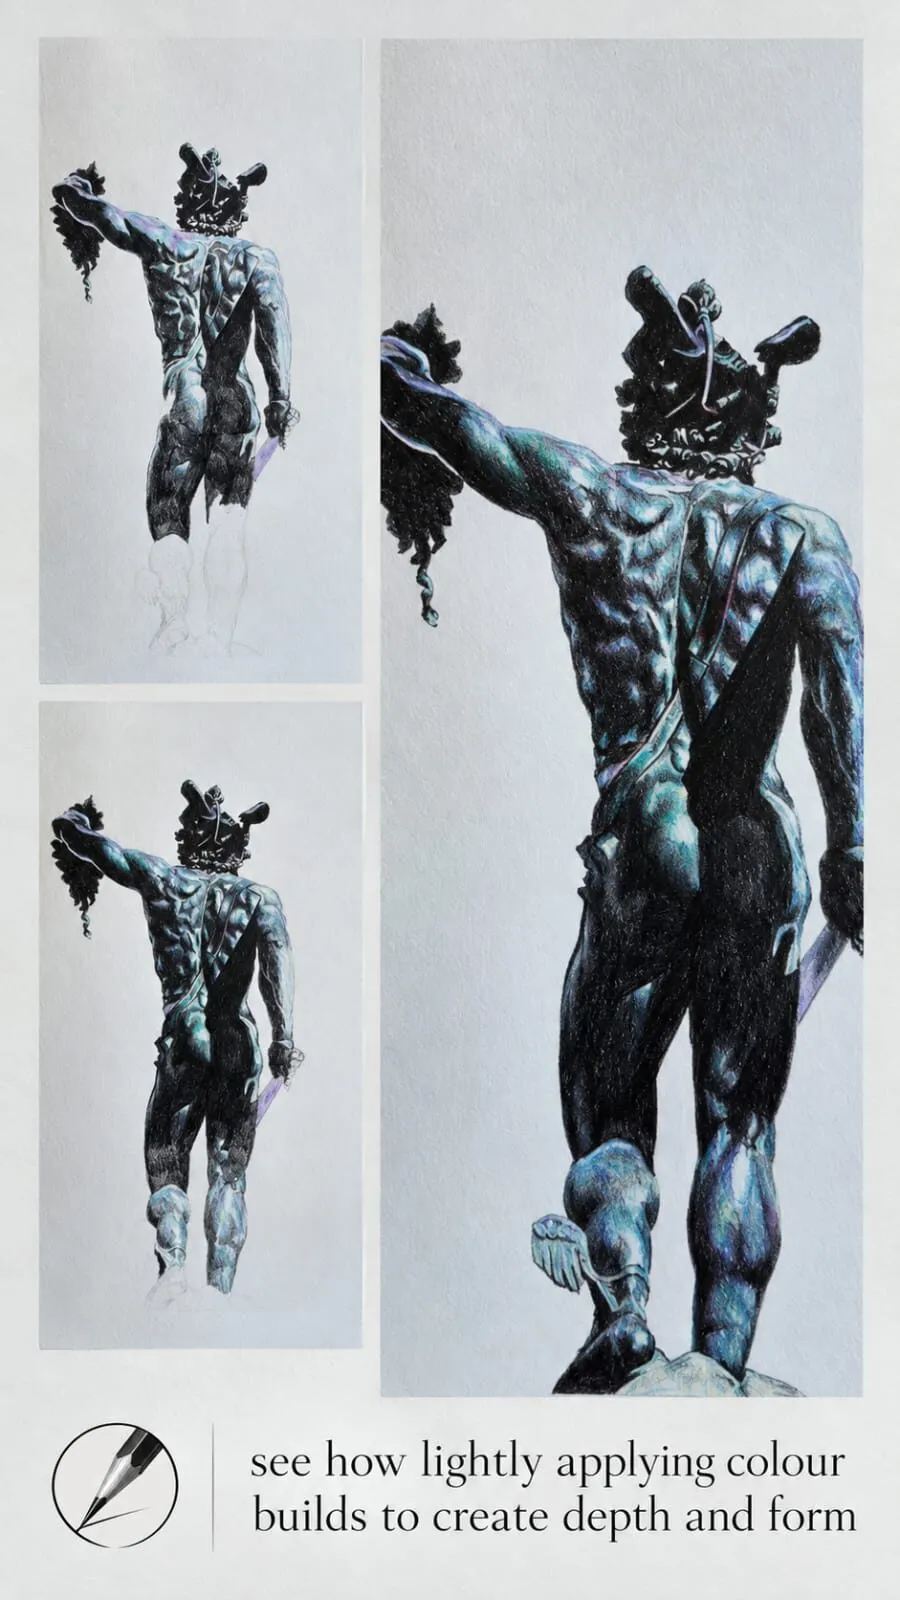
Michael’s Perseus statue in three stages, where lightly applied colour builds depth and form. The same layered approach works for shading the walls and roof of a building.
One-point and two-point perspective
| One-point | Two-point | |
|---|---|---|
| View | Looking straight at a wall | Looking at a corner |
| Vanishing points | One, on the horizon | Two, on the horizon |
| Front wall | Flat, edges horizontal and vertical | Both walls recede |
| Good for | Streets, interiors, a front view of a house | Houses, towers, most exterior views |
| Watch for | A boring, flat composition | Vanishing points too close, causing distortion |
Keep the vanishing points far apart in two-point perspective to avoid a distorted, wide-angle look. If you want to understand how the lines are constructed, see how to draw in perspective.
Materials and textures
Materials tell the viewer what the building is made of, but you rarely need to draw all of it.
- Brick: draw a few courses of bricks in the lit area, following the perspective, and fade them into plain tone in shadow. Do not draw every brick.
- Stone: use irregular blocks and stronger shadows between them.
- Wood: use long, slightly wavy lines along the boards, with darker gaps.
- Roof tiles: draw rows that get closer together as they recede, and suggest only a few individual tiles.
- Render or plaster: smooth, even tone with soft edges and small stains.
- Glass: dark or reflective windows, often with a hint of the sky, are usually the darkest values on a wall. See how to draw glass and transparent objects.
For graphite textures, how to draw realistic textures in graphite gives a good range of marks. In coloured pencil, brick can be layered red, orange and brown with a little grey, which keeps it natural rather than flat.
Simplifying a busy building
Real buildings are full of detail, and a drawing that includes it all looks fussy. Simplify using these habits.
- Choose a focal area, such as the door and porch, and put the most detail there.
- Group windows as shapes of dark and light, and draw only a few in full.
- Let the pattern fade with distance and shadow, leaving suggestion in the less important areas.
- Edit the surroundings, removing wires, signs or cars that do not help the picture.
- Use value to unify, making sure the whole building reads as light, mid and dark shapes.
The approach shown in Michael’s stadium, with layout first, then base colours, then detail, is how a complex structure becomes manageable. The same order is explained in how a realistic drawing comes together.
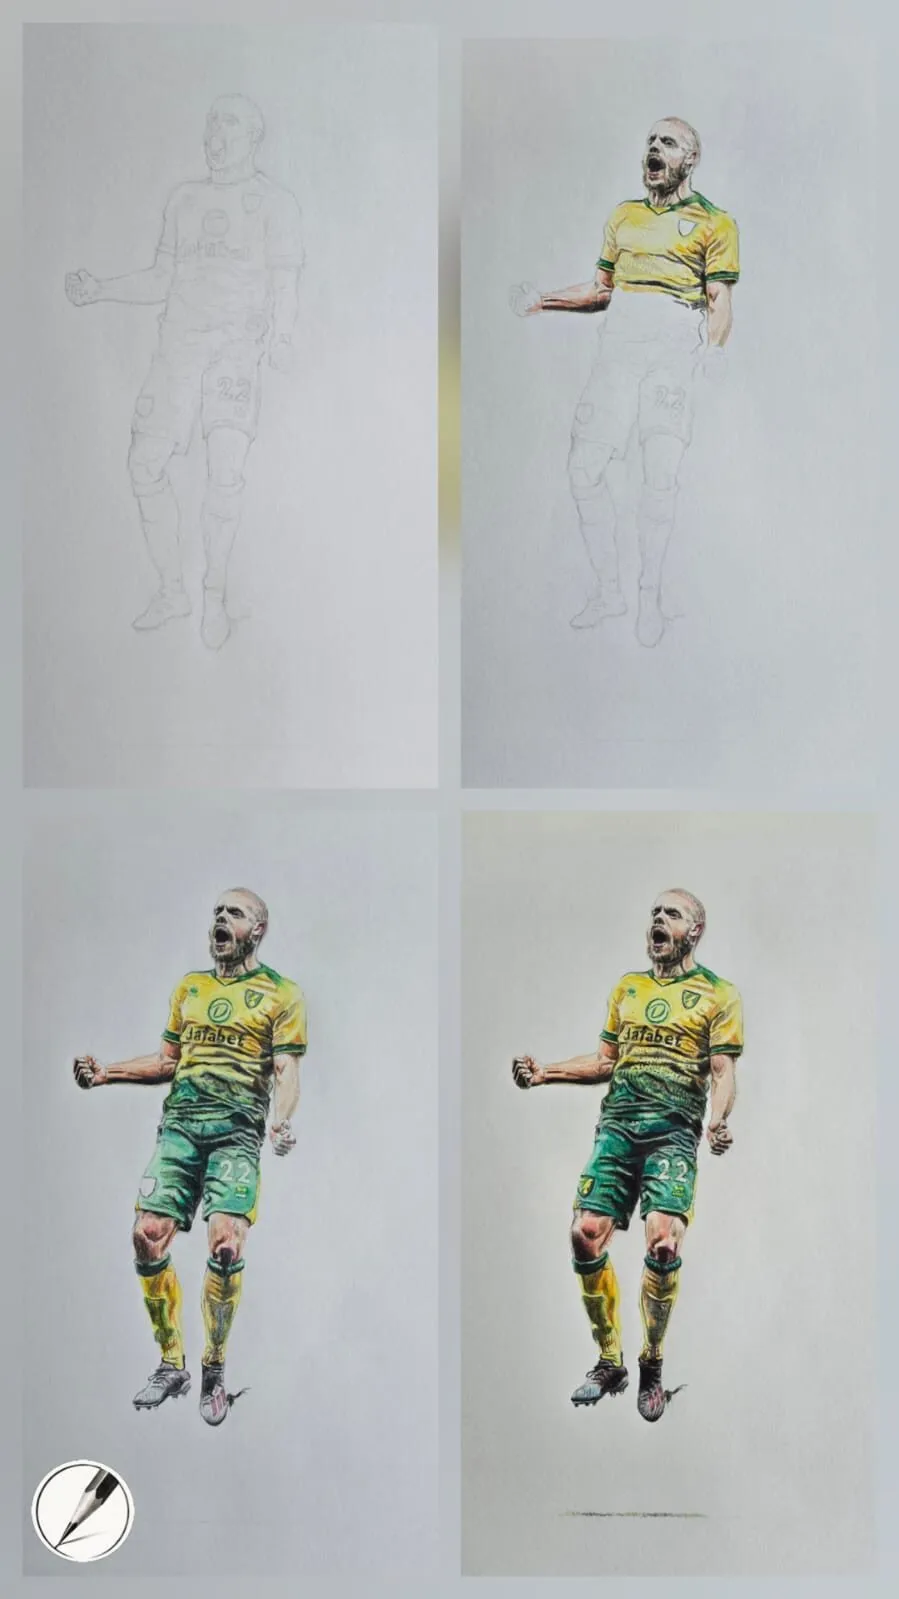
Another of Michael’s progress pieces, here a footballer from pencil layout to completion. It is a figure, not a building, and is included as a further example of starting from a layout.
Common mistakes
The remedy is to check the structure with a ruler at the light stage, and only then add tone and texture.
Practice exercises
- Ten boxes: fill a page with boxes in two-point perspective at different eye levels.
- Box to house: turn three of the boxes into houses with roofs, doors and windows.
- Window rhythm: draw a long wall with eight equal windows using diagonals.
- Texture patches: draw a square of brick, stone, wood and tile, each with light and shadow.
- Stages: draw a simple building in three stages, layout, tone and detail, and compare them.
Next steps
Perspective is the backbone of this lesson, so read how to draw in perspective for more construction methods. Then set the building in a scene with how to draw mountains and landscapes, or add a tree using how to draw a tree. The how to draw hub lists the rest of the series.
The short version: draw a box in perspective, add the roof, place doors and windows with the same vanishing points, shade from one light direction and suggest materials rather than copying every brick.
Quick answers
Frequently asked questions
How do you draw a house step by step?+
Draw a box in perspective, then add the roof as a prism on top. Mark the door, windows and chimney using the same vanishing points as the walls. Add light and shadow from one direction, then suggest materials such as brick or tile with light texture. Keep the structure light until it looks right.
What perspective should I use to draw a building?+
Use one-point perspective when you face a wall head on, so the front edges stay horizontal and vertical and the depth lines converge to a single point. Use two-point perspective for a corner view, where two sets of lines converge to points on the horizon. Two-point is more common for houses.
How do you draw windows and doors in perspective?+
Draw them as rectangles on the wall plane, using the wall's own vanishing point for the horizontal lines and keeping the verticals upright. Windows further along the wall become narrower and closer together. Mark the centre with crossing diagonals to place a door or window exactly in the middle.
Are colored pencils and coloured pencils the same?+
Yes, colored is the US spelling and coloured the UK spelling. Coloured pencil is well suited to buildings, because layering gives you warm brick, cool shadow and soft sky colours. The structural method in this lesson is the same in graphite and colour.