How to Draw
How to Draw a Tree
Draw convincing trees in graphite or coloured (colored) pencil: trunk and branch structure, foliage as masses, bark texture, values and how to avoid lollipop trees.
Key takeaways
- ◆A believable tree starts with structure: a tapering trunk that splits into branches, which split again into thinner ones.
- ◆Draw foliage as a few large masses with light and shadow, not as hundreds of separate leaves.
- ◆Bark needs a few directional marks and a dark side, not every crack.
- ◆Plan the values first: the light side, the shadow side and the dark holes where you see through the canopy.
- ◆Avoid the lollipop tree: a straight trunk with a round ball on top has no structure or weight.
Most trees fail for the same reason: a straight trunk with a round ball of leaves on top, the classic lollipop. Real trees have structure, weight and a branching pattern that repeats at smaller and smaller scales. If you understand how the trunk splits, and you draw the leaves as masses of light and shadow, the tree will look like a tree.
This lesson covers the branching structure, foliage, bark, values and seasons, in graphite and coloured pencil (colored pencil in the US), with the common mistakes and some exercises.
What you need
- Graphite pencils from HB to 4B or 6B. The pencil grade chart shows how the grades differ.
- Coloured pencils, if you want colour: several greens, browns, a warm yellow, a cool blue or purple for shadows.
- Paper with some tooth. It grips the pencil for foliage and bark. See the best paper for graphite drawing.
- A kneaded eraser for lifting highlights in foliage.
- A real tree, or a good photo. Study several, since species differ a lot.
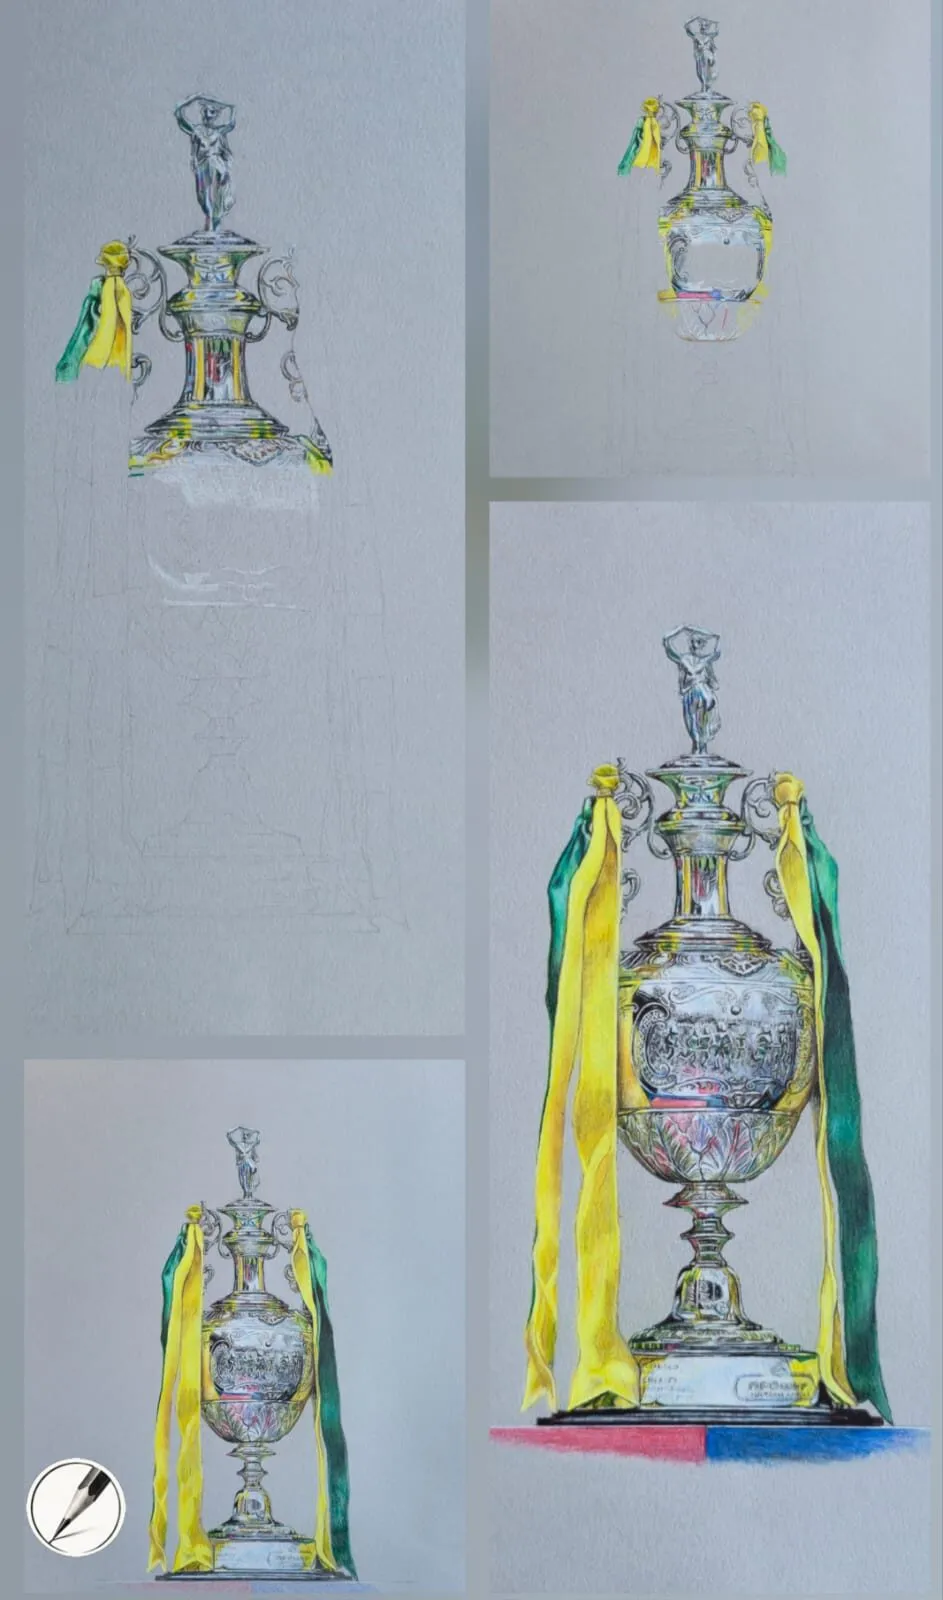
A silver trophy with yellow and green ribbons drawn in coloured pencil on grey paper, shown in four stages. Drawing by Michael Brace.
The structure of a tree
A tree is a branching system. Learn the basic pattern and you can invent any tree.
- The trunk is widest at the base. It flares slightly at the roots and tapers as it rises.
- Branches split from the trunk at angles, and each split makes two thinner branches. The combined thickness of the two smaller branches is about that of the one they came from.
- Branches taper. They get thinner toward the ends, and they rarely run perfectly straight.
- The tree has a silhouette. An oak is broad and rounded, a birch is slim and airy, a pine is a cone. Learn the general shape of the species you are drawing.
- The canopy hides most of the structure. Only some branches show, which is why you need to plan where they appear.
Step-by-step: drawing a tree
- Sketch the overall silhouette. Lightly draw the outer shape of the whole tree, including the canopy. It helps you place everything.
- Draw the trunk. Start with a tapering shape, wider at the base. Curve it slightly, and add a little flare where it meets the ground.
- Split into main branches. Branch the trunk into two or three limbs, each leaving at a different angle. Vary the thickness.
- Add smaller branches. Split each limb into thinner branches that fan out into the canopy area. Let some go behind the trunk and others come forward.
- Block in the foliage masses. Draw large, cloud-like clumps around the branches. Overlap them, vary their size, and leave gaps where sky shows through.
- Decide the light direction. Pick one side for the light, and mark the shadow side.
- Shade the foliage. Darken the underside of each clump and the shadow side of the tree, then add mid-tones. Leave the tops of the clumps light.
- Add the sky holes. Small dark or light gaps inside the canopy show depth. Put a few in, and avoid an even pattern.
- Add bark, roots and shadow on the ground. A cast shadow anchors the tree, and a few roots stop it floating.
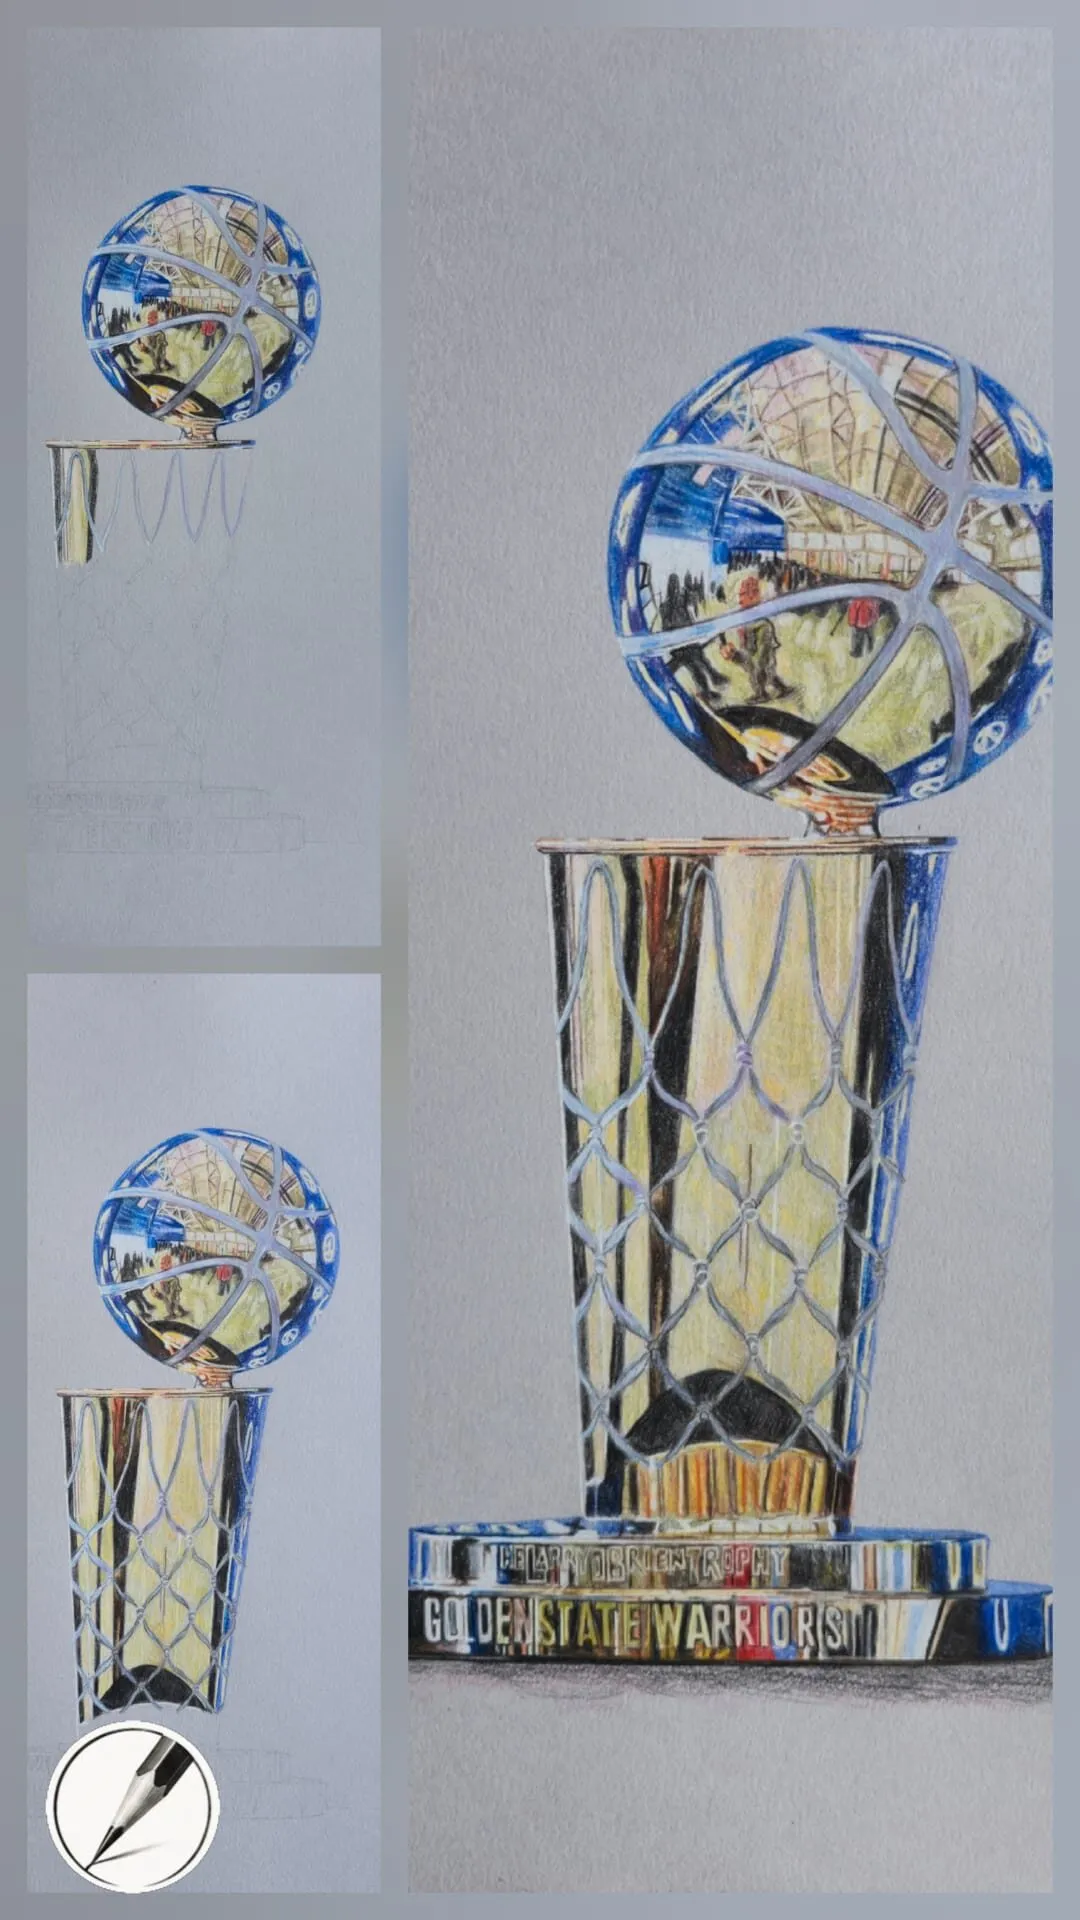
A silver and gold basketball trophy drawn in coloured pencil, shown in three stages. Drawing by Michael Brace.
Foliage as masses
The biggest change you can make is to stop drawing leaves. From any distance, foliage is a set of clumps with light, mid-tone and dark values.
- Three values. Each clump has a lit top, a mid-tone middle and a dark underside.
- Broken edges. The outline of a clump is irregular, with a few leaf shapes sticking out. Do not draw a smooth cloud.
- Overlapping clumps. Front clumps are lighter and more detailed, and back clumps are darker and simpler.
- Directional marks. Use short scribbles, dabs or curved strokes to suggest leaves, and vary them from clump to clump.
Bark and texture
Bark is about direction and value, not detail.
- Follow the trunk. Marks run mostly up and down, curving with the form.
- Darken one side. The trunk is a cylinder, so it needs a shadow side and a lighter side.
- Suggest, do not repeat. Add a few cracks, knots and bumps. Uniform texture looks like wallpaper.
- Vary the pressure. Heavy marks in shadow and cracks, light marks in the light.
For more on texture, see how to draw realistic textures in graphite and hatching and cross-hatching.
Perspective and depth in a tree
Trees are three-dimensional, and the branches do not all lie in one plane. Some reach toward you and some away, so foreshorten the ones pointing at the viewer: they look shorter and thicker, and they often overlap the trunk. Branches behind the trunk should be partly hidden and slightly darker.
Distance changes a tree as well. A tree in the far distance loses detail and contrast, so draw it as a soft, simple shape in a mid-tone. A tree in the foreground has the strongest darks, the sharpest bark texture and the most visible individual leaves. When you draw a group of trees, vary their sizes and spacing, and overlap them so the eye reads depth. Our guide to drawing in perspective explains the wider rules.
Values, light and season
Value does the heavy lifting in a tree drawing. Light from one side makes the canopy look solid, and the shadow it casts on the ground anchors it. Our guide to drawing shadows and light develops the idea.
- Summer. Full, dense canopy, dark greens, strong contrast between lit tops and shaded undersides.
- Autumn. Warm yellows, oranges and reds, thinner foliage, with more branches visible.
- Winter. Bare branches, fine tapering lines and more emphasis on structure. A pale sky helps.
- Spring. Light, fresh greens with blossom or new leaves, and a lighter value range.
Coloured pencil version
In coloured pencil, build greens from layers.
- Underlayer. A light yellow or warm green over the whole canopy.
- Mid greens. Add two or three greens, keeping them varied. Vary the pressure to create texture.
- Shadows. Layer a cool dark green, blue or purple in the shadow sides. Avoid plain black.
- Warm light. A touch of yellow or orange on the lit tops gives sunlight.
- Trunk. Browns with a touch of grey or purple. Do not draw it in a single brown.
See how to layer coloured pencils, and try the palette from photo tool to find the greens in a landscape photo.
Common mistakes and fixes
- Lollipop trees. Fix: taper the trunk and show branching.
- Trunks like pipes. Fix: add flare, curve and a shadow side.
- Branches like wires. Fix: taper and vary the thickness.
- Every leaf drawn. Fix: draw masses with light and shadow.
- Flat green. Fix: layer several greens with warm and cool variation.
- No ground shadow. Fix: add a cast shadow to anchor the tree.
- Branches ending suddenly. Fix: taper to a fine point or fade into foliage.
Practice exercises
- Branching drill. Draw twenty branching structures in ten minutes.
- Silhouette sheet. Draw the outlines of five species from memory or photos.
- Foliage masses. Draw one clump in three values, ten times.
- Bark study. Fill a page with four bark textures.
- Season set. Draw the same tree in summer and winter.
- Complete tree. Draw one full tree with a ground shadow and a simple sky. Our lesson on clouds and skies helps with the background.
Where to go next
Trees combine structure, value and texture, so basic forms and shading will strengthen everything you do here. Browse the full how-to-draw hub for more lessons.
The short version
Build the tree from a tapering trunk that branches repeatedly. Draw foliage as a few big masses with a light side and a dark side, and add bark with a few directional marks. In colour, layer several greens with warm light and cool shadow. Avoid the lollipop.
Quick answers
Frequently asked questions
How do you draw a tree for beginners?+
Start with the trunk, drawing it wider at the base and tapering upward. Split it into two or three main branches, then split those into smaller ones. Add foliage as clumps that overlap the branches, then shade with light on one side and shadow on the other. Keep the outline loose and irregular.
How do you draw leaves without drawing every one?+
Draw them as masses. Block in the overall shape of each clump, decide where the light hits it, then add darker shadows underneath and along the edges. Suggest a few individual leaves along the outer edges to show what the mass is made of, and leave the rest as tone.
How do you draw tree bark?+
Use short, broken lines that follow the direction of the trunk, and shade one side darker to show the round form. Add a few cracks and knots rather than covering it evenly. Vary the pressure so some marks are dark and some barely there, and keep the texture stronger where light hits.
Can I draw trees in coloured pencil?+
Yes. Colored pencils (the US spelling) are ideal for trees because you can layer greens, browns, purples and warm yellows. Build the foliage from several greens rather than one, add a cool shadow colour and keep the light side warmer. Start light and build in layers.