How to Draw
How to Hold a Pencil for Drawing
How to hold a pencil for drawing: the tripod grip, overhand and underhand holds, arm movement, pressure control, posture and how to avoid smudging and hand fatigue.
Key takeaways
- ◆Use a tripod grip for detail and an overhand grip for shading, and switch between them as the mark demands.
- ◆Move from the shoulder and elbow for long or loose strokes; use fingers and wrist only for small, precise marks.
- ◆The further from the point you hold the pencil, the looser and lighter your marks; hold close to the point for control.
- ◆Light pressure is the skill to learn first. You can always darken a layer, but heavy marks are hard to remove.
- ◆Keep a sheet of clean paper under your hand and work from the side you smudge least to protect finished areas.
How you hold a pencil shapes every mark you make. Hold it too tightly and your lines become stiff and tiring. Hold it too close to the point and your shading turns scratchy. Most beginners use the grip they learned for handwriting, and while it works for small detail, it is a poor fit for the broad, even tones that make a drawing look solid.
This guide covers the main grips and when each one helps, how to draw from the arm instead of the wrist, how to control pressure, how far back to hold the pencil, and how to set up your posture and paper so you avoid smudging and hand fatigue. It applies to graphite and coloured pencils (colored pencils in the US) alike. Pair it with the drawing exercises for beginners, which give you things to practise each grip on.
The short answer
For precise lines and small detail, use a tripod grip close to the point. For shading, sketching and long strokes, use an overhand grip with the pencil lying along your fingers, and move your arm, not just your wrist. Hold lightly. The pencil should feel as though you could pull it away with little resistance.
A group of sharpened black pencils on textured paper.
The tripod grip
The tripod grip is the standard way to hold a pencil for writing and fine drawing. The thumb and index finger pinch the pencil, the middle finger supports it from underneath and the ring and little fingers curl or rest on the paper.
- Where to hold: about 2 to 3 cm from the point for detail. Check your own comfort; the exact distance varies with pencil length and hand size.
- Best for: eyelashes, small edges, lettering, signing a finished drawing and any mark where accuracy matters.
- Watch for: a white-knuckle squeeze, which tires the hand and makes lines jittery. Relax the thumb and index finger until they just control the pencil.
Some artists rest the side of the hand on the paper for stability. That is fine for detail, but it can smudge graphite and pick up wax, so use a guard sheet (see below).
Overhand and underhand grips
When you want broader marks, move away from the writing grip and let the pencil lie along your fingers with the point emerging from under your hand. Naming varies between books, so focus on the position instead. Two hold styles are worth learning:
- Overhand (palm over the pencil): the pencil runs under your palm with the thumb on one side and fingers on the other, like holding a stick. This lets you use the side of the lead and make broad, soft marks. It suits large-scale shading and sketching.
- Underhand (pencil supported from below): the pencil rests on your fingers from beneath, with the thumb on top, as you might hold a paintbrush or a butter knife. It gives a relaxed, flowing line and works for gesture drawing and loose hatching.
Best for: gesture drawing, blocking in large tonal areas, smooth gradients and any stroke longer than a few centimetres.
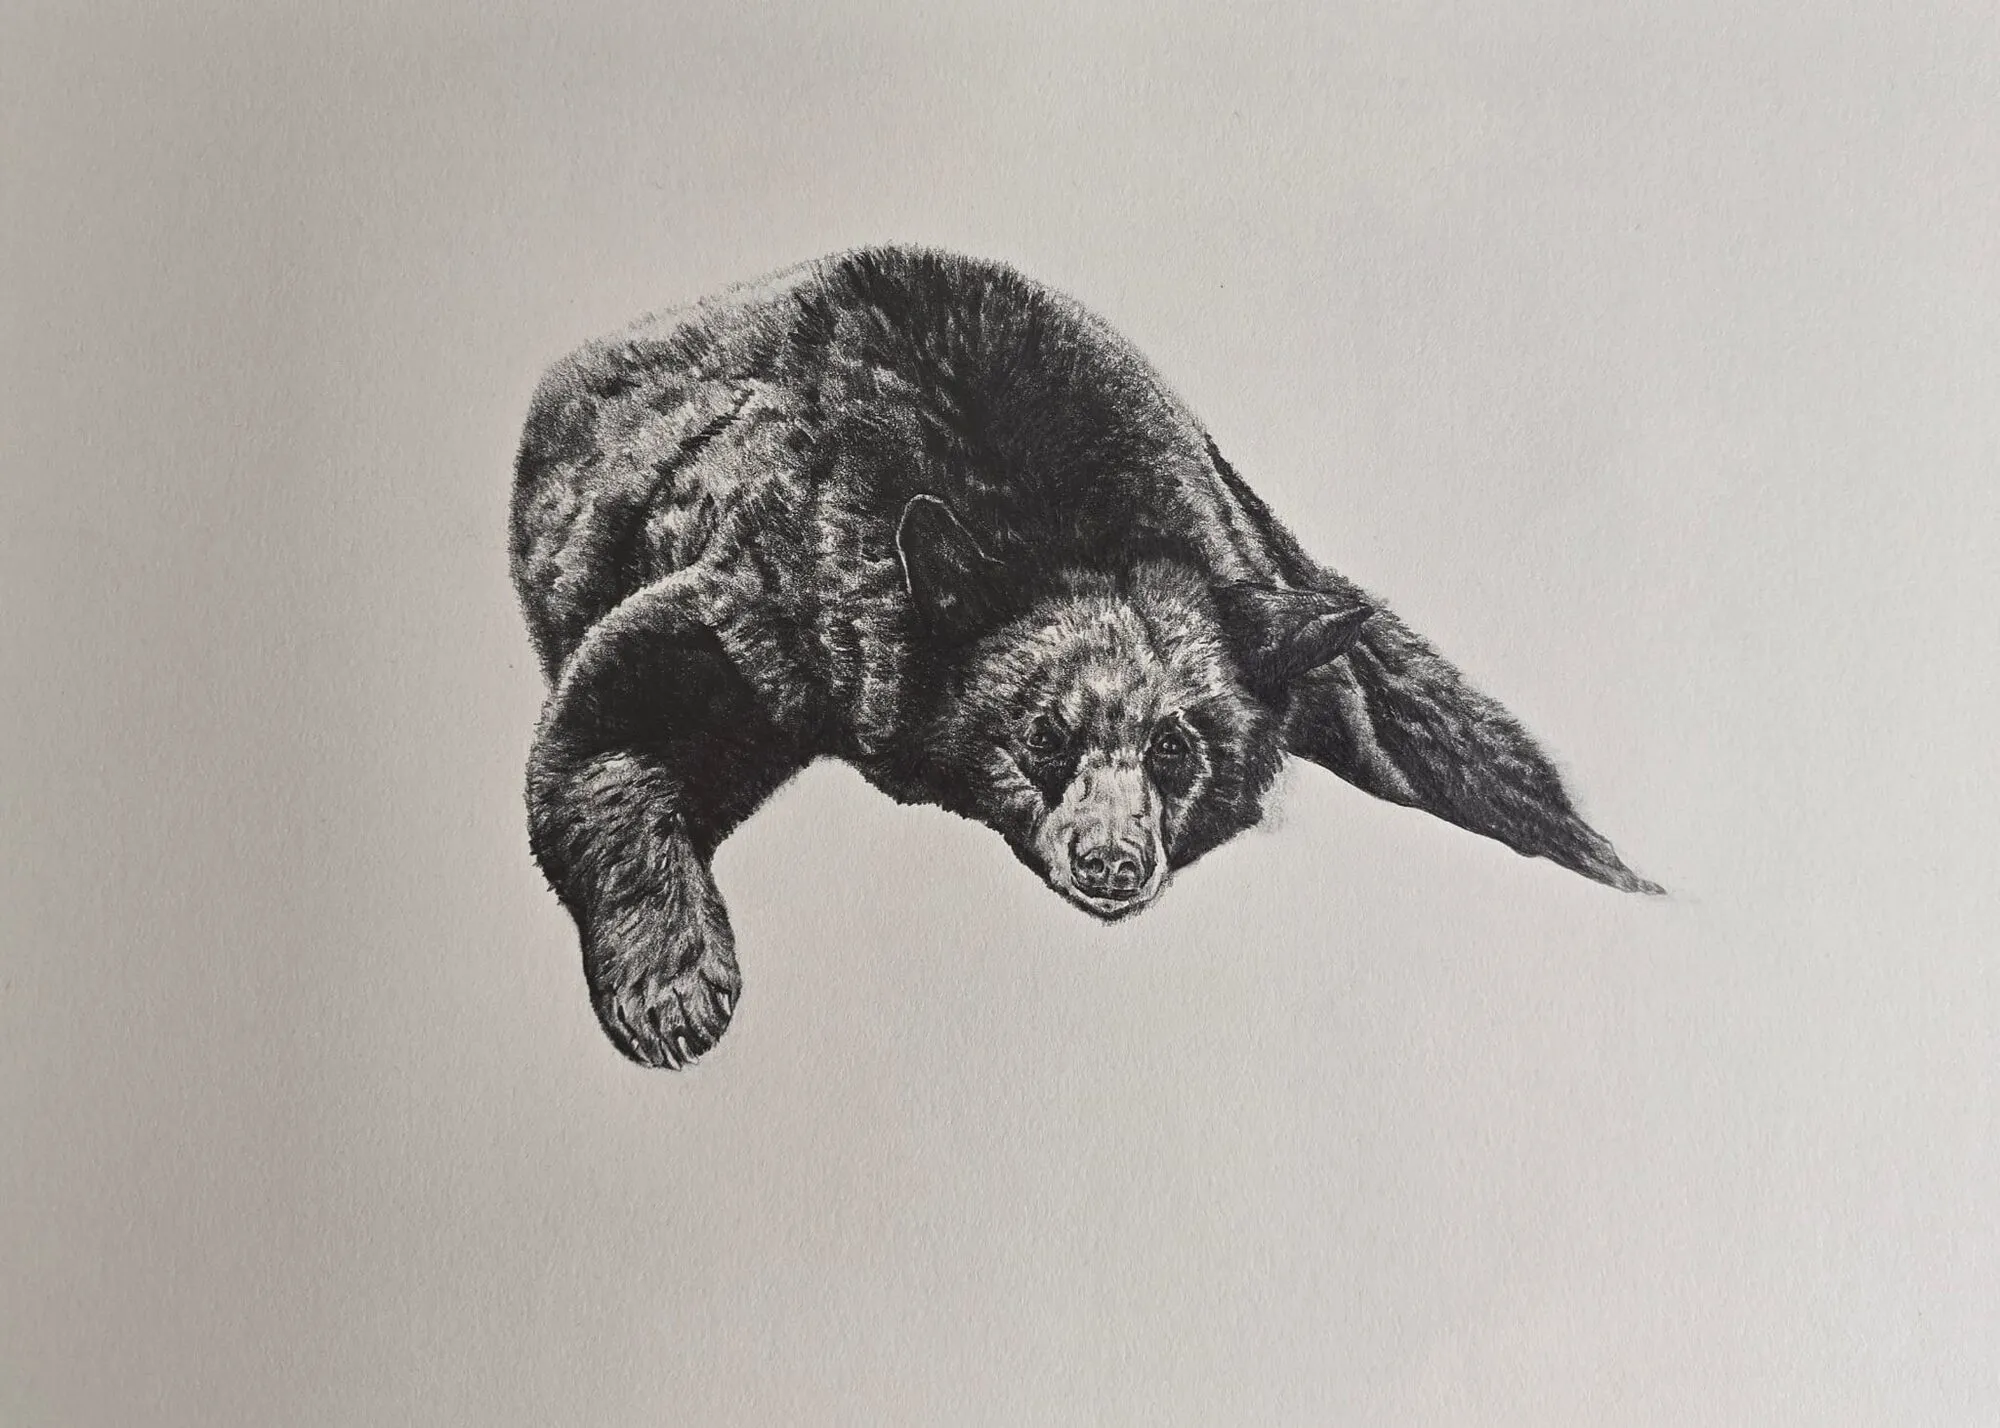
A bear lying down drawn in graphite pencil. Drawing by Michael Brace.
Draw from the arm, not the wrist
Your wrist and fingers can only swing through a small arc. Try to draw a long, smooth curve with them and the line will kink where the arc runs out. Your forearm and shoulder move through a much larger arc, and strokes made with them are longer, smoother and more confident.
- Small marks (under about 2 cm): fingers and wrist are fine.
- Medium strokes (several centimetres): move the forearm pivoting from the elbow.
- Large or loose strokes: move the whole arm from the shoulder, keeping your wrist fairly still.
A good test is the circle. Draw a circle using only your fingers, then using your forearm, then your whole arm. The larger motions produce rounder, more even circles, which is why exercise 2 in the beginner list is so helpful.
Control your pressure
The hardest part of pencil drawing is not making dark marks, it is making light ones. Most beginners press too hard, which dents the paper, fills the tooth and leaves stubborn lines.
- Start light. Make your first marks so faint you can barely see them. You can always darken; removing heavy marks is difficult.
- Build layers. Go over an area again and again with light pressure rather than once with heavy pressure. In graphite this gives smoother tone; in coloured pencil it leaves room for more layers. See how to shade with pencil for practice drills.
- Use the pencil grade, not force. A soft grade such as 4B makes darker marks with less pressure than an HB. The pencil grade chart helps you pick.
- Practise the ladder. Fill ten boxes from lightest to darkest by changing pressure only. It takes 10 minutes and trains your hand to control tone.
How far from the point?
Your grip distance works like a volume dial for control.
| Hold distance | Effect | Use for |
|---|---|---|
| Close to the point | Precise, tight, slow | Detail, edges, small features |
| Middle of the barrel | Balanced control and freedom | General drawing, contours |
| Far back, near the end | Loose, light, sweeping | Sketching, gesture, light underdrawing |
Holding further back also naturally reduces pressure, so it is an easy way to keep your first layout lines light. Many realist artists start far back for the structure and move close to the point for final detail.
Pencil angle and shape of the point
The angle between pencil and paper changes the mark as much as the grip does.
- Steep angle (near vertical): a thin, dark, precise line from the tip. Good for detail.
- Low angle (pencil nearly flat): a broad, soft stroke from the side of the lead. Good for shading.
- Rotate as you go. Turning the pencil slowly in your fingers wears the point evenly and keeps lines consistent. This is particularly helpful with coloured pencils.
A well-kept point matters. See best pencil sharpeners for coloured pencils for options, and keep a fine point for detail and a blunter one for tone.
Posture and paper angle
Good posture lets you draw for longer and see your work more accurately.
- Sit back from the drawing. Keep your back supported and your feet flat. Avoid hunching over the page.
- Support your forearm. Rest it lightly on the table so your arm can move freely without the weight of your hand pressing down.
- Tilt the surface. A drawing board propped at a slight angle reduces distortion, because you look at the page more squarely. A flat desk makes the top of the page look shorter than the bottom.
- Rotate the paper. Turn the page so the stroke you need is comfortable for your hand. Many artists turn the paper for hatching rather than twisting their wrist.
- Stand back often. Look at the drawing from arm’s length, or further, every few minutes to judge the whole picture.
How to avoid smudging
Graphite and soft pencils move easily under your hand. A few habits keep your work clean:
- Use a guard sheet. Rest your hand on a clean piece of paper laid over finished areas.
- Work from the side that matches your hand. Right-handed artists often start at the top left and move right and down; left-handed artists usually start top right. That way your hand rests on clean paper.
- Work top down when you can, especially with soft graphite and charcoal.
- Keep the heel of your hand lifted with a light grip and arm movement.
- Use a fixative or a clean, dry cloth as appropriate once a drawing is finished.
For more on this, see how to avoid smudging pencil drawings.
Preventing hand fatigue
Drawing is repetitive, so look after your hand.
- Relax the grip every few minutes. Open your fingers, shake your hand and stretch.
- Take breaks. A short break every 20 to 30 minutes is useful both for your hand and for spotting errors.
- Vary your marks. Alternate detail work with broad shading so different muscles do the work.
- Consider the barrel. Some people find a thicker or softer barrel more comfortable. Choose what feels good.
- Keep your shoulders loose. Tension often starts higher up the arm than the hand.
If you experience ongoing pain, numbness or tingling, stop and seek advice from a health professional.
Coloured pencil considerations
Coloured pencils reward a lighter grip even more than graphite does. Pigment in wax or oil pencils fills the paper’s tooth quickly, so heavy early pressure leaves little room for layers. Hold the pencil a little further back, use a sharp point for detail and build colour with several gentle passes. Our guide to how to layer coloured pencils shows how light pressure builds rich colour.
Practice routine
A short daily routine will improve your grip within a couple of weeks:
- Five minutes of loose lines from the shoulder, with an overhand grip.
- Five minutes of circles using the forearm, then the fingers, and compare.
- The pressure ladder, filling ten boxes from light to dark.
- A contour drawing of a small object using a tripod grip for detail.
Add these to the broader habits in how to practise drawing daily.
The short version
Use a tripod grip close to the point for detail and an overhand or underhand grip further back for shading and sketching. Draw from the arm, press lightly and build tone in layers. Sit comfortably, tilt the paper, keep a guard sheet under your hand and relax your fingers to avoid both smudges and aching hands.
Quick answers
Frequently asked questions
What is the correct way to hold a pencil for drawing?+
There is no single correct way, but the most useful is the tripod grip: thumb and index finger pinch the pencil near the point while the middle finger supports it from underneath. Use it for detail. For shading and sketching, an overhand grip with the pencil resting along your fingers gives broader, softer marks.
Should I hold a pencil differently for drawing than for writing?+
Usually, yes. Writing favours a close grip and small finger movements. Drawing benefits from a looser hold further back on the pencil and from moving the whole arm. You can use your writing grip for fine detail, but learn a second grip for broad shading and sketching.
How do I stop my hand from hurting when I draw?+
Loosen your grip, because most hand pain comes from squeezing the pencil too hard. Take short breaks, stretch your fingers, sit with your forearm supported and draw from the elbow and shoulder for long strokes. Pencils with a fuller barrel can be easier on the hand. If pain persists, see a health professional.
How do I hold coloured pencils differently from graphite?+
The grip is the same, but coloured pencils (colored pencils in the US) usually reward a lighter touch. Hold them a little further back for layering, keep the point sharp for detail and avoid heavy pressure early, because wax or oil pigment fills the paper tooth quickly and leaves fewer layers.