How to Draw
How to Draw Ears: Structure, Placement and Shading
Learn how to draw ears in pencil: the helix, antihelix, lobe and tragus, where to place them on the head, how they change with angle, and how to shade them.
Key takeaways
- ◆Place the ear between the brow line and the base of the nose as a guide, and keep it behind the jaw hinge, not on the side of the face.
- ◆Think of the ear as a C-shaped rim (the helix) wrapping around an inner Y-shaped ridge (the antihelix), with a bowl in the middle and a soft lobe below.
- ◆Shade the ear as a set of folds: the deepest darks are in the bowl and behind the rim, while the rim itself catches light.
- ◆Ears change dramatically with angle, so block in the overall shape and tilt first, then add the inner structure.
- ◆Keep ears slightly softer and lower in contrast than the eyes so they support the face instead of competing with it.
To draw an ear, start with a tilted oval between the brow line and the base of the nose, then divide it into an outer C-shaped rim and an inner Y-shaped ridge. Add the bowl, the small tragus flap and the lobe, and shade the folds so that the darkest tones sit in the bowl and behind the rim.
Ears are often rushed or hidden behind hair, but a well-placed ear makes a head feel solid and believable. This lesson covers the structure, how to place the ear with proportion guides, how it changes from different angles, and how to shade it in graphite and coloured pencil (colored pencil in the US).
What you need
- An HB or 2B pencil for light construction lines, and a 4B for the deepest folds. See graphite pencil grades explained if you are unsure which grade to choose.
- A blending stump or tissue and a kneaded eraser for soft highlights along the rim.
- Paper with a little tooth so tone builds in thin layers; the best paper for graphite drawing lists options.
- Good reference photos of ears from the front, three-quarter and profile views, ideally with clear side light that shows the folds.
- For colour, warm reds, browns and skin tones; see how to mix skin tones with coloured pencils.
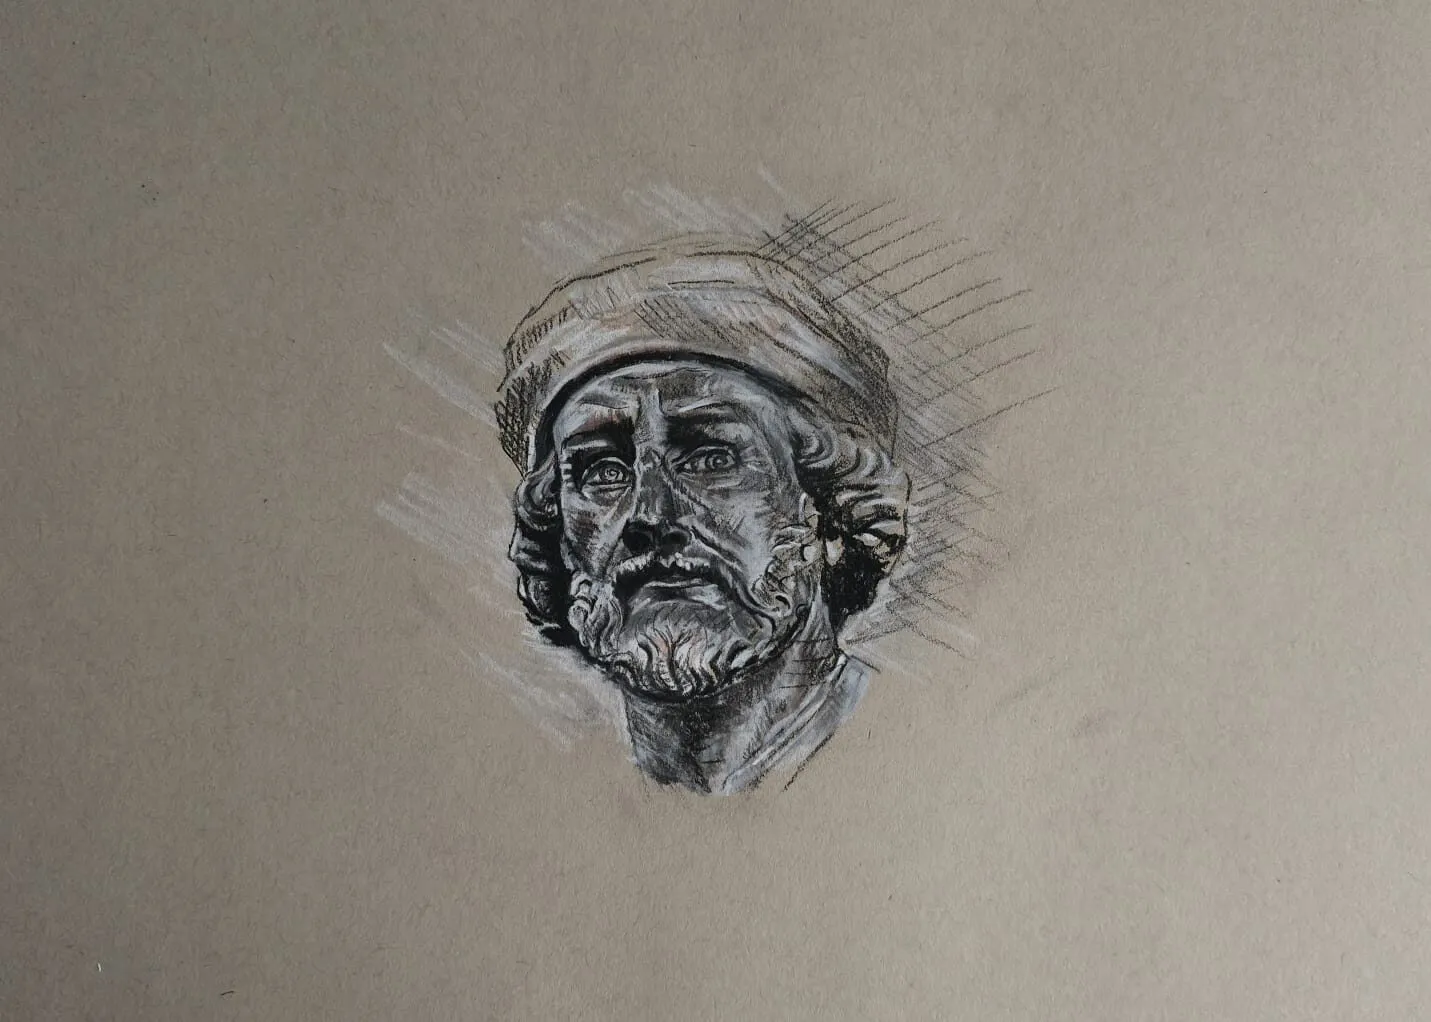
A head study of a bearded man wearing a cap in dark and white pencil on toned paper. Drawing by Michael Brace.
Understanding ear structure
An ear is a folded piece of cartilage covered with skin, and every fold casts its own small shadow. These are the parts worth knowing.
- Helix: the curved outer rim, which starts inside the bowl, arcs over the top and runs down the back.
- Antihelix: the inner ridge that runs parallel to the helix and forks into a Y shape at the top.
- Concha: the deep bowl in the center leading to the ear canal. It is usually the darkest area.
- Tragus: the small flap in front of the canal, closest to the face.
- Antitragus: a smaller bump opposite the tragus, above the lobe.
- Lobe: the soft, fleshy bottom of the ear. It is often rounder and lighter in tone than the rim.
A simple shortcut is to think of the ear as a letter C (the helix) wrapped around a letter Y (the antihelix), with a bowl beneath the fork, a small flap at the front and a soft lobe at the bottom. Ears differ a lot between people, so use your reference for shape and size while keeping this structure in mind.
Where to place the ear
Placement is where most beginners go wrong, and it is where proportion guides help.
- Vertical guide: the top of the ear commonly sits near the brow line and the bottom of the lobe near the base of the nose. The length of the ear is roughly the distance between these two lines. Ears vary, so treat this as a starting point and check it against your reference.
- Horizontal guide: in profile, the ear sits behind the vertical midline of the head. It lines up with the jaw hinge, the place where the jaw swings open, not with the cheek.
- Tilt: the ear usually tilts back slightly from the vertical, roughly parallel to the line of the nose, though this differs from person to person.
- Width: in a front view, the ear is usually just a narrow strip at the side of the head, because it angles away from you.
If you are building a full portrait, start with the face proportions lesson and then fit the ears to that framework.
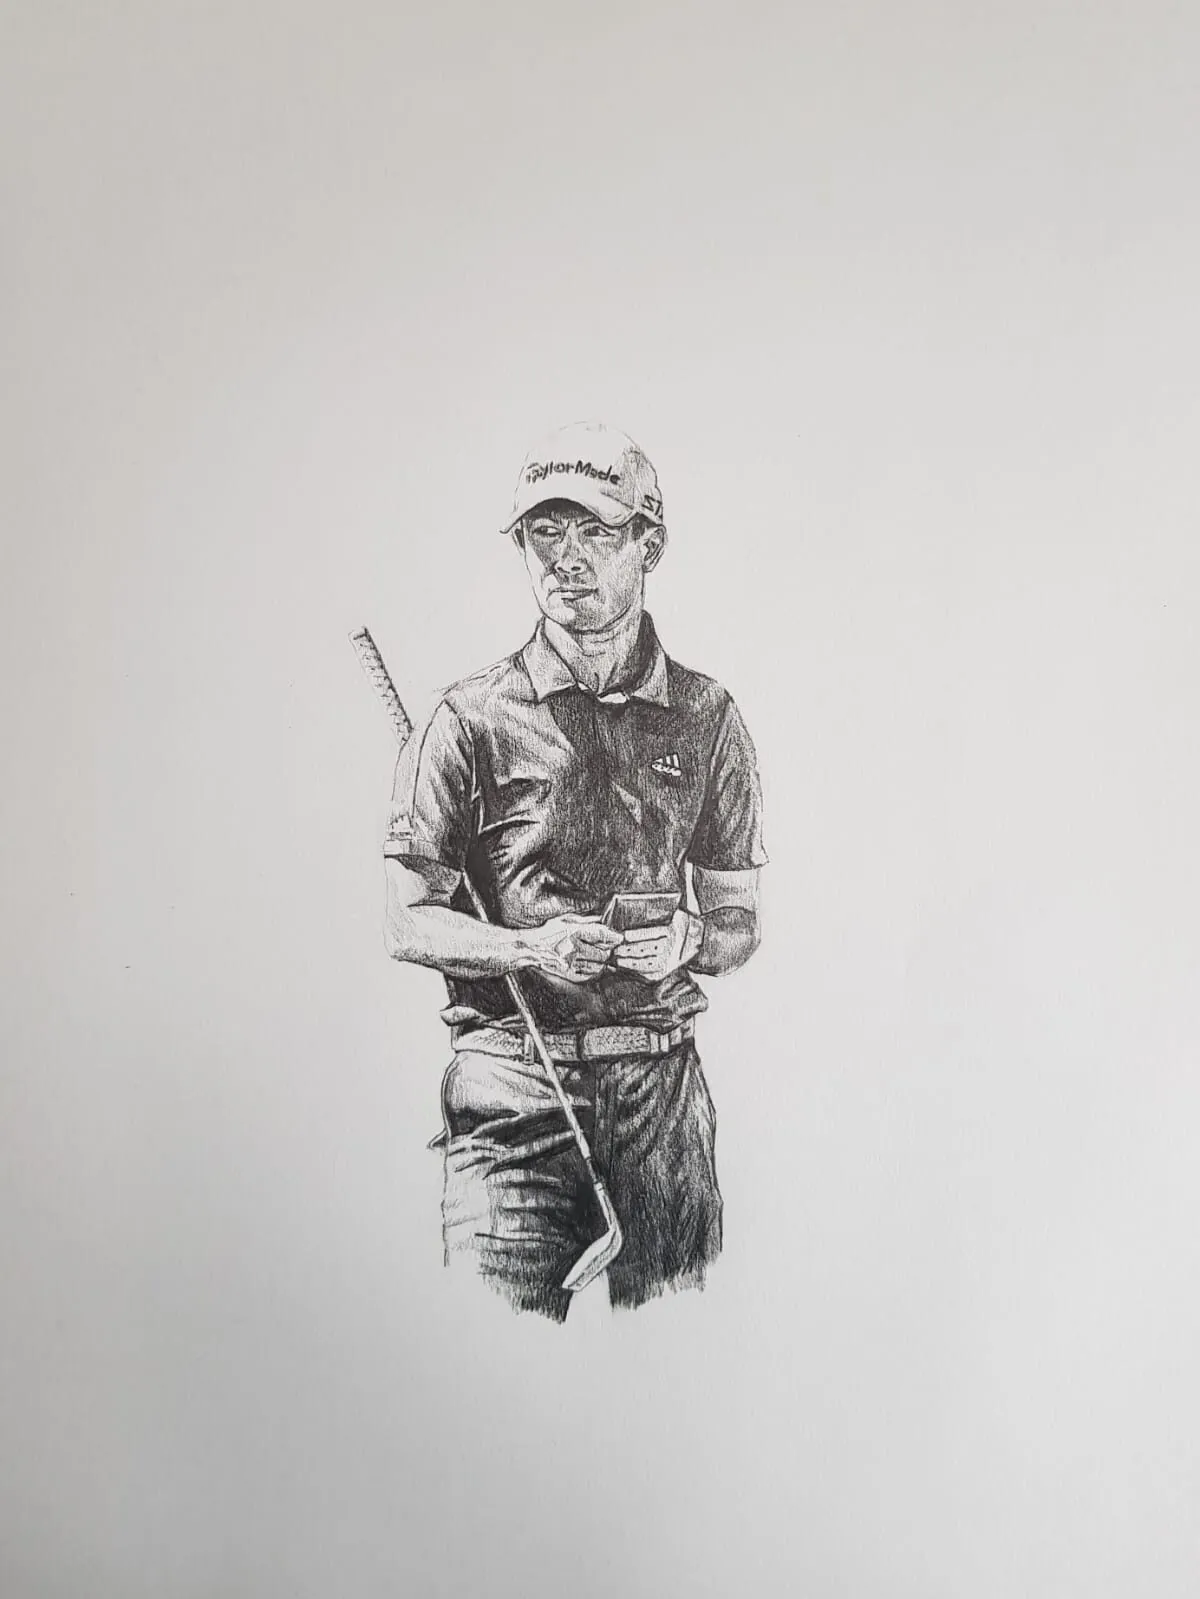
A graphite drawing of a golfer holding a club. Drawing by Michael Brace.
Step-by-step: drawing an ear
- Mark the placement. Lightly draw the brow line and the nose-base line across the head, and mark where the jaw hinge sits. The ear will live in the space between those lines, behind the hinge.
- Block in the overall shape. Draw a tilted oval, slightly wider at the top than the bottom. Check its size and angle against the nose and the eye, and adjust before adding any detail.
- Draw the helix. Inside the oval, draw the outer C-shaped rim. Let it thicken toward the top and thin out as it runs down toward the lobe. It should feel like a rolled edge, not a wire.
- Add the antihelix and bowl. Inside the rim, draw the Y-shaped ridge and the bowl beneath the fork. Keep these lines light, because you will turn them into tone rather than line.
- Place the tragus and lobe. Draw the small tragus flap at the front of the bowl, then the antitragus bump below it and the soft lobe at the bottom. The lobe can hang free or attach to the jaw, so follow your reference.
- Map the shadows. Squint to see the ear as light and dark shapes. The bowl, the space under the tragus and the area just behind the rim will be darkest, and the top edge of the helix will be lightest. Mark these shapes lightly.
- Apply a first layer of tone. Lay a light, even tone over the shadow shapes with the side of a 2B. In coloured pencil, use a warm skin tone in thin layers.
- Deepen the darks. Add darker tone in the bowl and under the folds with a 4B, or with browns and deep reds in colour. Keep the edges of these shadows soft, since they curve away rather than stop abruptly.
- Model the rim and lobe. Blend a gentle gradient across the helix and lobe. Lift a soft highlight along the top of the rim with a kneaded eraser, and add a small darker tone where the lobe meets the head.
- Connect the ear to the head. Add a soft cast shadow behind the rim and a little tone where the ear meets the skull. Then compare the ear to the rest of the face and reduce any contrast that pulls attention away from the eyes.
How the ear changes with angle
Ears look different from every viewpoint, so it helps to know what to expect.
- Front view: the ear is a narrow shape on each side of the head. You mostly see the outer rim and a sliver of the inner folds, which are hidden by perspective.
- Three-quarter view: the near ear opens up and shows more of the bowl and antihelix. The far ear nearly disappears behind the jaw or hair.
- Profile: the full structure is visible. This is the best view for studying the C and Y shapes, and it is covered in more depth in how to draw a face from the side.
- Back view: you see the outer rim and the way the ear sticks out from the head. The ear attaches along a curved line, and a cast shadow often sits behind it.
- From above or below: the ear foreshortens, so the oval becomes narrower and the top or the lobe may dominate. Practise these views last.
Shading the ear
Ears are full of small folds, and a simple tonal plan prevents them from turning into a mess.
- Three or four values are enough. Think lit rim, mid-tone plane, dark fold and deepest bowl. Keep more of the ear in mid-tone than in black.
- Soften edges. Most ear edges are soft, apart from the crisp line of the helix against the background or hair. Blend the inner folds so they turn rather than stop.
- Watch for translucency. In strong backlight, thin parts of the ear can glow red or orange. In coloured pencil, add a little warm red or orange to the rim and lobe.
- Use the tools. Check your values with the value study tool, and read how to shade with pencil for stroke and blending methods.
Adding colour
Ears are often warmer and redder than the face because of the blood flow in thin skin. Start with the face’s base skin tone in light layers, then add a warmer pink or light red on the rim and lobe. Use browns, deep reds and a touch of muted purple in the bowl and the deepest folds, avoiding pure black. Keep the layering light, since you will need room to adjust. The method is explained in how to layer coloured pencils, and the same ideas apply in portraits such as those covered in how to draw portraits in coloured pencil.
Ears and hair
Hair often overlaps the top or the back of the ear. Draw the ear first, then let the hair pass in front of it, rather than trying to draw the hair and then find the ear behind it. A cast shadow from the hair on the ear can be a useful device, since it instantly places the hair in front. For hair shapes and strands, see how to draw hair.
Common mistakes and how to fix them
- Ear placed too high or too low. Fix: check the top against the brow line and the bottom against the base of the nose, then compare to your reference.
- Ear too far forward. Fix: align it with the jaw hinge and keep it behind the midline of the head in profile.
- A perfect oval with squiggles inside. Fix: build the C and Y structure, and let the rim vary in thickness.
- Equal contrast everywhere. Fix: make the bowl and deep folds the darkest and keep the outer rim lighter.
- No link to the head. Fix: add a soft cast shadow behind the ear and a darker tone where it meets the skull.
- Overworked detail. Fix: simplify the folds into large shapes of tone, and stop when the ear reads clearly.
Practice exercises
- Ear parts sheet. Draw the ear ten times in outline only, labelling the helix, antihelix, concha, tragus and lobe.
- Five-minute profiles. Draw five profile ears from photos in five minutes each, using only light, mid and dark tones.
- Angle study. Draw the same ear from the front, three-quarter and profile views from reference photos.
- Placement check. Sketch five heads with brow and nose-base lines, and place the ears in the correct zone each time.
- Full-head integration. Add both ears to a simple head built using the face proportions lesson.
Next steps
Continue with how to draw a face from the side to see the ear in its full profile context. Then try how to draw hair, since hair and ears are closely connected. For a full list of features and subjects, browse the how to draw pillar.
The short version
Place the ear between the brow line and the base of the nose, behind the jaw hinge. Build it as a C-shaped rim around a Y-shaped ridge, with a dark bowl, a small tragus and a soft lobe. Shade with a few soft values, keep the contrast lower than in the eyes, and always tie the ear to the head with a gentle cast shadow.
Quick answers
Frequently asked questions
Where do ears go on the face?+
As a guide, the top of the ear sits near the brow line and the bottom of the lobe sits near the base of the nose. In profile, the ear sits behind the midpoint of the head from front to back. Tilt varies, so check your reference, but this placement stops ears from drifting too high or too far forward.
What are the parts of the ear called?+
The main parts are the helix (the outer rim), the antihelix (the inner ridge that forks at the top), the concha (the bowl), the tragus (the small flap in front of the canal), the antitragus (the bump opposite it) and the lobe at the bottom. You do not need every name to draw an ear, but they help you see its structure.
How do you draw an ear step by step?+
Block in a tilted oval for the overall shape, divide it into the rim and inner area, draw the C-shaped helix, then add the Y-shaped antihelix and the bowl. Place the tragus and lobe, shade the darkest folds first, and soften the transitions. Always check the angle and size against the eye and nose.
Why do my drawn ears look flat or stuck on?+
They usually lack a clear connection to the head and have an even tone. Draw the ear so its top edge tilts back from the jaw, add a soft cast shadow behind the rim, and vary the values inside the bowl. A slightly darker tone where the ear meets the head helps it sit in the skull rather than on it.