How to Draw
How to Draw a Face from the Side: Profile Guide
Learn how to draw a face in profile: the ball-and-jaw head, the forehead, nose, lips and chin line, ear placement, the eye in profile, hair mass and shading.
Key takeaways
- ◆Build a profile from a ball for the cranium plus a jaw shape, then draw the face line of forehead, nose, lips and chin on the front edge.
- ◆The skull takes up far more of a profile than beginners expect, so leave plenty of room behind the face for the back of the head.
- ◆Use the eye line, nose base and brow line as guides, and check that the ear sits behind the midpoint of the head, lined up with the jaw hinge.
- ◆The eye in profile is a wedge, not an almond, and the lids and lashes sit forward of the eyeball.
- ◆Shade the profile as planes and masses, and let hair be a mass with a few edges rather than a pile of strands.
To draw a face from the side, start with a circle for the cranium and add a wedge-like jaw beneath and in front of it. Draw the profile line down the front (forehead, brow, nose, lips and chin), place the eye, ear and jaw using light guide lines, then add hair as a single mass and shade the planes of the face.
A profile is one of the most useful views to learn, because it shows how the features sit in depth. It also exposes errors: the nose that is too long, the chin that is too weak, the head that has no back. This lesson gives a construction method, guide proportions, tips for each feature in profile, and a shading approach in graphite and coloured pencil (colored pencil in the US).
What you need
- Pencils: an HB or 2B for construction and a 2B to 6B for tone. Graphite pencil grades explained helps you choose.
- A kneaded eraser to lift guidelines and soften highlights, and a blending stump for smooth skin.
- Paper with a fine tooth. See the best paper for graphite drawing for suggestions.
- A profile reference with clear, side-on lighting. Flat light hides the planes of the face.
- Optional: the grid drawing tool to transfer proportions accurately from a photo.
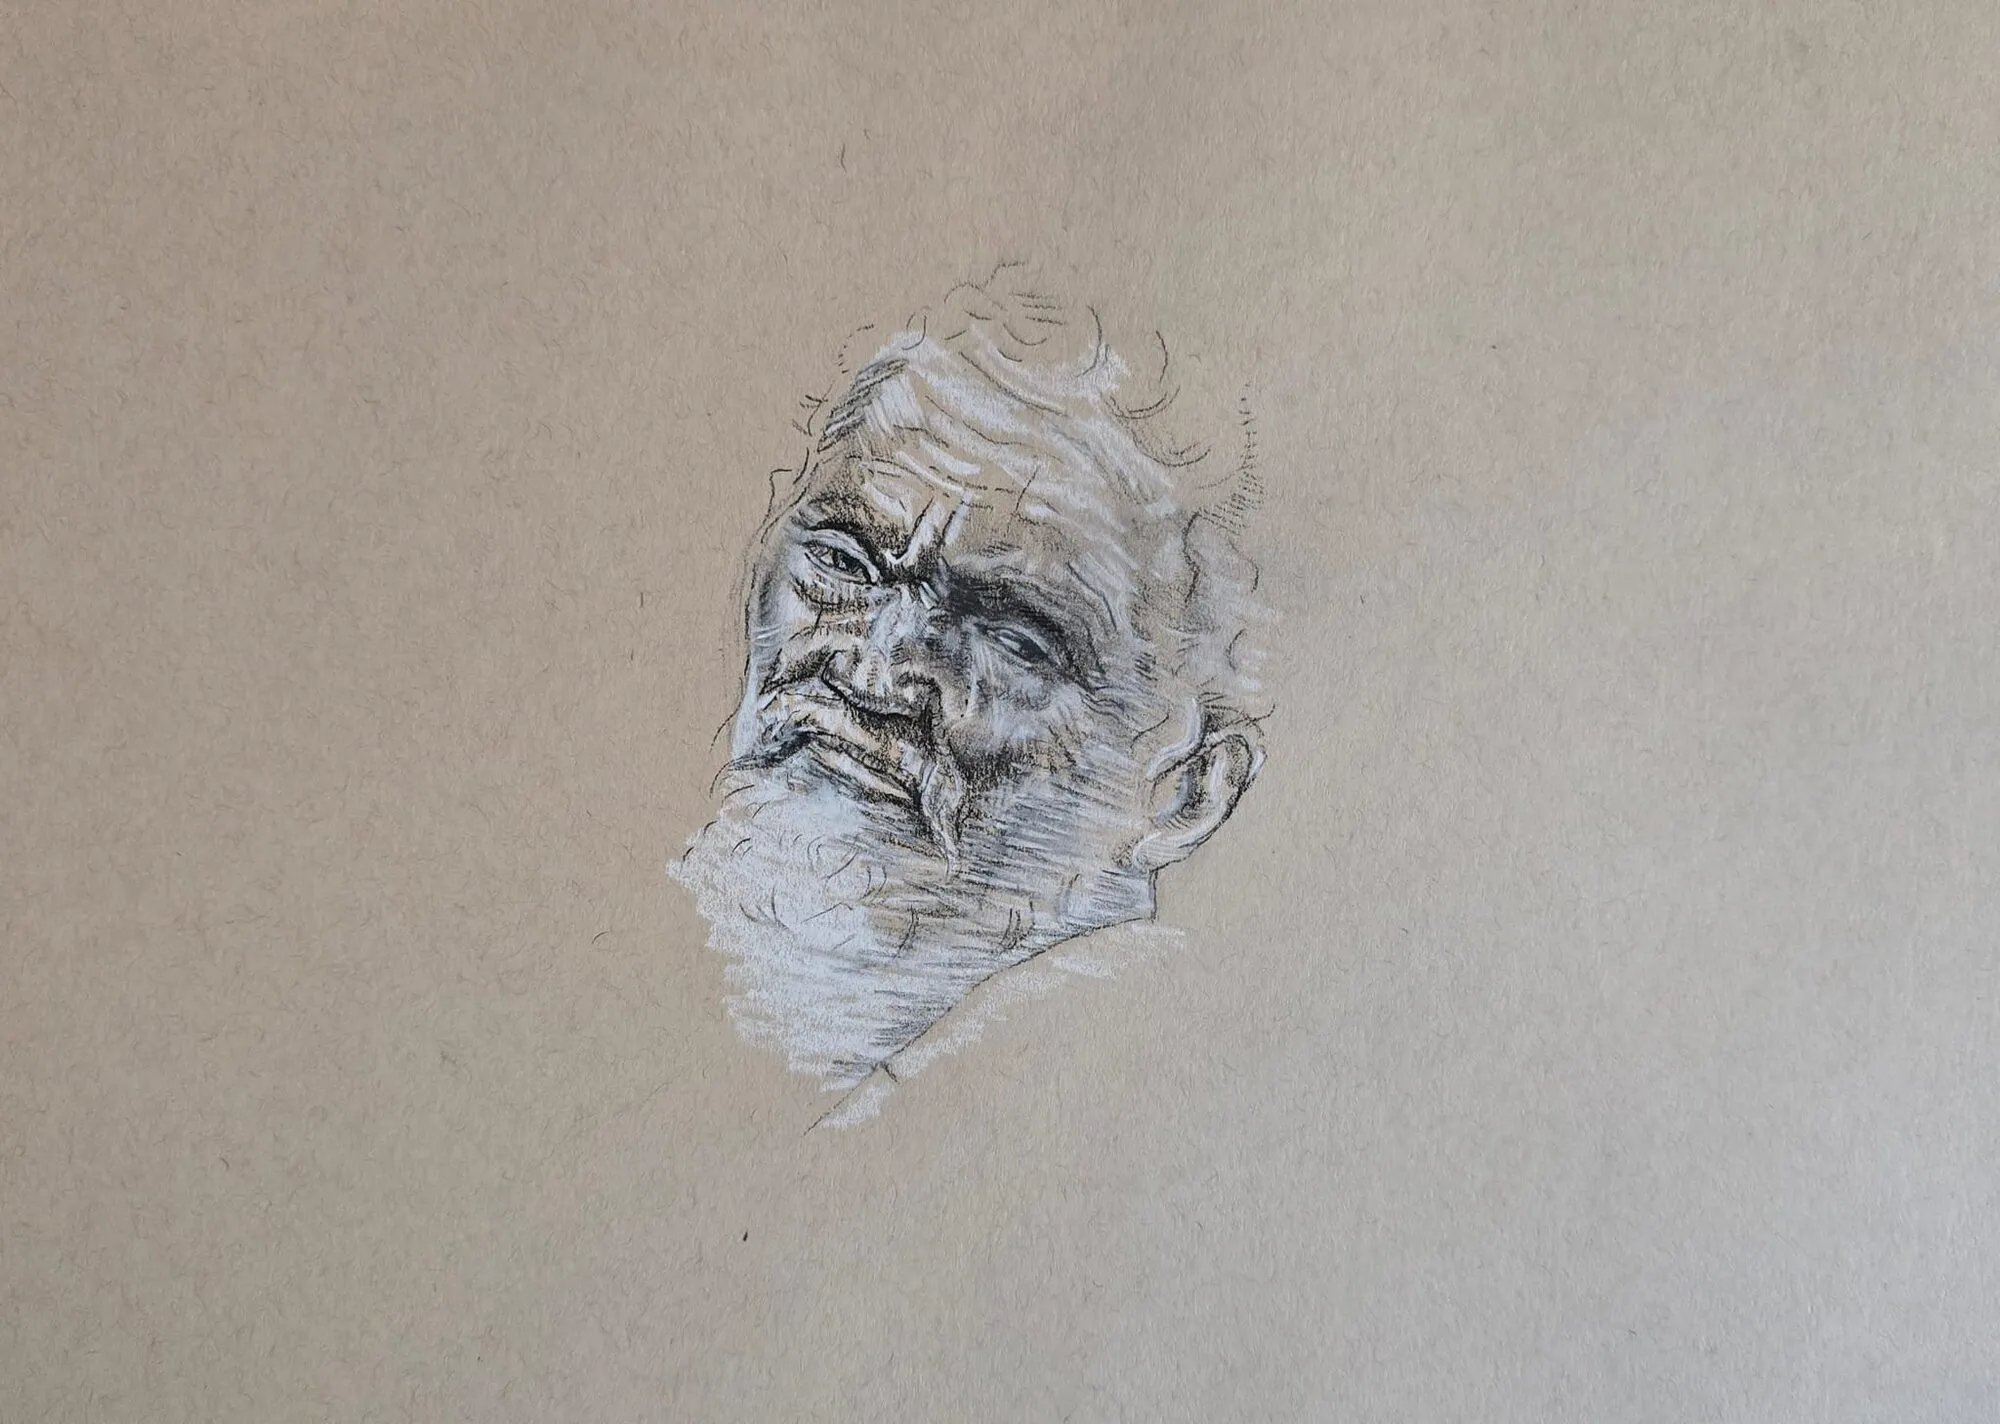
A head study of a bearded man in dark and white pencil on toned paper. Drawing by Michael Brace.
Start with a ball and a jaw
The skull is the secret to a convincing profile. Seen from the side, the head fits inside a rough square: the cranium is a ball at the top and back, and the face hangs from the front of it, with the jaw forming a wedge at the bottom.
- The ball: draw a circle for the cranium. This is larger than many beginners expect, because the back of the head extends well behind the ear.
- The face plane: from the front of the circle, drop a vertical line down the face for the front plane. The brow, nose and lips all live near this line.
- The jaw: from the ear area, draw the jawline angling down and forward to the chin. The chin sits below the circle, roughly one circle-radius under it, as a guide.
- The neck: attach it behind the jaw, not under the chin. It slopes forward and down from the base of the skull, and its front edge starts under the jaw.
Think of the whole construction as a square with a circle at the top and a sloping wedge at the bottom. Keep all lines light. You will refine them as features appear.
Proportion guides for the profile
These are widely used rules of thumb, not laws. Real faces vary, so measure against your reference.
- Halfway line: the eyes sit about halfway down the head from top to chin.
- Three zones of the face: the hairline to the brow, the brow to the base of the nose and the base of the nose to the chin are roughly equal.
- Ear position: the top of the ear sits near the brow line, the bottom near the base of the nose, and the ear sits behind the midpoint of the head from front to back.
- Nose to lips to chin: the lips sit about a third of the way from the nose base to the chin. The lower lip lies a little behind the upper lip, and the chin falls roughly in line with the lower lip or slightly forward.
- Head depth: from the front of the face to the back of the skull is about as long as the head is tall, to a good approximation in an adult.
The front-on version of these ideas is in how to draw a face: proportions. Learn them there, then turn the head.
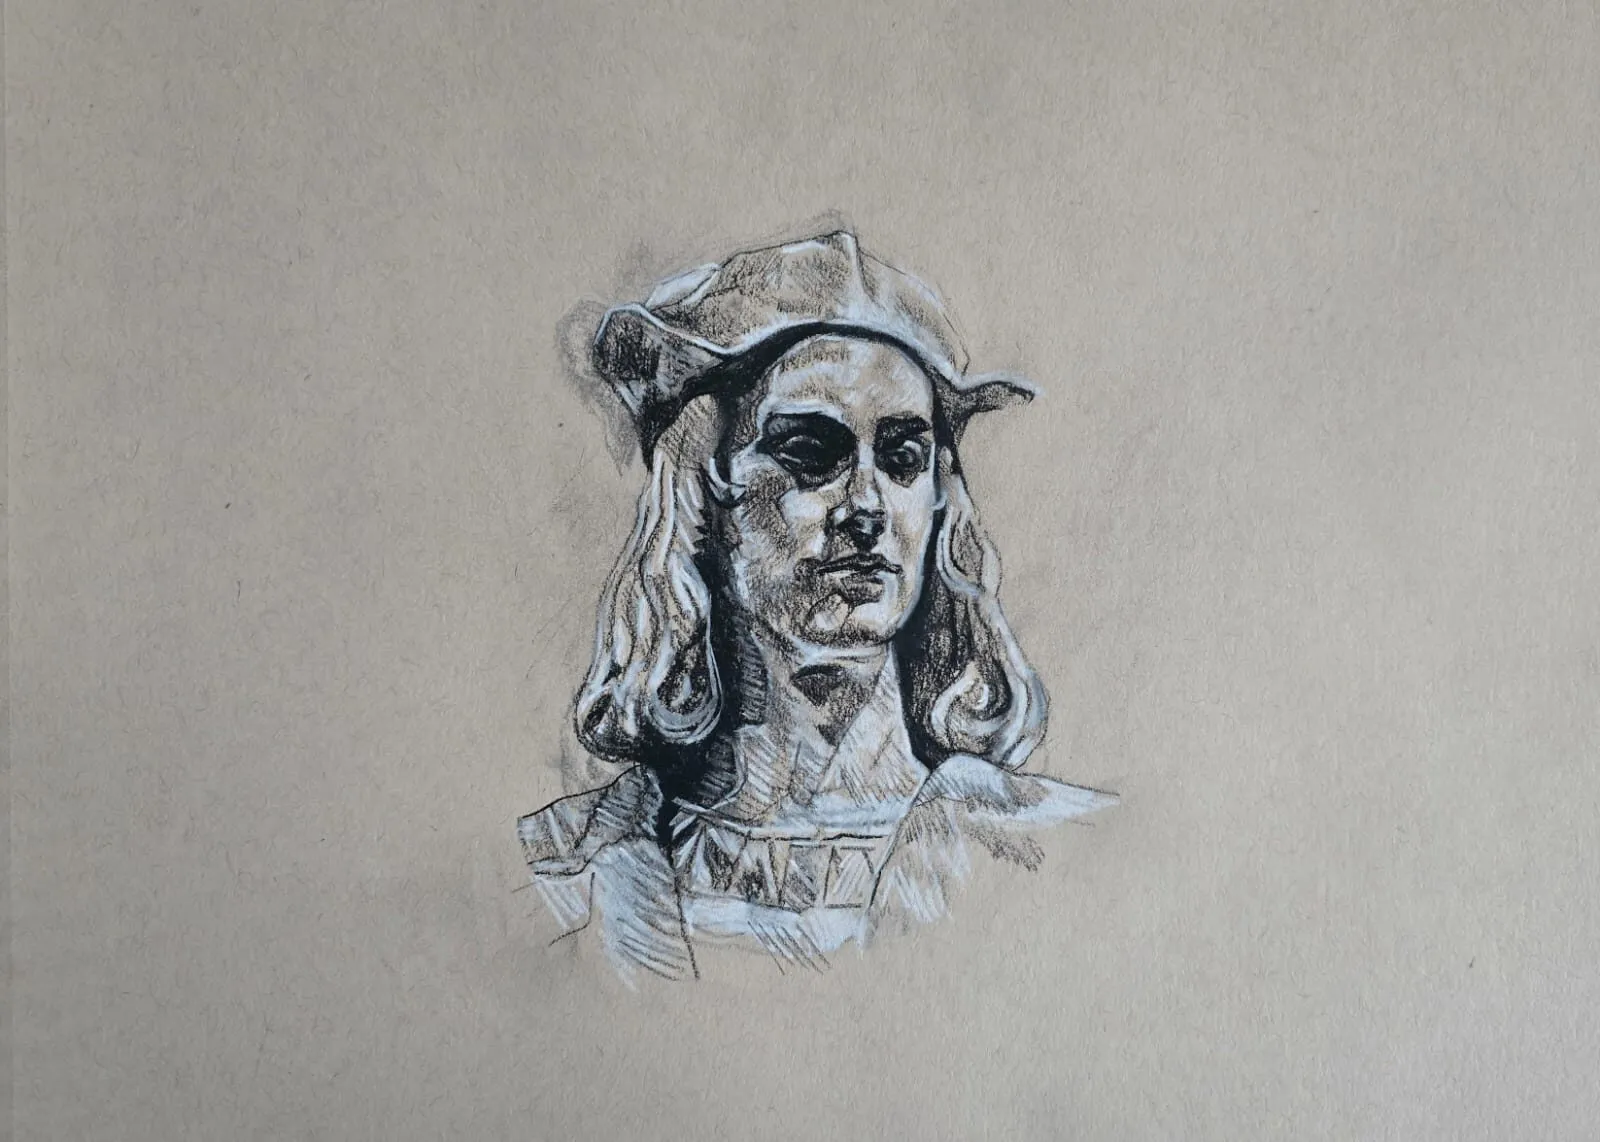
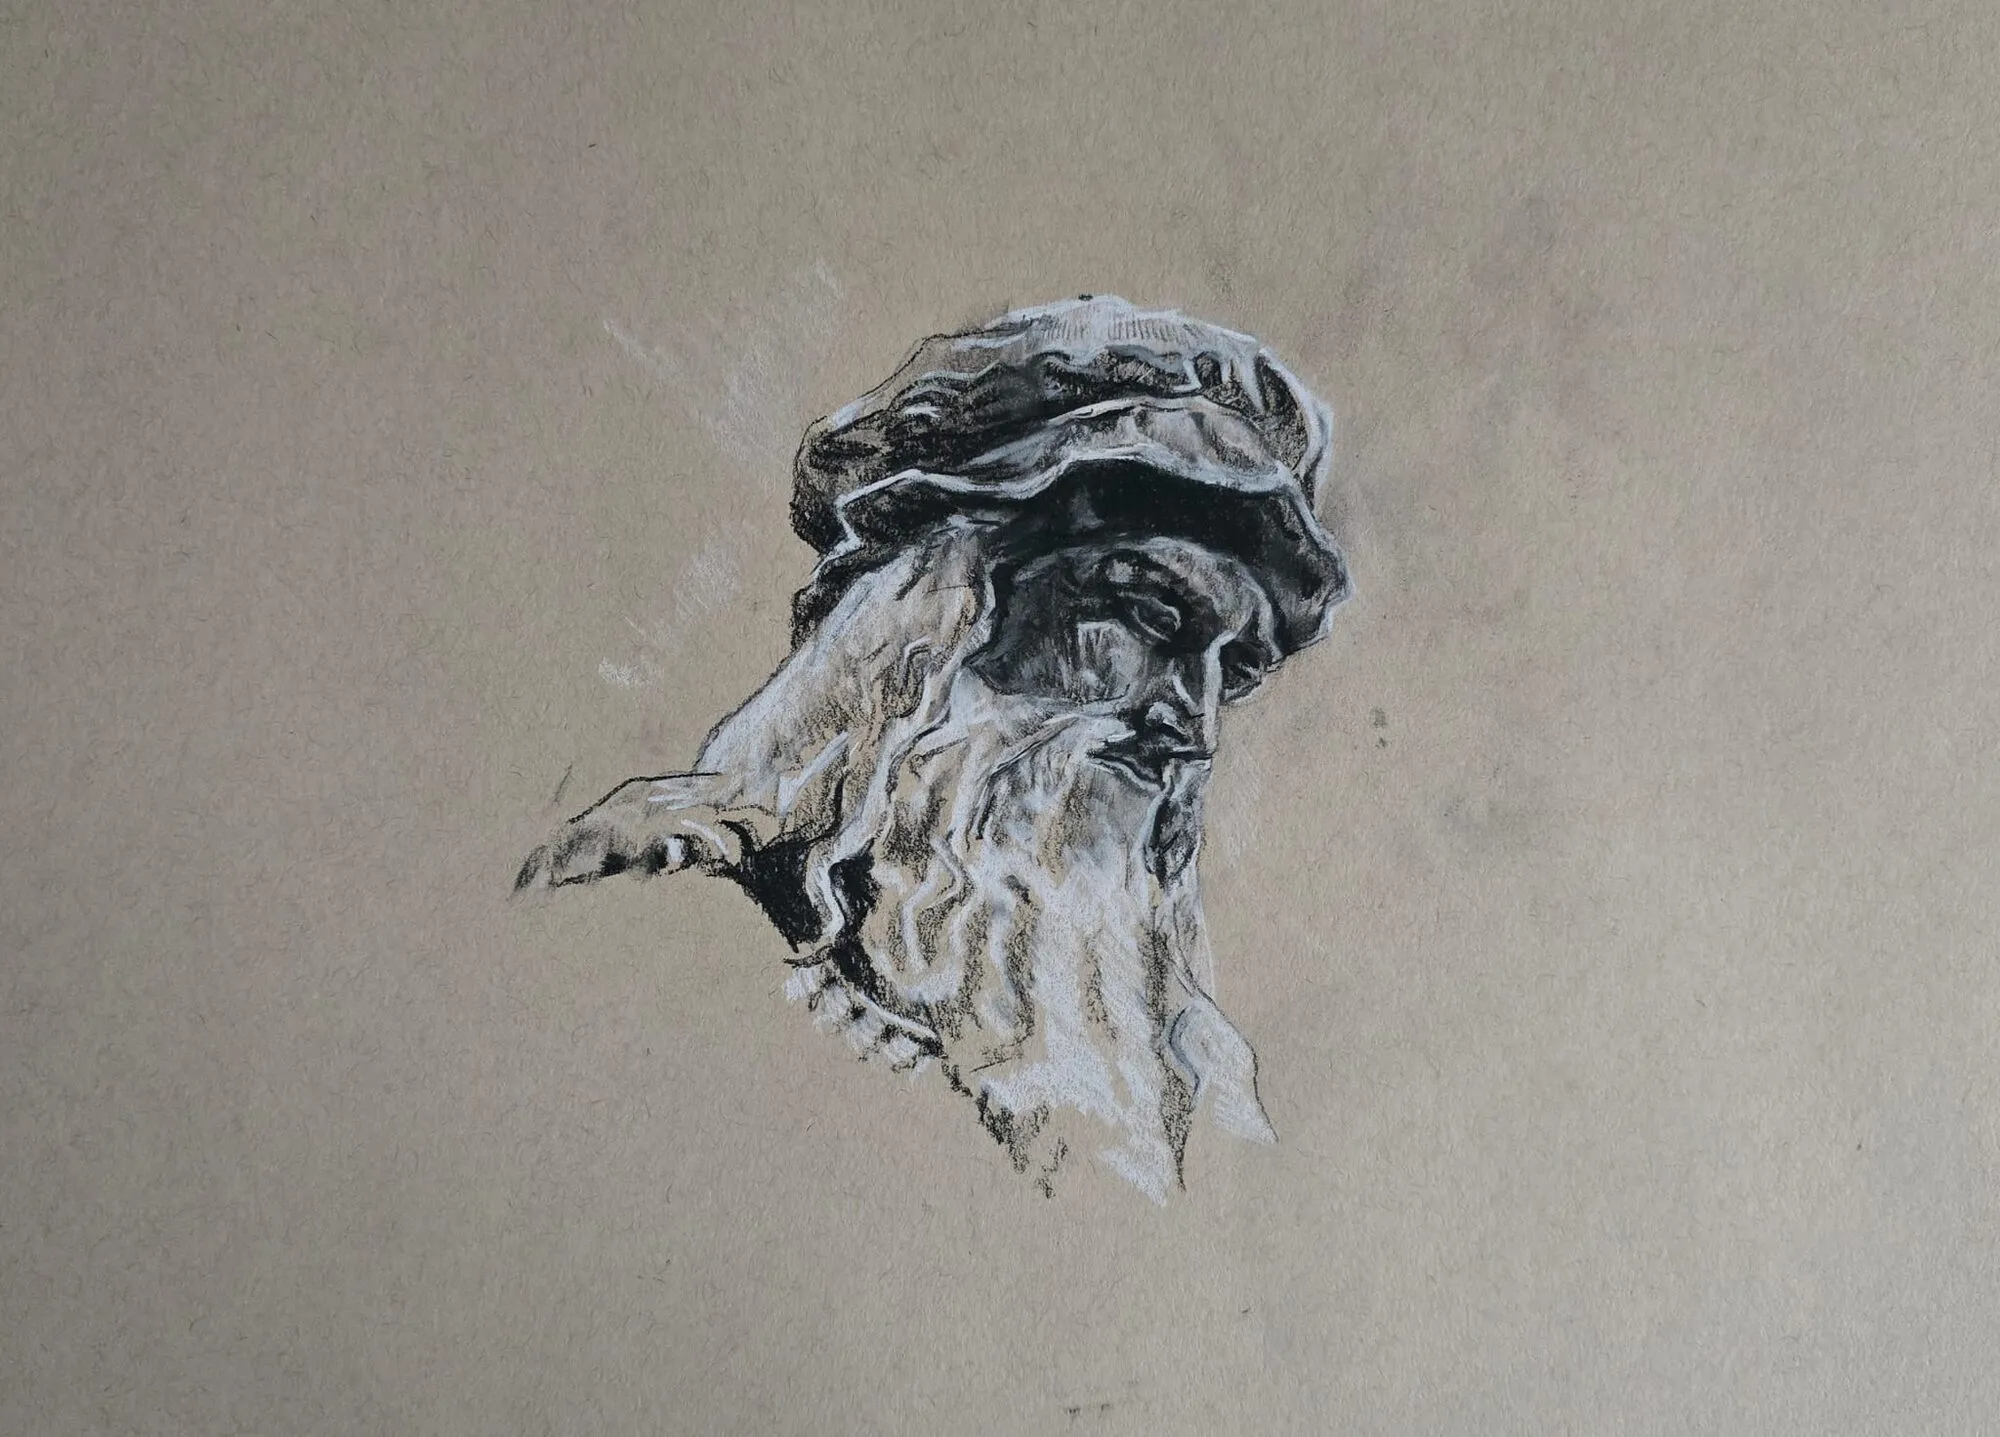
A head study of a figure in a cap in dark and white pencil on toned paper. Drawing by Michael Brace.
Step-by-step: drawing a profile
- Draw the cranium and jaw. Lightly draw a circle, then add the wedge of the jaw to the lower front. Check that the total shape looks like a head with a back, not a face attached to a coin.
- Add the guide lines. Draw a horizontal line through the middle of the head for the eye line, then lines for the brow and nose base. Mark a vertical line from the center of the circle downward to help place the ear and the jaw hinge.
- Draw the profile line. Along the front plane, draw the forehead, the brow ridge, the dip at the bridge of the nose, the nose itself, the notch under the nose, the lips and the chin. Work in small, gently varying segments rather than a single line, and check each angle against your reference.
- Place the eye. On the eye line, draw the eye as a wedge with its point facing forward. Put the brow above it as a soft shape, and note how the eye sits slightly back from the front of the brow.
- Place the ear. Between the brow line and the nose base, behind the midpoint of the head, draw the ear. How to draw ears gives the structure.
- Shape the nose, lips and chin. Refine the nose as a wedge with a soft wing. See how to draw a nose. Draw the lips as two overlapping forms with a dark parting line, as in how to draw lips. Give the chin a soft plane underneath.
- Add the neck and jaw. Draw the front of the neck starting under the jaw and angling down. Draw the back of the neck as a curve rising to the base of the skull. Mark the jaw hinge below the ear.
- Block in the hair. Draw the outer shape of the hair mass, including how it sits on the skull and where it falls in front of or behind the ear. Do not draw individual strands yet.
- Map the shadows and lay a first tone. Squint and find the main dark shapes: the eye socket, under the nose, under the lower lip, under the jaw and on the neck. Lay a light tone over the shadow side of the face, leaving the forehead and cheekbone bare.
- Model and refine. Build the tones gradually, soften the transitions with a stump, and deepen the accents in the eye, nostril, lip line and ear. Step back, compare to the reference, and fix any distortions in the profile line.
The eye in profile
The eye from the side surprises many beginners because it does not look like the almond shape seen from the front. The eyeball is a sphere, and the lids stretch over it, so from the side you see a wedge.
- Draw a small triangle or wedge with the point forward, sitting in the eye socket.
- The upper lid overhangs the eyeball and casts a small shadow onto it. The lashes project forward and upward.
- The lower lid sits slightly behind the upper lid.
- The brow sits above, often projecting further forward than the eye.
- Keep the iris visible as a sliver, and put a small highlight to show the eye’s roundness.
For more detail, see how to draw realistic eyes.
Hair as a mass
In profile the hair creates a big shape behind and above the face. Treat it as a mass with a clear outline first.
- Mark the hairline at the forehead, then the shape over the crown and down the back.
- Shade the whole mass with a mid-tone, and add a darker tone near the skull and behind the ear.
- Add a few strokes along the direction of growth and a few lighter highlights where hair catches light.
- Let a few strands cross the forehead or ear for a natural edge.
How to draw hair explains strand and mass methods in more depth.
Shading the profile
A side view receives light in distinct planes, which makes it a good subject for learning tone.
- Forehead and cheekbone: these catch the most light. Keep them pale, with just a hint of tone.
- Eye socket: a soft shadow under the brow, rounder and deeper toward the nose.
- Under the nose and lips: the underplane of the nose and the shadow under the lower lip are small but important darks.
- Jaw and neck: the plane under the jaw is usually darkest, separating the face from the neck. The neck is typically a cooler, lower-contrast mid-tone.
- Background: a slightly darker tone behind the lit side of the face, or a lighter tone behind the shadow side, helps the profile pop.
Use the value study tool on your reference to see the tonal shapes, and read how to shade with pencil for stroke and blending methods.
Adding colour
In coloured pencil, keep the same value structure. Start with a light warm base over the face, then add cooler, more muted tones in the shadow planes, such as a brown-violet or olive under the jaw. Use warmer pinks and reds on the lips, ear and nose tip. Build slowly in thin layers, following how to layer coloured pencils, and look at how to draw portraits in coloured pencil for a full approach.
Common mistakes and how to fix them
- A tiny back of the head. Fix: start with a generous circle for the cranium and place the ear well behind the face.
- Ear too far forward or too low. Fix: align it with the jaw hinge and between the brow line and the nose base.
- Copying the outline only. Fix: measure angles and distances between landmarks, and use the grid tool if needed.
- Eye drawn as a frontal almond. Fix: draw a wedge with the point forward, and add the brow above it.
- Stiff, even outline. Fix: vary the line weight and soften it where the face turns away from the light.
- Neck like a tube under the chin. Fix: attach it behind the jaw and angle it forward and down from the skull.
Practice exercises
- Ball and wedge sheet. Draw ten circles with jaw wedges, varying the tilt up and down.
- Profile line drill. Trace the profile line from five different photos, focusing only on the forehead, nose, lips and chin.
- Eye and ear in profile. Draw five eyes and five ears from the side, each in a separate box.
- Ten-minute profiles. Draw a full profile in ten minutes, using only four values.
- Turn the head. Draw the same head from the front, three-quarter and side using the same guide lines.
Next steps
Once profiles feel solid, read how to draw ears for the structure you meet most clearly in this view, then how to draw a portrait from a photo to apply these skills to a complete drawing. The full series is listed on the how to draw pillar.
The short version
Build the profile from a cranium ball and a jaw wedge, then draw the front face line in short, varied segments. Use guides for the eye line, nose base and ear, keep the back of the head generous, and treat the eye as a wedge. Shade in planes, handle hair as a mass, and compare your drawing with the reference for accuracy.
Quick answers
Frequently asked questions
How do you draw a face from the side?+
Start with a circle for the cranium and attach a jaw shape to the lower front. Draw the profile line down the front of the face (forehead, brow, nose, lips, chin), place the eye, ear and jaw using guide lines, then add hair as a mass. Finish by shading in planes, with the lightest values on the forehead and cheekbone.
Where does the ear go in a side view?+
As a guide, the ear sits behind the vertical midpoint of the head, between the brow line and the base of the nose. Its front edge lines up roughly with the jaw hinge. Proportions vary with age and from person to person, so check against your reference rather than treating these lines as fixed rules.
How do you draw the eye in profile?+
Draw the eye as a small wedge or triangle shape, with the point facing forward, rather than a flat almond. The upper lid overhangs the eyeball and the lower lid sits slightly back. The eyelashes project forward, and the brow sits just above, casting a soft shadow. Keep the eye small and simple, since the profile is mostly defined by the face line.
Why do my profile drawings look flat?+
Usually the back of the head is too small and the face line is drawn as a single stiff outline. Give the cranium room, vary the pressure along the profile, and model the face with soft planes of tone on the cheek, jaw and neck. A darker background behind the face or hair can also help the profile stand out.