How to Draw
How to Draw a Portrait from a Photo
A complete workflow for drawing a portrait from a photo: choose a reference, crop, measure or grid, plan values, block in, refine and finish in graphite or color.
Key takeaways
- ◆Start with a good reference: sharp, well lit, large and with clear value structure. A bad photo caps how good the drawing can be.
- ◆Measure or use a grid to get proportions right before shading anything.
- ◆Plan values first with a simple value study, so you know where the darkest darks and lightest lights sit.
- ◆Work from big shapes to small details: block-in, refine, then finish.
- ◆Use your own photos or reference you have permission to use, and treat the photo as information, not something to trace.
Drawing a portrait from a photo is really a process of decisions: which photo, how much of it, how to measure it and what to do first. Get those decisions right and the drawing behaves. The short method is to choose a strong reference, crop it, lay out the proportions with measuring or a grid, plan the values, block in big shapes, then refine and finish.
This guide walks through the full workflow in the order you would do it. It suits graphite or coloured pencil (colored pencil in the US), and it ends with advice on relying less on tracing and using reference responsibly.
What you need
- A reference photo, printed or on a screen. A print lets you draw on it, measure and squint at it; a screen is fine if it is large and bright.
- Graphite pencils in a few grades, or a set of coloured pencils. The pencil grade chart helps you choose.
- Good paper. Smooth paper suits fine portraits; the best paper for realistic drawing has options.
- A ruler, a kneaded eraser and a sharpener. Measuring and cleaning up are half the job.
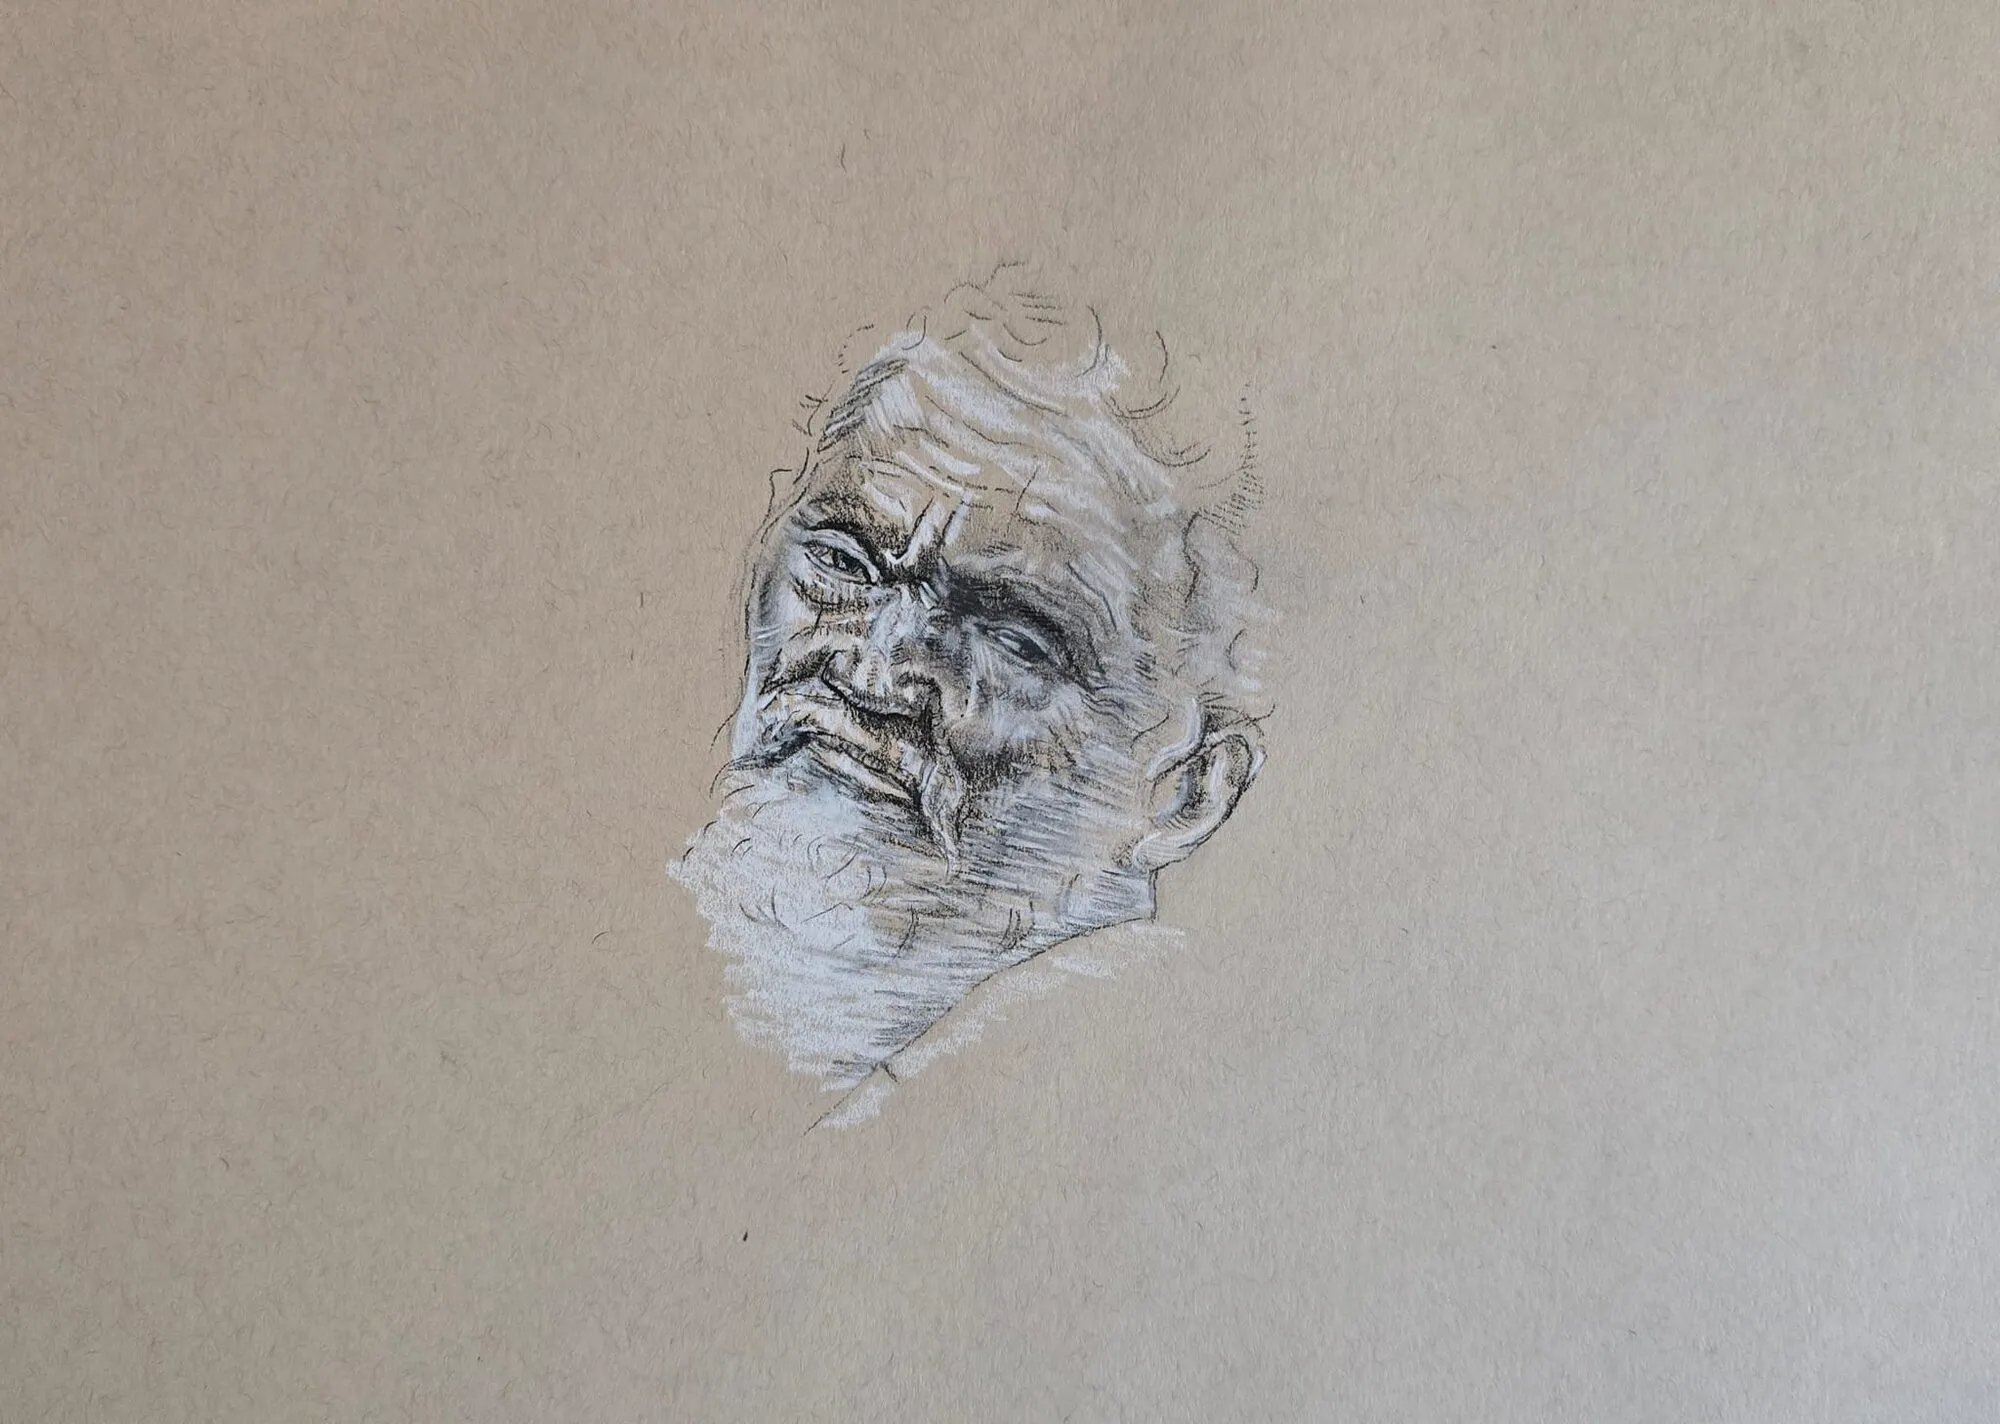
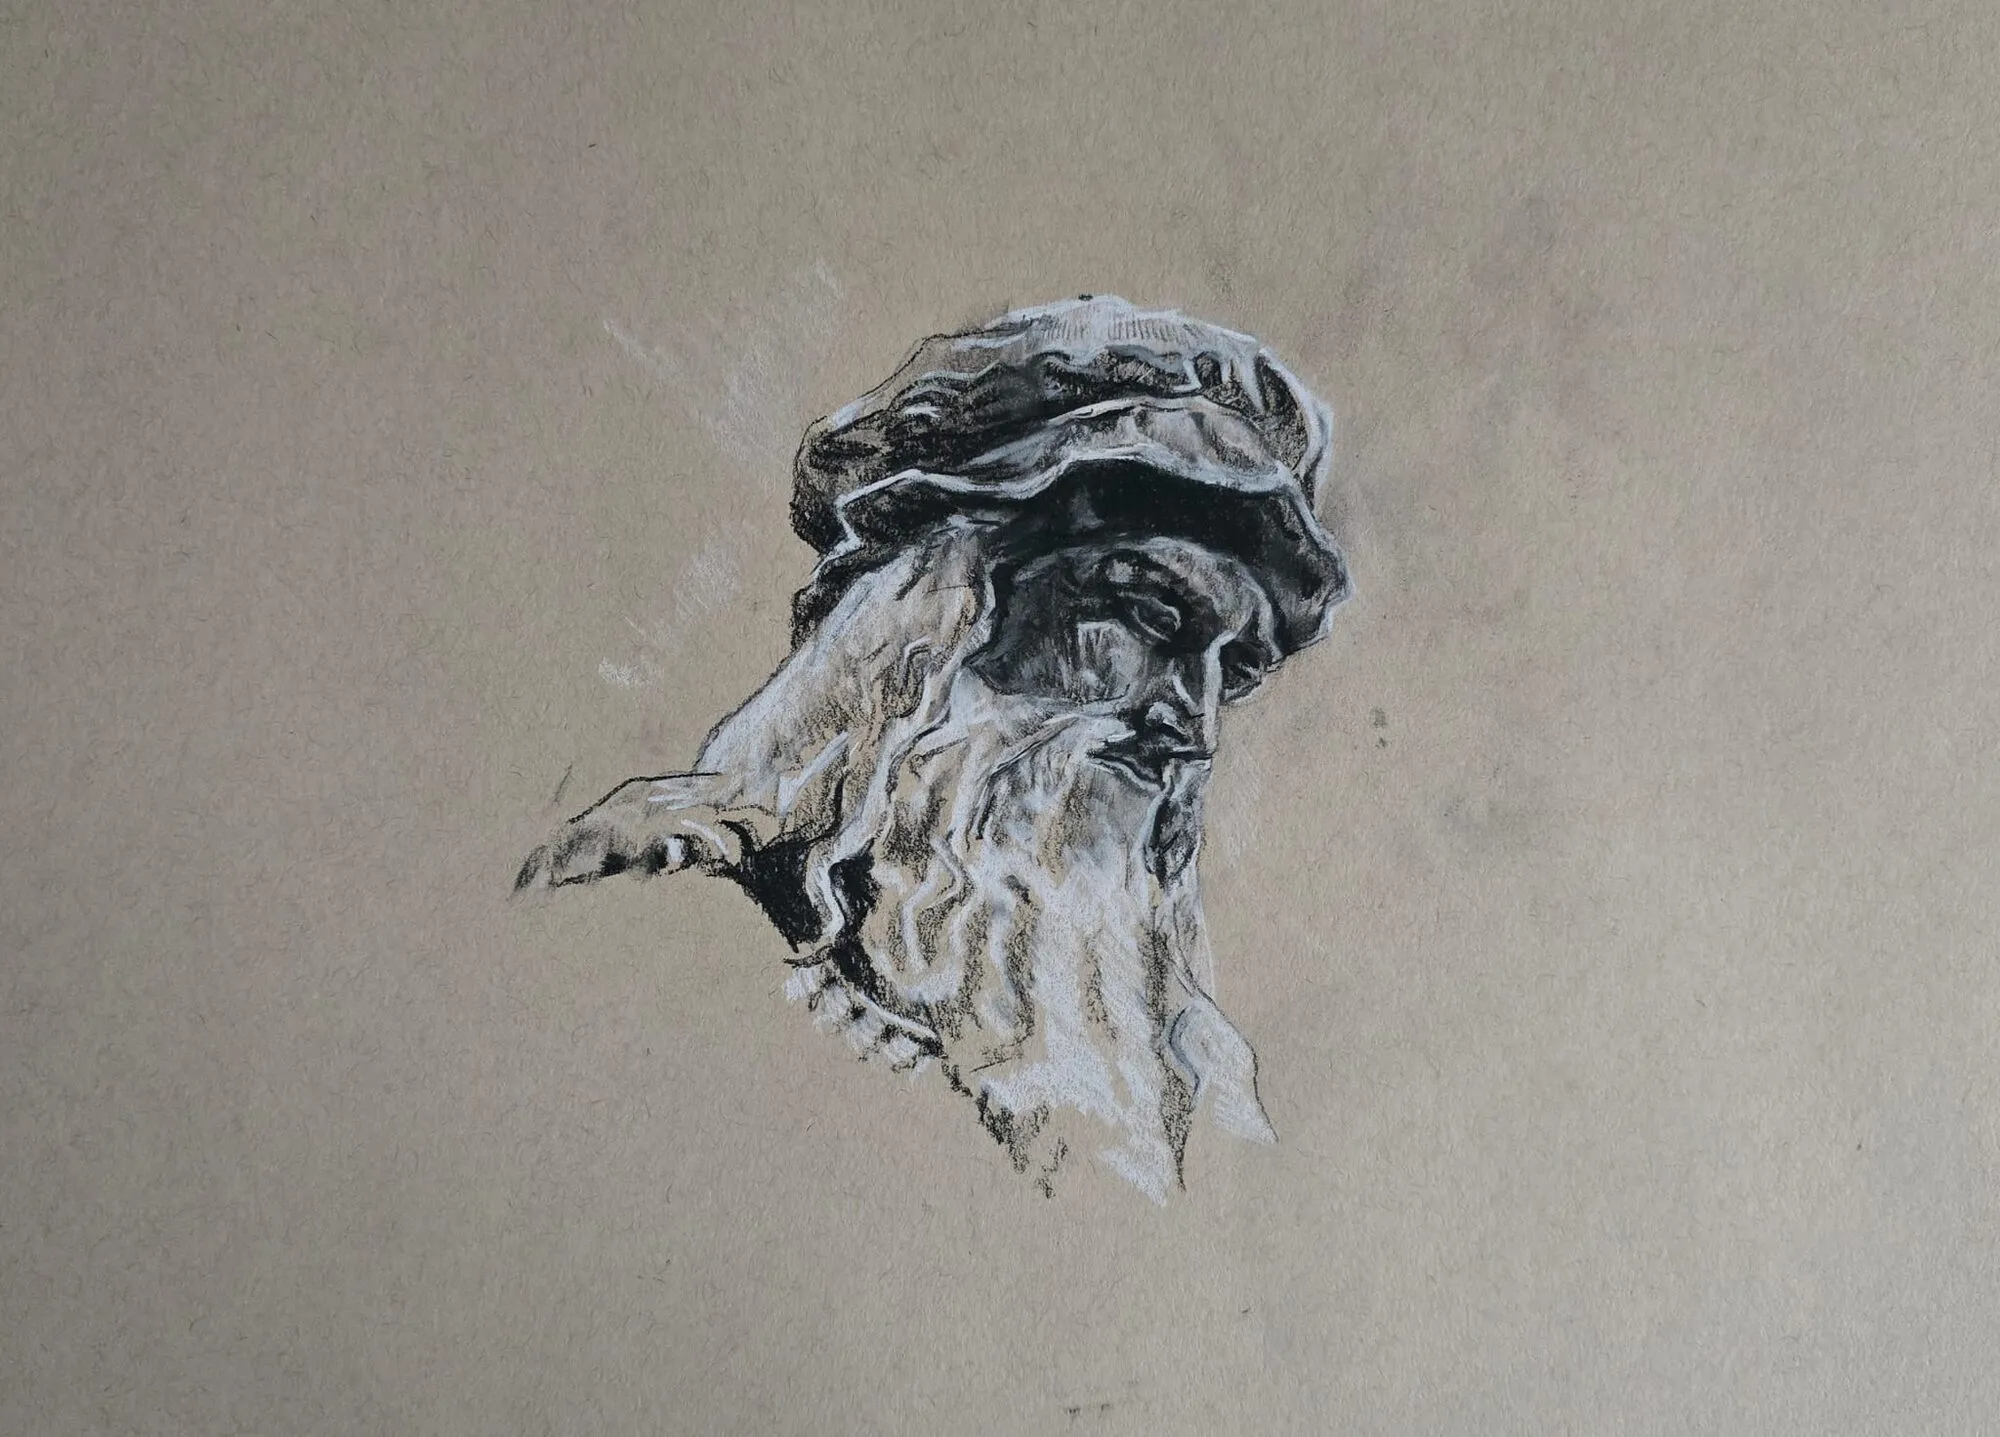
A head study of a bearded man in dark and white pencil on toned paper. Drawing by Michael Brace.
Step 1: Choose a reference that helps you
The photo does a lot of the work for you, so choose one that is easy to read.
- Sharp and large. You want to see the eyes, the edges of the lips and the hairline without pixelation.
- Clear light. A single main light direction makes shadows describe the form. Flat, on-camera flash hides the planes of the face.
- A full range of values. You want real darks and lights, not a photo that is mostly mid-grey.
- A natural angle. Eye level shots, or slightly above, are easiest. Wide-angle close-ups distort proportions.
- An interesting expression. Choose something you will still want to look at after hours of work.
Step 2: Crop and simplify
Before you draw, decide what your portrait includes. A crop is a compositional decision.
- Cut a viewfinder from two L-shaped pieces of card, or use a crop tool on screen.
- Try head and shoulders, tighter on the face, or looser with the environment.
- Leave room. A face looking slightly to one side benefits from space in front of it.
- Note the paper proportions. Choose a paper size that matches your crop. The paper size converter helps if you are switching between formats.
Simplify the background. It rarely needs to match the photo, and a plain or softly toned background supports the face better.
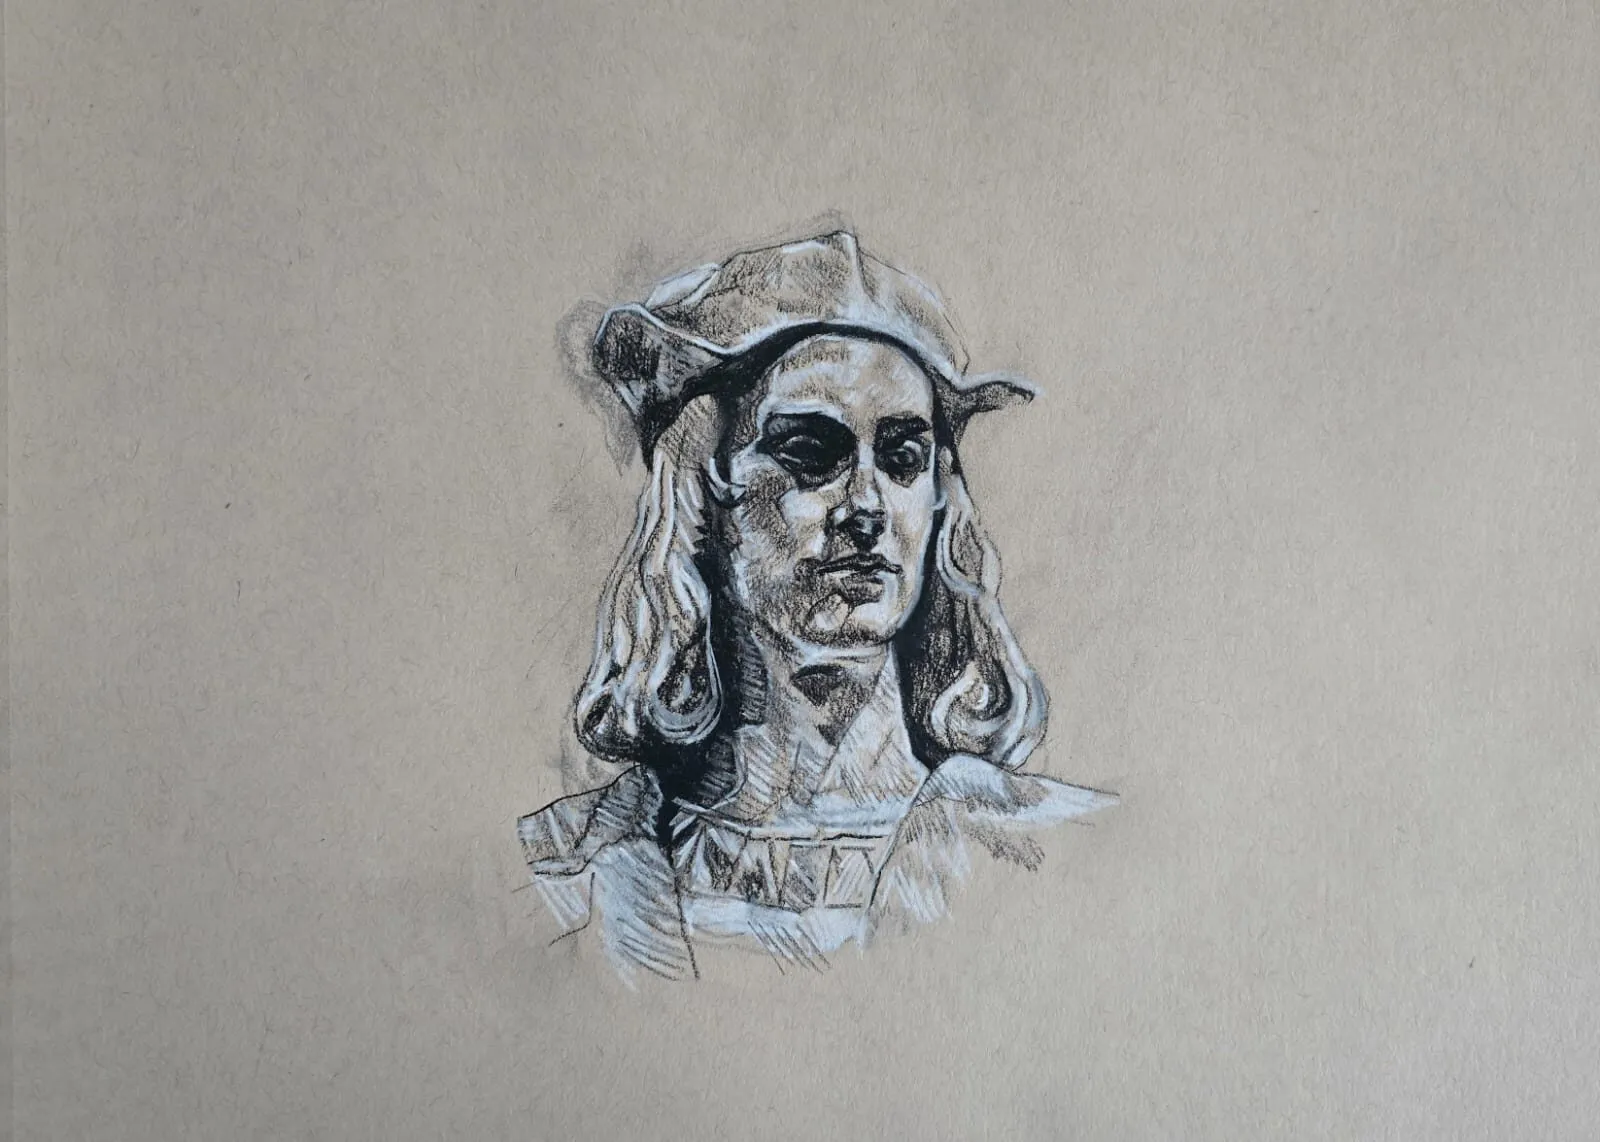
A head study of a figure in a cap in dark and white pencil on toned paper. Drawing by Michael Brace.
Step 3: Set up the proportions
There are two reliable ways to transfer a photo onto paper. Pick one and be consistent.
The grid method. Draw a grid over the photo and a matching, scaled grid on the paper. You then copy the shapes in each square. The grid drawing tool makes the grid for you. This is the friendliest method for beginners because it breaks a face into small, manageable shapes.
Measuring. Use a pencil or ruler to compare distances: the width of an eye against the space between the eyes, the length of the nose against the space below it. Measure angles by holding your pencil against the photo and copying that angle. This is quicker and builds the skill you will need when drawing from life.
Either way, begin with a light outline of the head and place the eye line, nose, mouth and ears using the guides in our face proportions lesson. Treat those rules as guides, not laws, and correct them against your reference.
Step 4: Make a value study
Faces read through light and shadow more than lines. Before you shade, decide where the values go.
- Squint at the photo, or reduce it to greyscale. Look for four or five value groups.
- Do a small thumbnail study in three or four tones. The value study tool will simplify a photo for you.
- Mark the darkest dark and the lightest light. Keep those extremes for the places that need them, such as pupils, nostrils and the highlights on the forehead.
This step saves you from over-darkening early and from a drawing that looks flat at the end. For the theory, see value in drawing.
Step 5: Block in the big shapes
Now start drawing tone, but only in the biggest shapes.
- Lay down a light tone over the shadow shapes. Merge small shadows into larger masses.
- Establish the dark accents: the corners of the eyes, the nostrils and the line between the lips.
- Check the whole face, not one feature. Step back or view the drawing in a mirror. Wrong proportions show up immediately.
- Keep edges soft for now. Nothing should look finished.
Step 6: Refine
Move gradually from large to small.
- Eyes. Get the shape, the lid, the pupil and one highlight. Our lesson on realistic eyes has detail.
- Nose and lips. Describe planes with soft transitions, not outlines. See the nose and lips lessons.
- Hair. Draw it in clumps, not individual strands. Our hair lesson covers direction and value.
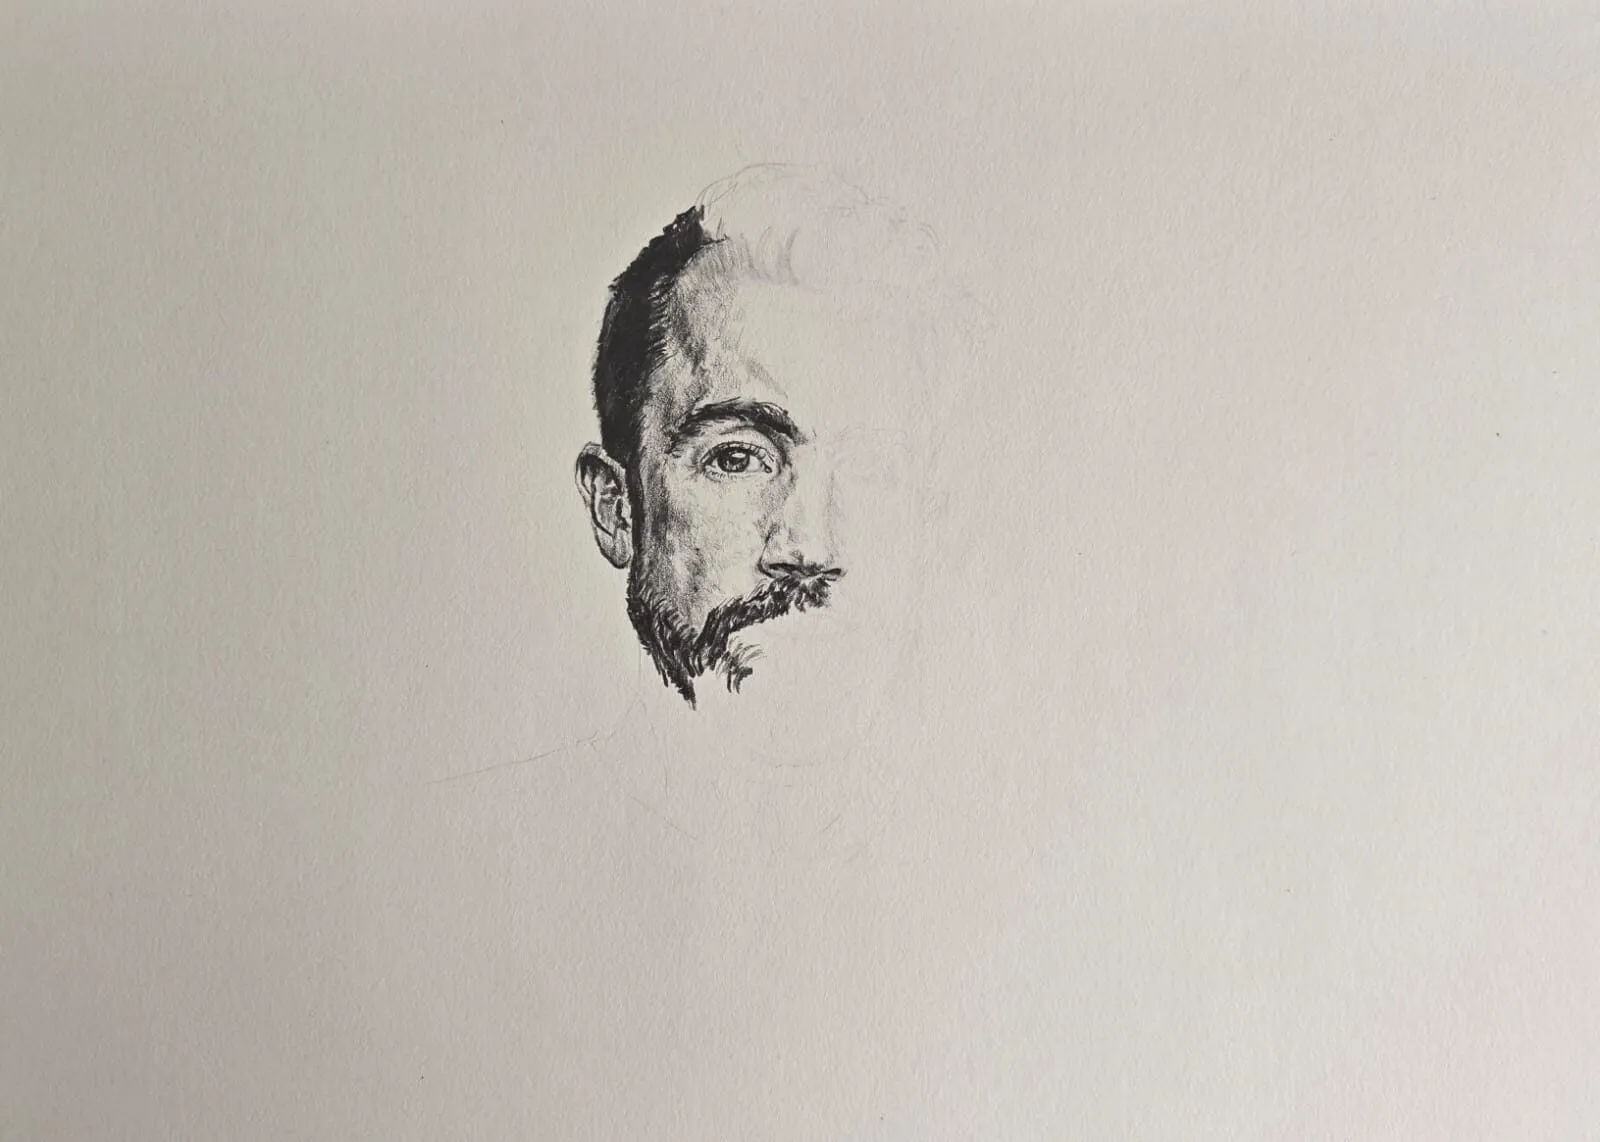
- Skin. Build smooth tone in thin layers. A sharp point and light pressure give the smoothest results.
Step 7: Plan the colour, if you are using it
If your portrait is in coloured pencil, plan the palette before you commit. The palette from photo tool pulls the main colours out of your reference so you can pick matching pencils. Remember that skin is a stack of layers, warm and cool, not one peach. Our guide to drawing portraits in coloured pencil covers the layering method, and mixing skin tones helps with the colours.
Step 8: Finish
Finishing is subtractive as much as additive.
- Squint at the drawing and compare it with the reference. Are the darkest darks dark enough? Are the highlights bright enough?
- Soften edges that look cut out, and sharpen the ones that should carry attention, usually around the eyes.
- Check the background and clothing. They should be simple enough to support the face.
- Stop when the drawing is convincing. Extra detail on cheeks and forehead often ruins a good likeness.
How to avoid depending on tracing
Tracing is not a crime, but it becomes a crutch. The problem is that it teaches your hand to follow lines, not your eye to judge relationships. Here is how to wean yourself off.
- Use a grid or measure first, and trace only if you need to as a last resort.
- Do a monthly “no help” drawing: a quick sketch with only measuring, no grid.
- Draw from life sometimes. A sitting friend, or your own face in a mirror, teaches things a photo hides.
- Change the reference. Crop it, flip it, alter the background. It forces you to make decisions rather than copy.
Our guide on how to draw what you see is about building that habit.
Common mistakes
- Starting with details. An eye is drawn before the head shape is right. Always start with big shapes.
- Drawing what you think a face looks like. Symbols such as almond eyes and curved lines replace observation. Compare against the photo.
- Over-darkening early. Dark is hard to remove. Start lighter than you think.
- A blurry or low-res photo. If the reference is soft, the drawing will be too. Choose a sharper photo.
- Copying the photo’s flaws. A camera flattens and distorts. Correct obvious problems, such as an enlarged nose from a wide-angle lens.
Practice plan
- Draw three quick portraits, twenty minutes each, from three different references, using measuring only.
- Repeat one of them with a grid to compare accuracy.
- Do a value study of one photo before drawing it.
- Complete one careful drawing over several sessions.
- Compare the drawing with the reference in the mirror and note the three biggest errors. Correct them.
Then move on to the skills that support the portrait: the how-to-draw hub lists every lesson in order.
The short version
Choose a sharp, well-lit reference you have the right to use, crop it, and get the proportions down with a grid or measuring. Plan the values, block in big shapes, refine feature by feature and finish by comparing with the photo. Keep measuring by eye so the photo teaches you rather than replaces you.
Quick answers
Frequently asked questions
Is it cheating to draw from a photo?+
No. Photographs are a standard reference for portrait artists, especially when a sitter cannot pose for hours. What matters is that you observe and interpret rather than copy mechanically. Learn to check proportions and judge values yourself, and use the photo as information.
What is the best way to get proportions right from a photo?+
Use a method that forces you to compare: a grid, or sight-size measuring with a pencil or a ruler. A grid transfers shapes square by square, while measuring compares distances and angles. Either way, check that the eye line, nose, mouth and hairline sit where the photo puts them.
What kind of photo is best for a portrait drawing?+
Choose a large, sharp image with clear directional light, so shadows describe the face. Avoid flash photos that flatten features, very dark images where the shadows are lost, and heavily filtered photos. Faces at eye level, not shot from a wide angle, are easiest to draw.
Can I draw a portrait from a photo I found online?+
Be careful. Photographs are usually protected by copyright, and copying one closely can be a problem if you show or sell the work. Use your own photos, images that are clearly licensed for reuse or reference the owner has given you permission to use. If in doubt, check the licence or ask.