Books & Courses
How to Draw What You See
Learn to draw accurately by seeing shapes, negative space and values, with measuring, sight-size, plumb lines, squinting, upside-down drawing and grids.
Key takeaways
- ◆Inaccurate drawings usually come from drawing symbols in your head instead of the shapes, angles and values in front of you.
- ◆Negative space, measuring and plumb lines give you objective checks that bypass your assumptions.
- ◆Squinting reduces a subject to a few big value masses, which is how realism is built.
- ◆Upside-down drawing and flipping the image reveal errors your brain has learned to ignore.
- ◆A grid is a legitimate teaching aid, but train yourself to measure by eye as well.
You look at a face, a jug or a horse, and draw what you think one looks like. The result has all the right parts and still looks off. This is the most common problem in drawing, and it is not a lack of talent. It is a perception habit: the brain prefers a stored idea of an object to the messy, foreshortened, unevenly lit thing actually in front of you.
The good news is that seeing accurately is a set of techniques you can learn. This guide covers the main ones - shapes, negative space, measuring, plumb lines, sight-size, squinting, upside-down drawing, grids and flipping - and shows how to combine them. For the bigger picture, see how to get better at drawing.
To practise these skills on a real subject, try how to draw a portrait from a photo, how to draw in perspective or how to draw shadows and light. They apply equally to graphite and colored pencil.
Why we draw symbols instead of shapes
Ask someone to draw an eye and they will draw an almond with a circle inside, because that is the symbol they learned. Ask them to draw a particular eye, seen at an angle, in shadow, and the symbol fails. The same happens with hands, trees, wheels and rooftops.
The cure is to give your brain something to do that has no symbol. Compare angles. Draw the shape of the gap between two objects. Judge how much darker one area is than its neighbour. Those tasks are objective, so the drawing comes from the subject and not from memory. Betty Edwards built her classic Drawing on the Right Side of the Brain around this idea, and Bert Dodson’s Keys to Drawing teaches the same habit more gently. Both are covered in our best books to improve your drawing.
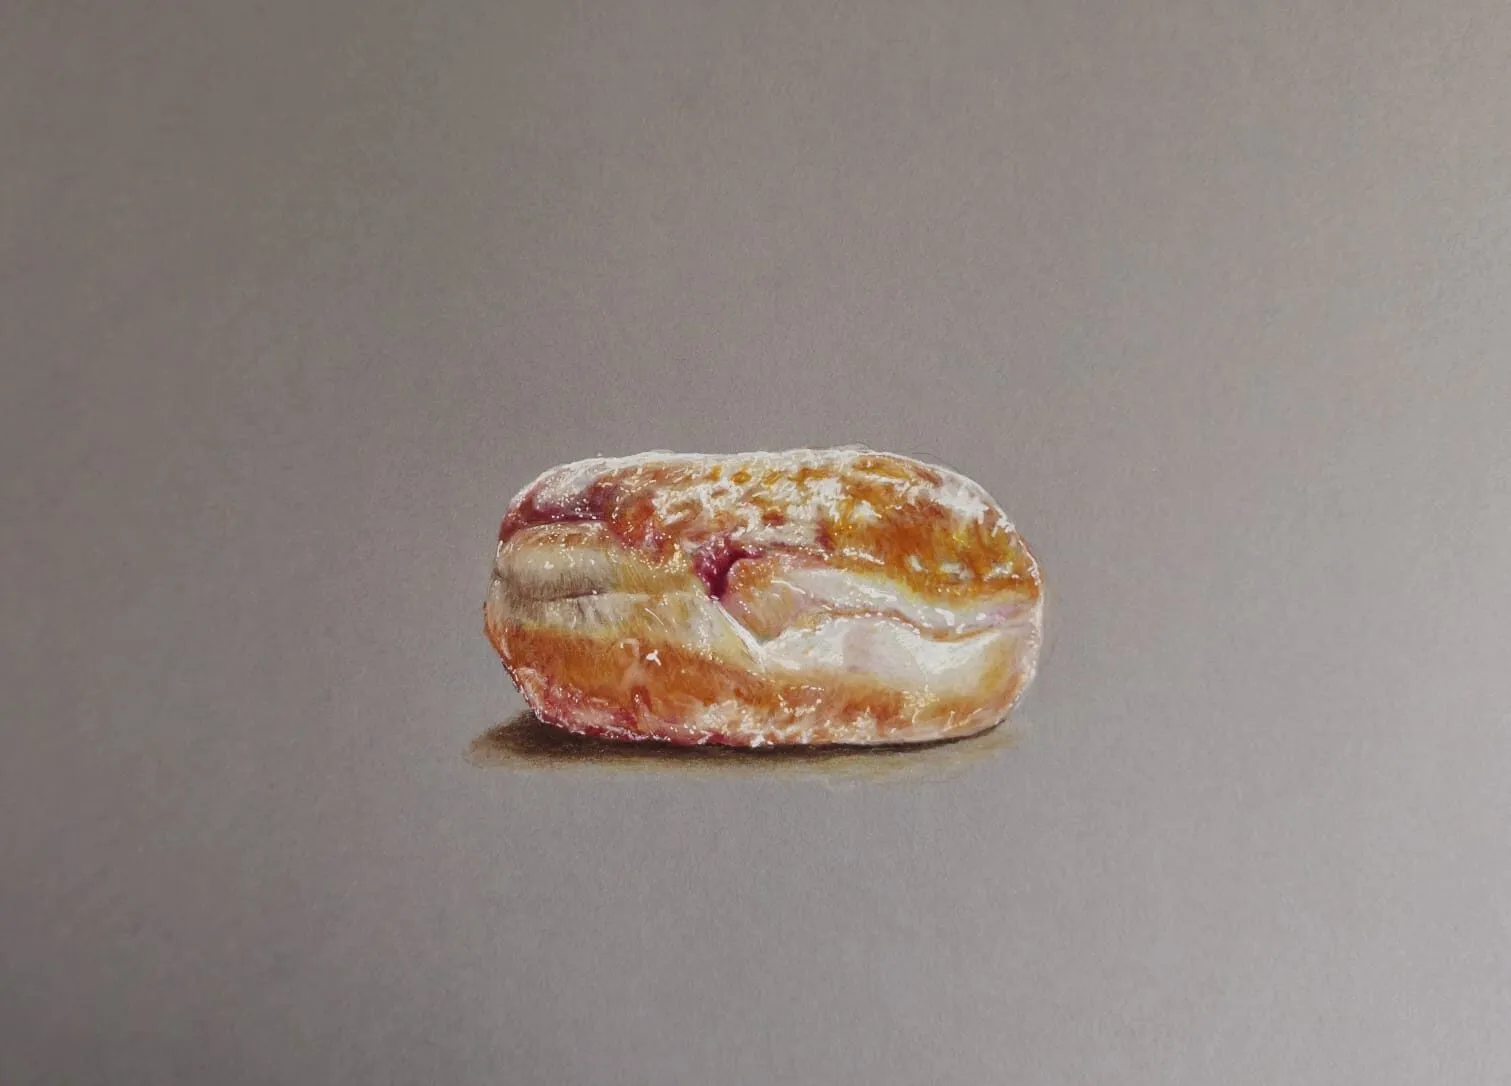
A sugared jam doughnut drawn in coloured pencil on grey paper. Drawing by Michael Brace.
1. See shapes, not objects
Before drawing anything, look for simple shapes: a triangle for the head and neck of a seated figure, a long rectangle for a wall, an egg for a skull. Block these in lightly, compare them with each other and only then refine.
- Ask “what is the overall shape of the whole subject?” before any detail.
- Break it into three to five big shapes.
- Check how they relate: which is taller, wider, further left?
Start with the largest shape and work inward. Errors made at the start compound, and errors caught early are cheap.
2. Draw the negative space
Negative space is the shape of the empty area around and between things: the space inside the handle of a mug, between a chair’s legs or between an arm and the torso. Because you have no symbol for those shapes, you draw them honestly. Try it with a chair: draw only the shapes of the gaps, and the chair appears.
This is the main exercise in many observation courses and is one of the fastest ways to fix accuracy. Use it any time a shape gives you trouble.
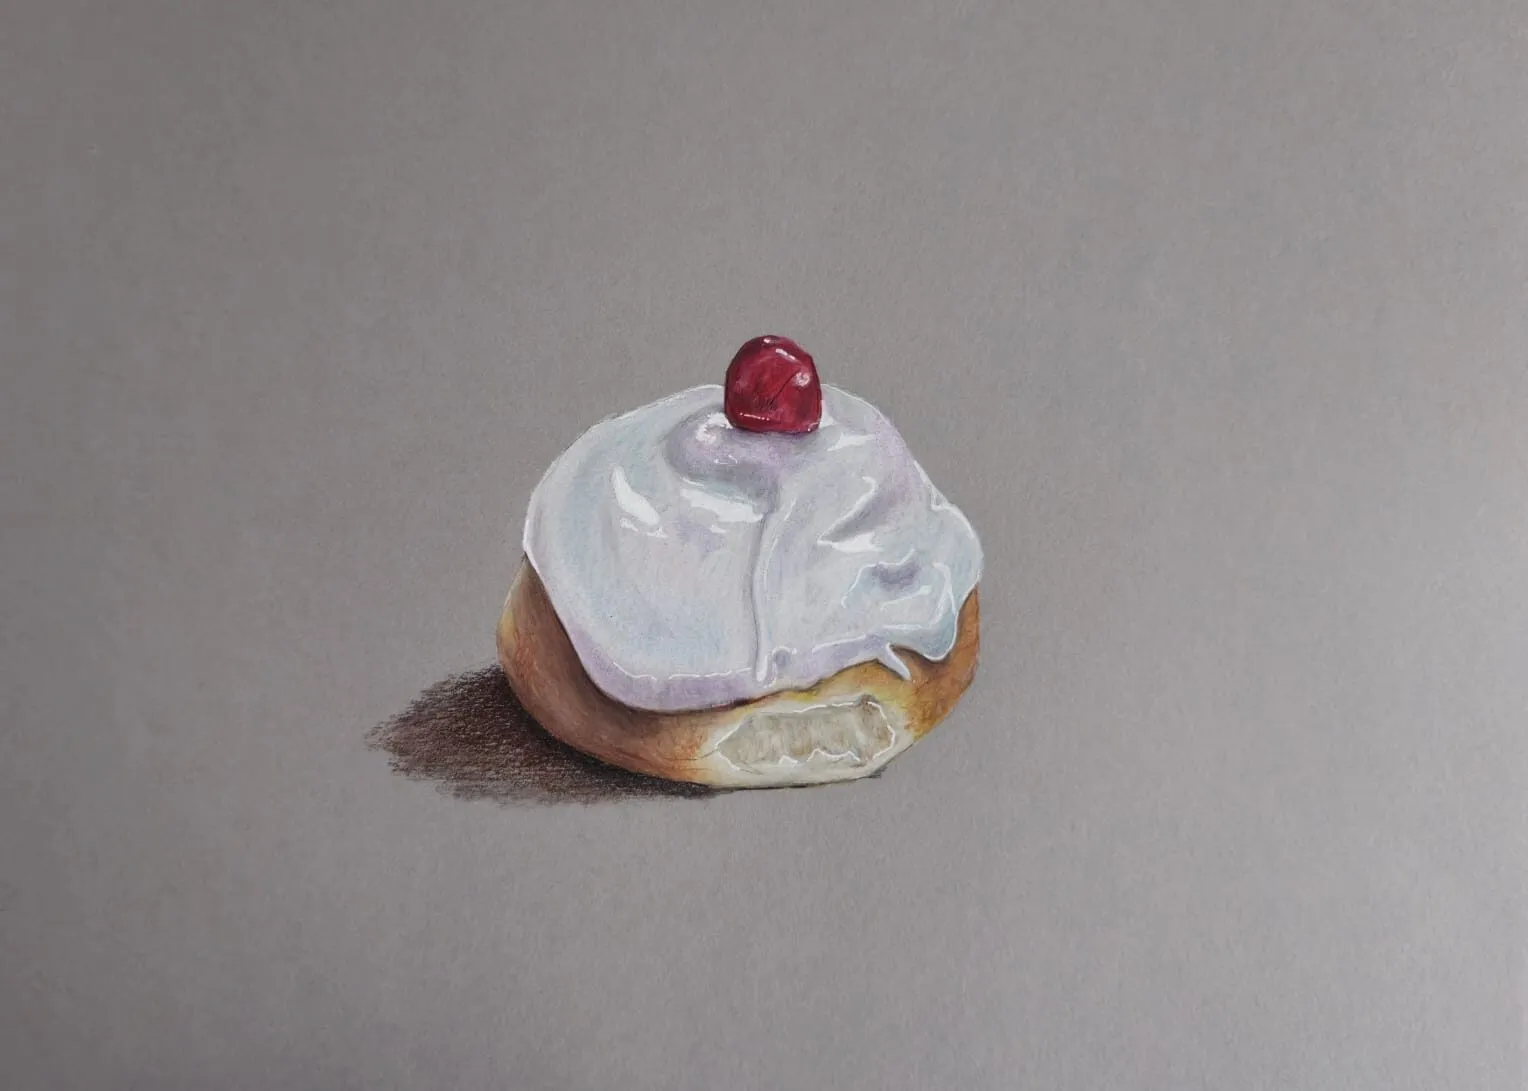
An iced bun topped with a cherry drawn in coloured pencil on grey paper. Drawing by Michael Brace.
3. Measure and compare
Measuring is the workhorse of accurate drawing.
- Hold your pencil at arm’s length, elbow locked, one eye closed.
- Slide your thumb along the pencil to mark a unit, such as the height of the head.
- Compare that unit against other dimensions: how many heads wide is the body?
- Draw the relationship on your page in your own scale.
Always use the same arm position, or your measurements will drift. Compare before you commit: “the width of the jar is about two-thirds its height”.
Angles
Judge angles by comparing them with the vertical or horizontal. Hold the pencil out along the angle you see, then transfer it to the page. Judge one angle at a time.
4. Plumb lines and horizontals
Vertical and horizontal checks tell you what is aligned with what. Hold a pencil vertically (or hang a string with a weight) and see what lies along it: the outer corner of an eye might sit directly above the edge of the mouth, and the tip of the nose above a chin point. Use a horizontal to test levels, such as whether an ear tip aligns with the eyebrow.
Draw a faint vertical and horizontal guide on your page too, and check that landmarks fall in the same places. These lines catch drift very early.
5. Sight-size
In sight-size drawing, you place your paper beside the subject and stand back until both appear the same size from your eye. You then compare the subject and drawing directly, so a shape that is too wide or too high is plain to see. Mark two points on the subject, such as with tape on the wall or a still-life setup, and check the drawing against them.
It works best for still life, plaster casts and portraits, where you can keep a fixed viewing point. It trains accurate measuring by eye and builds the habit of stepping back regularly. Classical ateliers use it for exactly that reason, and it is closely related to the structured copying in Bargue’s course; see master draughtsmen to study.
6. Squint to see values
Half-closing your eyes reduces detail and merges the subject into a few big light and dark masses. That is how realism works: the large value pattern gives the illusion, and detail is added on top. Squint at your subject and at your drawing, and ask whether the light and dark patterns match.
Squint again after each stage. Values are also the reason a black-and-white photograph is a useful training tool. Convert a reference with the value study tool to see the simplified tonal pattern, and read value in drawing for the theory.
7. Draw upside down
Upside-down drawing, from Betty Edwards’ method, gets you past symbols by presenting the subject as pure shapes and lines. Turn a reference image upside down and copy it that way. Because you cannot recognise a face or a hand, you draw only what is there. Turn the drawing the right way up at the end, and the proportions are often noticeably better.
It is an excellent exercise on its own and a good way to check a drawing in progress.
8. The grid method
A grid divides both reference and drawing into equal squares, so you copy one square at a time and proportions come out right. It is a long-standing technique for enlarging designs and teaching proportion.
- Overlay a grid on your reference, either drawn on a print or by using our grid drawing tool.
- Lightly draw a matching grid on your paper, at the size you want.
- Copy the shapes cell by cell, paying attention to where lines cross the grid edges.
- Erase the grid when done, or use a light one that will not show.
Use it to learn proportion, then wean yourself off. Measuring by eye, as above, is the skill you want to keep.
9. Flip and check
Errors become invisible as you work because your eye adapts. Break the spell by looking at the drawing differently:
- Hold it up to a mirror or use your phone’s front camera in mirror mode.
- Flip the image digitally if you work from a photograph.
- Turn the drawing upside down.
- Step back several metres, or view it through a reversed camera lens or viewfinder.
- Leave it overnight and look again fresh.
A crooked jaw or lopsided eye that you could not see for an hour jumps out immediately after a flip.
Putting it together: a working order
- Squint, and identify the biggest shapes and value masses.
- Block those shapes in lightly, checking negative space.
- Measure and compare, with plumb lines and horizontals.
- Step back and check the whole against the subject.
- Flip or mirror the drawing and correct errors.
- Refine values, then detail.
The short version
Draw shapes, angles and gaps rather than symbols. Measure and compare, check with plumb lines and horizontals, and squint to see values. Use upside-down drawing and flipping to catch errors, and use a grid to learn proportion while you train your eye to measure without one.
Quick answers
Frequently asked questions
Why can't I draw what I see?+
Usually because your brain substitutes familiar symbols, such as an almond-shaped eye, for the real shapes in front of you. The fix is to draw angles, relative sizes and the spaces between things, which have no ready-made symbols. Measuring, negative space and upside-down drawing all help.
What is sight-size drawing?+
Sight-size is a method where you place your drawing beside the subject and stand back so both appear the same size from your viewpoint. You then compare the two directly and correct differences. It suits still life, casts and portraits, and trains accurate measuring by eye.
Is the grid method cheating?+
No. Grids are a long-standing teaching and transfer technique. They are ideal for learning proportion or enlarging a design accurately. Use them as training wheels, though, and also practise measuring by eye, so that you can draw accurately without a grid.
How do I check my drawing for errors?+
Look at it in a mirror, flip the image digitally, or turn it upside down. Fresh eyes reveal proportion and alignment mistakes that you have stopped noticing. You can also step back, squint, or compare with the subject using plumb lines and horizontal checks.