How to Draw
How to Draw a Sunflower: Petals, Centre and Colour
Learn how to draw a sunflower in graphite or coloured (colored) pencil: the seed disc pattern, overlapping petals, leaves, and layered yellows, ochres and browns.
Key takeaways
- ◆Draw a sunflower as a dark disc surrounded by a ring of overlapping petals, and get the ellipse of the head right before any detail.
- ◆The centre is a spiral pattern of seeds, so build it as tone and texture first and add only a few crisp seed shapes near the front.
- ◆Petals overlap in layers: the ones in front are lighter and cleaner, the ones behind sit in shadow and are warmer or browner.
- ◆In coloured pencil, build yellows, ochres and browns in thin layers rather than one heavy yellow, and keep the darkest browns for the disc and the gaps between petals.
- ◆Graphite works well too: the value pattern of a pale petal ring against a dark centre carries the whole flower.
To draw a sunflower, sketch a circle or ellipse for the whole head, place a smaller disc in the middle, then draw a ring of overlapping petals around it, working from the back petals forward. Shade the centre as a dark, domed spiral of seeds, add a thick stem and large heart-shaped leaves, and build the colour in thin layers.
This lesson works in graphite and in coloured pencil (colored pencil in the US). It covers the structure of the flower, how to draw the seed pattern without counting seeds, how to make petals overlap convincingly, how to layer yellows, ochres and browns, and how to handle the leaves and stem.
What you need
- Pencils for construction: an HB or 2B for light layout lines. For a graphite version, add a 4B and 6B for the dark disc. See graphite pencil grades explained for what each grade does.
- Coloured pencils: several yellows from pale to golden, a yellow ochre, an orange, two or three browns, a dark brown or indigo for accents, and two or three greens. A warm and a cool option in each family is better than many near-identical shades. How to layer coloured pencils explains the method used below.
- Paper: smooth to lightly toothed paper lets you build many thin layers. Toned grey or tan paper suits sunflowers well because the yellows glow against it; read why use grey paper for coloured pencil.
- A kneaded eraser for lifting construction lines and softening highlights.
- A reference: a photo or a real flower with clear side light, so you can see how the petals catch light and cast shadow.
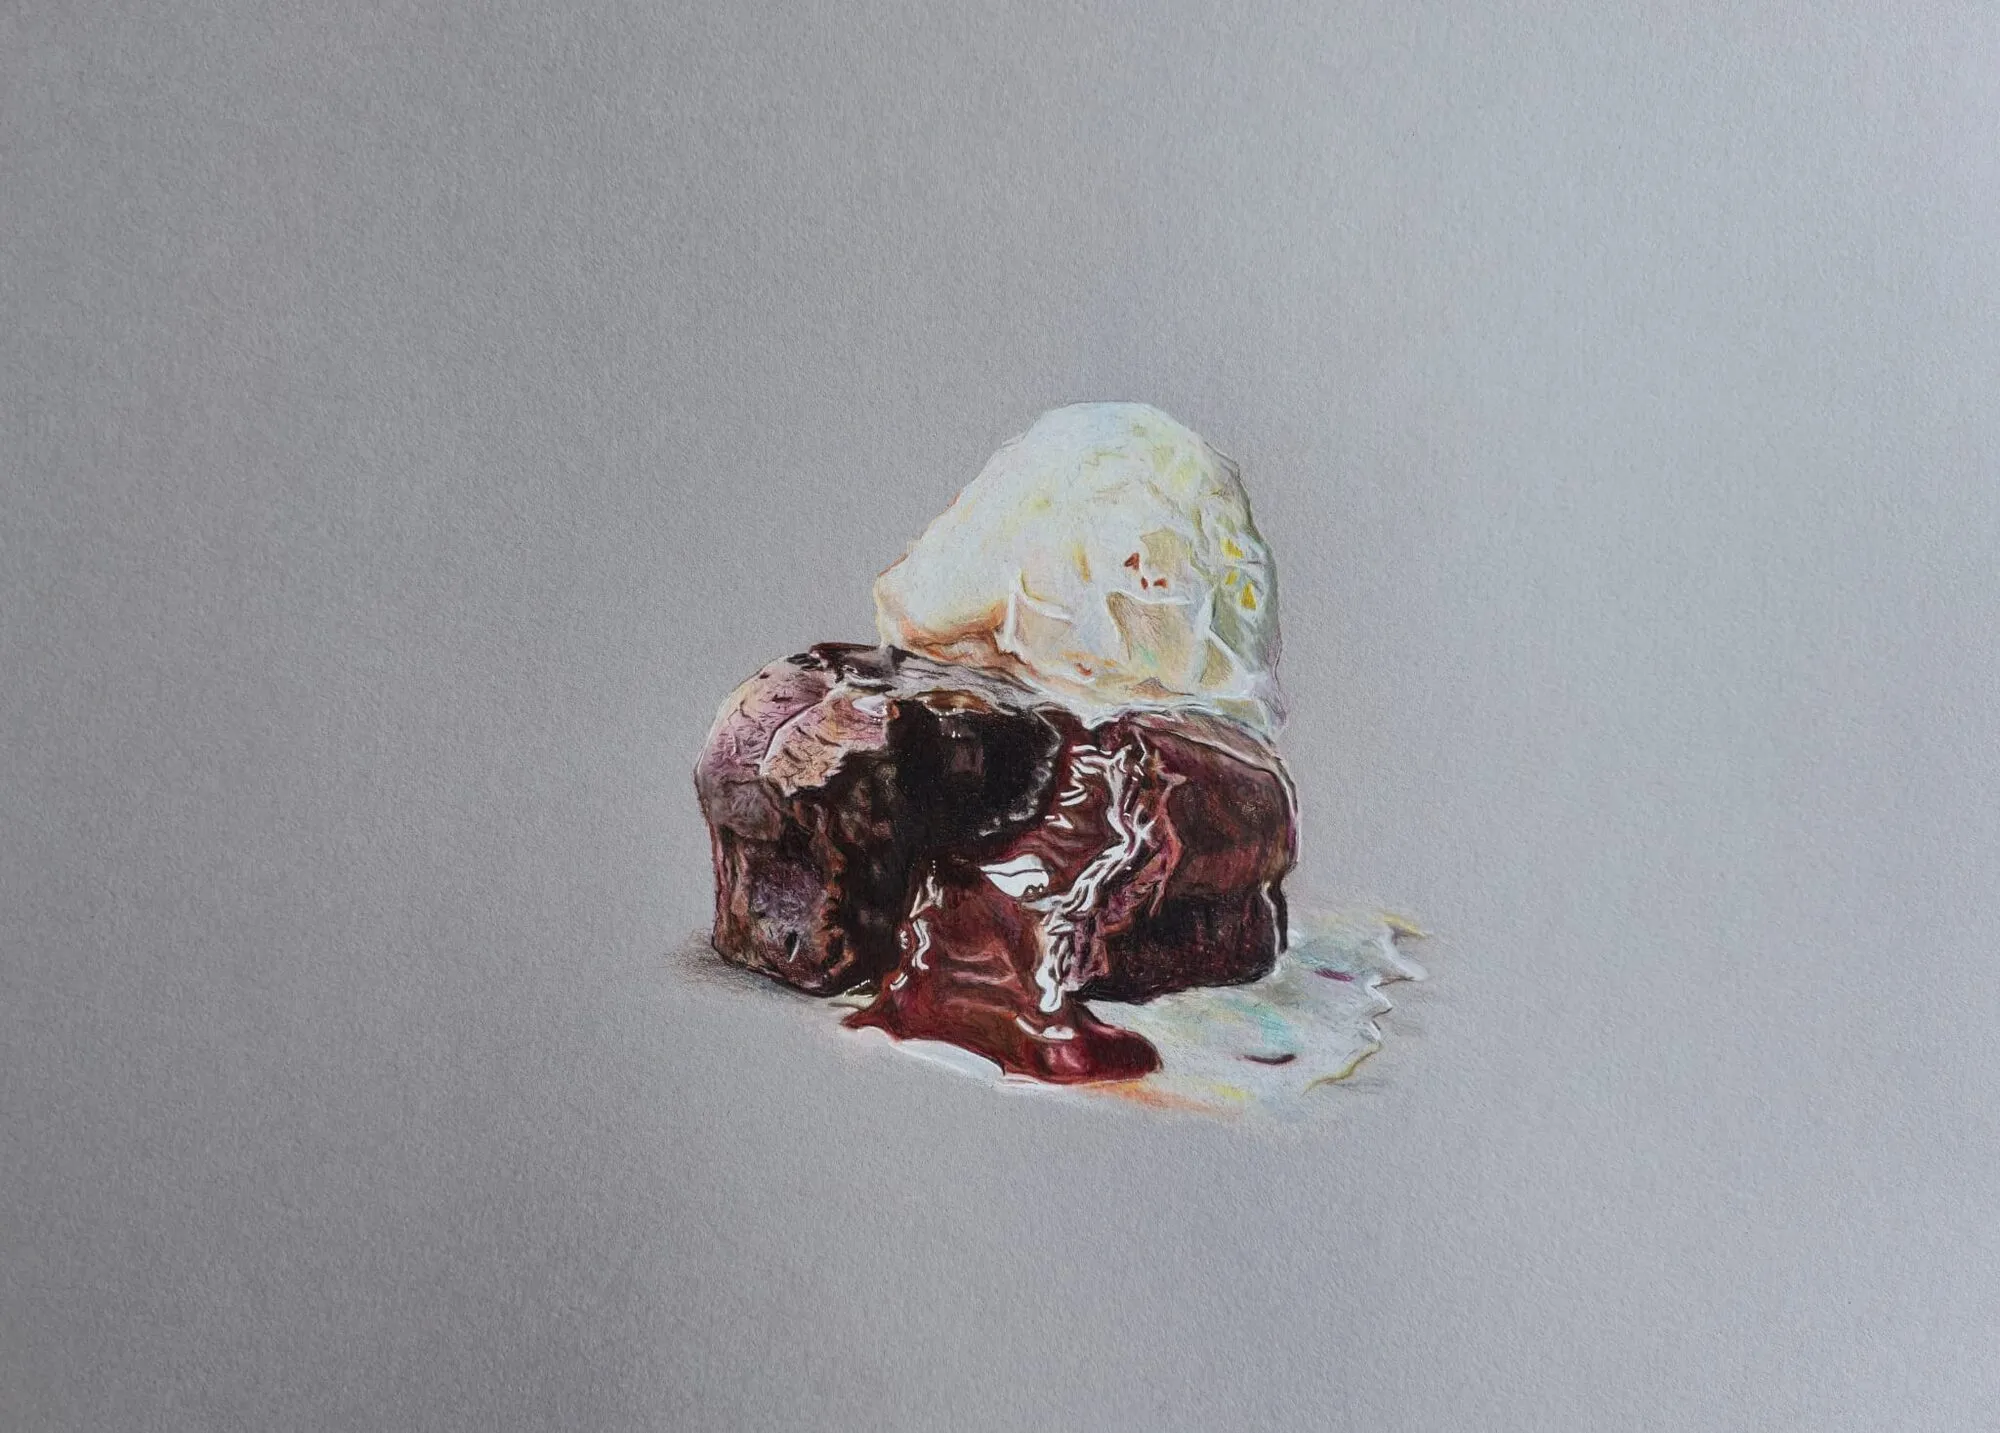
A molten chocolate dessert with ice cream drawn in coloured pencil on grey paper. Drawing by Michael Brace.
Understand the structure first
A sunflower is easier than it looks once you see it as four parts.
- The head: a broad, nearly flat disc. Seen face-on it is a circle. Seen from an angle it becomes an ellipse, and the more it tilts, the narrower that ellipse is.
- The seed disc: a smaller circle or ellipse in the middle, slightly domed. Its seeds grow in curving spirals that run in both directions.
- The petals (ray florets): long, pointed ovals that radiate from the disc in one or two rings. They overlap, curl and twist, so no two look alike.
- The stem, sepals and leaves: a thick stem, green leaf-like bracts behind the head, and large heart-shaped leaves with visible veins.
As a guide, the seed disc often takes up roughly a third to a half of the head’s width, but this varies widely from flower to flower and with the viewing angle. Use your reference rather than a fixed ratio.
Step-by-step: drawing a sunflower
- Block in the head. Draw a light circle or ellipse for the full flower head, including petals. If the flower tilts away from you, make the ellipse narrower and mark its short axis, which points toward the stem. Keep lines faint so you can correct them.
- Place the seed disc. Draw a second, smaller ellipse inside the first. On a tilted flower the disc sits slightly off-centre, closer to the edge that is nearer to you. Check that both ellipses share the same angle, since a mismatch is the most common reason sunflowers look wrong.
- Mark the petal positions. Divide the ring into clock positions with light ticks. Then draw the back petals first: long pointed ovals that start at the disc edge and extend to the outer ellipse. Vary the lengths and angles so the ring is not a perfect starburst.
- Overlap the front petals. Draw a second layer of petals in the gaps, so each front petal crosses the base of two behind it. Let a few curl, fold or turn so you see their edge. Where one petal passes over another, break the back petal’s line to show the overlap.
- Add the stem, bracts and leaves. Draw a thick, slightly curved stem from the back of the head. Behind the petals, add pointed green bracts. Draw one or two large leaves with a central vein and gentle side veins, and foreshorten them if they turn toward you.
- Build the seed disc. Shade the disc in light layers: darker at the outer rim and in the centre hollow, a little lighter on the domed ridge between. Then add a spiral pattern by drawing curved rows of small diamond shapes, darker at the front edge and fading to texture in the middle. Use a few crisp seeds in the foreground and suggest the rest.
- Lay down the first petal colour. In coloured pencil, lay a pale yellow across every petal with light pressure and strokes that follow each petal’s length. In graphite, add a very light tone to the petals that sit in shade and leave the lit ones bare.
- Deepen the shadows. Add warmer yellow and yellow ochre where petals overlap and near the disc, where light is blocked. A touch of orange or brown deepens the base of each petal. Gaps between petals get the darkest colour, a brown or a muted green-brown.
- Finish the leaves and stem. Build the greens in layers, starting with a light yellow-green and adding darker greens in the shadow side and along the veins. Stems catch light along one edge, so keep that edge lighter and put the dark on the other.
- Refine and unify. Compare the whole picture with your reference from a distance. Darken the disc where it needs weight, add a few bright accents on the front petals, and lift any stray marks with a kneaded eraser.
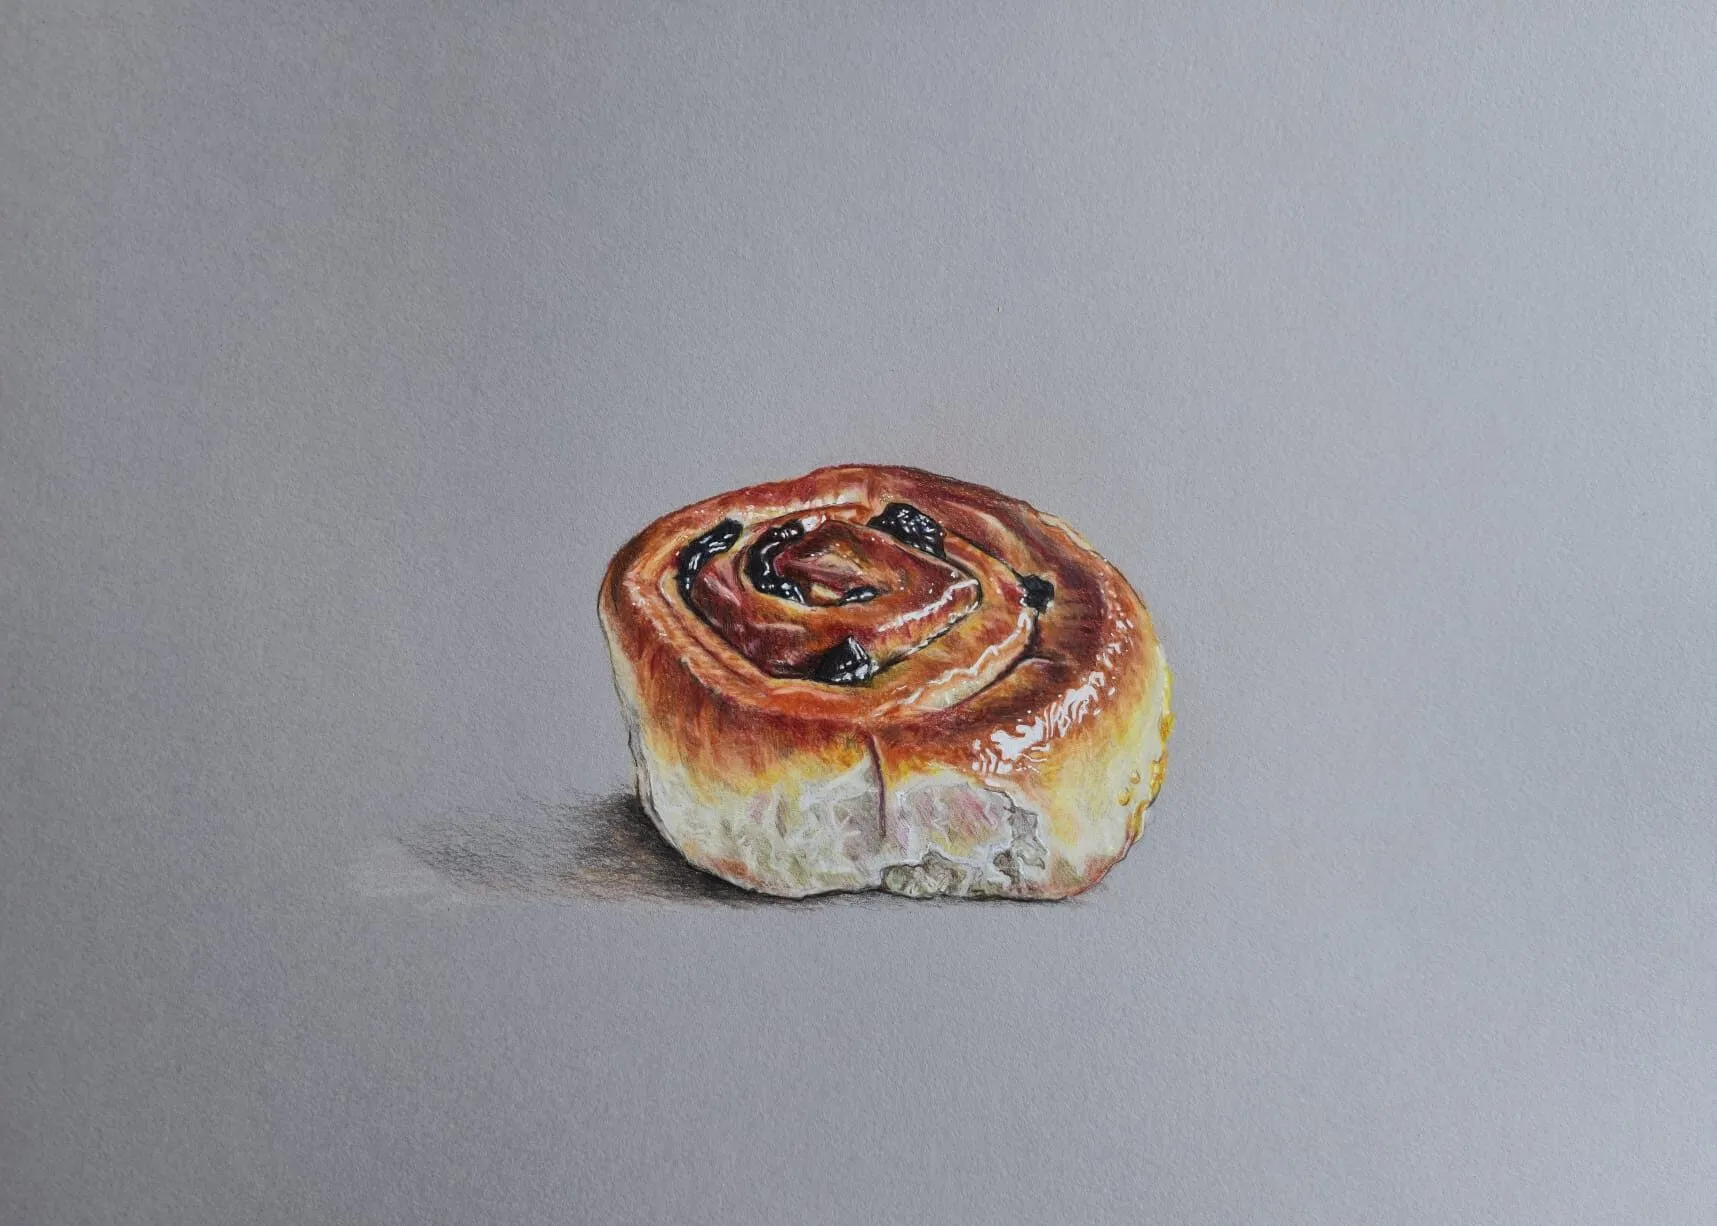
A glazed pastry swirl with raisins drawn in coloured pencil on grey paper. Drawing by Michael Brace.
Drawing the seed pattern without counting seeds
The seed spiral is the detail that makes a sunflower recognizable, and it is also where beginners overwork. Two rules help.
Build it as tone first. A dark, rounded disc with the right shading already looks like a sunflower from across a room. The pattern is a finishing layer, not a replacement for form.
Follow curves, not grids. Seeds sit on curving lines that sweep out from the middle in two directions. Draw a few of these arcs lightly, and place small diamond or teardrop shapes along them. The seeds get smaller and closer together toward the centre, and larger and more widely spaced toward the rim. Darken the gaps between seeds rather than outlining each one.
In coloured pencil, use a dark brown for the gaps, a mid brown or ochre for the body of the seeds and a touch of warm yellow or orange on the highest seeds near the rim. A few of the foreground seeds can take a small, pale highlight.
Making petals overlap convincingly
Petals look flat when they all have the same tone and the same outline. Three habits fix that.
- Overlap with clear edges. Where a front petal crosses a back one, darken the back petal just next to the overlap. This narrow cast shadow pushes the front petal forward.
- Vary the value. Petals turned toward the light are the lightest. Those turned away, or sitting behind others, are warmer and deeper. Squint at your reference, or use the value study tool, to see this pattern as flat shapes.
- Follow the petal’s direction. Stroke from the base toward the tip. Long, gently curved strokes suggest the faint ridges along each petal, and a few darker lines along the length add realism.
Layering yellows, ochres and browns in coloured pencil
Yellow is a light, transparent colour, so it is easy to make it look either pale and washed out or heavy and muddy. The fix is to use several warm colours in thin layers rather than one strong yellow.
- Start light. Lay a pale, cool yellow over all the petals. This unifies them and gives later layers something to grip.
- Add a warm yellow over the body of the petals, leaving the brightest highlights with only the first layer.
- Shade with ochre and orange. Yellow ochre in the shadows and near the base of each petal adds depth while keeping the colour warm. A little orange can strengthen the richest areas.
- Use brown sparingly. A light touch of mid brown in the deepest overlaps and close to the disc gives contrast. Avoid black, which tends to look dull next to yellow.
- Consider a cool accent. A very light touch of violet or grey in the deepest shadows makes the yellows appear more luminous, because complementary colours neutralize one another. See complementary colours in drawing for the idea.
- Burnish last. If you want a smooth, saturated finish on a few key petals, press more firmly at the end. How to burnish coloured pencils explains when this helps.
The palette from photo tool can pull a starting set of colours from your reference.
The graphite version
A graphite sunflower relies on value rather than hue. The basic contrast is a dark seed disc against a pale ring of petals, with mid-tone leaves.
- Keep petals mostly light. Add a soft tone with the side of a 2B and let the paper show through on the brightest ones.
- Darken the gaps between petals and the base of each petal with a 4B so the overlaps read clearly.
- Make the disc the darkest area with a 4B to 6B, then lift a few seed highlights with a kneaded eraser.
- Use directional strokes on the leaves and stems. Reserve the sharpest, darkest marks for the veins and shadow edges.
For shading methods, see how to shade with pencil.
Common mistakes and how to fix them
- A flat, symmetrical starburst. Fix: vary petal length, angle and curl, and let some petals overlap or fold.
- Mismatched ellipses. Fix: check that the head and the disc share the same tilt and that the short axis passes through both.
- Every seed outlined. Fix: shade the disc as a dome and draw only a few seeds clearly, mostly in the foreground.
- One flat yellow. Fix: layer pale yellow, warm yellow, ochre and a touch of brown so the petals gain depth.
- Muddy yellows. Fix: keep the pencil clean, avoid heavy dark layers over light yellow, and use ochre or orange instead of grey for shadow.
- Leaves all the same green. Fix: mix greens with yellow for lit areas and with blue or brown for shadow, and vary their size and angle.
Practice exercises
- Ellipse drill. Fill a page with ellipses at different tilts, each with a smaller ellipse inside, to train the head and disc angle.
- Seed spiral study. Draw the disc alone, at a large size, in graphite. Practise the curved rows and the change in seed size from center to rim.
- Single petal study. Draw five petals in different positions, shading each with a value range from light to dark.
- Yellow swatch ladder. In coloured pencil, create a gradient from pale yellow to brown using at least five layers.
- Leaf and stem sheet. Draw three leaves at different angles, with veins and a clear light side and shadow side.
Next steps
Once you are comfortable with the head and petal structure, try how to draw a rose for a very different petal arrangement, or read how to draw shadows and light to strengthen your control of form. To plan a full colour scheme, try the colour scheme generator. For the broader list of lessons, visit the how to draw pillar.
The short version
Draw the head as an ellipse with a matching disc, then add overlapping petals from back to front. Shade the disc as a dark dome with a spiral of seeds, and build the petals in thin layers of yellow, ochre and brown. Keep the lightest lights and the darkest gaps clear, and use the same value plan whether you work in graphite or coloured pencil.
Quick answers
Frequently asked questions
How do you draw a sunflower step by step?+
Start with a circle or ellipse for the head, then a smaller one for the seed disc. Mark petal positions around the ring like clock numbers, draw the back petals first and the front petals overlapping them, then add the stem and leaves. Finish with the seed pattern and shade from light to dark in thin layers.
What colored pencils do you need for a sunflower?+
A light yellow, a strong warm yellow, a golden or yellow ochre, an orange, a mid brown, a dark brown and a green or two for the leaves are a good core. Add a cool grey or violet for the deepest shadows. Check the current range for your brand and swatch them on your own paper before you start.
How do you draw the middle of a sunflower?+
Treat it as a dark domed disc with a spiral of seeds. Shade the whole disc in layers of brown, darkest near the edge and in the centre hollow, then pick out a few seed shapes in the lighter foreground and leave the rest as soft texture. Drawing every seed makes the disc look flat and fussy.
Are colored pencils and coloured pencils the same?+
Yes. Coloured pencils is the UK spelling and colored pencils is the US spelling, and both names refer to the same art material. Wax-based and oil-based pencils both fall under either name, and the techniques in this lesson work the same whichever spelling you search for.