How to Draw
How to Draw a Flower: Petals, Stem and Colour
Draw a flower in graphite or coloured (colored) pencil: learn simple flower anatomy, petal shapes and perspective, then add leaves, a stem, shading and layered colour.
This guide contains affiliate links. If you buy through them we may earn a small commission at no cost to you. How this works.
Jump to recommended products
Key takeaways
- ◆Every flower is built from the same parts: a centre, a ring of petals, a stem and leaves, so learn the structure before the species.
- ◆Draw the bloom as a simple ellipse or circle first, because perspective decides how wide the petals look.
- ◆Petals are curved planes, so shade them with a soft gradient from the base to the tip instead of outlining each one.
- ◆Leaves and stems should grow at believable angles, with a slight curve and a visible mid-rib.
- ◆In colour, layer light tones first and keep the brightest saturation and darkest shadows for the last layers.
A flower becomes simple to draw when you see its parts: a centre, a ring of petals around it, a stem and a few leaves. Sketch the bloom as a circle or ellipse first, place the petals around it, add a curved stem and leaves, then shade each petal with a soft gradient and layer colour from light to saturated.
This lesson works in graphite or in coloured pencils (colored pencils in the US). It covers flower anatomy, petal shapes, the perspective of the bloom, leaves and stems, shading, and layering in graphite and colour. If you want a specific flower, the rose lesson and the sunflower lesson build on this one.
What you need
- Paper: smooth to lightly textured paper with a little tooth. White paper shows the brightness of colour. See the best paper for coloured pencils.
- Pencils: an HB for the layout and a 2B to 4B for shading in graphite. For colour, a set with bright and muted tones of your flower colour, plus a few greens and a cool dark. The pencil grade chart explains the grades.
- Reference: a real flower, a clear photograph or a botanical illustration. A single bloom in even light is the best start.
- Erasers: a kneaded eraser for soft highlights.
Simple flower anatomy
Learning the parts makes it easier to draw any flower.
| Part | What it does in a drawing |
|---|---|
| Centre | The focal point, often round or domed, with stamens or seeds |
| Petals | The main colour shapes, arranged in one or more rings |
| Sepals | Small green leaf-like parts under the petals |
| Stem | Carries the bloom and follows a gentle curve |
| Leaves | Attach to the stem at angles and show a central vein |
Different species vary a great deal, so use a reference and treat this as a checklist, not a formula.
Step by step: drawing a flower
- Draw the bloom shape. Sketch a light circle or ellipse for the outer edge of the flower, plus a smaller one for the centre. If the flower faces you, use a circle. If it tilts, use an ellipse.
- Mark the petal positions. Divide the ring with light lines radiating from the centre, one for each petal. For a five-petal flower, space them evenly around the circle, then adjust to match your reference.
- Draw the petals. Outline each petal as a curved shape, wider toward the tip and narrowing toward the centre. Vary the shapes slightly, as real petals are never identical. Let petals overlap each other.
- Add the centre detail. Draw the centre as a small dome or disc, with short lines or dots for stamens and seeds. Keep it simple and avoid drawing every tiny part.
- Draw the stem. Add a thin, gently curved line from the base of the bloom. Give it a little width, and add small sepals where it meets the flower.
- Add the leaves. Draw leaves growing from the stem at angles, each with a central vein and a slightly wavy edge. Overlap one leaf over another to add depth.
- Refine the outline. Erase the guidelines, strengthen the important edges and check the proportions against your reference.
- Lay in tone. Shade each petal with a soft gradient, darker near the centre and lighter at the tip. Add shadows where petals overlap and under the bloom.
- Add detail and highlights. Add fine petal veins, darken the deepest shadows and lift a few highlights with a kneaded eraser or pale pencil. Check the overall balance of light and dark.
Petal shapes and the perspective of the bloom
Perspective is the trick that turns a flat flower into a three-dimensional one. A flower facing you looks like a full circle. As it turns, the circle narrows into an ellipse, and the petals at the front appear bigger and overlap those behind.
Every petal is a curved plane, not a flat shape. Some curl outward at the tip, some cup inward, and some ruffle. Draw the edge of each petal as a soft curve and note where it twists, because the twist is where light and shadow change.
- Front-facing: petals radiate evenly and look similar in size.
- Three-quarter view: nearer petals are larger and overlap the far petals, and the centre shifts toward the far edge.
- Side view: the bloom looks like a narrow cup or a bowl, and you see the petals overlapping along the side and the sepals beneath.
The drawing in perspective guide explains the ellipse idea in more detail, and the grid drawing tool helps if you want to copy a complex bloom accurately.
Leaves and stems
Leaves and stems frame the flower and add movement. Give the stem a slight curve and draw it slightly thicker at the base. Leaves should grow from the stem at clear angles, often alternating sides. Draw a central vein in each leaf and let the edge wave or serrate, depending on the species.
Leaves are often darker than the petals, so they help the bloom stand out. Use a mix of warm and cool greens, with a touch of blue or brown in the shadows. Do not use one flat green for everything. The complementary colours guide explains why a touch of red or brown in a green leaf makes it look richer.
Shading the flower
Flowers are thin and delicate, so shade lightly and build up slowly. Decide on the light direction, then darken the side of each petal away from it, and the areas where one petal overlaps another. The value study tool simplifies a photograph into light and dark shapes, which shows you where the main shadows fall.
Keep a few areas very light, usually on the tips of the petals facing the light. These small highlights make the flower glow. The how to shade with pencil guide explains how to control pressure.
Layering colour in coloured pencil
Flower colour is built in layers, and this is where coloured pencil is at its best.
- Light base layer: lay the main petal colour with a sharp point and light pressure, following the curve of the petal.
- Second layer: add a deeper version of the colour near the centre and in the shadows between petals.
- Accent layer: add a small amount of a neighbouring colour, such as a touch of orange in a red petal, or a cool violet in the deepest shadows, to add richness.
- Final highlights and darks: use a pale colour to strengthen the light edges, and a dark colour to sharpen the deepest creases.
Saturated colour built patiently in layers is what gives flowers their glow. See how to layer coloured pencils for the method, and use the palette from a photo tool or the colour scheme generator to pick a set.
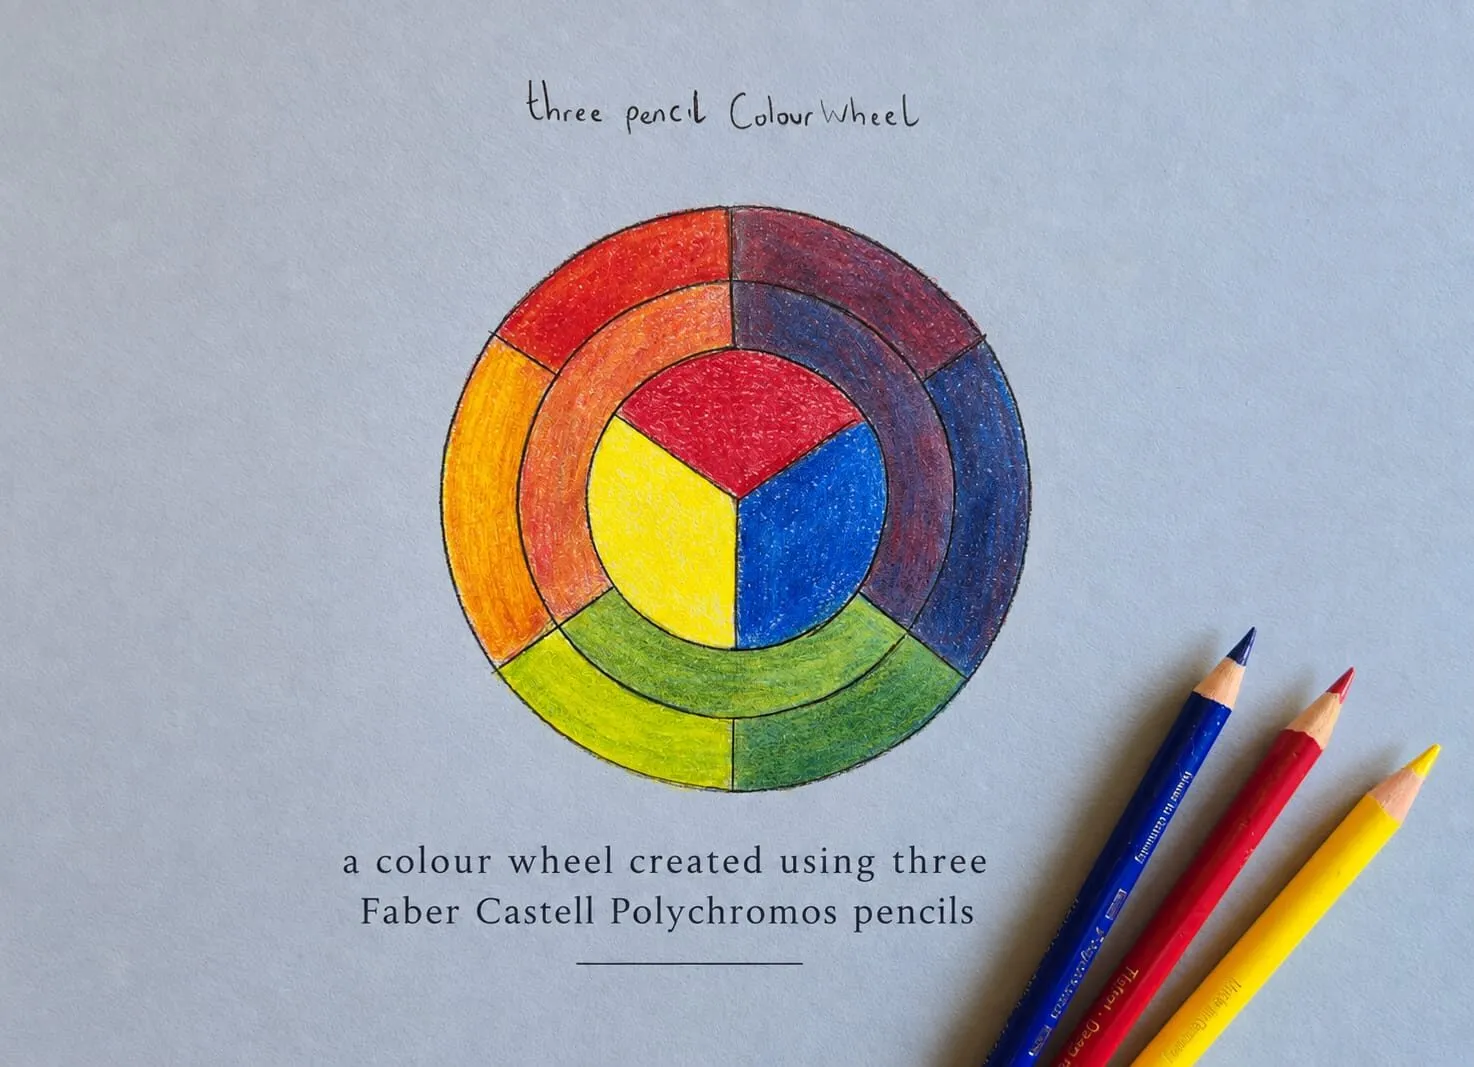
Michael’s hand-drawn colour wheel from three Polychromos pencils on blue-grey paper, useful for choosing partner colours for petals.
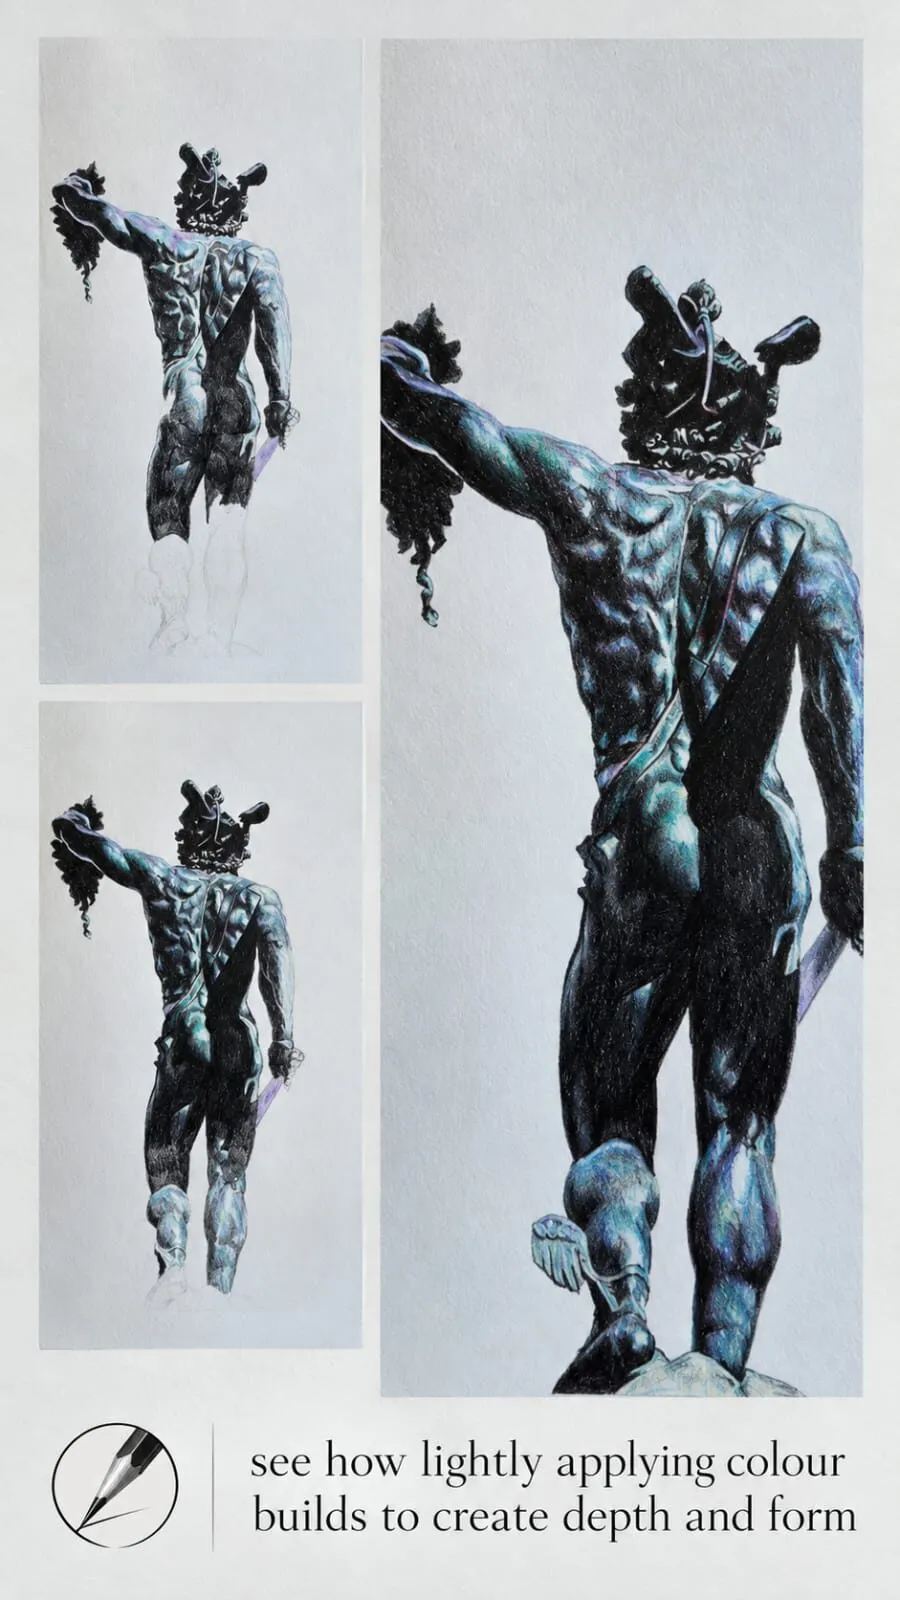
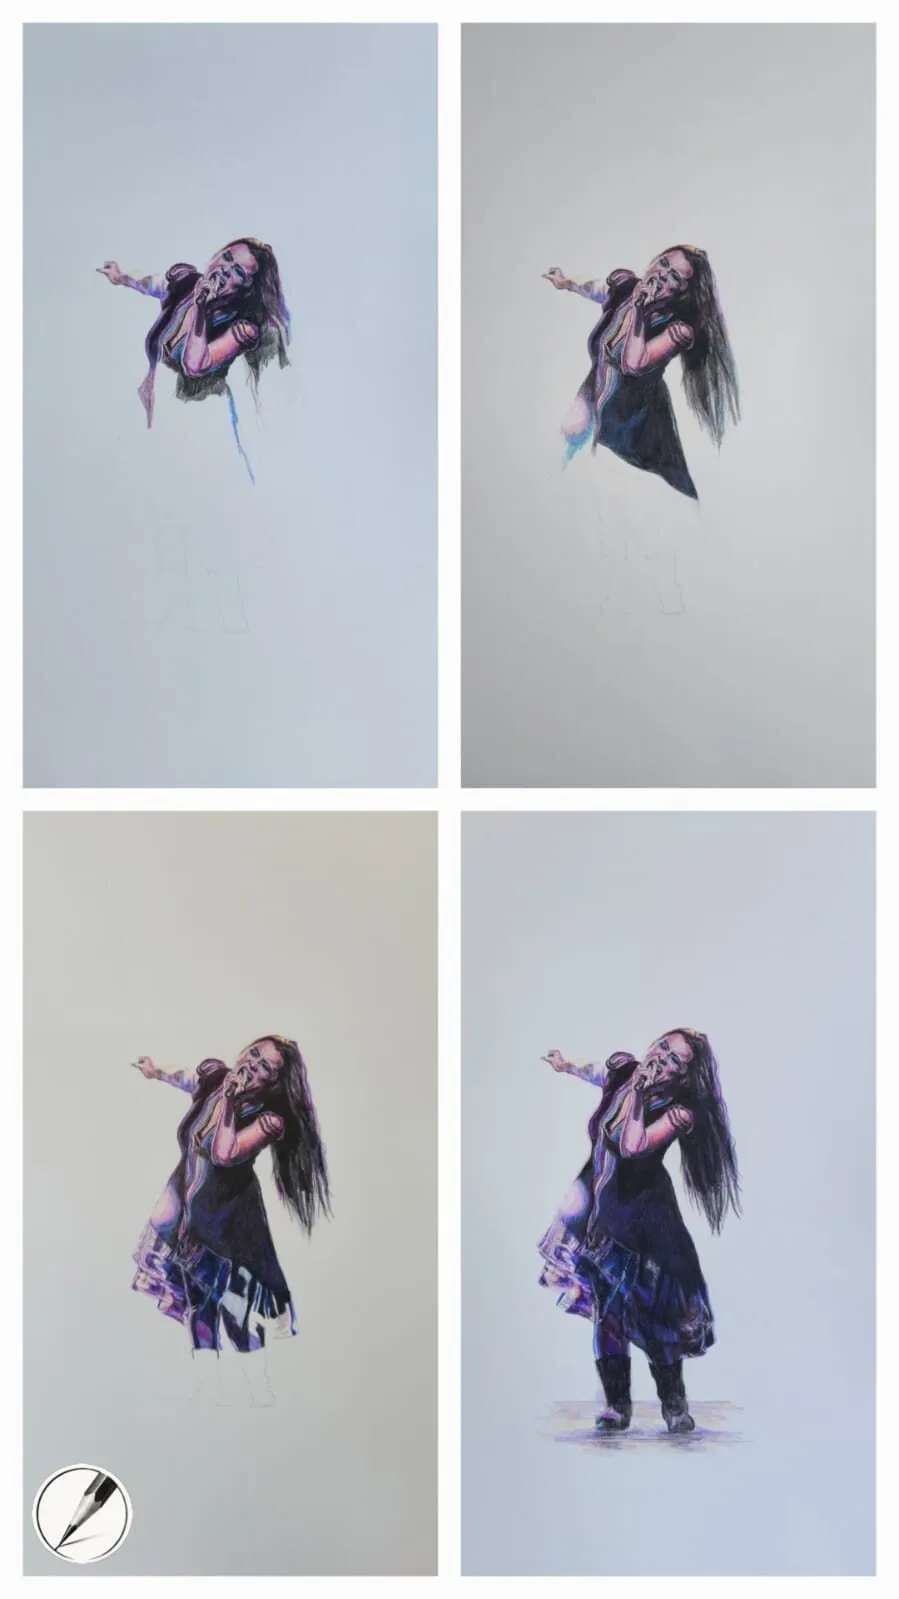
Three stages from Michael showing light colour building depth. Petals are layered the same way.
The graphite version
Graphite is an excellent way to learn flower structure without worrying about colour.
- Use an HB for the layout and keep the lines faint.
- Shade petals with a 2B, following the curve of each petal.
- Use a 4B for the deep shadows between petals and in the centre.
- Keep the brightest petals pale and leave the paper bare for highlights.
- Blend gently with a stump for smooth petals, or leave the strokes visible for a sketch look.
Common mistakes
Go back to the layout when a flower looks wrong. Check the ellipse, vary the petals and reduce outlines in favour of shading.
Practice exercises
- Petal studies: draw a page of single petals from different angles.
- Ellipse drill: draw the same flower facing front, three-quarter and from the side.
- Leaf studies: draw ten leaves with central veins and different edges.
- Colour swatches: layer three petal colours on scrap paper, from pale to deep.
Where to go next
For a more detailed subject, try the rose lesson or the sunflower lesson. Pair a bloom with a visitor in the butterfly lesson, and browse the how to draw hub for more.
The short version
See the flower as a centre, a ring of petals, a stem and leaves. Start with a circle or ellipse, draw varied curved petals, add a curved stem and leaves, shade in soft gradients and layer colour from light to saturated.
Where to buy
Recommended products
Affiliate links. We may earn a small commission if you buy, at no extra cost to you. Why?
Book · Wendy Hollender
Botanical Drawing in Color
Colour mixing and layering through botanical subjects.
Buy on AmazonAffiliate link · opens Amazon
Pencils · Faber-Castell
Faber-Castell Polychromos
Firm, oil-based artist pencils that hold a point - a benchmark for detail and clean layering.
Quick answers
Frequently asked questions
What is the easiest flower to draw?+
A simple daisy or a five-petal flower is easiest. Start with a small circle for the centre, draw a ring of petals around it, add a thin stem and two leaves, then shade each petal lightly. The structure repeats, so once you can draw one petal well, the rest follow.
How do you draw a flower from the side?+
Draw the bloom as a narrow ellipse instead of a circle, then place the petals around it, making those at the front larger and those at the back partly hidden. Show the underside of the nearest petals and a little of the stem and sepals where the flower meets it.
How do you shade a flower petal?+
Use light pressure and a soft gradient, darker near the base where the petal meets the centre and lighter toward the tip. Add a shadow under any petal that overlaps another, and follow the curve of the petal with your pencil strokes. Keep the brightest highlights as paper or a pale layer.
Are colored pencils and coloured pencils the same?+
Yes. Colored is the US spelling and coloured the UK spelling of the same pencils. The layering method in this lesson works with wax or oil-based sets, and the graphite version works with an ordinary HB to 6B set.