How to Draw
How to Draw a Butterfly: Wings, Symmetry and Colour
Draw a butterfly in graphite or coloured (colored) pencil: set up symmetry, shape the wings, add veins and patterns, layer colour, then finish antennae and shading.
This guide contains affiliate links. If you buy through them we may earn a small commission at no cost to you. How this works.
Jump to recommended products
Key takeaways
- ◆Draw a centre line for the body first, then build each wing as a mirrored pair so the two sides match.
- ◆Butterfly wings have a clear structure: a forewing and a hindwing on each side, divided by veins.
- ◆Draw the vein lines first, then pattern and colour inside each cell, following the structure.
- ◆Layer colour lightly from pale to saturated, and use a few complementary accents to make the wings glow.
- ◆Finish with thin antennae, a fuzzy body and a few soft shadows, and avoid heavy outlines.
A butterfly is easiest to draw by starting with a centre line, then building the wings as mirrored pairs so the two sides match. Draw the vein lines first, use them as a map for colour and pattern, layer colour in light coats from pale to saturated, and finish with thin antennae and a soft, fuzzy body.
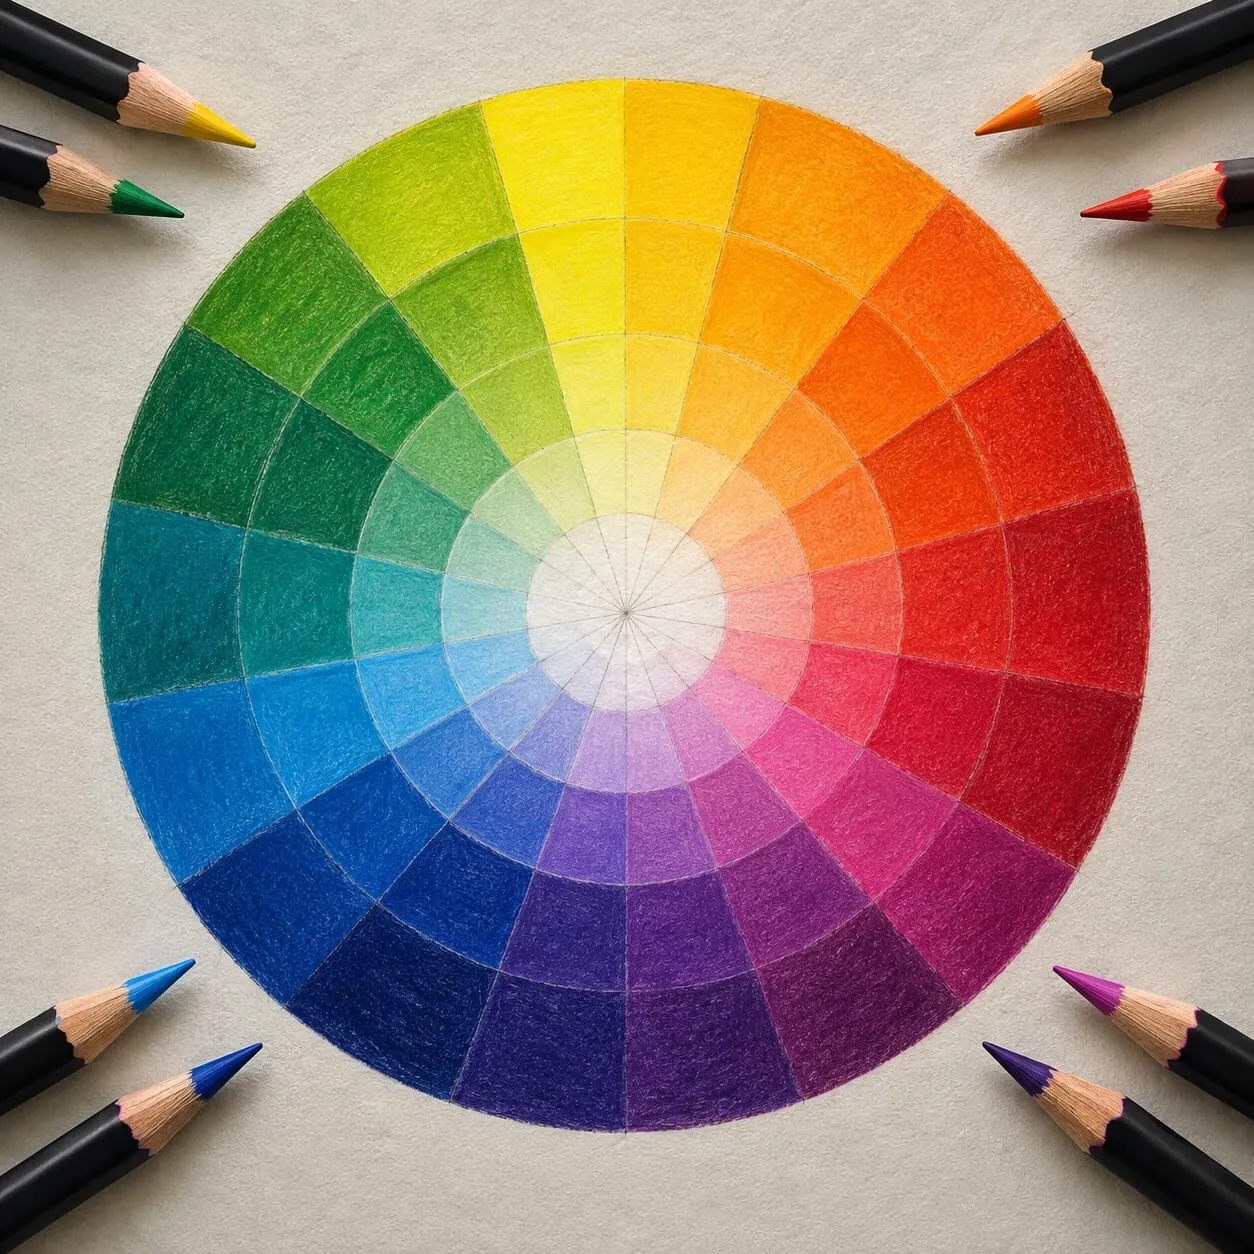
This lesson works in graphite or in coloured pencils (colored pencils in the US), and colour is where a butterfly really shines. It covers symmetry, wing structure, veins, pattern, colour and layering, antennae and shading. The hero photograph shows a fan of coloured pencils, which is a good reminder of the range you can draw from.
What you need
- Paper: smooth paper with a little tooth so colour layers cleanly. Hot press paper suits fine detail. See the best paper for coloured pencils and hot press vs cold press paper.
- Pencils: an HB for the layout and, for colour, a range of saturated pencils with a few darks. A firm oil-based set such as Faber-Castell Polychromos holds a sharp point for fine lines.
- Reference: a sharp photograph of a butterfly with its wings open, so you can see the full pattern.
- Tools: a ruler for the centre line, a kneaded eraser and a sharpener.
Structure of a butterfly
A butterfly has a small body and four wings: two forewings at the top and two hindwings below. Each wing is crossed by veins that divide it into cells. Different species have different shapes, so treat these as a rough guide.
| Part | Rough guide |
|---|---|
| Body | Slim and short, with a head, thorax and abdomen |
| Forewings | Larger, triangular, set nearer the head |
| Hindwings | Rounder, sometimes with a tail |
| Antennae | Thin, with small clubs at the tips |
| Veins | Radiate from the body outward across the wing |
Looking at the structure before drawing saves a lot of guesswork. The pattern is tied to the veins, so a correct vein map makes the colouring much easier.
Step by step: drawing a butterfly
- Draw the centre line. Use a ruler to draw a light vertical line on the paper. The body will sit on this line and the wings extend either side.
- Mark the wing points. Mark the top of the forewing, the tip and the lower corner on one side, measuring how far each point sits from the centre line and from the top of the page. Copy those measurements to the other side.
- Outline the wings. Connect the points with smooth curves, forming the forewing and the hindwing on each side. Compare the two sides and fix any differences.
- Draw the body. Add a slim body down the centre line: a small oval for the head, a thicker oval for the thorax and a long tapered shape for the abdomen. Keep it small, as beginners often draw it too large.
- Map the veins. Draw light lines radiating from the body across each wing, dividing it into cells. These lines will guide the pattern, so make them follow the real structure in your reference.
- Draw the pattern shapes. Outline the spots, stripes and borders inside the cells. Keep them light and check both sides for matching positions.
- Lay in the base colour. Fill each area with light layers of the main colour, using a sharp point and short strokes. Keep the pressure light to leave room for more layers.
- Deepen and refine. Add the darker colours, the black borders and the contrast accents. Layer colours rather than pressing hard, so the wing glows.
- Finish the details. Add the antennae with a sharp point, a fuzzy texture to the body, the fine veins and a few soft shadows.
Symmetry
A butterfly looks almost symmetrical, and readers notice when it is not. There are two easy ways to get the two sides to match.
- Measure: use the centre line and a ruler to copy the position of every key point on both sides.
- Trace and flip: trace the first wing on tracing paper, flip it and transfer it to the other side.
You can also use the grid drawing tool to keep the positions accurate. Do not aim for mechanical perfection. Real butterflies have small differences between sides, and a hint of imperfection makes the drawing more natural.
Veins and wing structure
Veins are the skeleton of the wing, and the colour pattern is built around them. Draw them with a sharp HB as thin, light lines, and let them follow a gentle curve. On many butterflies, the veins are dark and visible, and in this case darken them at the end with a fine dark pencil. On others, they are barely visible and the pattern simply stops at them.
Notice how the veins fan out from the base of the wing. If your lines are too parallel, the wing looks stiff, and if they are too random, the wing looks messy.
Pattern, colour and layering
Butterfly colour comes in two kinds. Some is pigment, which is flat and matte. Some is structural, a shimmering colour that changes with the angle. You cannot copy shimmer exactly, but you can suggest it with layered colour and strong value contrast.
- Light base layer: lay down the main colour, such as orange or blue, with light pressure.
- Second layer: add a deeper version of the colour toward the edges of each cell and near the veins.
- Accents: add a complementary or contrasting colour in small amounts, such as a touch of violet beside yellow, to make the main colour glow. See complementary colours in drawing.
- Dark borders and spots: use the darkest pencil to draw the borders and spots last, with a sharp point for crisp edges.
The how to layer coloured pencils guide explains the layering method in detail, and the colour wheel explained helps you choose partner colours. For a quick palette, try the palette from a photo tool on your reference.
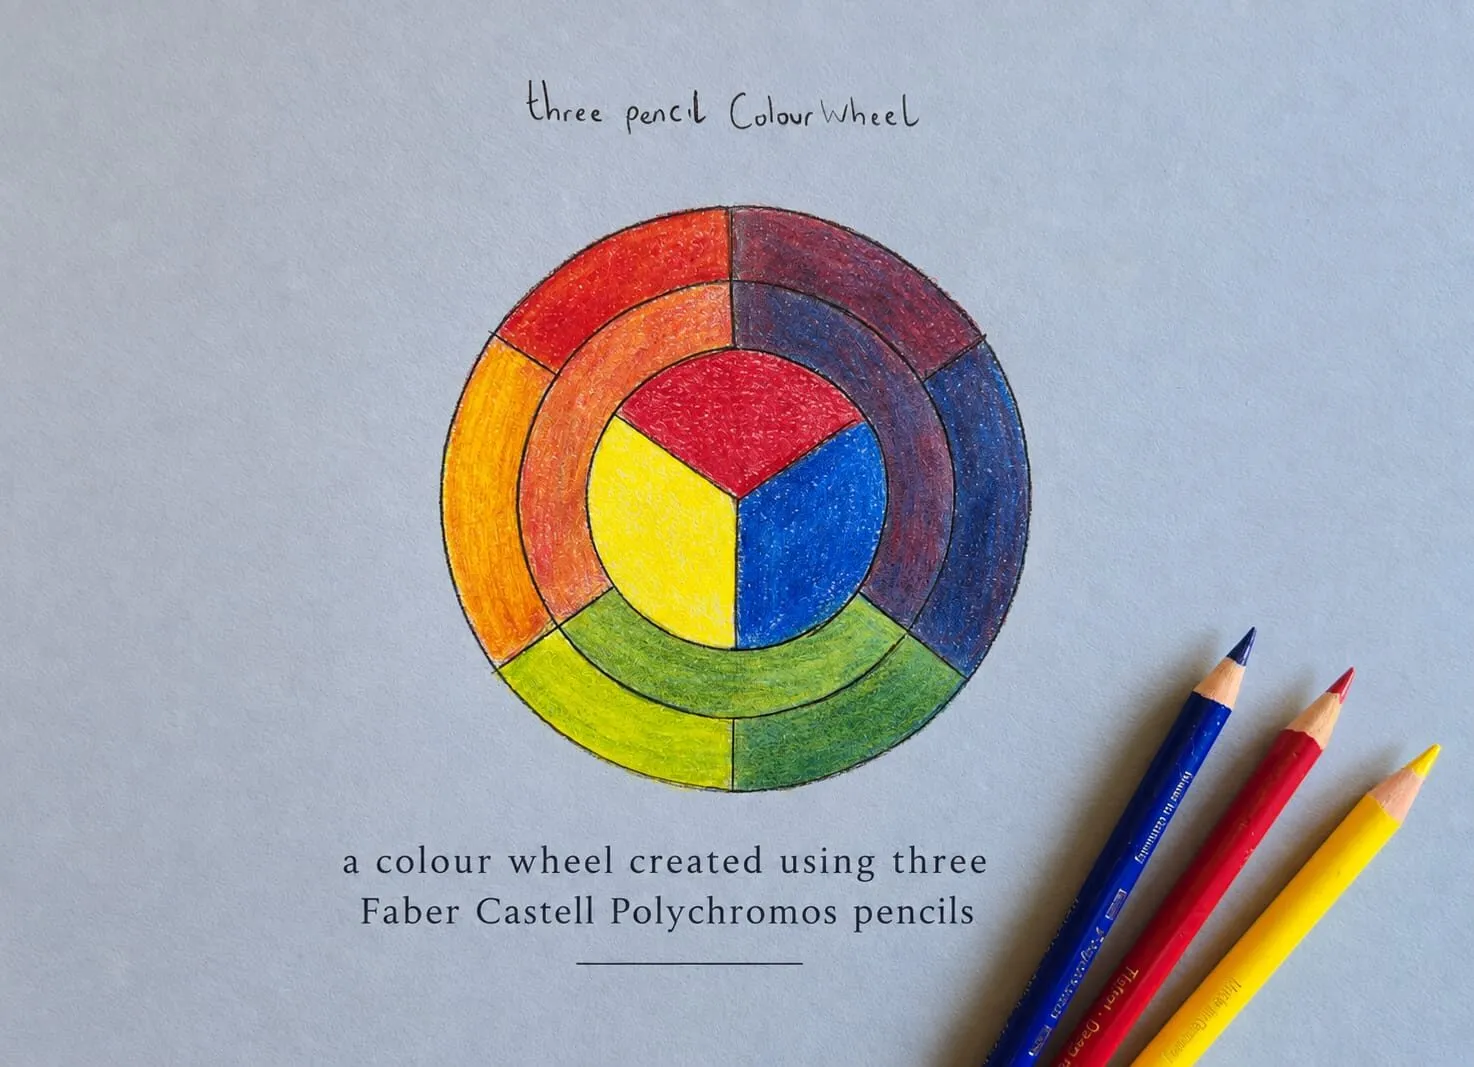
Michael’s hand-drawn colour wheel, made with three Polychromos pencils on blue-grey paper. Knowing how colours relate helps you pick partner colours for wings.
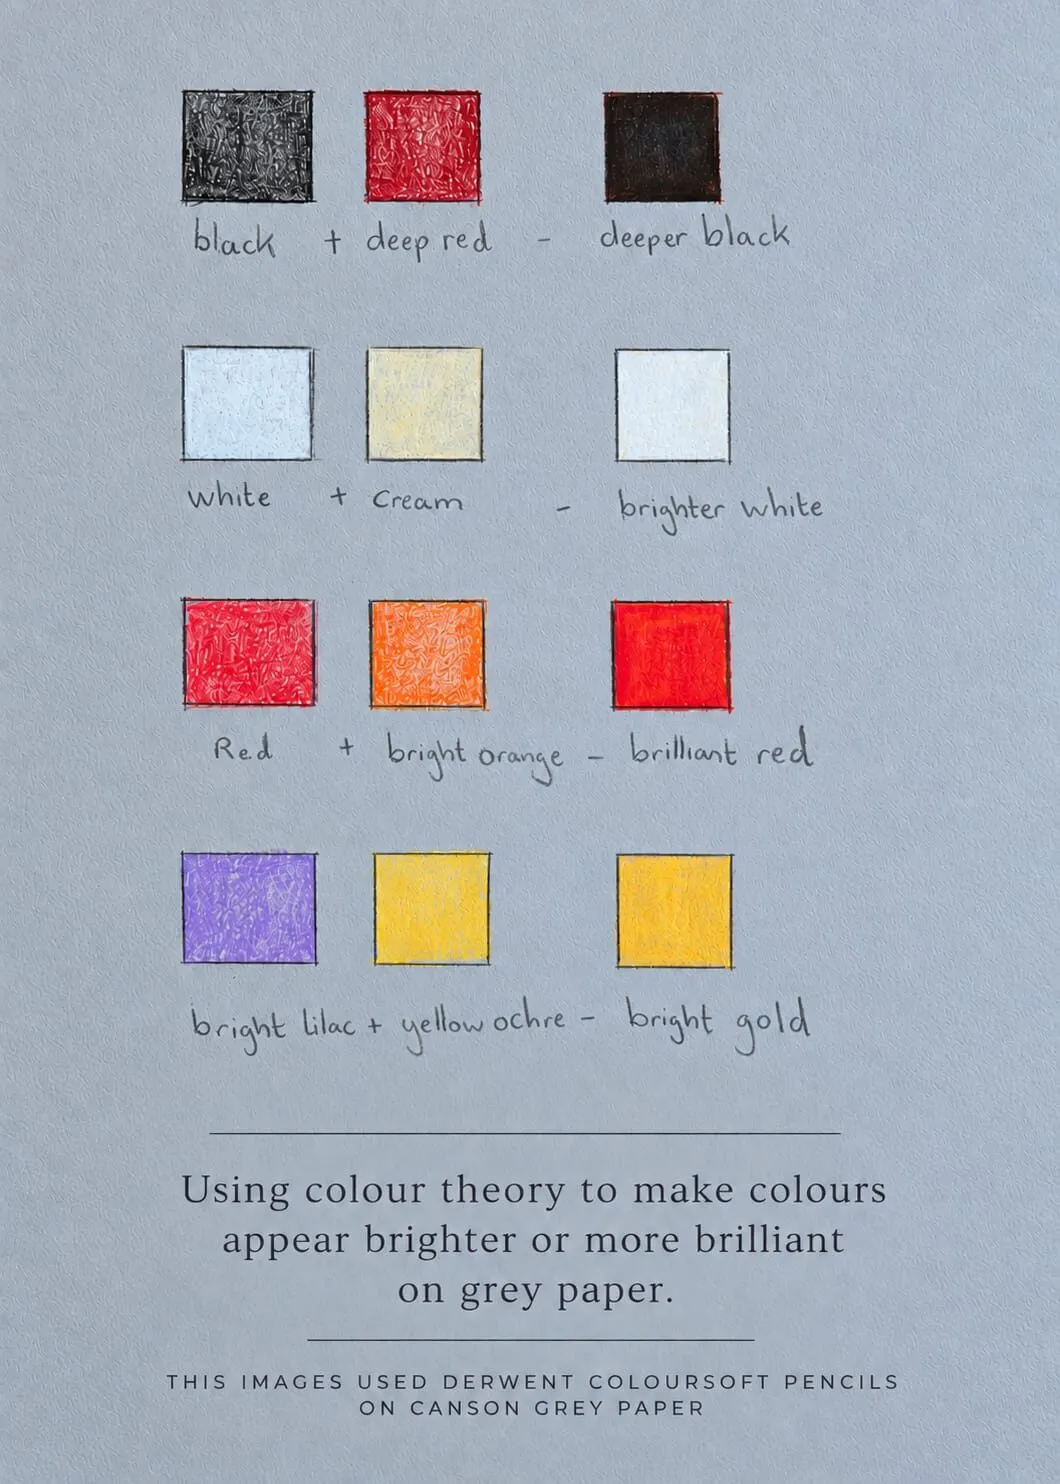
Michael’s swatch card: red over bright orange gives a brilliant red, among other combinations. Swatch your own pencils like this before committing to a wing.
Antennae and body
Antennae are thin lines ending in small clubs. Draw them with a very sharp pencil and one confident stroke each, curving gently away from the head. The body is covered with fine hairs, so use short strokes and a slightly soft edge rather than a hard line. Add a small dark eye at the head and a few fine legs tucked beneath.
Shading and finishing
Wings are thin, so they do not need heavy shading. Instead, add a soft cast shadow beneath the butterfly if it sits on a flower or surface, and a gentle shadow along the body where it meets the wings. A small area of darker tone near the body, where the wings attach, gives a sense of depth. In graphite, the value study tool shows you the main light and dark shapes of your reference.
The graphite version
Graphite suits a butterfly when you want a study of form and pattern. Use an HB for the layout and a 2B for the wing pattern. Shade the dark bands with a 4B or 6B and leave the light cells pale. Smooth gradations across the wing with a blending stump or tissue. The how to shade with pencil guide helps with smooth tone.
Common mistakes
Fix these by returning to the centre line and the vein map. Check each wing against its partner, lighten any heavy outlines and build colour in thin layers.
Practice exercises
- Symmetry drill: draw ten wing outlines using measurement from a centre line.
- Vein maps: draw the veins of three different wings and compare the fan patterns.
- Colour swatches: layer three colours on scrap paper to create glowing orange, blue and green.
- Pattern study: draw one wing in graphite and one in colour to compare.
Where to go next
Butterflies often sit on flowers, so try the flower drawing lesson next. For more layering practice, read how to layer coloured pencils, and browse the how to draw hub for more lessons.
The short version
Start with a centre line, build mirrored wings, draw the veins first, layer colour from light to saturated, and finish with fine antennae and a fuzzy body.
Where to buy
Recommended products
Affiliate links. We may earn a small commission if you buy, at no extra cost to you. Why?
Pencils · Faber-Castell
Faber-Castell Polychromos
Firm, oil-based artist pencils that hold a point - a benchmark for detail and clean layering.
Book · Wendy Hollender
Botanical Drawing in Color
Colour mixing and layering through botanical subjects.
Buy on AmazonAffiliate link · opens Amazon
Quick answers
Frequently asked questions
How do you draw a symmetrical butterfly?+
Draw a vertical centre line, then sketch the outline of one wing pair and measure its main points from the centre line. Mirror those measurements on the other side. You can also trace the first wing onto tracing paper and flip it. Real butterflies are never perfectly symmetrical, so small differences are fine.
How do you draw butterfly wing patterns?+
Lay the vein lines first, then use them as a map. Fill each cell with colour in light layers, and add the dark borders, spots and stripes on top. Keep the pattern tied to the veins and follow the curve of the wing so the pattern looks attached, not pasted on.
What are the best pencils for drawing a butterfly?+
For graphite, an HB for layout and a 2B to 4B for the dark markings work well. For colour, a good range of saturated pencils with a sharp point gives clean edges. Choose a set with bright oranges, blues and yellows and a few cool darks for detail.
Are colored pencils and coloured pencils the same?+
Yes. Colored is the US spelling and coloured the UK spelling of the same pencils. The layering method in this lesson works with wax or oil-based sets, and the graphite version works with an ordinary HB to 6B set.