How to Draw
How to Draw Fabric and Folds: Drapery in Pencil
Learn to draw fabric and folds: pipe, zigzag, drop, spiral and half-lock folds, tension points, light on cloth, texture and patterns in coloured (colored) pencil.
Key takeaways
- ◆Fabric folds come from a few causes: gravity pulling cloth down, tension where it is held or stretched, and compression where it bunches.
- ◆Learn the five classic fold types (pipe, zigzag, drop, spiral and half-lock) and you can recognise almost every fold you see.
- ◆Find the tension points first, because folds radiate away from them and they organise the whole drawing.
- ◆Light on cloth follows the same rules as light on any form, so draw folds as cylinders and cones with a light side, a core shadow and reflected light.
- ◆Texture and pattern come last and must bend with the folds, so a stripe or check that follows the form does most of the work.
Fabric looks hard because it seems to have no fixed shape, yet every fold has a reason. Cloth is pulled down by gravity, held up or stretched at certain points, and bunched where it is compressed. Understand those three forces and the five classic fold types, and you can draw a sleeve, a curtain or a coat from observation without guessing.
This lesson gives a step by step method for drapery in graphite or coloured pencil (colored pencil in the US): how to find tension points, how to name and draw the main folds, how to shade them as forms, and how to handle texture and pattern.
What you need
- Graphite: HB for the structure, 2B and 4B for shadows. See the pencil grade chart if you are unsure which grade to reach for.
- Paper: smooth to medium tooth. Grey or toned paper makes light and dark folds easy to judge, and why use grey paper for coloured pencil explains the benefit.
- Real cloth: a cotton sheet, a scarf or a T-shirt draped over a chair. Directed light from one lamp shows folds best.
- Optional: a white pencil for highlights on toned paper and a dark blue or purple for shadow colour.
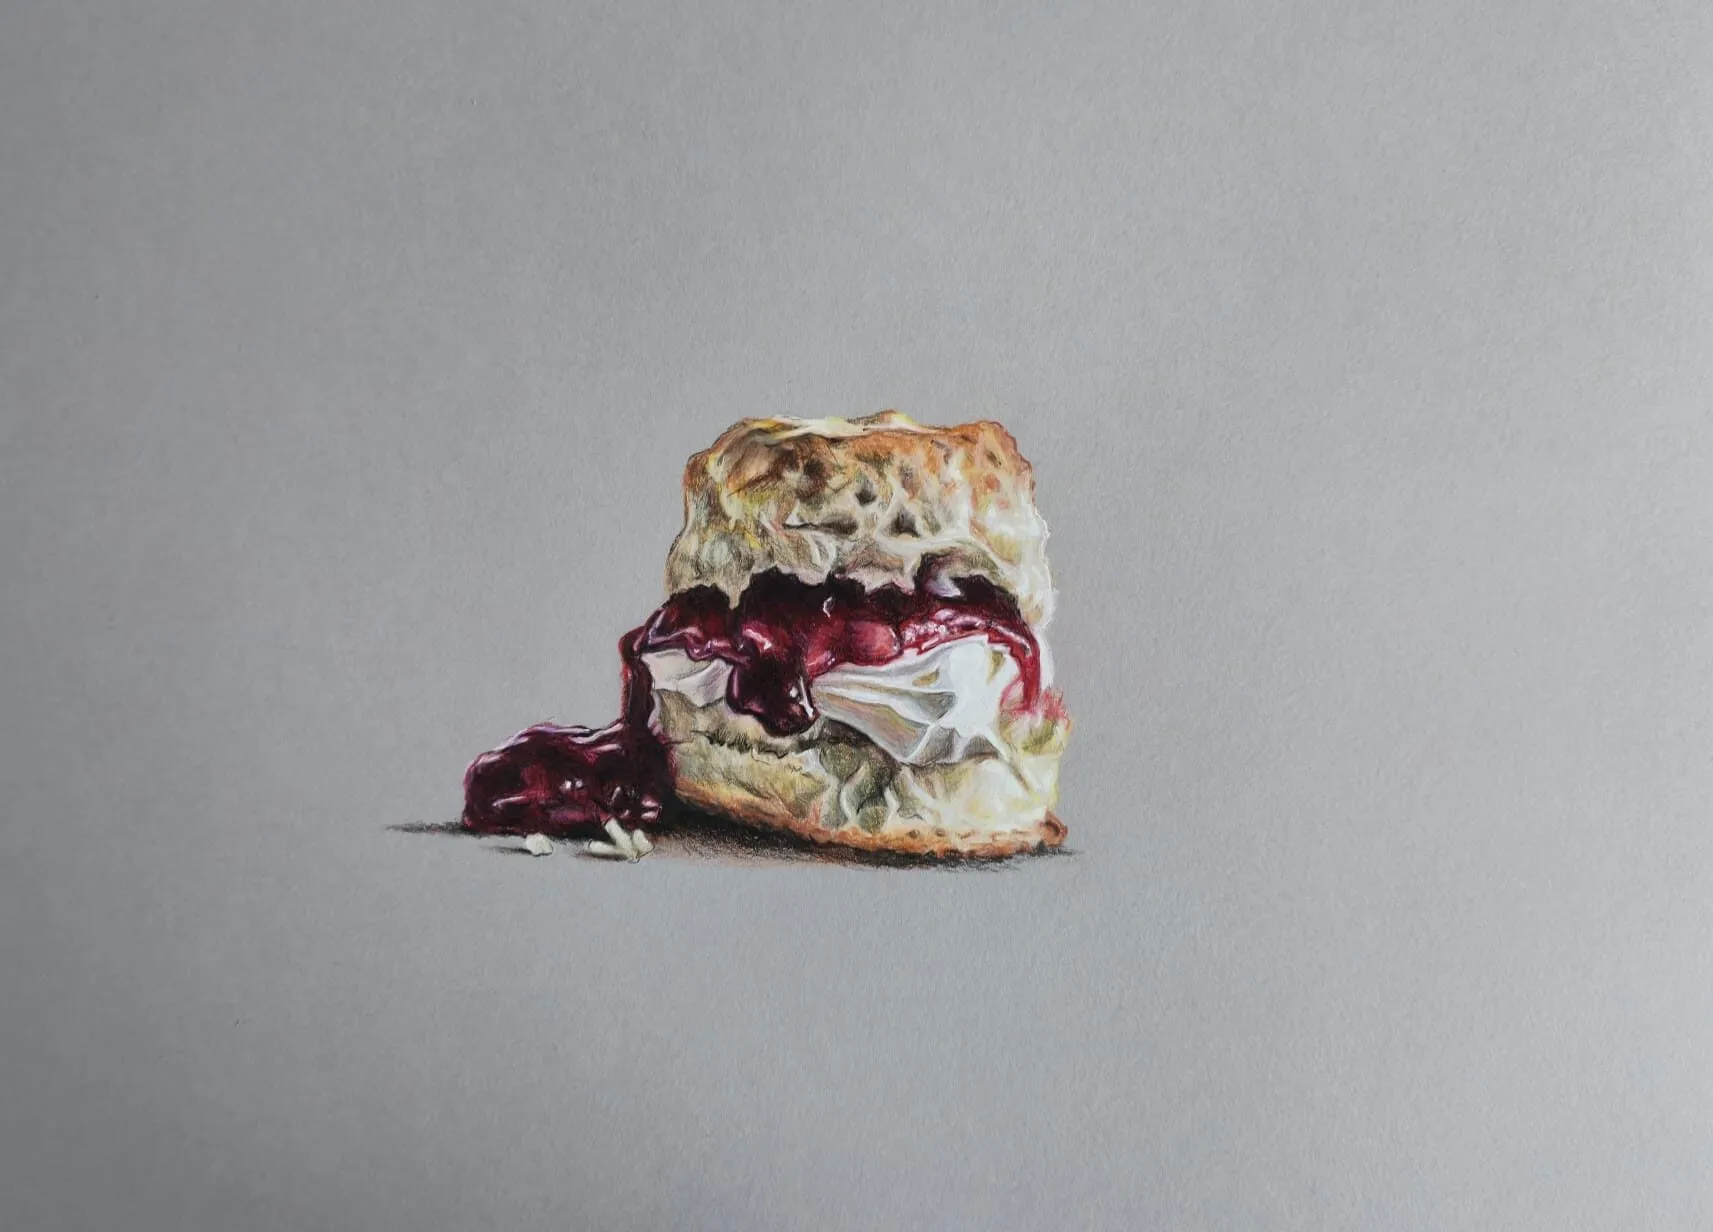
A scone with cream and jam drawn in coloured pencil on grey paper. Drawing by Michael Brace.
The five classic folds
Most artists name a handful of fold types. Learning them gives you a vocabulary for what you see.
| Fold | Where it appears | How to recognise it |
|---|---|---|
| Pipe | Cloth hanging from a point, such as a curtain or loose sleeve | Rounded, tube-like folds running down |
| Zigzag | At a bent elbow, knee or where cloth is pushed together | Angular, V-shaped creases back and forth |
| Drop | Cloth hanging between two supports | A sagging curve with folds draping down |
| Spiral | Cloth twisting around a limb or column | Diagonal folds wrapping around the form |
| Half-lock | Where cloth bends sharply back on itself, such as at a sleeve end | A fold that appears to close, like a half-closed hinge |
These are guides, not laws. Real cloth mixes them, and thick cloth gives softer, larger folds than thin cloth.
How to draw fabric step by step
1. Find the tension points
Before any fold, look for where the cloth is held, pulled or supported: a shoulder, a hip, a belt, a hook, a knee. Mark each with a small dot. Folds start or radiate from these points, and the cloth is tightest and smoothest near them. Finding tension points first makes the rest of the drawing logical instead of random.
2. Draw the underlying form
Cloth takes the shape of what is underneath it. Sketch the body, the chair or the table with simple shapes, then wrap the cloth around them. A sleeve is a tube over an arm, and a skirt is a cone with a soft hem. If you have read how to draw gesture and poses, the same simple shapes help you place clothing on a figure.
3. Mark the main folds
Identify the large folds first, using the fold types above, and draw them as single flowing lines from the tension points. Do not draw every wrinkle. Look for the five or six folds that define the shape, and leave the small creases for later.
4. Turn lines into forms
Each fold is a curved surface, so give it width. A pipe fold is a cylinder with a light side and a shadow side, while a zigzag fold is two planes meeting at a ridge. Draw the edges of each fold as soft curves and let them overlap, because in cloth folds overlap one another in front of and behind.
5. Block in the main shadows
Squint at the cloth and block in the darkest shadows, which are usually inside deep folds and under overlaps. Keep the tone even and light at this stage. The big pattern of light and dark is what reads from a distance, and the value study tool helps you check that pattern.
6. Model each fold with light
Use the same zones as any form: a light side, a core shadow and a reflected light near the edge of the shadow. The shadows and light lesson explains these in detail. Soft cloth such as wool and cotton has gradual transitions, whereas satin and silk have sharper highlights and stronger contrast between light and dark.
7. Vary edges and pressure
Make the edges crisp where a fold overlaps another, and soft where a fold melts into its neighbour. Press harder in the deepest creases and lighter on the broad lit surfaces. Leave a few lines at the edges of shadows lost, so the cloth feels natural rather than outlined.
8. Add texture and pattern
Texture comes last and stays subtle. Wool and knitwear suit a slightly rough, directional stroke. Denim needs fine diagonal hatching and lighter wear lines at folds. Fur or a fluffy coat suits short, flicking strokes that follow the direction of growth, and the how to draw animal fur guide covers that stroke in more detail. For graphite textures, see how to draw realistic textures in graphite.
9. Check the whole
Step back and compare the shadow pattern with your reference. Strengthen the darkest darks, add the brightest highlight, and make sure the folds flow from the tension points.
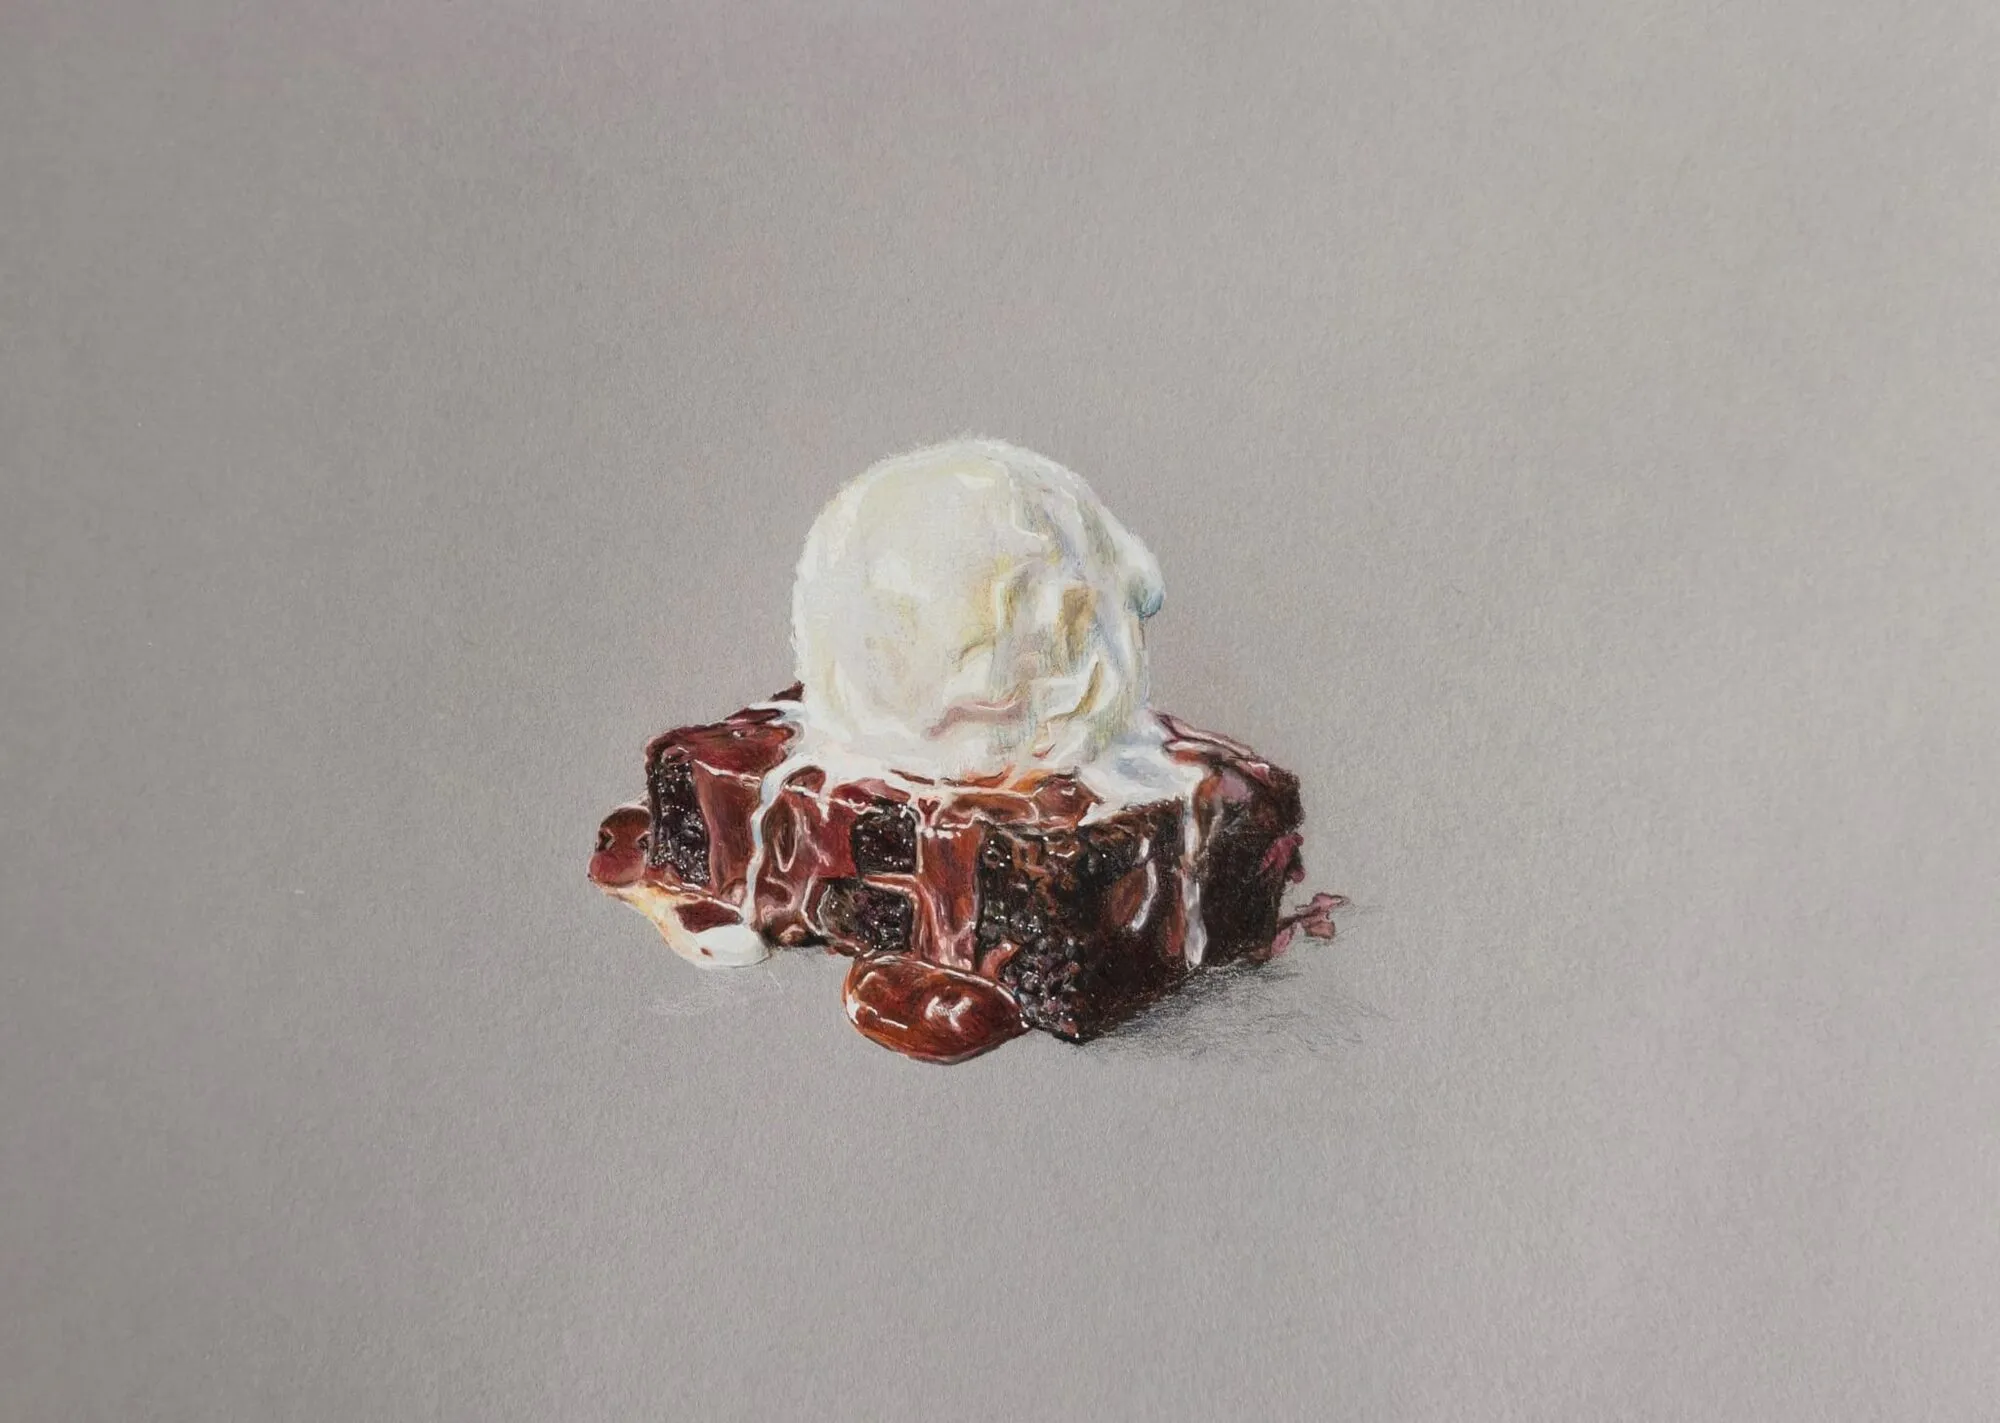
A brownie with ice cream and sauce drawn in coloured pencil on grey paper. Drawing by Michael Brace.
Light on cloth
Folds are cylinders, cones and planes, so the lighting rules are the ones you already know. Two things are particular to cloth.
- Overlaps cast shadows. Where one fold lies over another, it casts a small, sharp shadow on the layer below. These shadows give cloth its depth.
- Material changes the contrast. Matte cloth has soft, limited highlights. Shiny cloth has crisp, bright highlights and deep darks right beside them. Velvet is unusual, because it is darkest where the fibres lie flat towards you and brightest at glancing angles.
In coloured pencil, shadow colour matters. Use darker, cooler, more muted versions of the cloth colour rather than black, and let a little colour from nearby surfaces bounce into the shadow. The value in drawing guide explains how to keep your darks controlled.
Patterns that follow the form
Stripes, checks and prints are an easy way to show form, because they bend with the cloth. Draw the pattern as if it were printed on a flexible surface.
- Draw the folds and shading first, without the pattern.
- Lay the pattern lines lightly over the form, curving them around each fold and narrowing them where the cloth turns away.
- Make the pattern slightly darker in shadow and lighter or less distinct in the highlights.
- Do not draw every repeat of a detailed print. Suggest it across the lit areas and simplify it in the shadows.
If a stripe runs straight across a curved fold, the cloth will look flat. The pattern should be the last thing to go on and the first thing to bend.
Common mistakes
The fix for most of these is to simplify first. Draw the six major folds, shade them as forms, and then add the small ones.
Practice exercises
- Five folds: drape cloth to produce each of the five folds and draw one of each in graphite.
- Tension hunt: photograph five clothed people and mark every tension point before drawing.
- One fold, four materials: draw the same fold as cotton, satin, wool and denim, changing only the edges and contrast.
- Stripe test: draw a striped cloth over a cylinder and over a crumpled towel, and compare how the lines bend.
- Colour study: draw a cloth in one colour in coloured pencil, using a cool, muted shadow layer over the local colour.
Next steps
Drapery connects to nearly everything else. On a figure, see how to draw gesture and poses to place cloth on a believable body, and how to draw hands for sleeves and cuffs. To check your results, the how to draw what you see guide helps you compare drawing with reference, and the how to draw hub lists the rest of the series.
The short version: find the tension points, name the fold type, draw each fold as a form with a light side and a shadow side, and add texture and pattern last so they follow the cloth.
Quick answers
Frequently asked questions
How do you draw folds in clothing?+
Find where the cloth is held, pulled or supported, because folds radiate from those tension points. Then identify the fold type, such as a pipe fold hanging from a point or a zigzag fold at a bent joint, and draw each as a simple form with a light side and a shadow side. Add detail and pattern last.
What are the main types of folds in drapery?+
The classic set is pipe folds, which hang like tubes, zigzag folds at bends, drop folds where cloth hangs from two points, spiral folds that wrap around limbs, and half-lock folds where cloth bends back on itself. Most real wrinkles are combinations of these.
How do you shade fabric realistically?+
Treat each fold as a curved form. Put the lightest value where the surface faces the light, the darkest core shadow where it turns away, and a softer reflected light at the edge of the shadow. Keep the darkest darks inside deep folds and let shiny fabrics have sharper highlights than matte ones.
Are colored pencils and coloured pencils the same?+
Yes, colored is the US spelling and coloured the UK spelling. They suit fabric well, because layering lets you build smooth tone on satin and a rougher, toothier layer for wool or fur. The fold structure in this lesson applies to graphite and colour alike.