Paper & Surfaces
Drawing on Black Paper with Coloured Pencils
How to draw on black paper with coloured (colored) pencils: which pencils work, building light colours first, highlights, paper types and common mistakes.
Key takeaways
- ◆On black paper you build light, not dark, so opaque, creamy pencils that cover the surface matter far more than on white.
- ◆Start with light and mid colours, then add saturation, because pale colours are the hardest to get to show on black.
- ◆Soft, waxy pencils with strong pigment work best; hard or translucent pencils can look faint.
- ◆Keep the paper clean: fingerprints, dust and eraser crumbs show clearly on black.
- ◆Plan bright highlights and glows as deliberate accents, and let the black do the work of your darkest darks.
Black paper makes coloured pencil drawings glow. Colours look like light against a night sky, and a well-placed highlight can seem to come off the page. It is also the most demanding surface for pencils, because you are working in the opposite direction from nearly every tutorial: you are building light on a surface that starts as your darkest dark.
This guide explains how coloured pencils - colored pencils in the US - behave on black paper, which pencils to pick, how to build up colour, what effects work best and what to avoid. If you have not used toned paper before, why use grey paper for coloured pencil is a gentler starting point, since the same principles apply.
The short answer
Use soft, opaque, waxy pencils, especially whites and light colours. Build light and mid colours first, then add richer colour on top. Keep highlights deliberate and the paper clean. Test every pencil on a scrap of your paper before you commit, because visibility varies more on black than on any other surface.
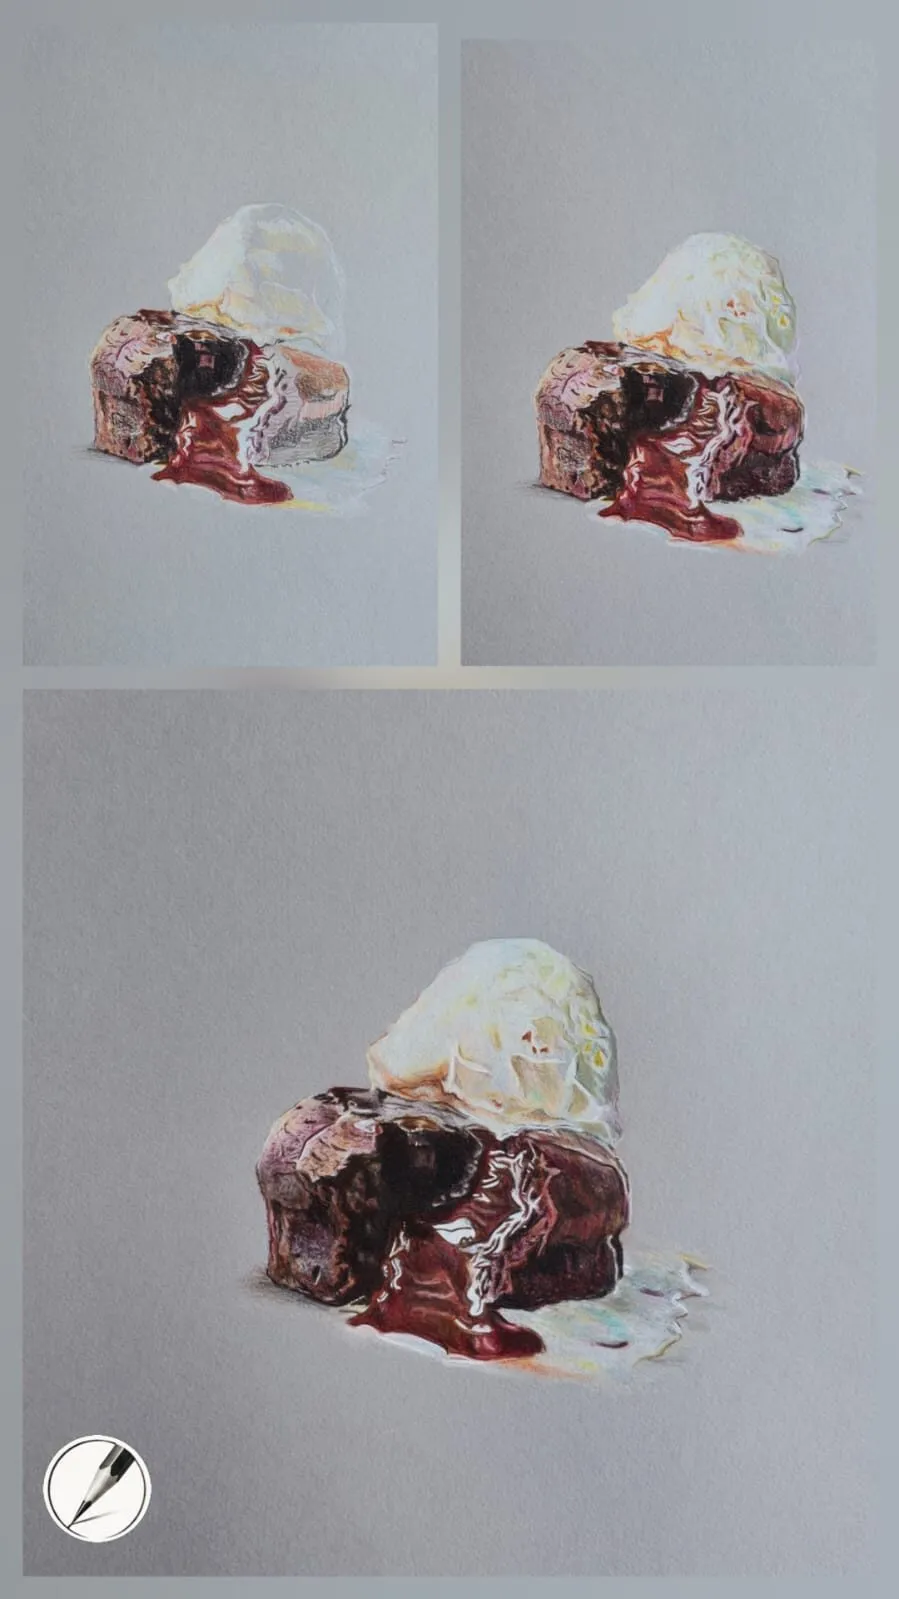
A chocolate dessert with ice cream drawn in coloured pencil, shown in three stages. Drawing by Michael Brace.
How black paper changes the drawing
On white paper, every mark is darker than the surface. On black paper the situation reverses: the paper is your darkest tone, and every pencil mark is a lightening. That has consequences.
- Opacity matters most. A translucent pencil lets the black show through, so the colour looks faint or dark. An opaque pencil covers the surface.
- Light colours are your workhorses. Yellows, creams, light blues and whites show best. Dark colours such as navy or dark brown barely register.
- Colours look more saturated than expected once built up, but they start weak. Slow layering works better than heavy pressure.
- The black is a real shadow. You do not need to draw the deepest darks; leave the paper untouched.
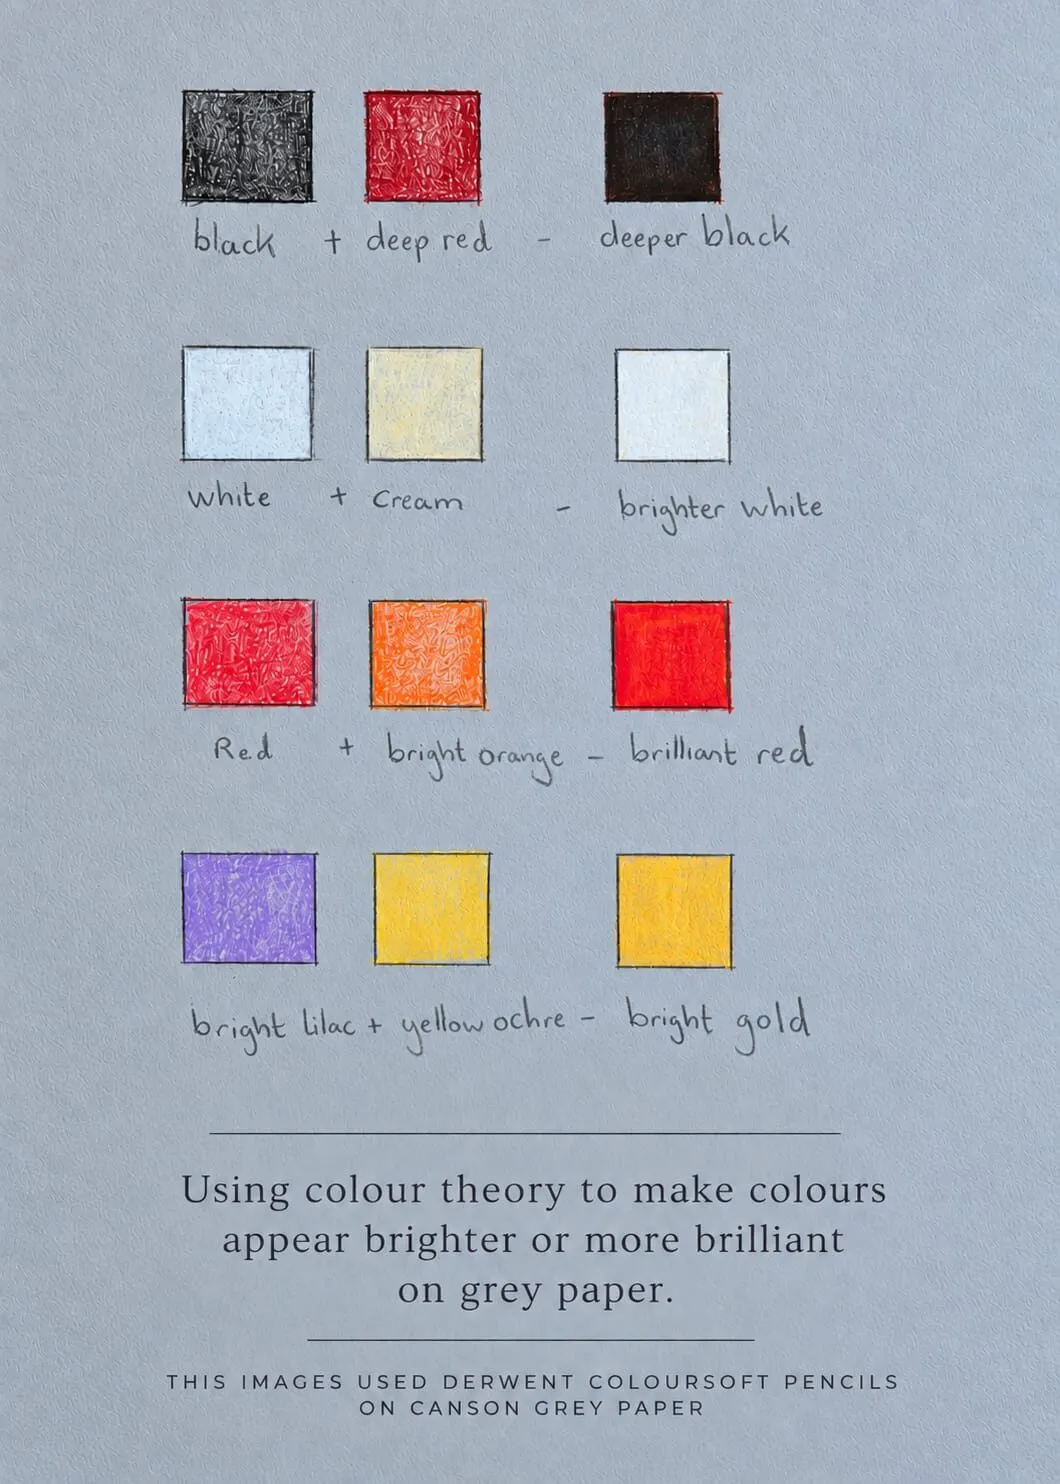
This is the same idea that makes toned paper effective for glossy subjects, as covered in colour theory on grey paper, pushed to its extreme.
Which pencils suit black paper
You want pencils that cover well. In general terms:
- Soft, creamy, wax-based pencils deposit a lot of pigment and cover the black quickly. Lines such as Caran d’Ache Luminance, which is creamy and opaque, and Derwent Coloursoft, which is velvety, rich and soft, suit this kind of work.
- Firm, oil-based pencils such as Faber-Castell Polychromos keep a sharp point and layer cleanly. They work well for fine lines and detail, but they can look less bright unless built up in layers on a toothy paper.
- Dedicated white and light pencils are essential. Our best white pencils for drawing on grey paper explains what makes a good white, and the same qualities apply here.
- Metallic, pastel-type or specialist light pencils exist in some ranges. Check the manufacturer’s information and test on your paper.
The trade-off is between softness and control: soft pencils cover fast but wear quickly, and firm pencils give control but need more layers. Wax versus oil-based coloured pencils explains the differences, and best coloured pencils compares the main lines.
Choosing black paper
Black paper varies more than white. What to check, in general terms:
- Weight. Heavier paper tolerates layering and correction better. See paper weight in gsm explained.
- Tooth. A little tooth grips pigment and allows layers; very smooth black paper shows less pigment. The tooth guide explains the effect.
- Surface finish. Some black papers are matte and slightly rough; others are smoother and can look shiny under burnishing.
- Dye or coating. Cheap black paper can show a lighter colour when scratched or when the surface is rubbed, and may fade or bleed. Test a small piece.
Deep black paper, board or mixed-media sheets are made by several manufacturers, and ranges change, so check current options rather than relying on a specific product. You can also read our best paper for coloured pencils guide for what a good surface needs.
Step by step: building a drawing on black paper
- Sketch lightly. Use a white or light pencil for the outline, pressing lightly so the lines are easy to cover. Dark graphite will not show; a white or light pastel pencil does.
- Block in the lightest areas. Lay in the largest highlights with white or a pale colour.
- Add mid-tones. Build the main colours over or beside the light areas, working in light layers and keeping your pencils sharp.
- Layer to deepen colour. Overlay saturated colours on the light base. A white or pale underlayer often makes the colour above it brighter than the same colour drawn directly on black.
- Leave the black. Do not cover areas that should be the darkest darks.
- Finish with accents. Add the sharpest, brightest highlights last with the whitest pencil.
Working light first is the reverse of many drawing habits, but it is the only way to make colour read on black. The how to layer coloured pencils guide explains the general method.
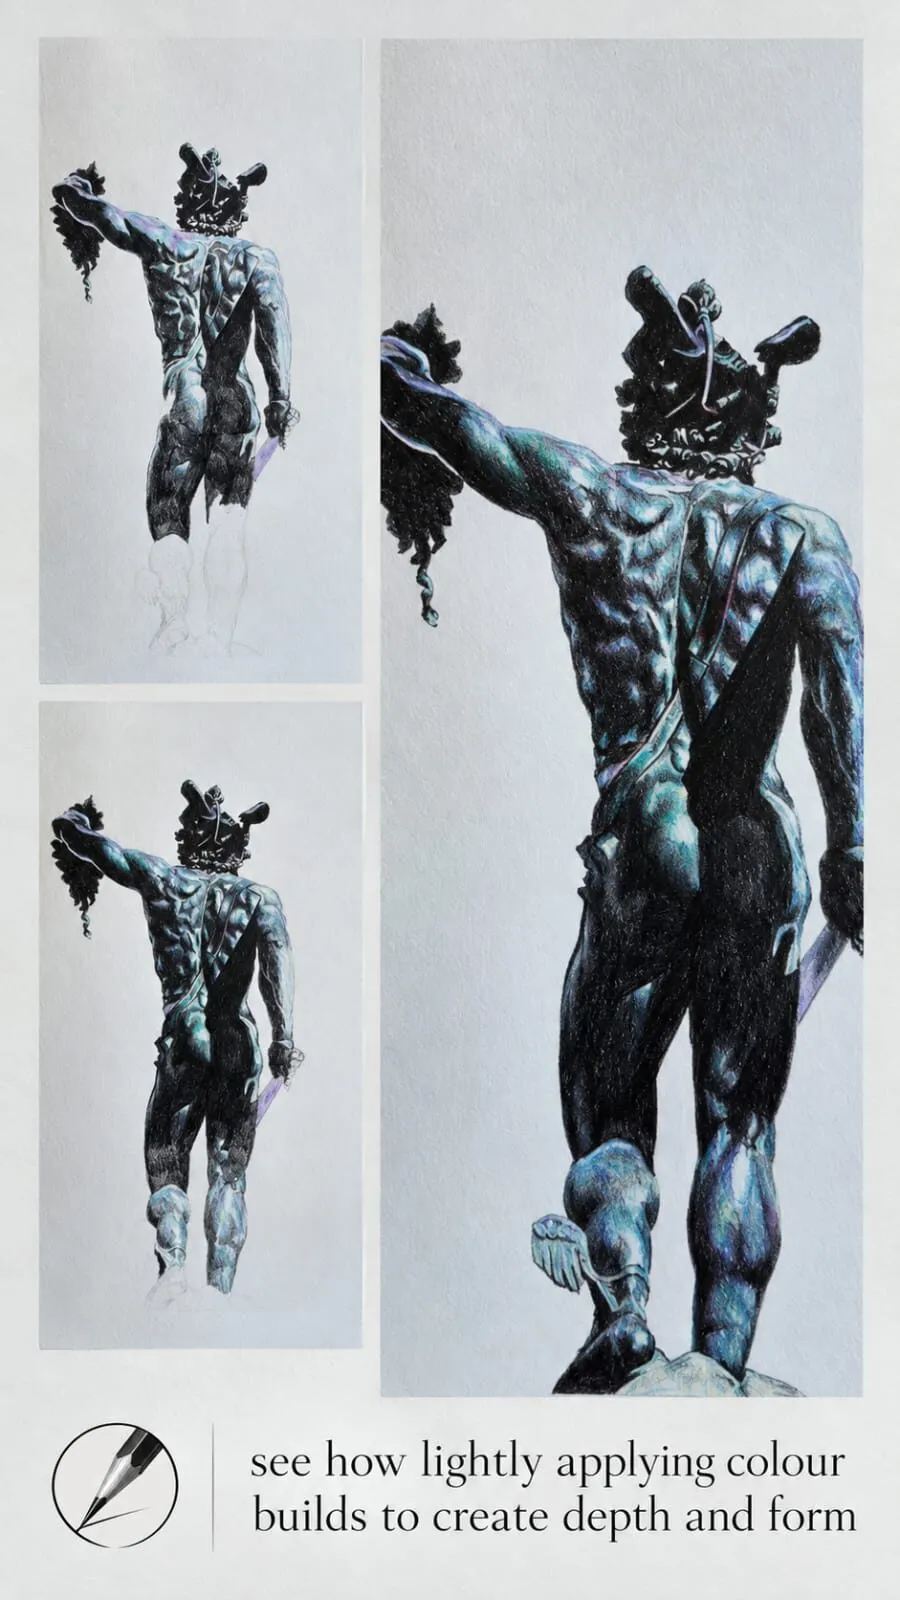
Lightly applied colour building depth and form in three stages. The same patient layering is what makes colour show on a dark surface.
Effects that work well
- Glows and light sources. Candles, neon signs and lit windows look convincing because the black makes them appear bright.
- Night scenes and skies. Stars, moons and city lights are natural subjects.
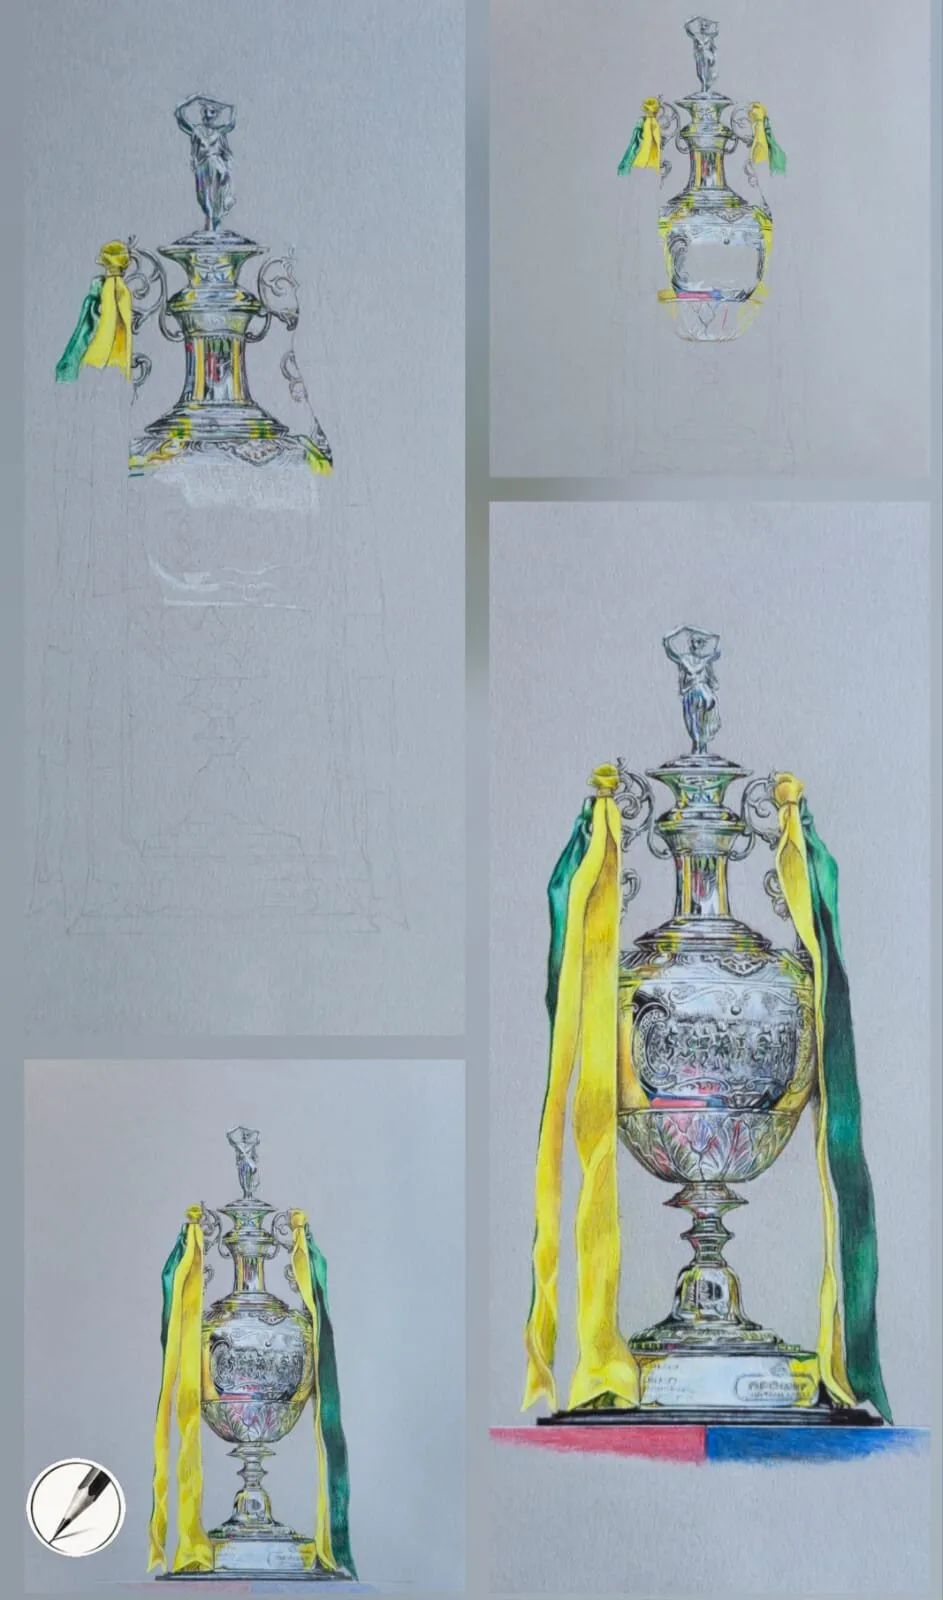
- Metallic and glossy objects. Strong contrast with sharp highlights suits trophies, cutlery and jewellery. See how to draw shiny metal and reflections.
- Bright flowers and fruit. Saturated colours on a black background look striking.
- Animals with light fur or feathers. Eyes, whiskers and highlights pop against black.
- Portraits with dramatic lighting. A chiaroscuro effect, with a face emerging from darkness.
Subjects that are inherently dark or that rely on soft pastel tints are harder, because the paper overwhelms the colour.
Highlights
Highlights on black paper are the reward for careful preparation. A crisp white or cream mark on black has stronger contrast than on any other paper. Restraint still applies: a few sharp, well-placed highlights look wet and polished, while too many look pasted on. Place them last, and tint them slightly with the colour of the surrounding area, as many highlights carry a hint of local colour. How to draw glossy surfaces applies the same principle.
Protecting the paper
Black paper shows every flaw.
- Keep a clean sheet under your hand to prevent fingerprints and oil marks.
- Brush away dust and crumbs with a soft brush, not your hand, so you do not smear pigment.
- Avoid heavy erasing. Erasers can leave grey, scuffed patches. Lift lightly with a kneaded eraser or tape, and accept some limits; see lifting and erasing coloured pencil.
- Store flat and interleave with clean sheets to prevent pigment transferring.
- Frame with care. A mounted drawing behind glass protects the surface; see how to frame and mount a drawing.
A first exercise to try
Before starting a full drawing, make a small study that teaches how your pencils behave on the surface. Draw a simple sphere, such as an egg, an orange or a pearl, lit from one side. Sketch the outline in white, fill the lit side with a pale colour, then add mid-tones and a cast shadow by leaving the black paper untouched. Notice how much of the form is carried by the paper itself. A study like this takes under an hour and shows you which pencils are strong enough, how much pressure they need and how quickly the tooth fills, so your first serious drawing does not become an expensive experiment.
Common mistakes
- Using dark or translucent pencils. They disappear. Test first.
- Pressing too hard too early. It burnishes the tooth and blocks later layers.
- Starting with saturated colour. Build a light base first.
- Overusing white. It can look chalky; use tints and cream too.
- Ignoring the paper’s value. The paper is your darkest dark; use it.
- Skipping tests. Visibility varies more on black than on any other paper.
The short version
On black paper, choose soft, opaque, creamy pencils, work from light to saturated, keep your darks as untouched paper, and add a few sharp highlights at the end. Test your pencils, protect the surface and start with subjects that glow. If you are new to toned paper, practise on grey first with why use grey paper for coloured pencil, then move to black.
Quick answers
Frequently asked questions
What coloured pencils work best on black paper?+
Soft, opaque, waxy pencils with strong pigment show best, because they cover the black instead of sinking into it. White and light colours are essential. Firmer or translucent pencils give a weaker result, so test each pencil on a scrap of the paper first.
Can you use regular colored pencils on black paper?+
Yes, but expect muted results unless the pencils are opaque. Dark and translucent colours barely show on black, while light, creamy pencils read clearly. Layering several passes of a light colour helps, and a white underlayer makes other colours brighter.
Why do my colours look dull on black paper?+
Black paper absorbs light, so translucent pigment does not reflect much. Use more opaque pencils, build a light underlayer first and press slightly harder. Building light colours before saturated ones gives brighter, cleaner results.
Is black paper good for beginners?+
It can be, because it teaches you to think in light. But it is less forgiving of pencil choice and of mistakes, since light marks are hard to remove. Try grey or toned paper first if you are new to the medium.