Graphite & Charcoal
Charcoal Drawing for Beginners
Learn charcoal drawing from scratch: vine, compressed and pencil charcoal, paper, basic marks, tone, erasing, blending, fixative and dust safety, plus first exercises.
Key takeaways
- ◆Vine charcoal is soft, light and easy to erase, compressed charcoal is darker and denser, and charcoal pencil gives the most control.
- ◆Paper with some tooth holds charcoal; very smooth paper will not grip it and the drawing will slide and smear.
- ◆Build tone from light to dark, and use erasers as drawing tools to lift highlights, not only to correct.
- ◆Charcoal dust is fine and should be kept off skin and out of the air as far as practical; follow the label on any fixative.
- ◆Start with simple tonal exercises and large forms before detail, because charcoal rewards big, confident shapes.
Charcoal is one of the oldest drawing materials, and it remains one of the most rewarding for beginners. It is black, rich and expressive, it covers large areas quickly and it forces you to think in big shapes and strong value rather than fussy detail. It is also messy, and the combination of dust, smudging and soft sticks can feel chaotic on the first day.
This guide gives you a workable starting point: the kinds of charcoal and what each does, which paper to use, the marks to practise, how to build and lift tone, how to blend, how to protect a finished drawing and how to handle dust sensibly. It ends with a set of first exercises. If you are deciding between materials, graphite vs charcoal compares the two, and the best charcoal for drawing guide looks at what to buy.
Types of charcoal
Three forms cover nearly everything a beginner needs.
Vine charcoal
Vine charcoal is made from burned willow or similar twigs. It is light, dry and soft, and it lifts off paper very easily. That makes it excellent for early layout, sketching proportions and building pale tone you can change. It is graded soft, medium and hard in many ranges; softer sticks give darker, more crumbly marks. Its weakness is that it is not very dark, and it smudges at the lightest touch.
Compressed charcoal
Compressed charcoal is made from powdered charcoal bound with a binder and pressed into sticks or blocks. It is denser and darker than vine, and it gives rich, deep blacks. It is harder to erase completely, so use it after your layout is settled, for shadows and accents. It also comes in different hardnesses.
Charcoal pencil
A charcoal pencil has a charcoal core in a wooden case or paper wrap. It is cleaner to hold, sharpens to a point and gives far more control for detail, edges and small marks. It is less suited to broad tone. Many artists use pencils for details and sticks for big areas.
| Type | Strength | Weakness | Best used for |
|---|---|---|---|
| Vine | Easy to erase, soft | Not very dark | Layout, pale tone, big shapes |
| Compressed | Deep, dense darks | Hard to erase | Shadows, accents |
| Charcoal pencil | Precision, less mess | Slower for large areas | Detail, edges |
You may also come across powdered charcoal and white charcoal or chalk for highlights on toned paper. They are optional extras.
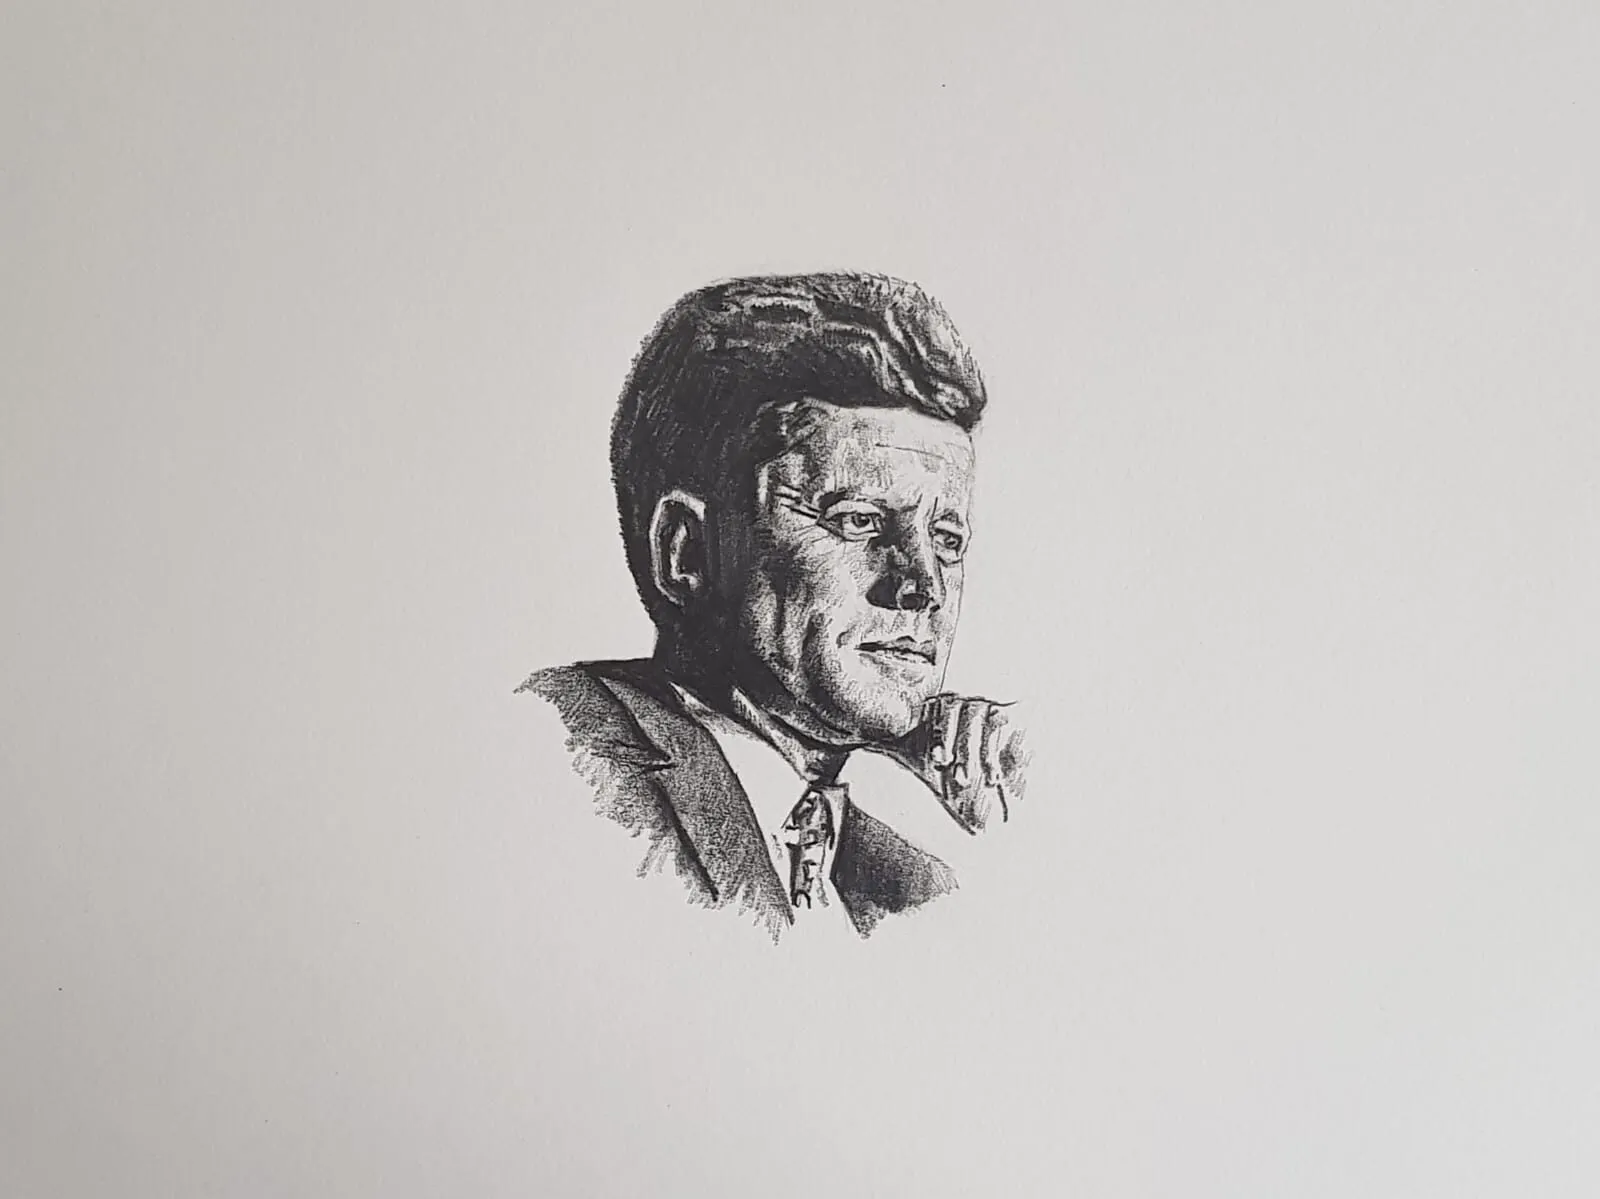
A graphite portrait of John F. Kennedy. Drawing by Michael Brace.
Paper for charcoal
Charcoal needs tooth, meaning a slightly rough surface that grabs the particles. On very smooth paper, charcoal slides around and will not build tone; on a textured or toned sheet, it sits in the grain and layers cleanly. Choose a paper designed for charcoal or pastel, or a general drawing paper with a moderate surface and a medium to heavy weight so it survives erasing and blending. For a wider discussion, see paper tooth and texture and the best drawing paper for beginners.
Toned paper, such as mid-grey or buff, is excellent for charcoal. The paper gives you the middle value, so you add darks with charcoal and lights with white chalk or by lifting. Many classic head studies work this way.
Basic marks
Practise these on scrap paper before starting a drawing.
- Line with the tip: a fine line, varied in weight by pressure.
- Broad strokes with the side: break a short piece of stick and lay it flat for a wide, soft band.
- Hatching and cross-hatching: lines built up for tone, though they soften easily.
- Scumbling: loose overlapping scribbles for texture.
- Smooth sweeps: long, even strokes from the arm for gradients.
- Dabbing and dragging: for grainy, textured effects.
Hold the charcoal loosely, well back from the end, and draw from the shoulder. A tight, pencil-like grip usually produces stiff marks. Stand at an easel or tilted board if you can, so your arm moves freely and you can see the whole drawing from a distance.
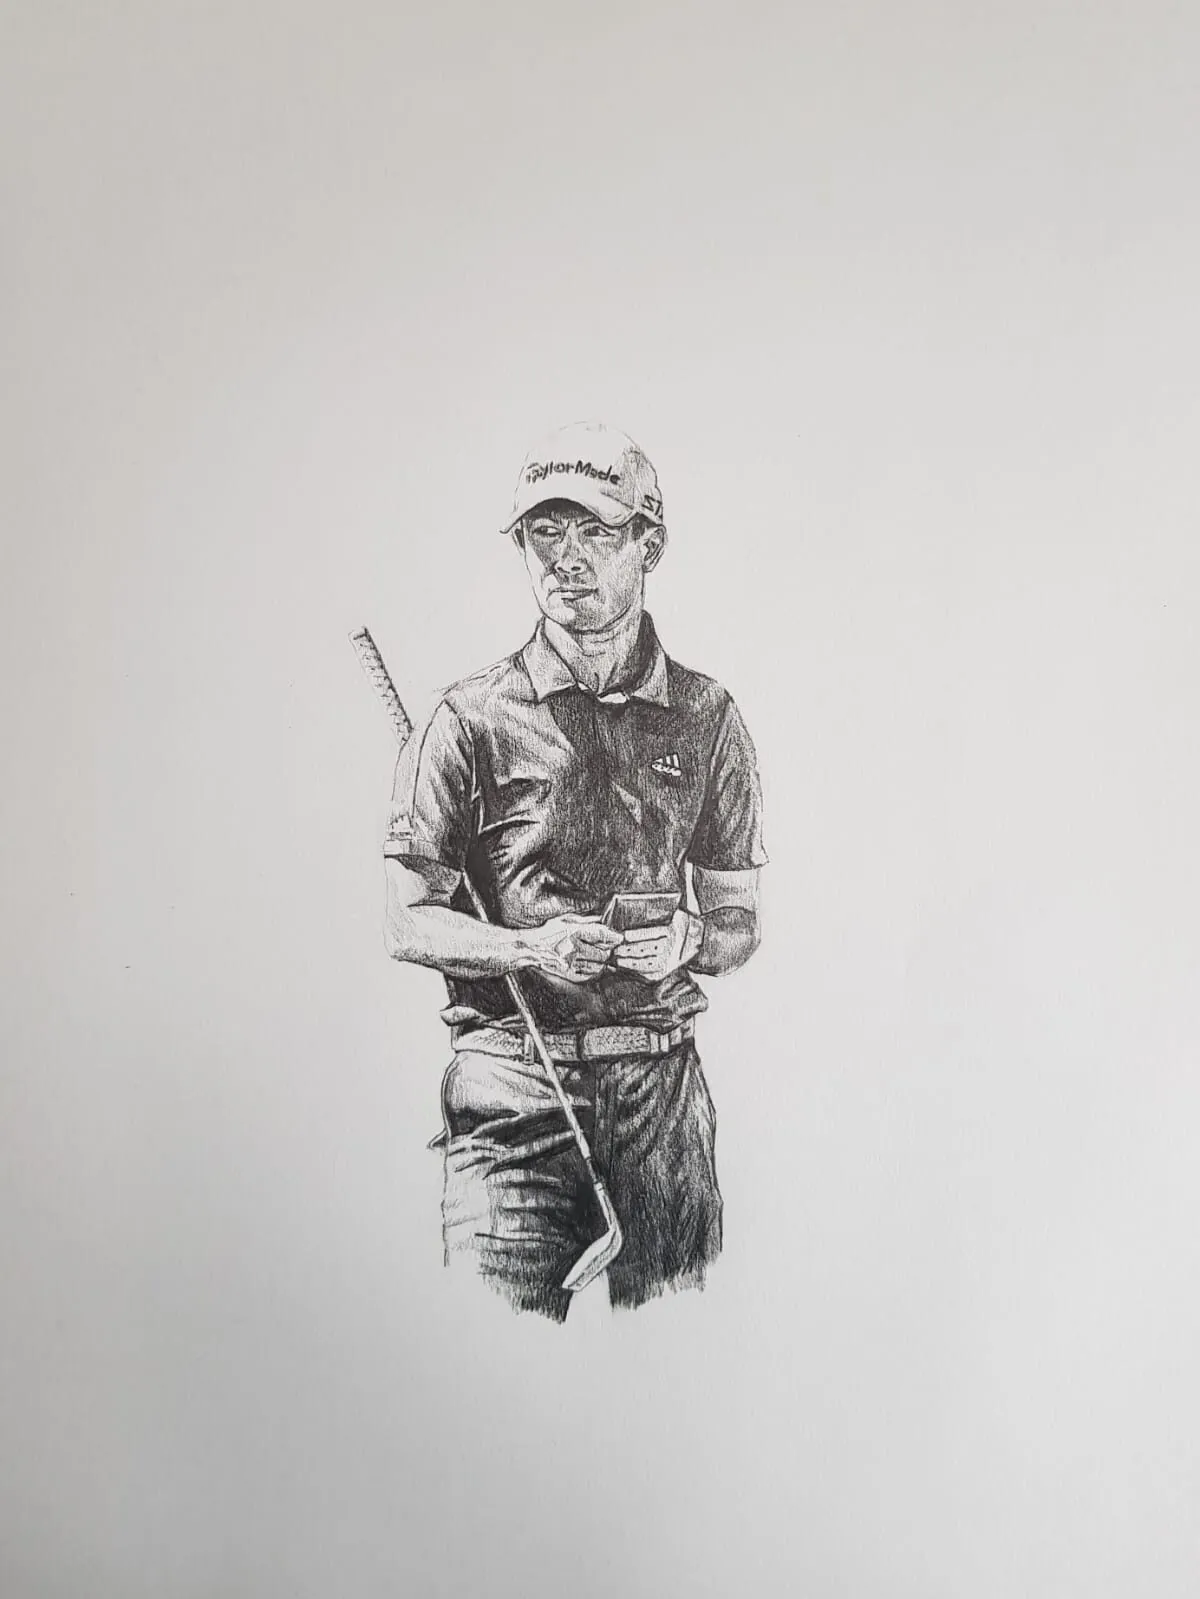
A graphite drawing of a golfer holding a club. Drawing by Michael Brace.
Building tone
The tonal principle is the same as with graphite: build from light to dark. Start with a light, loose layout in vine charcoal, checking proportions and placing the main masses. Then:
- Lay in the big shadow shapes with the side of the stick.
- Add mid-tones, leaving the lightest areas clean.
- Build the darks with softer vine or compressed charcoal.
- Step back often to check the overall pattern of light and dark.
- Refine edges and details last with a pencil or sharpened stick.
Charcoal does not layer endlessly. Once the surface is full, it will not take more, so keep early layers light, and save the darkest compressed charcoal for final accents. The value in drawing guide explains how to see and control the light-to-dark structure, and a photo of your drawing in the value study tool shows whether the range is wide enough.
Erasing and lifting
In charcoal, the eraser is a drawing tool. A kneaded eraser can be pressed and lifted to remove tone, shaped to a point for fine highlights, or pulled across an area to lighten it. A soft cloth or chamois can wipe away large areas to a pale ghost of tone, which is ideal for correcting vine charcoal layout. A plastic or vinyl eraser gives cleaner, harder-edged whites.
A common approach is to tone the whole paper with a thin layer of charcoal rubbed in with a cloth, then draw the lights by lifting them out and adding darks on top. Practise lifting lines, dots and shapes from a toned patch. You can also compare eraser types in the best erasers for graphite guide, since most of them work well for charcoal too.
Blending
Charcoal blends more easily than almost any other dry medium. Options include:
- Finger: quick and intuitive, but skin oils can leave marks.
- Soft cloth or chamois: good for large, smooth areas.
- Tissue or paper towel: for light softening.
- Paper stump or tortillon: for small areas and precise edges; see how to use blending stumps.
- Soft brush: for delicate, even blending.
Blend in the direction of the form, using light, sweeping movements. Blending spreads tone and darkens it slightly, so be ready to lift highlights again afterwards and to restore crisp edges. Too much blending reduces contrast, so blend the early layers and leave your final marks crisp. The same ideas apply to graphite, covered in how to blend graphite.
Fixative, protection and dust safety
Charcoal is loose on the paper and smudges easily, even after the drawing is finished. There are a few ways to protect it.
- Fixative: a spray that binds loose particles. It is often applied in light, even coats and slightly alters tone, usually darkening it a little, and it can reduce the ability to erase. See the guide to the best fixative for pencil drawings.
- Interleaving: a sheet of glassine or clean tissue between pages or in a portfolio.
- Framing under glass with a mount so the glass does not touch the drawing. The how to frame and mount a drawing guide covers this.
Charcoal is a fine dust, and it is sensible to handle it with care. Work in a ventilated space, avoid breathing dust by tapping and brushing gently rather than blowing, and wash your hands afterwards. If you use fixative, follow the manufacturer’s label for ventilation and safety, and do not spray near a flame or in a closed room. If you have breathing difficulties, consider a mask or a charcoal pencil, which produces less dust.
First exercises
Work through these in your first week, 20 to 30 minutes at a time.
- Mark-making page. Fill a page with lines, sweeps, hatching, scumbling and dabbing using vine, compressed and pencil.
- Value scale. A strip of five to seven boxes from white to black using vine and compressed charcoal. Compare with the method in how to make a value scale.
- Smooth gradient. Sweep tone from dark to light with the side of a stick, then blend gently.
- Toned ground. Cover a sheet with thin charcoal, rub it in and lift highlights out with an eraser.
- Simple forms. Shade a sphere, cube and cylinder with one light source.
- Still life. Draw an egg and a cup in big shapes first, then add tone and finally small detail.
The how to draw basic forms and shading lesson and the 30 day drawing challenge both work well in charcoal.
Common beginner mistakes
- Starting too dark. Compressed charcoal is hard to remove; begin light with vine.
- Drawing small. Charcoal suits big arm movements; work larger than you would in pencil.
- Over-blending. Tone becomes flat and muddy. Keep a range of crisp and soft edges.
- Smudging with the hand. Use a slip sheet or a mahlstick, and work from top to bottom if you are right-handed and left to right to keep your hand over clean areas.
- Ignoring the paper. Smooth or thin paper will not hold charcoal or survive erasing.
The short version
Begin with vine charcoal for layout and pale tone, compressed charcoal for deep darks and a charcoal pencil for detail. Use paper with some tooth, draw big and build tone from light to dark. Treat your eraser as a drawing tool, blend with restraint, protect the finished piece with careful fixative use, a slip sheet or glass and keep dust under control. Practise tone, gradients and simple forms before tackling a portrait or landscape.
Quick answers
Frequently asked questions
What charcoal should a beginner buy?+
Start with a few sticks of soft and medium vine charcoal for broad, erasable tone, one or two compressed charcoal sticks for deep darks and a charcoal pencil for detail. Add a kneaded eraser and a piece of paper with moderate tooth. You do not need a large set to learn the basics.
Is charcoal easier or harder than pencil?+
Charcoal is often easier for broad tone and expressive marks, and harder for fine detail and keeping clean edges. It smudges readily, which helps blending but makes control a challenge. Many artists find it forgiving for learning value, because big shapes matter more than small precise lines.
Do I need fixative for charcoal drawings?+
Charcoal smudges easily, so finished drawings are often protected with fixative, a slip sheet or framing under glass. Fixative can slightly change tone and is sprayed, so use it in a well-ventilated space and follow the label. Protecting a drawing with glazing or interleaving tissue is an alternative.
How do you blend charcoal?+
Charcoal blends with fingers, a chamois, a soft cloth, tissue or a paper stump. Use light, sweeping movements and keep blending tools clean. Blending softens edges and darkens areas slightly, so re-establish highlights afterwards with a kneaded eraser and add crisp edges with a sharpened stick or pencil.