Graphite & Charcoal
How to Use Blending Stumps and Tortillons
Stumps versus tortillons, how to blend with them, how to clean and sharpen them, which directions to work in and how to avoid muddy greys in graphite.
Key takeaways
- ◆A stump is a solid, tightly rolled paper pencil-shaped tool, and a tortillon is a hollow, spiral-rolled paper tube; both move graphite without skin oils.
- ◆Blend with light pressure in the direction of the form, and pick up graphite from the drawing itself rather than loading the stump first.
- ◆Keep separate stumps for dark, mid and light areas so you do not drag dark graphite into pale passages.
- ◆Muddy greys come from over-blending, dirty tools and starting with too much graphite; blend early, then restore edges and contrast.
- ◆Sandpaper blocks clean and re-point stumps, and tissue, cotton wool and soft brushes are good alternatives.
Blending stumps are among the cheapest drawing tools and among the easiest to misuse. Used well, they turn grainy shading into smooth, continuous tone and let you soften edges with control. Used badly, they drag dark graphite across the drawing, flatten contrast and leave a dull grey film where there should be light.
This guide explains what stumps and tortillons are, how to blend with them, how to direct your strokes, how to clean and re-point them and how to keep your greys clean. It also covers alternatives for when a stump is not the right tool. It builds on the broader guide to how to blend graphite, and it assumes you already know the basics of how to shade with pencil.
Stumps versus tortillons
Both tools are made of paper and do the same job: they push graphite into the paper texture and smooth it without using your fingers.
- Blending stump (paper stump): a solid, tightly rolled paper cylinder, pointed at both ends. It is firm, holds a precise point and handles larger areas well. It can be sanded to re-sharpen.
- Tortillon: a hollow tube of paper wound into a spiral, pointed at one end. It is softer and more flexible, which makes it good for small, delicate areas and tight corners. The hollow centre means it can collapse if pressed hard.
- Both come in sizes, from slim to fat. Use slim ones for eyes and details, and larger ones for skin, sky and backgrounds.
The practical difference is small. Choose by scale and feel: a firm stump for control and broad areas, a tortillon for fine work. If you only buy one, buy a mid-sized stump.
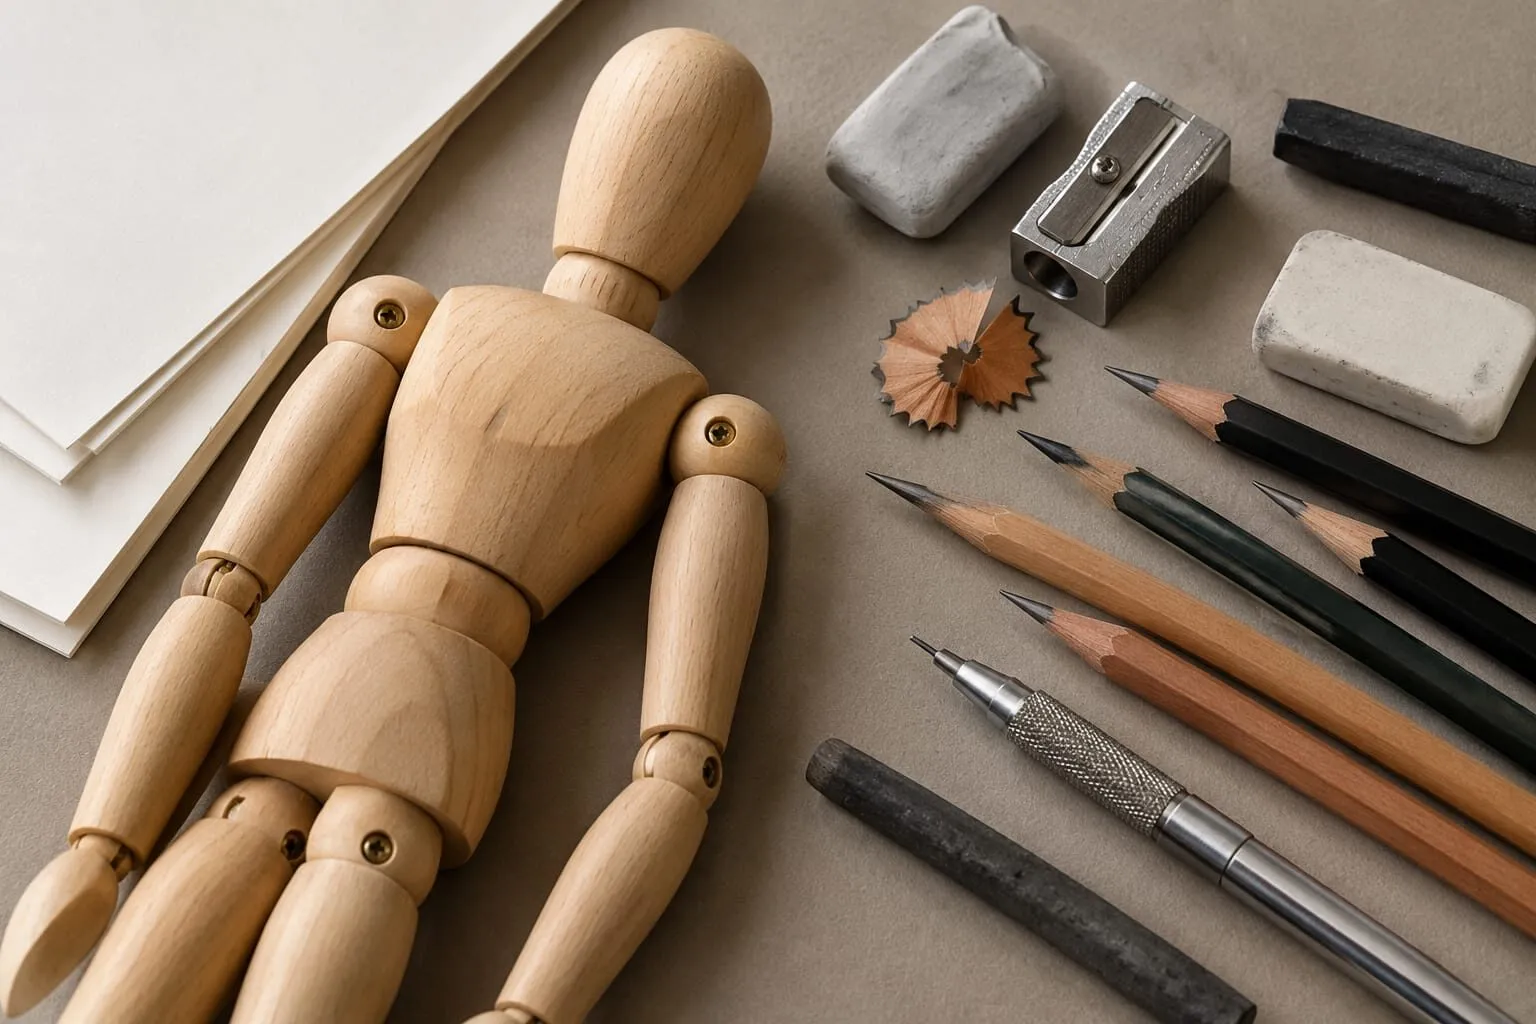
A wooden figure mannequin with pencils, an eraser, a sharpener and drawing paper.
Why stumps beat fingers
Fingers are the most natural blending tool and the worst. Skin carries oils that leave greasy patches which repel later graphite layers and can show as blotches. A finger is also too large for small areas and too clumsy for controlled edges. A stump gives a clean, dry tool with a fine tip and a consistent surface, and you can see exactly where you are working.
How to use a blending stump
- Start with light tone. Lay down thin, even layers of graphite, using a mid-range pencil. Too much graphite gives a heavy, dirty blend.
- Hold the stump like a pencil, well back from the tip, at a low angle so the side of the tip is in contact with the paper.
- Use light pressure. Let the stump pick up graphite from the drawing itself and push it along.
- Work in small, overlapping strokes, blending from dark into light so you carry tone into lighter areas gradually.
- Check often. Step back and compare. Stop as soon as the strokes disappear; more blending rarely helps.
- Restore contrast. Re-darken shadows with a soft pencil, then lift highlights with a kneaded eraser.
A useful habit is to work from light areas towards dark, using a clean stump first for the palest passages, and moving to a dirtier one for mid-tones and finally the darkest regions.
A black picture frame with a white mount in landscape format.
Blending directions
The direction of your blending strokes matters because any smudged graphite keeps the mark of the movement.
- Follow the form. On a round surface such as a cheek, sphere or limb, curve your strokes around it. The tone then reinforces the shape.
- Go with the grain. For hair, fur and wood, blend in the direction the surface runs, so the texture is preserved rather than erased.
- Cross-blend for smoothness. For large, flat areas such as skies or backgrounds, alternate directions lightly to even out streaks.
- Blend from dark to light. Pushing graphite from shadow into light makes a soft transition; pushing the other way muddies the highlights.
- Use the point for edges. Use the tip to blend along the border of a shape and the side for large areas.
Avoid blending back and forth in the same small patch, which works graphite into the paper and loses the subtle tonal steps.
Choosing the right stump for the job
| Area | Suggested tool | Why |
|---|---|---|
| Large skin planes | Wide stump | Covers ground without streaks |
| Sky or background | Wide stump, tissue or cotton wool | Even, soft tone |
| Eyes, lips, small features | Slim tortillon | Precise, tight control |
| Dark shadows | Dirty or dedicated dark stump | Preserves rich tone |
| Pale highlights | Clean stump | Avoids grey contamination |
Cleaning and sharpening
A stump gets dirty by design: it is loaded with graphite, which is how it works. A dirty stump is fine for dark areas but ruins pale ones.
- Rub on sandpaper or an emery board to remove the graphite-coated layer and expose clean paper. This also re-points a worn tip.
- Rub on scrap paper to remove excess graphite without changing the shape. Use a clean corner of a kneaded eraser in the same way for gentle cleaning.
- Do not wash them. Water softens and deforms the paper.
- Keep several and label them by value, for example light, mid and dark. You can mark the end with a pencil.
- Replace them when the tip collapses or the paper frays.
A stump that has been cleaned many times becomes shorter and eventually needs replacing. They are inexpensive, so do not hesitate.
Avoiding muddy greys
Muddy tone is the most common complaint about blending. The causes are predictable.
- Too much graphite. Heavy, pressed layers are hard to blend and go shiny. Build in light layers.
- A dirty tool. A stump loaded with soft, dark graphite deposits it everywhere. Use separate stumps for dark and light.
- Over-blending. Continuous rubbing reduces contrast and pushes every value toward mid-grey.
- Blending too early over detail. Fine lines vanish. Blend the under-layers, then draw details on top.
- Soft pencil on top of blending. A very soft grade sits on the surface and smears; use a harder pencil for final detail.
If you end up with a muddy area, lift tone with a kneaded eraser, re-establish the lights and darks and reduce blending. You can use the value study tool on a photograph of your drawing to check whether the values are still distinct, and the pencil grade chart to see which grade suits which layer.
Using stumps with different pencils
- Harder grades (2H to HB) blend cleanly and are good for even tone.
- Soft grades (4B and softer) blend easily but can go dark and greasy quickly; use light pressure.
- Charcoal blends extremely easily with a stump and gets messy quickly. See charcoal drawing for beginners.
- Coloured pencil (colored pencil in the US) can be blended with paper stumps in a limited way, but wax-based pencils behave differently from graphite. See best blending tools for coloured pencil.
Alternatives to blending stumps
A stump is one tool among several.
- Tissue or paper towel: wrapped around a finger or pencil for broad, soft blending.
- Cotton wool or cotton buds: gentle and cheap, good for large smooth areas and small corners respectively.
- Soft brushes: a clean, soft, dry brush can move loose graphite very delicately.
- Chamois: suits large tonal areas, especially with charcoal.
- Layering with a hard pencil: a light 2H or HB layer over soft tone fills the tooth and blends without any tool.
- Kneaded eraser: not a blender as such, but dabbing it softens and lightens tone.
Try them on a scrap patch and compare. Many artists use a mix: a stump for small areas, tissue or cotton for large ones and a hard pencil to finish.
Protect your work
Blended graphite is loose on the surface and will smudge. Keep a slip sheet under your hand while you work, and consider a light coat of fixative or framing when the drawing is finished. See how to avoid smudging pencil drawings for the full approach, and the best fixative for pencil drawings for protection options.
Practice exercises
- Blended gradient: shade a rectangle dark to light, then blend with a stump, then add a second layer and blend again. Compare to an unblended version.
- Direction test: draw three squares of tone and blend one straight, one curved and one cross-blended.
- Dirty versus clean: blend a pale area with a clean stump and a loaded one to see the contamination.
- Sphere: shade and blend a sphere, then lift a highlight and restore the core shadow.
These fit neatly into the how to draw basic forms and shading lesson.
The short version
Use a firm stump for larger areas and a tortillon for small details. Start with thin graphite, blend with light pressure in the direction of the form and keep separate tools for light and dark. Clean stumps on sandpaper, stop blending as soon as strokes disappear and restore contrast with a soft pencil and a kneaded eraser. When in doubt, use less.
Quick answers
Frequently asked questions
What is the difference between a blending stump and a tortillon?+
A blending stump is a solid stick of tightly rolled paper with two pointed ends, which holds its shape and suits broad areas. A tortillon is a hollow paper tube rolled in a spiral, which is softer and often used for small, delicate areas. Both spread graphite smoothly, and the choice is a matter of feel and scale.
How do you clean a blending stump?+
Rub the dirty tip on a sandpaper block or emery board to remove the graphite layer and reveal clean paper. For light cleaning, rub it on a scrap of clean paper or a kneaded eraser. Stumps that are heavily loaded with graphite are best kept for darker areas rather than being cleaned for pale ones.
Why does my blending look muddy?+
Muddy blending usually comes from too much graphite on the paper, a stump that is loaded with dark tone, heavy pressure or blending the same area repeatedly. Blend lightly, use separate stumps for dark and light areas, and build tone in thin layers. You can restore highlights with a kneaded eraser.
Can I blend without a stump?+
Yes. Tissue, cotton wool, cotton buds, soft brushes, chamois and a clean finger can all blend graphite, though skin oils can leave marks. You can also blend by layering a harder pencil, such as 2H, over soft tone, which fills the paper texture for a smooth finish without any tool.