Books & Courses
How to Set Up a Home Drawing Studio
How to set up a home drawing studio, even in a small space: good light, a desk or drawing board, posture, storage, organising pencils and paper, and keeping work flat.
Key takeaways
- ◆Light is the most important part of a studio. Aim for steady daylight from the side, backed up by a good lamp for evenings.
- ◆Work on a tilted surface at a comfortable height so you can see the whole drawing without hunching.
- ◆Keep pencils, paper and erasers within arm's reach and organised by use, so starting takes seconds.
- ◆Store finished work flat, protected and away from damp and direct sun.
- ◆A studio does not need a spare room. A corner, a board and a lamp can be enough.
You do not need a spare room to draw well. A good studio is simply a place where you can see clearly, sit comfortably and begin in a few seconds. Those three things matter more than square footage, and they cost little to arrange. Most people who draw at a kitchen table can improve their setup with a lamp, a board and a box for supplies.
This guide covers the parts of a drawing studio in order of importance: light, your work surface and angle, seating and posture, storage and organisation, keeping finished work safe and making the most of a small space. It applies to graphite and to coloured pencils (colored pencils in the US). For the materials themselves, see best drawing supplies for beginners.
The short answer
Put your desk beside a window, add a lamp on the side opposite your drawing hand, use a board tilted towards you and sit on a chair that supports your back. Keep your pencils, erasers and sharpener in reach, and store paper and finished work flat. Make setup so easy that you can start in under a minute.
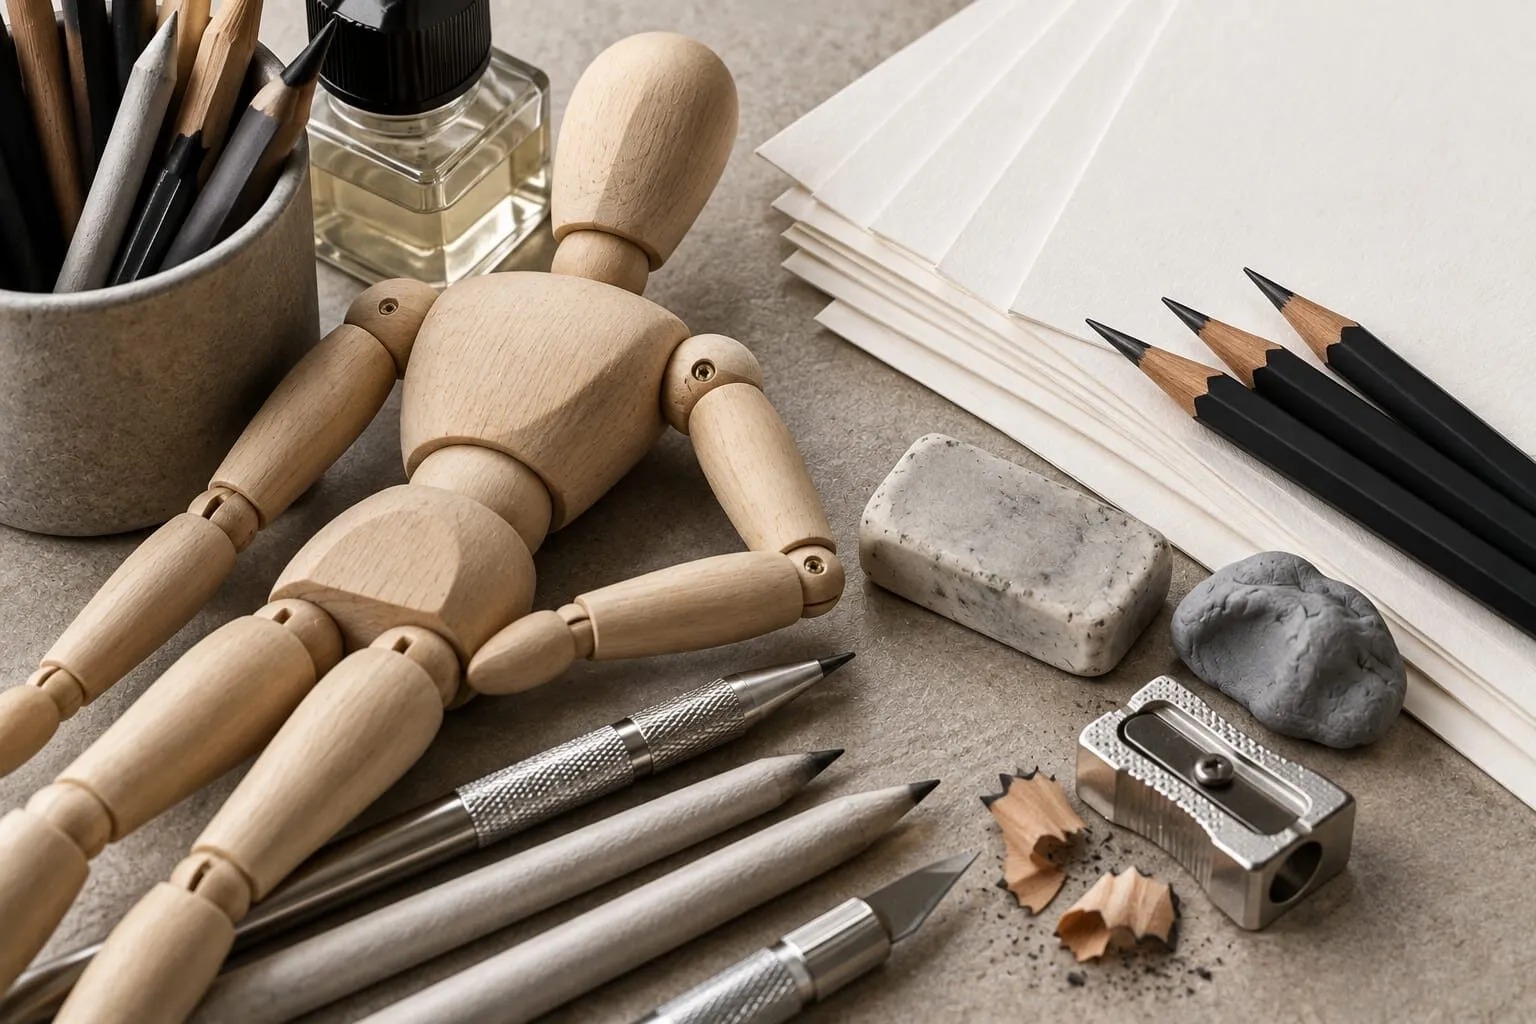
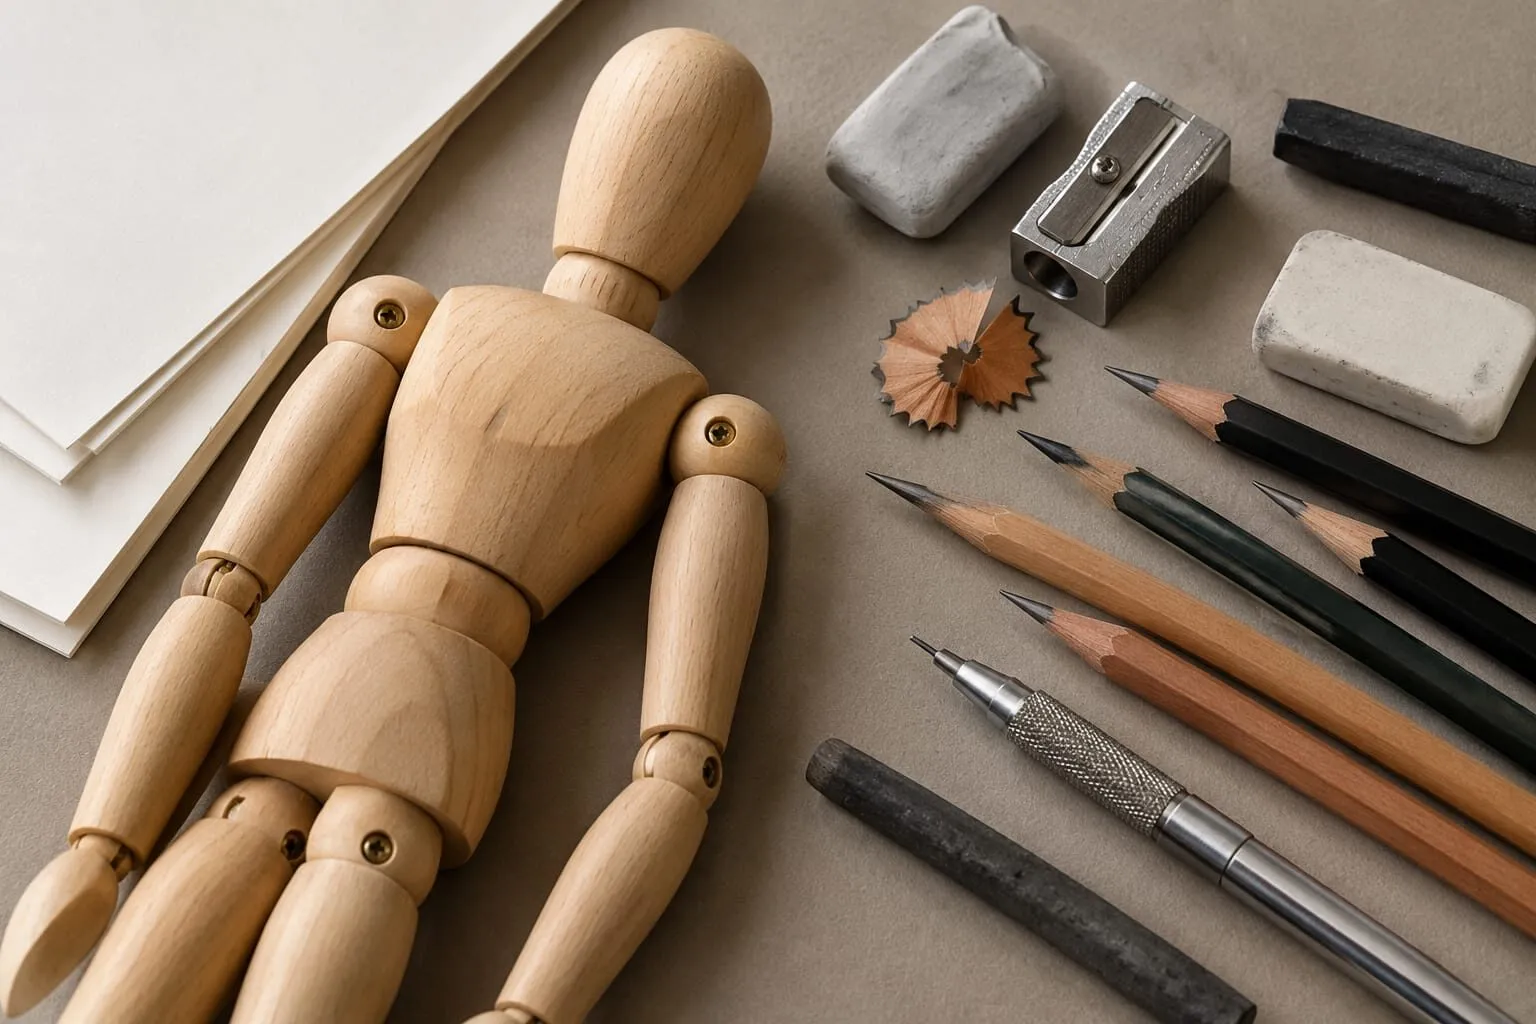
Drawing materials on a table: sheets of paper, pencils, a wooden mannequin, an eraser and a sharpener.
Light: the most important decision
You cannot draw what you cannot see. Poor light causes eye strain, makes colours hard to judge and hides the subtle tones that realism depends on.
Daylight
Daylight from a window is the best all-round light. It is even and shows colour naturally.
- Place your desk so light comes from the side, opposite your drawing hand. A right-handed artist wants light from the left, so the hand does not cast a shadow over the work.
- Avoid direct sun on the page. It creates glare and changes rapidly. A thin curtain or a north-facing window gives steadier light.
- Avoid light from behind, which casts your own shadow on the paper, and light straight from the front, which can reflect off graphite.
- Remember it changes. Daylight shifts through the day and across seasons. If colour accuracy matters, try to work at a similar time each session.
Artificial light
For evenings and dull days, add a lamp you can position.
- Choose a bulb that shows colour faithfully. In general terms, look for a bulb described as daylight or neutral white with good colour rendering, and avoid very yellow or very blue light. Check the packaging for the manufacturer’s details.
- Choose an adjustable lamp so you can aim the light at the page without glare.
- Keep the lamp on the side opposite your drawing hand.
- Keep the light consistent. Mixing strongly coloured bulbs makes it hard to match colours, and colour from one light can look different in daylight.
- Do not rely on overhead light alone. A single ceiling light often casts shadows of your head and arm across the page.
If you draw in coloured pencil, good light is essential for judging colour, which shifts under different lamps. Check finished colours in daylight before you decide a drawing is done.
Desk, board or easel
Drawing on a flat desk forces you to lean over the page. Two things go wrong: your neck and back tire, and the top of the drawing appears shorter than the bottom because of the viewing angle. A slightly tilted surface fixes both.
| Option | Good for | Watch for |
|---|---|---|
| Ordinary table or desk | Quick sketches, small drawings | Flat angle distorts proportions; can cause hunching |
| Desk with a tabletop drawing board | Most home artists, portable, inexpensive to set up | Needs a stable prop; check it does not slide |
| Drafting table with adjustable top | Regular, long sessions | Takes space; ideal in a fixed studio |
| Easel | Large drawings, standing work, stepping back often | Takes floor space; can be tiring for fine detail |
A tabletop board propped at a modest angle is the best starting point. Choose a board slightly larger than your usual paper, and secure the paper with clips or tape. If you work with graphite, a sheet of clean paper under your hand protects finished areas; see how to avoid smudging pencil drawings.
Having the paper at a fairly upright angle makes it easier to compare your drawing with a reference. Some artists place the reference beside the drawing, at the same angle and distance, so they can look back and forth quickly.
A wooden figure mannequin with pencils, an eraser, a sharpener and drawing paper.
Seating and posture
You will spend long periods in the chair, so make it count.
- Sit with your back supported and your feet flat on the floor or a footrest.
- Set the working height so your forearm is about level with the drawing surface and your shoulders are relaxed, not raised.
- Lean back and look at the drawing often. Seeing it from a distance shows errors that you miss up close.
- Stand up regularly. A short break every 20 to 30 minutes rests your back and helps you judge the picture with fresh eyes.
- Consider standing. A raised surface or easel lets you draw standing and step back easily.
See how to hold a pencil for more on posture, arm movement and preventing hand fatigue.
Organise your pencils and tools
A well-organised set of tools saves time and keeps you in the flow.
- Keep the things you use most in reach, ideally on the side of your non-drawing hand, so you do not cross the page.
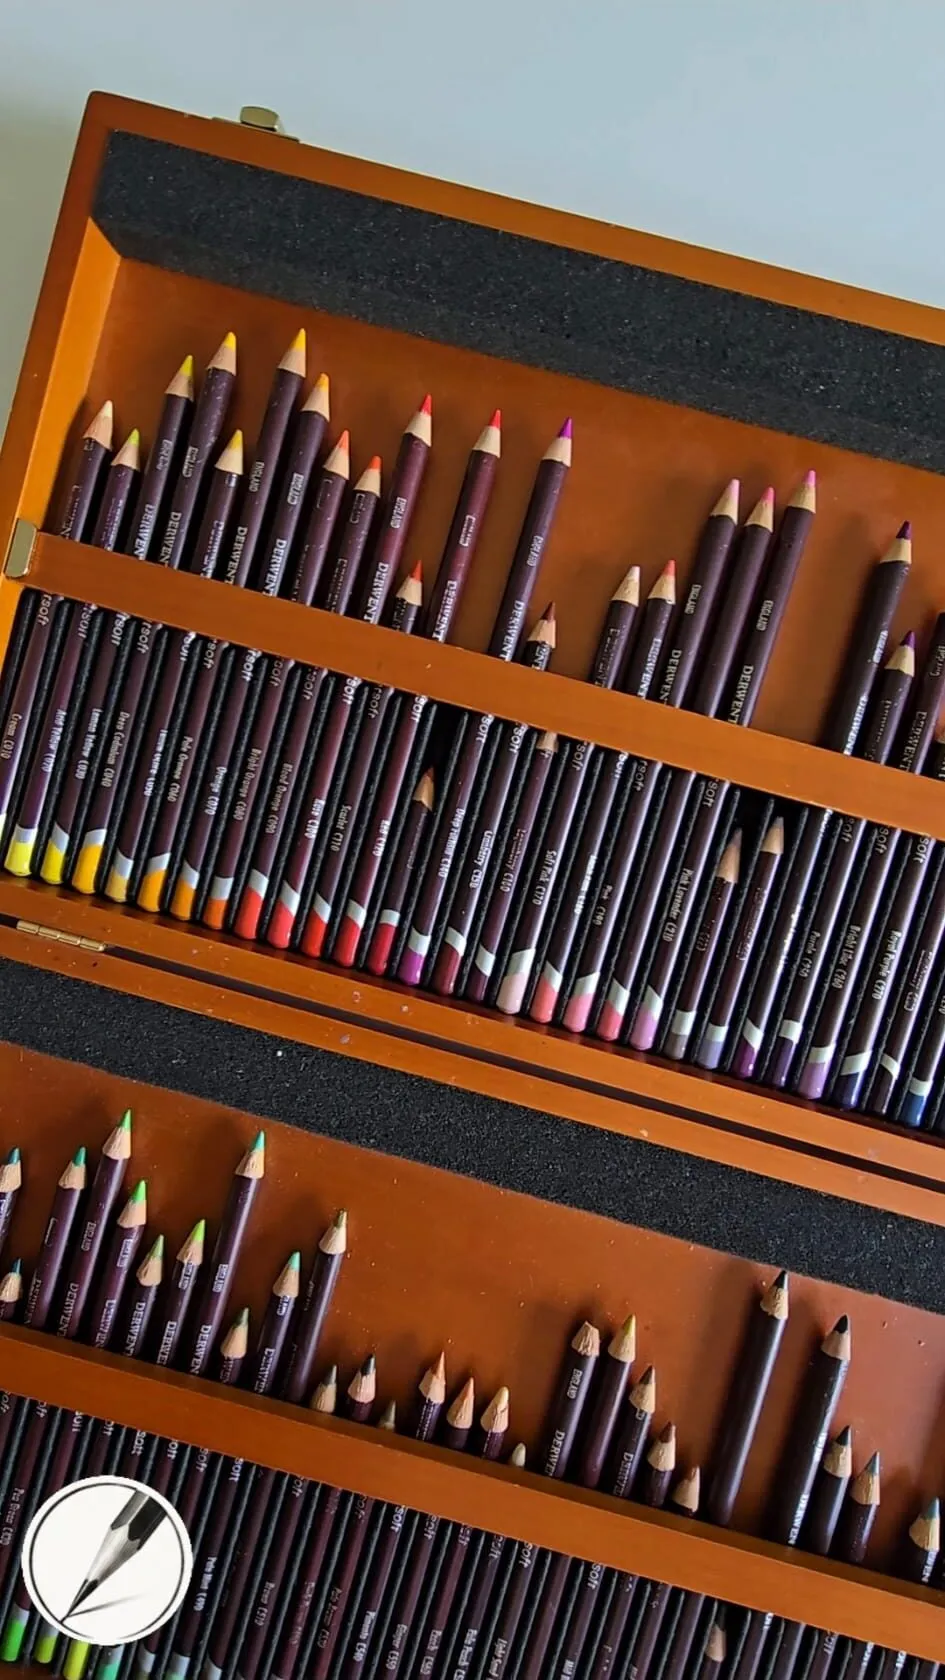
- Group by use. One cup for graphite pencils, one tray for coloured pencils sorted by colour family, a small box for erasers, blending tools and sharpener.
- Keep a sharpener and eraser handy. A dull point wastes time, so have a good sharpener close. See best pencil sharpeners for coloured pencils and best erasers for graphite.
- Keep pencils in a tin, tray or roll. Dropped pencils can fracture inside the barrel, and broken cores keep breaking when sharpened.
- Store by colour. Coloured pencils sorted in rainbow order are much quicker to use than a jumbled box. The pencil grade chart is a handy reference to pin nearby for graphite grades.
- Keep a scrap sheet beside you for testing colours and marks before committing to the drawing.
Paper storage
Paper is bulky and easily damaged.
- Keep blank paper flat, in a drawer, a portfolio folder or a box, so it does not curl or crease.
- Keep it dry. Damp causes cockling, mould and uneven surface. Avoid garages, basements and outside walls where humidity is higher.
- Keep it out of sunlight, which can yellow paper over time.
- Keep sheets clean. Handle them by the edges and keep a clean sheet under your hand.
- Label what you have. Write the paper type and weight on the wrapper or the back of each sheet so you know what you are using. For background, see paper weight (gsm) explained.
Keep finished work flat and safe
Drawings in coloured pencil and graphite are fragile until they are framed or protected.
- Store flat, in a portfolio, folder or shallow box, with no rolling if possible.
- Interleave finished drawings with clean tissue or glassine to reduce rubbing and smudging. Check the conservation suitability of any material you buy.
- Protect from heat, damp and strong light.
- Do not stack heavy objects on top of unprotected work.
- Plan framing early. Use the frame and mount calculator to size mounts and see how to frame and mount a drawing.
Small spaces and shared rooms
A small space is a minor inconvenience, not a barrier.
- Use a portable kit. A box, a bag or a small trolley holds pencils, paper, a board and a lamp, so you can set up anywhere and pack away in a minute.
- Choose a tabletop board instead of a large easel.
- Use vertical space. A wall shelf or a pegboard stores pencils, reference images and tools above the desk.
- Fold or stack. Folding tables, stackable trays and a slim portfolio all save space.
- Take a corner. Even a small, permanent corner with a lamp and a board invites you to draw more often than a space you must clear every time.
- Protect shared surfaces. Pencil dust and graphite smear easily, so cover tables and wipe them clean.
If you can leave your materials set up, you will draw more. Our how to practise drawing daily guide explains why removing friction matters.
A basic studio checklist
- Window light from the side and a positionable lamp.
- A table with a tilting board, secured paper and a clean guard sheet.
- A supportive chair at a comfortable height.
- Pencils in trays or cups, with sharpener and erasers within reach.
- A scrap sheet for testing colours and marks.
- Flat storage for blank paper and finished work.
- A reference stand, pinned photo or second screen at a similar angle and distance.
- A clock or timer, and somewhere to rest your eyes.
Keep it practical and personal
There is no right studio. Some artists prefer a tidy surface and some work in creative clutter. What matters is that the space is comfortable, well lit and ready to use. Start with the basics above, then change things as your habits become clear. If your setup makes you want to sit down and draw, it is working.
The short version
Good daylight from the side plus an adjustable lamp, a tilted board at a comfortable height and a supportive chair do most of the work. Keep tools organised and in reach, store paper and drawings flat, dry and protected, and use a portable kit if space is tight. Make it easy to start, and you will draw more.
Quick answers
Frequently asked questions
What do I need for a home drawing studio?+
A steady light source, a table or drawing board at a comfortable height, a supportive chair, storage for pencils and paper, and a way to keep finished work flat and clean. Everything else is optional. You can set this up in a corner of a room with modest equipment.
What kind of light is best for drawing?+
Natural daylight from a window to one side is ideal because it is even and shows colour accurately. Because daylight changes, many artists add a lamp with a bulb that shows colour faithfully and is not too yellow or blue. Place the lamp opposite your drawing hand to avoid shadows falling across the page.
How do I set up a drawing space in a small room?+
Use a folding table or a tabletop drawing board, store supplies in a box or a trolley that can be put away, and choose a spot near a window. A portable lamp and a tilting board give you most of what a dedicated studio offers. Keeping materials in one container makes setup and packing away quick.
How should I store coloured pencils and paper?+
Keep coloured pencils (colored pencils in the US) in their tins or in cups or trays sorted by colour, away from heat and drops, since the cores can fracture. Store paper flat in a portfolio, drawer or box, protected from damp and direct sunlight, with tissue or glassine between finished drawings.